 There’s no denying one of the best parts about the holiday season is all the sweets and in particular – cookies! In my opinion, you can never have too may Christmas cookies and hosting a cookie exchange is a fun way to try all sorts of goodies. I’ve teamed up with party gal extraordinaire, Carmen, of the Flair Exchange to bring you this fun how-to for throwing your own cookie exchange party! It’s easier than you think!
 How to Host a Cookie Exchange Party
The invite:
Send your Cookie Exchange party invites asking party-goers to respond with the name of the cookies they would like to bring. Set out clear instructions like how many cookies they should bring and when to RSVP. The L&V Christmas Cookies card makes a perfect invite and it will coordinate with the party decor!
Supplies:
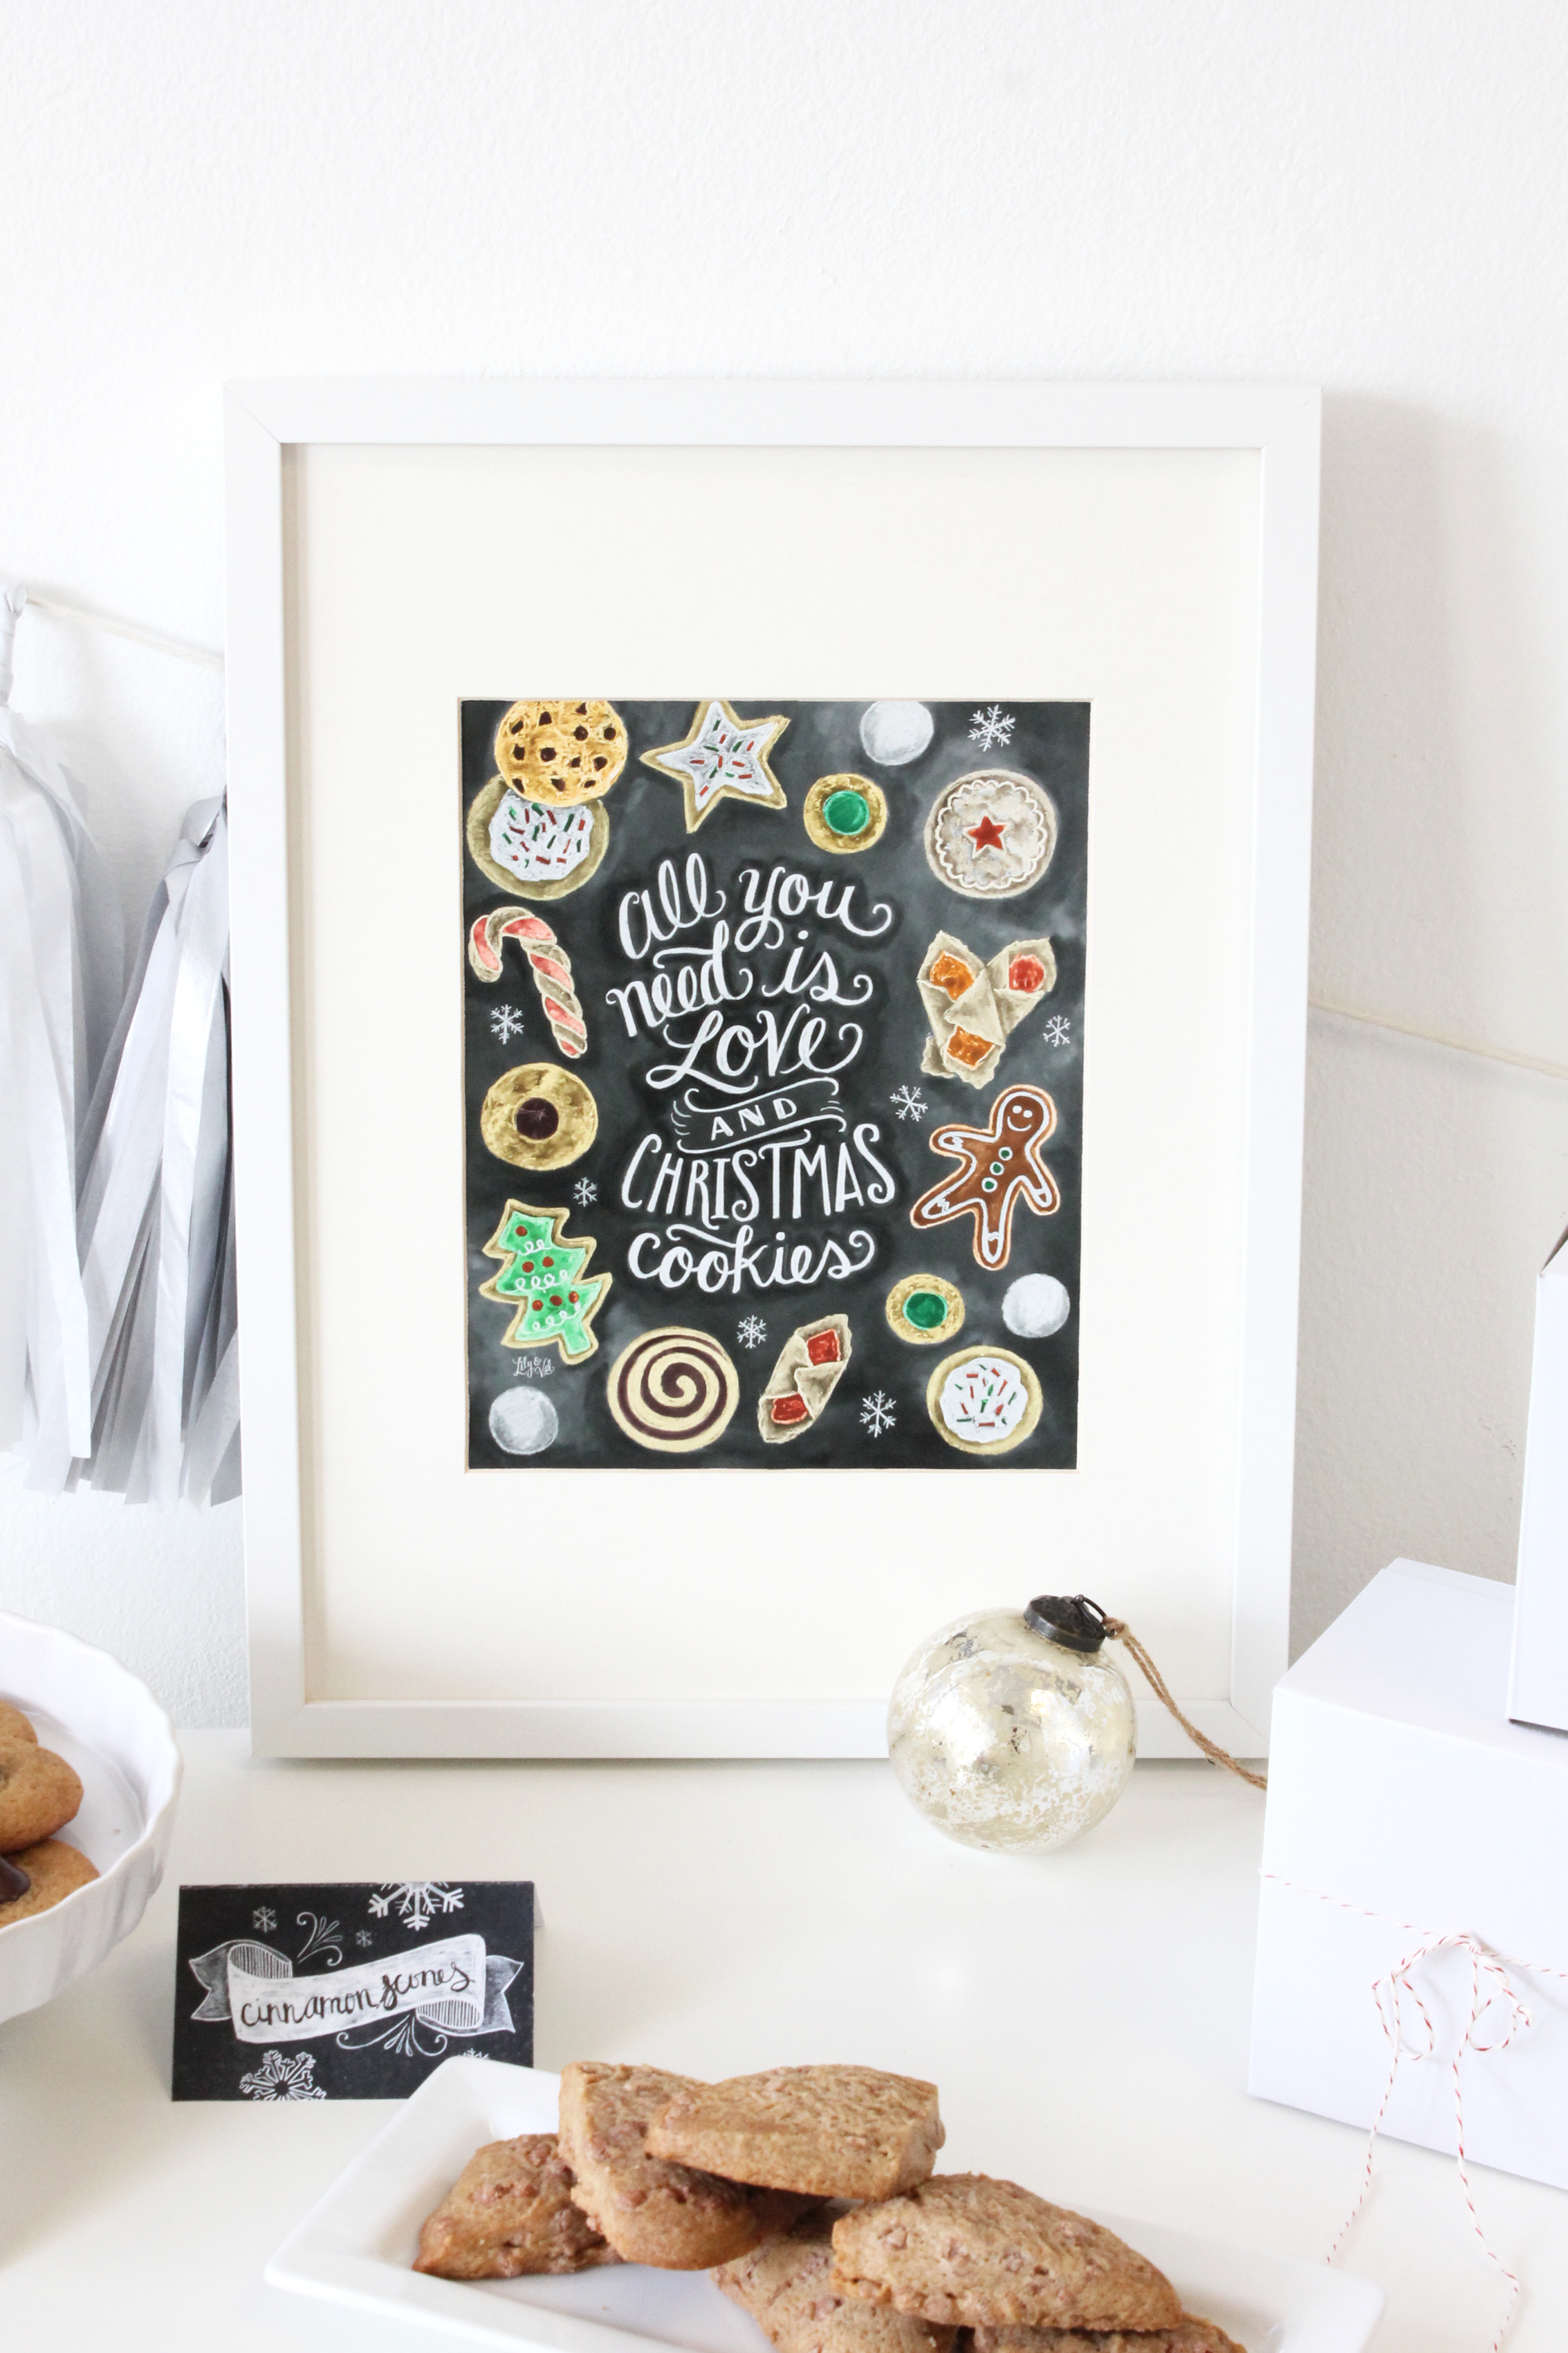
Decorations: Lily & Val Love & Christmas Cookies Chalk Art Print, Flair Exchange Tassel Garland Kit (in Sterling) and sparkly ornaments.
Tent cards for marking each cookie (FREE download)
Cookie plates/trays; you will need one tray for each cookie type
Small take-home bakery boxes filled with parchment paper & twine
Instructions:
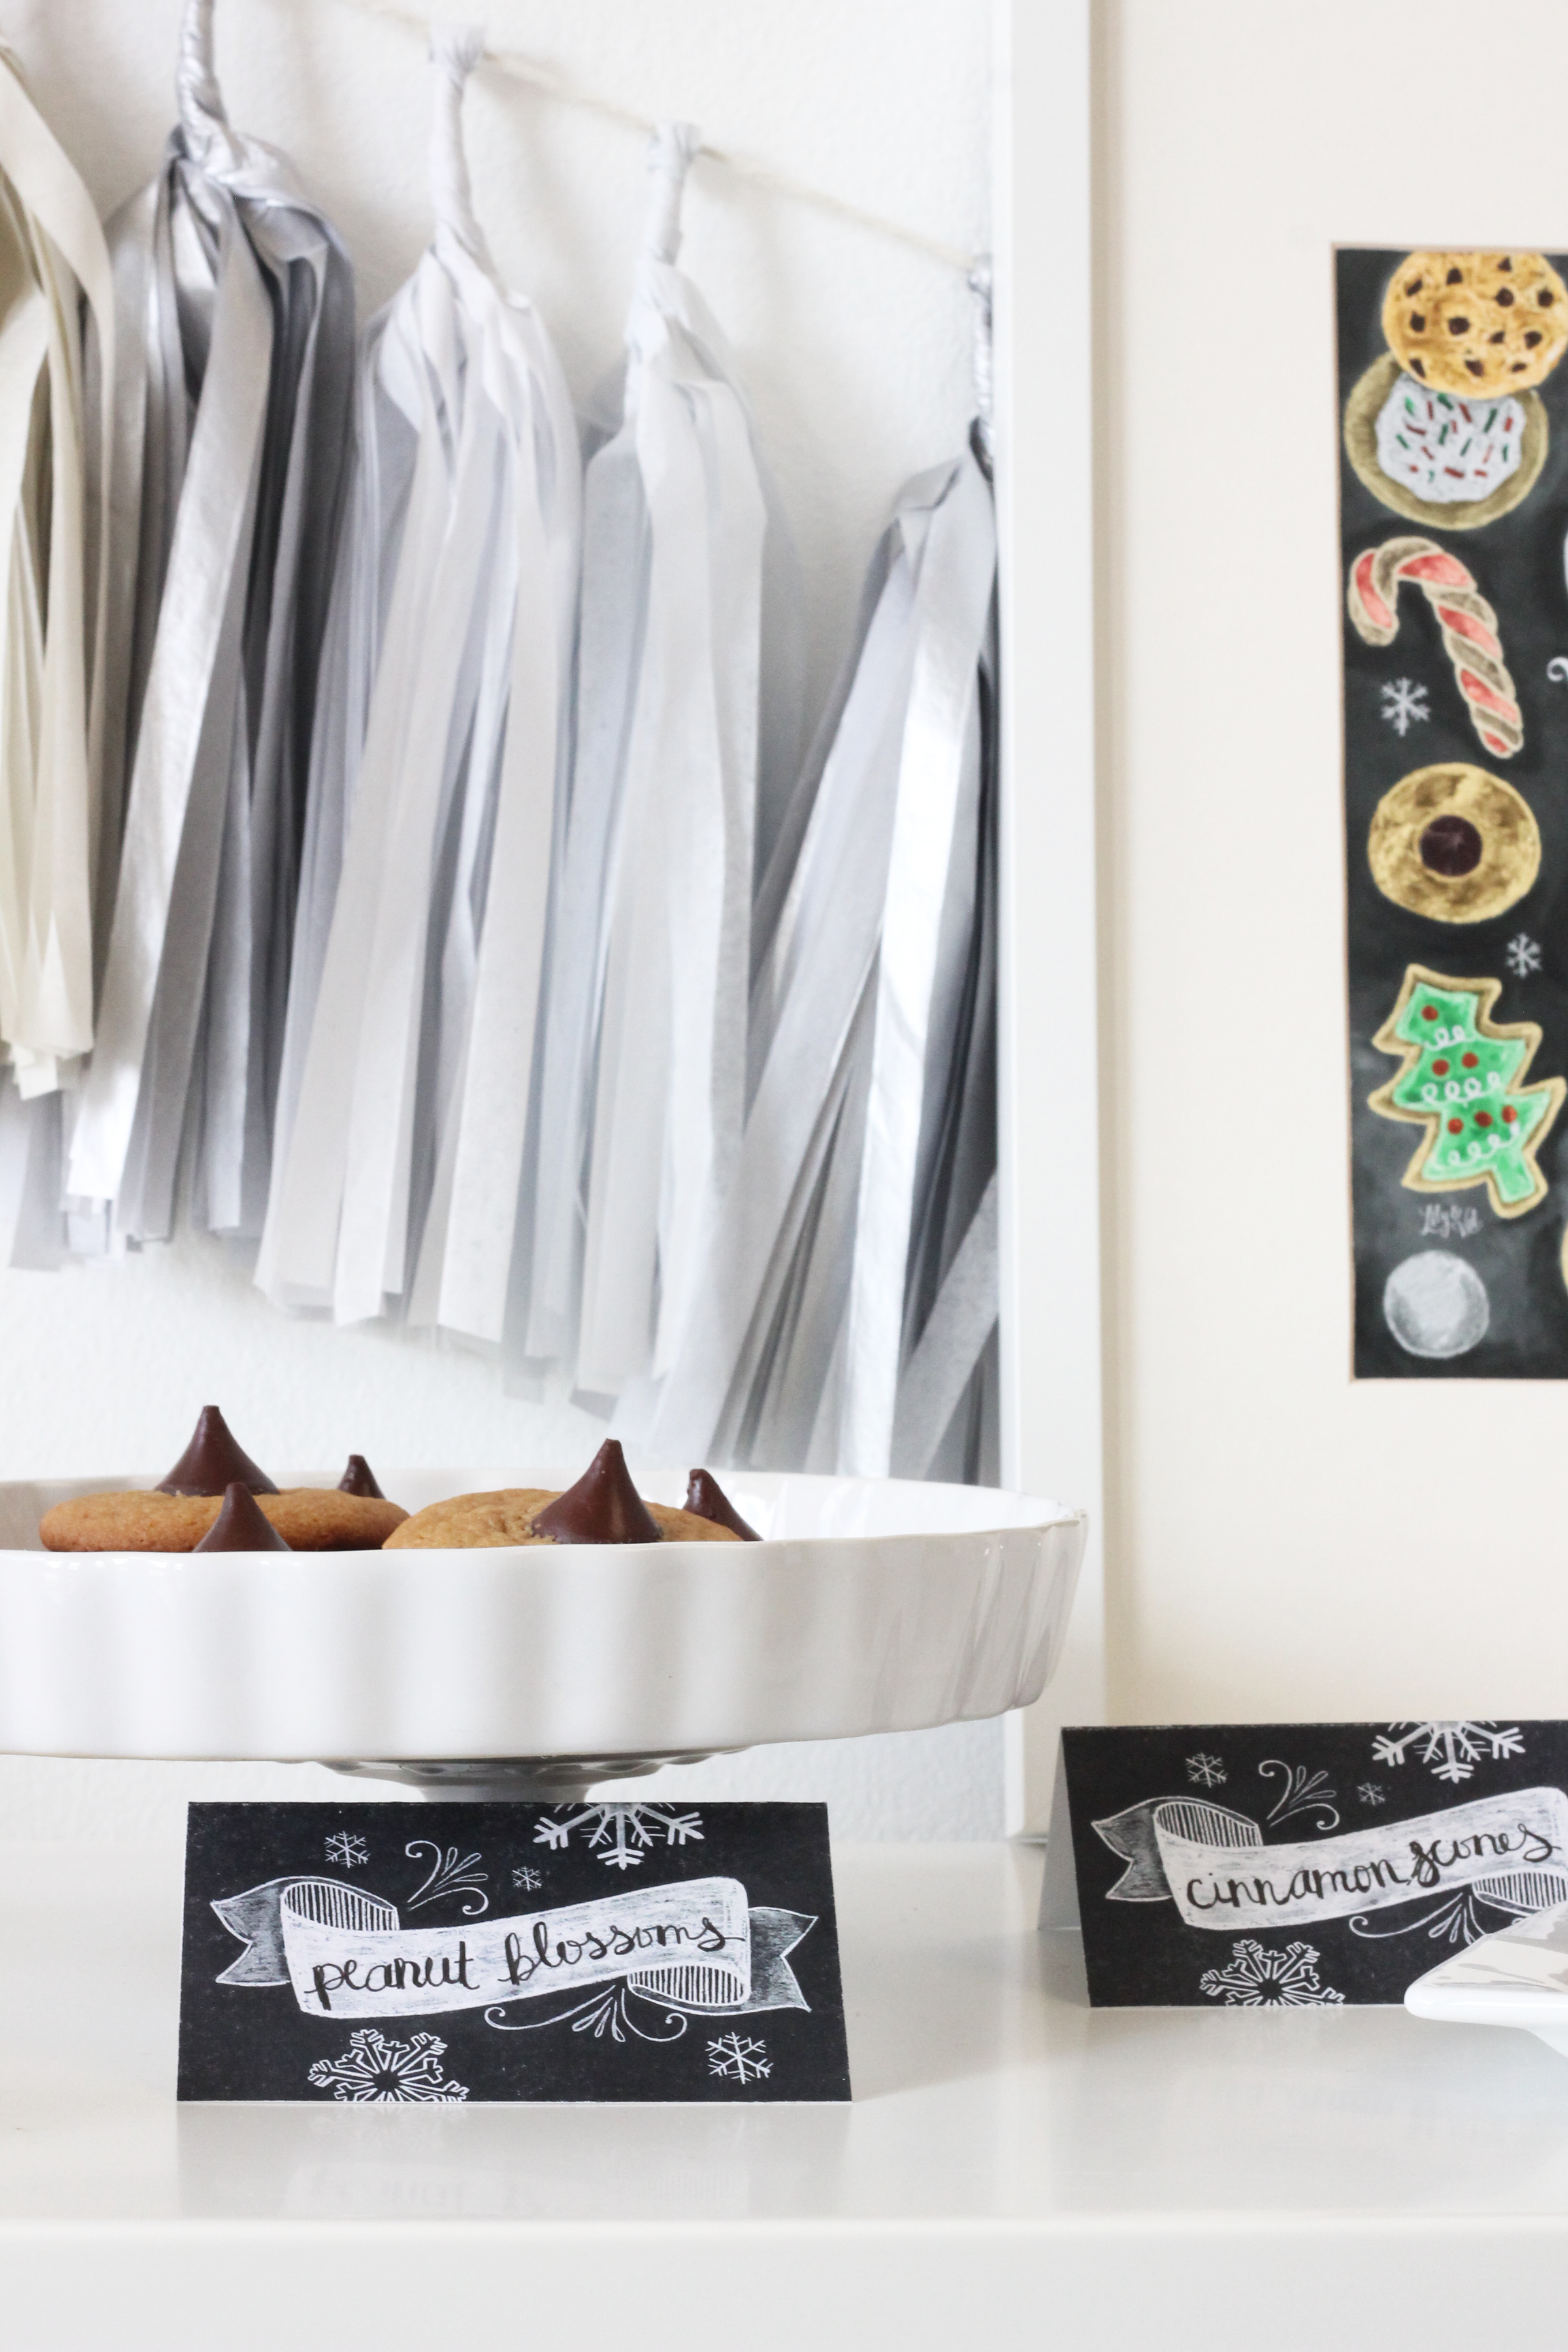
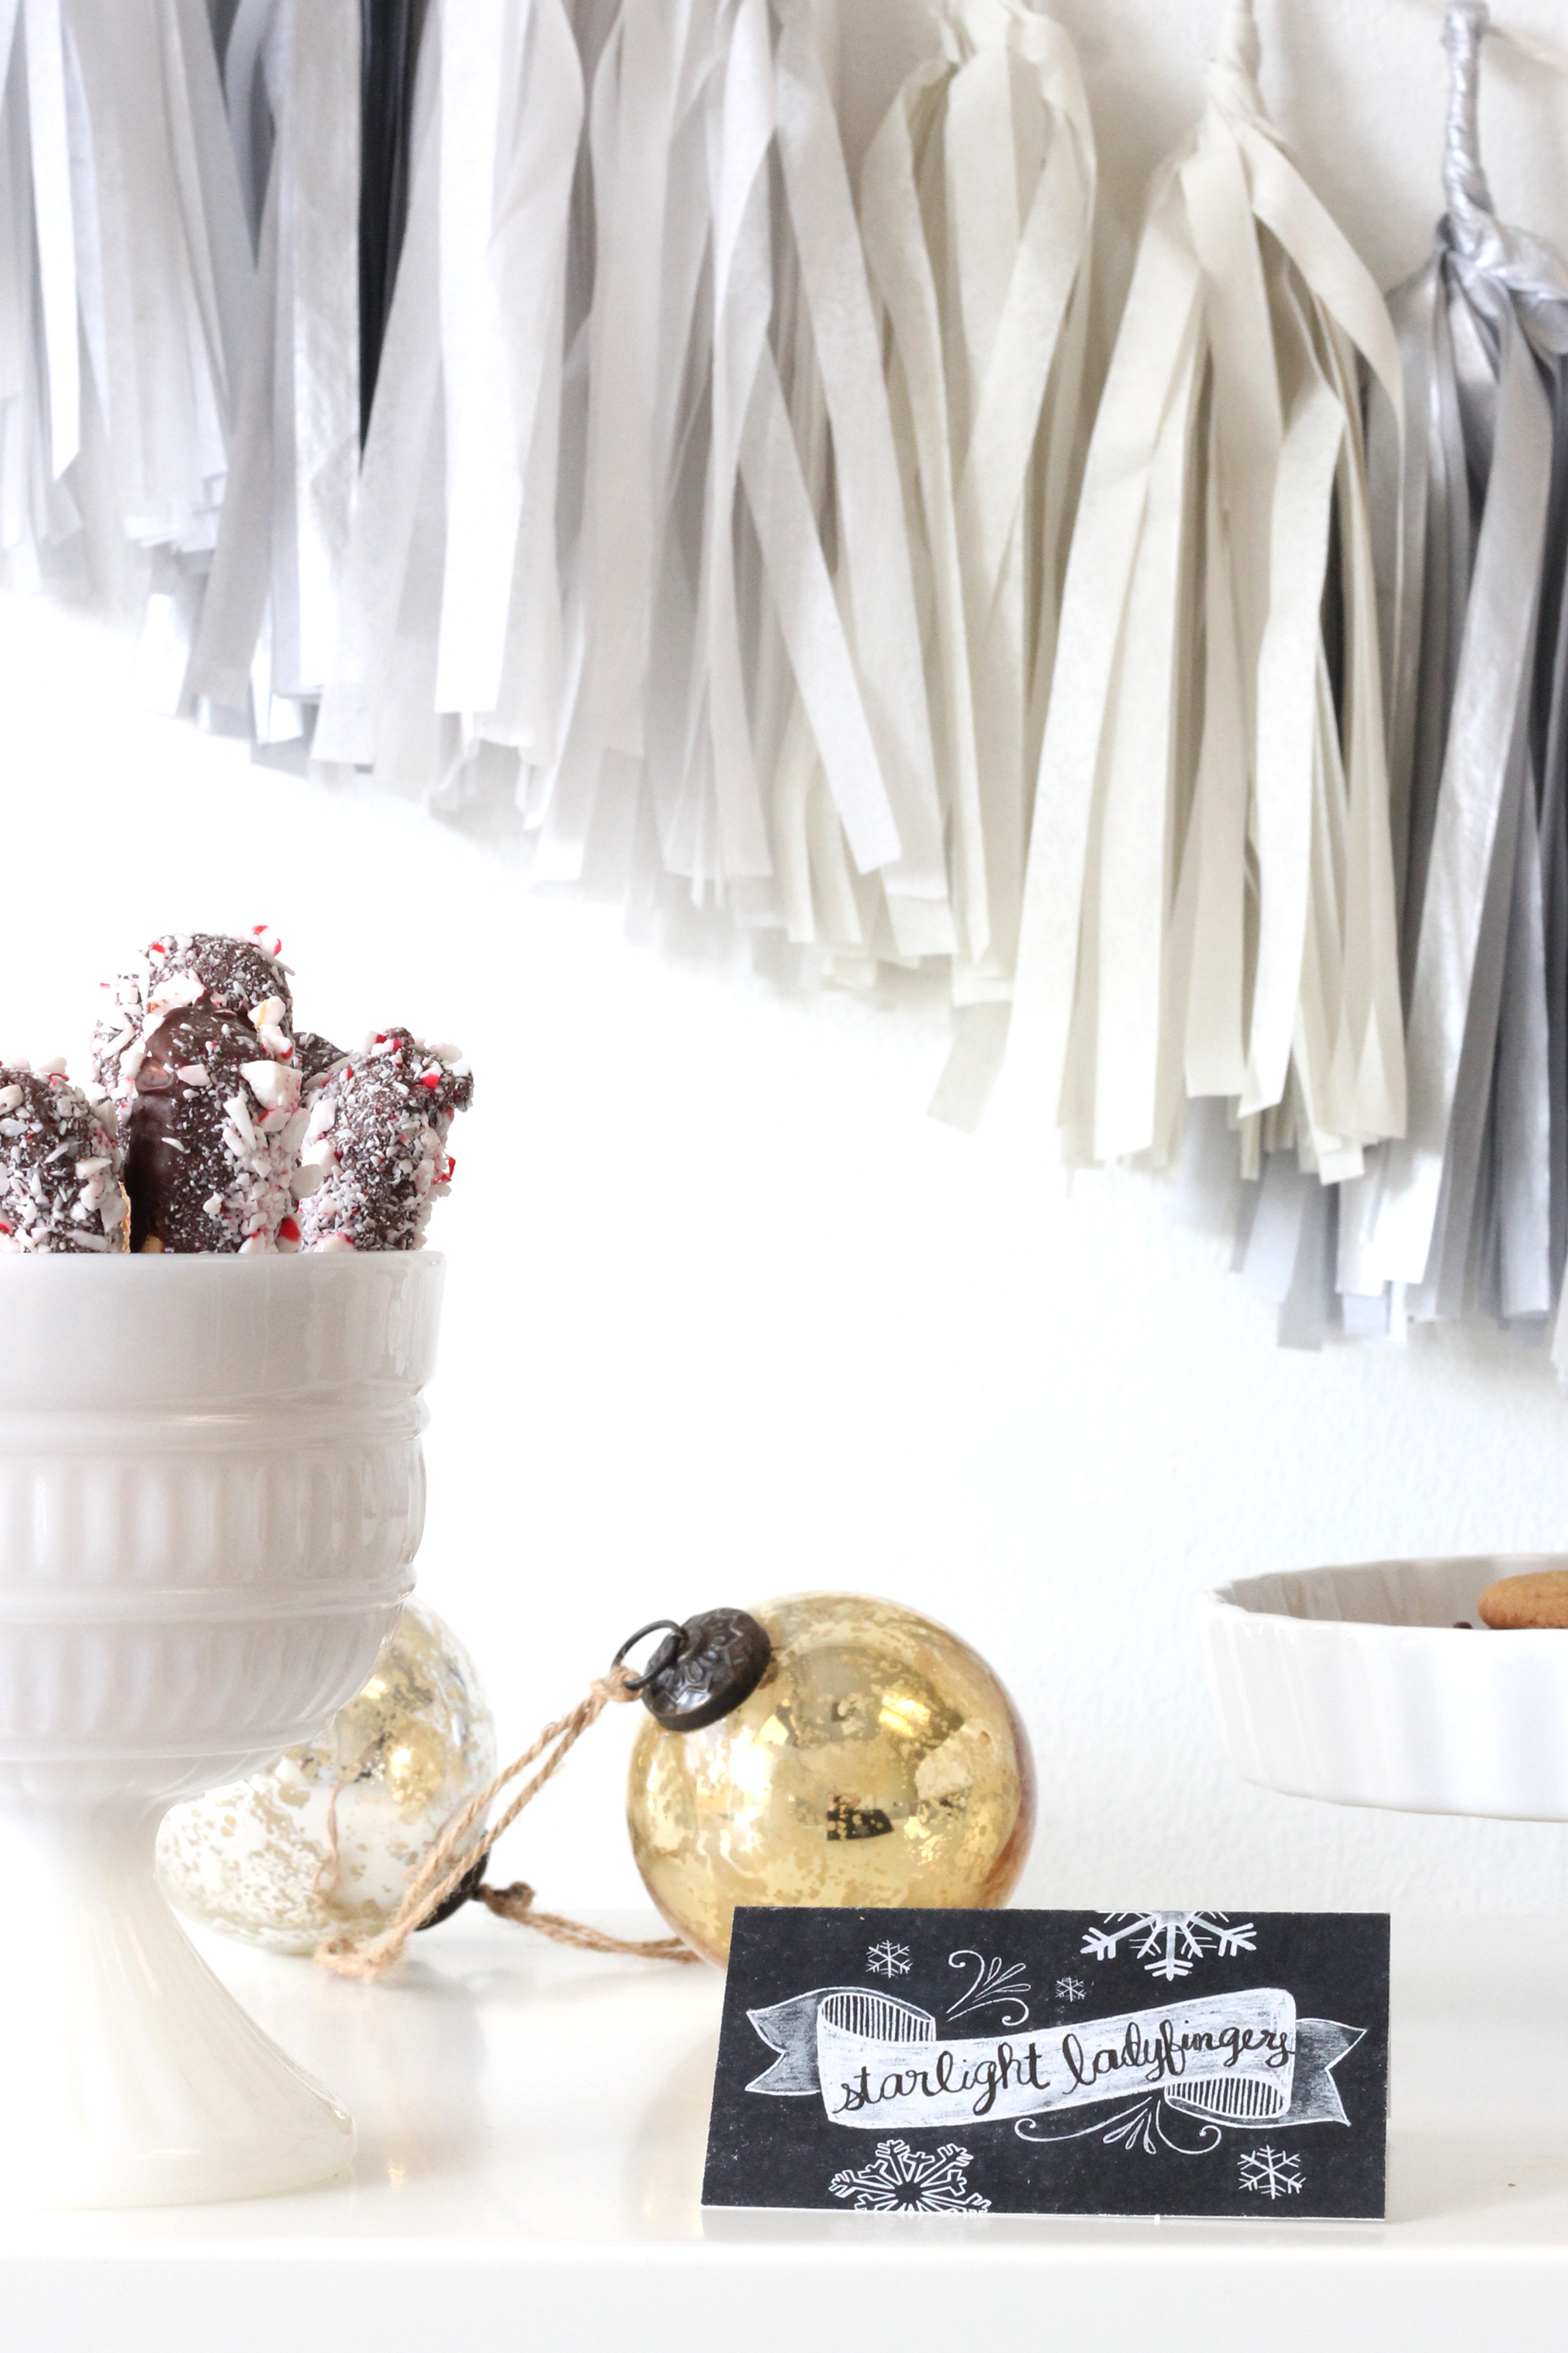
- 1. Lean a framed L&V Christmas cookie print on the table and string a Flair Exchange tassel garland behind the table. This is the base for an elegant, pretty cookie display! If you wish, add a few sparkly ornaments for a festive detail.
2. Set out cookie plates, trays, and tented labels marking each cookie type. We created a chalk art cookie label that will coordinate with the sign and decor! Simply, download the file, print out on cardstock, and cut them out. Use a sharpie to letter the name of the cookies into the white banner.
3. Also on the table include small white bakery boxes with red twine for guests to fill up and take home their cookies.
4. Enjoy the party and all the delicious cookies!







No Comments