At the time we were starting our brick and mortar store, I had this dream of an antique letter writing desk fixture filled with all types of washi tapes, pens, stickers, and stamps – all my favorite supplies! These supplies could be used on Lily & Val cards to address and decorate the envelope right there in the store! I had never seen anything like that!
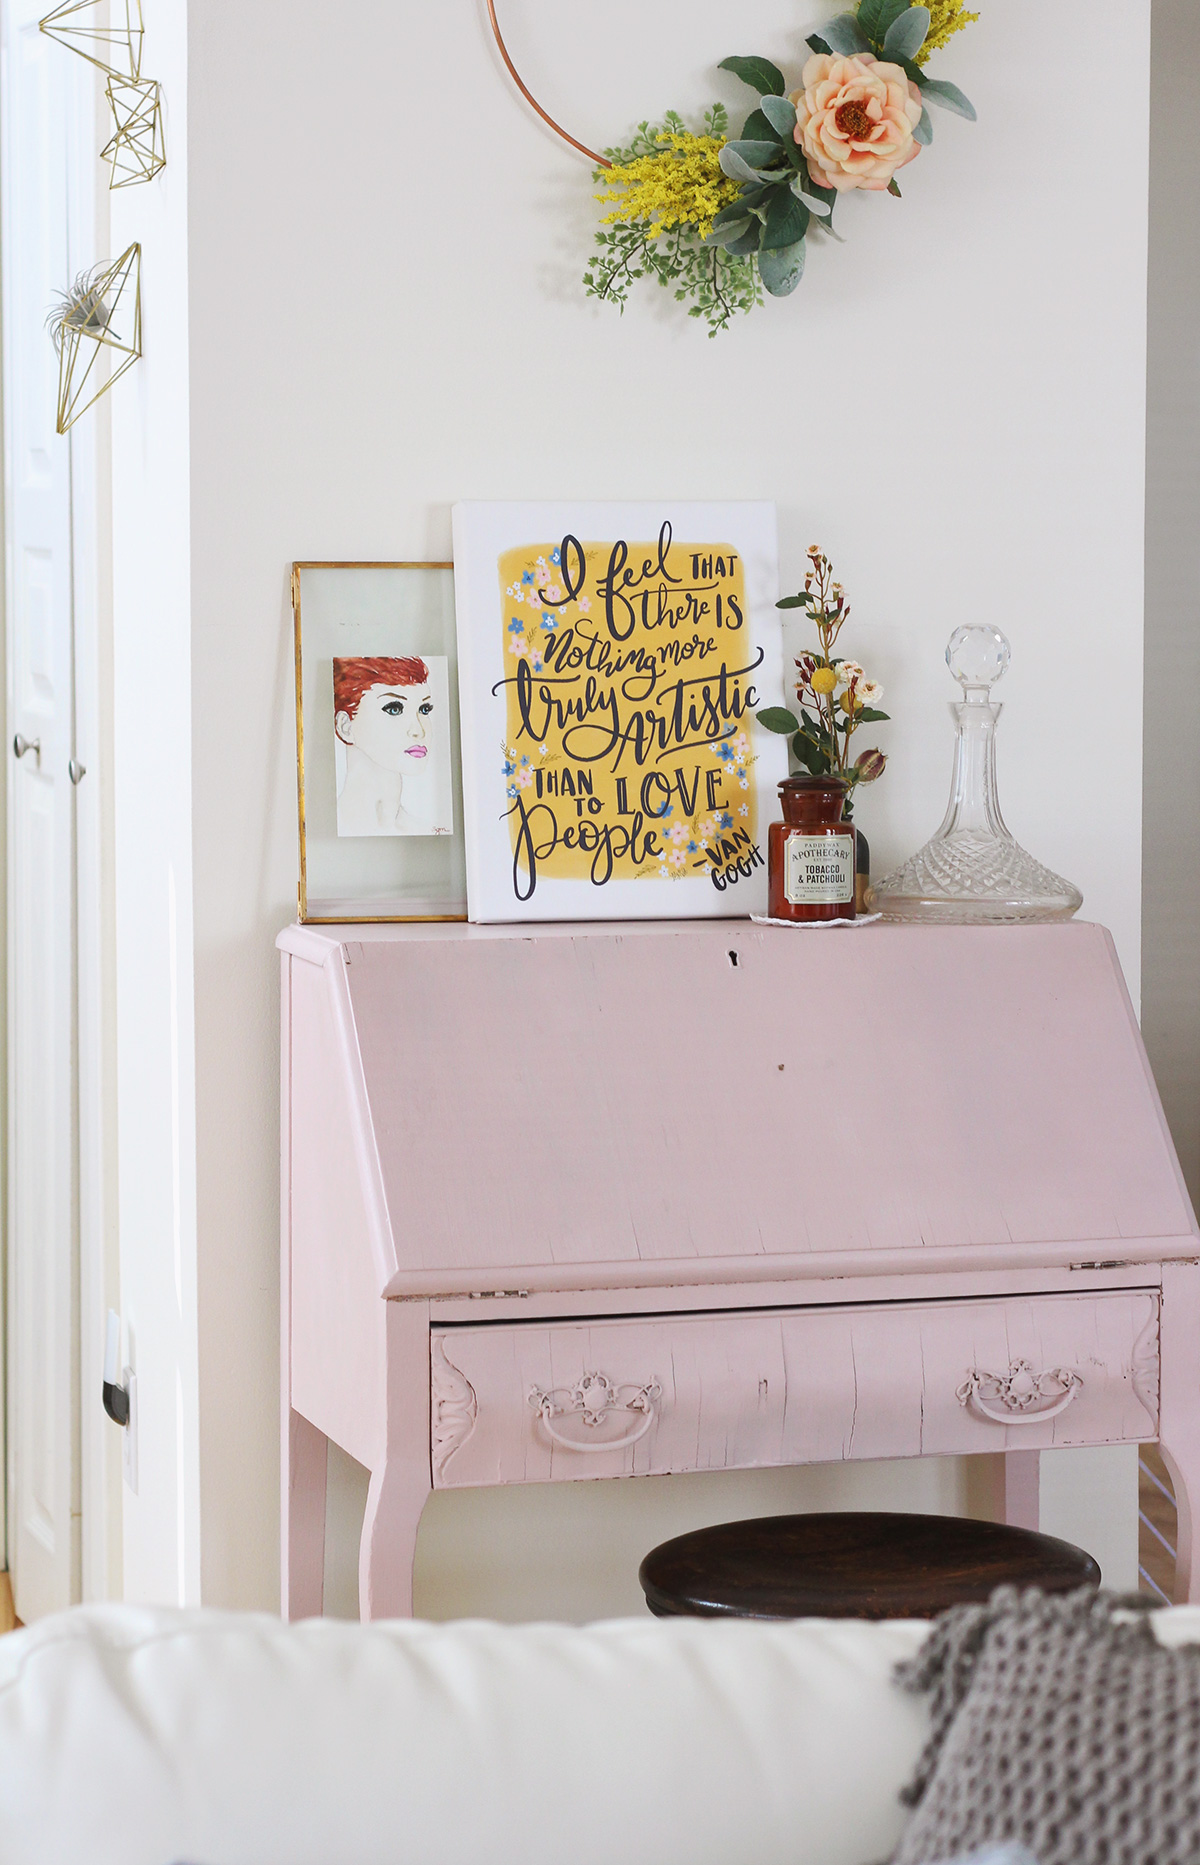
My dream came to life when we found this old desk, refurbished it, painted it pink, filled it up with snail mail goodies, and called it The Sign & Seal Station. It was my favorite part of the store! In February of this year, we made the tough decision to close our brick and mortar store in order to re-focus (you can read more about it here) and my heart couldn’t bear the idea of letting go of this piece!

So… here it is. The Sign & Seal Station now part of my home in the living room. I treasure this piece because of the history and memories, but it’s also incredibly functional! As part of National Letter Writing Month, I wanted to share it with you plus give my tips and ideas for setting up your own version of a “Sign & Seal Station.”
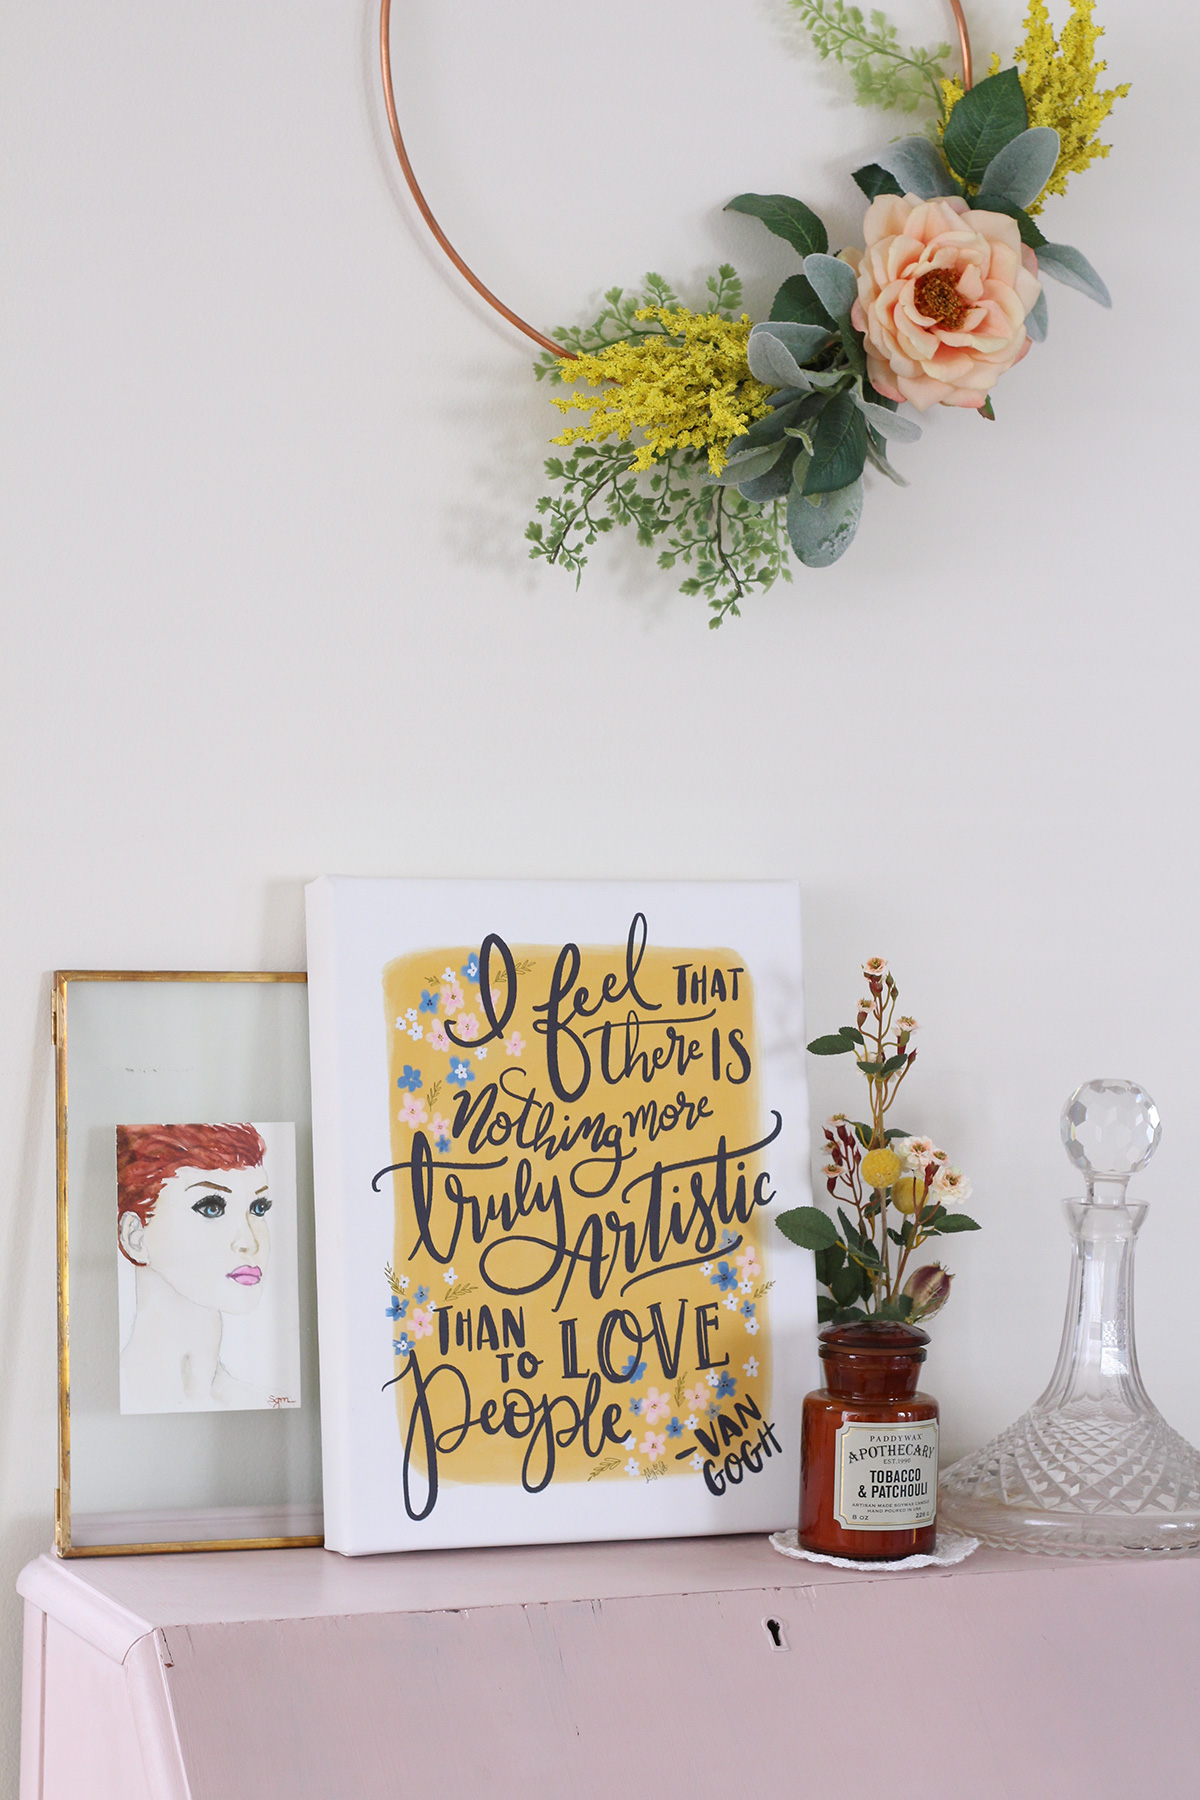
An antique letter writing desk is not required for putting together a spot for your favorite letter writing supplies to live! Perhaps you have a spare drawer in your desk or even a wire basket.
Getting organized is one of my top tips for sending more handwritten cards and letters! Having all your supplies in one easily accessible place will help tremendously.
Once you have your designated area for supplies, here are some suggestions to fill it with:


The Forgotten Extras:
You’ve got your cards and envelopes (the obvious things), but here are some of the little things that are often forgotten, but extremely helpful to have on hand.
- Scratch paper: For testing pens and getting your wording just right before moving to the card
- Extra envelopes: Mistakes are bound to happen!
- White out: See above
- Pencil, eraser, and mini sharpener: This is especially needed if you plan to get creative with your envelope addressing! You can sketch the layout then erase your guide marks.
- Stamps: I can’t tell you how many times I’ve addressed my card only to realize I’m out of stamps!


The Embellishments:
Stickers and washi tape are two easy things to have on hand to quickly dress up an envelope! I love them because you can use them as decoration or as an envelope seal. I’ve never liked licking the back of envelopes! An airmail stripe is one of my favorite tapes to use.
I keep my washi tape in mason jars because I think they’re so pretty and I want to display them!
I also have a few go-to rubber stamps that say things like “Vintage Email” and “Snail Mail Par Escargot” from Wit & Whistle. I just use a black ink pad so it goes with everything. The designs are simple enough to not overpower the addressing but just add a cute touch.
The Pens:
Oh, pens! You can never have too many! My ultimate favorite is Tombow Dual Brush Pens. One end is a flexible brush point for creating brush lettering and the other end is a fine point. (For this reason, Tombow Dual Brush Pens will be included in our upcoming Snail Mail Surprise Box and I’ll be sharing more envelope addressing ideas using the pens later this month.)
I also keep my desk stocked with gelly roll pens. I use white and metallic the most. These are especially great for addressing dark colored envelopes.
For the interiors of my cards and letters, I like using Tombow Mono drawing pens, micron pens, and Le Pens.


This station has already been so helpful to me when I’ve needed to send a card! Just having everything in one place has really helped make it more convenient and fun to use. I hope these tips and ideas inspire you to create a little station of your own!
For more snail mail goodies, check out our Lily & Val Loves post.
Also, be sure to check out our 5 reasons for sending more handwritten letters!

Happy Letter Writing!



No Comments