 How are those New Years resolutions coming? Mine were forgotten sometime in early February. There were a few overarching goals I had though that stuck with me – to follow my word of the year (I chose persist) and get organized. That’s why I decided to start a bullet journal – keep my goals on track through Spring.
I’ve just begun this super popular organization method, so learn with me!
What You’ll Need for a Bullet Journal
- Blank, dotted or grid-lined journal (makes it easier to customize)
- Pen or fine-tipped marker
- Ruler (optional)
That’s it – seriously!
Step One – Create a System
The Bullet Journal was created to be a simple, efficient way to organize tasks with the staple of the system being – wait for it – a bulleted list.
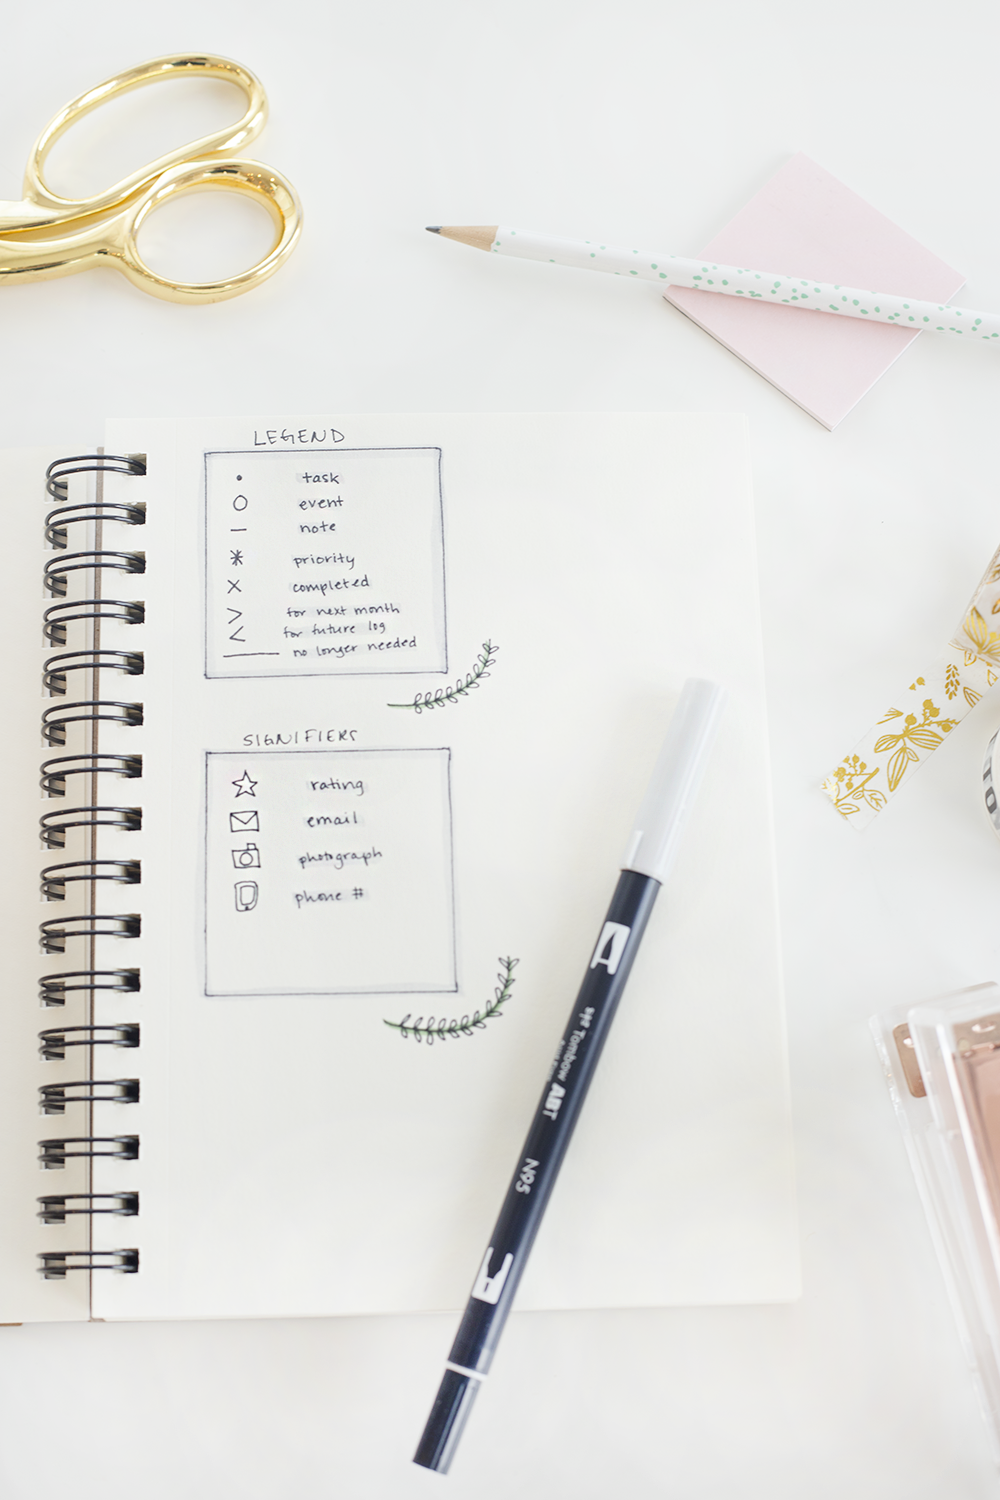
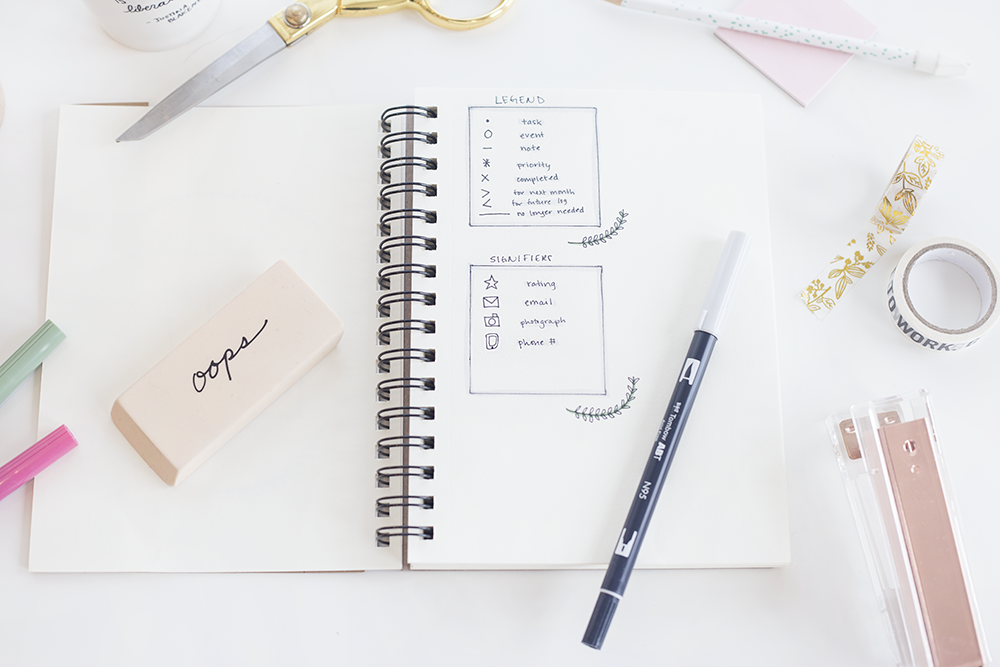
Getting familiar with the Bullet Journal system is the first step to creating your own, unique way to categorize your to-do list. The main identifiers (that I wrote under my “Legend” section) are:
- Tasks – denoted by a bullet
- Events – denoted by an open circle
- Notes – denoted by a dash
- Priority tasks or events – denoted by an asterisk
- Completed tasks – denoted by an X
- Next month’s tasks – denoted by a right arrow
- Future tasks – denoted by a left arrow
- Obsolete tasks – denoted by a strikethrough
Signifiers are extra markers that you can add to customize your system. I made a few shorthands for symbols I plan to use a lot, such as email and phone numbers.
My system is on the first page of my Bullet Journal so I don’t forget!
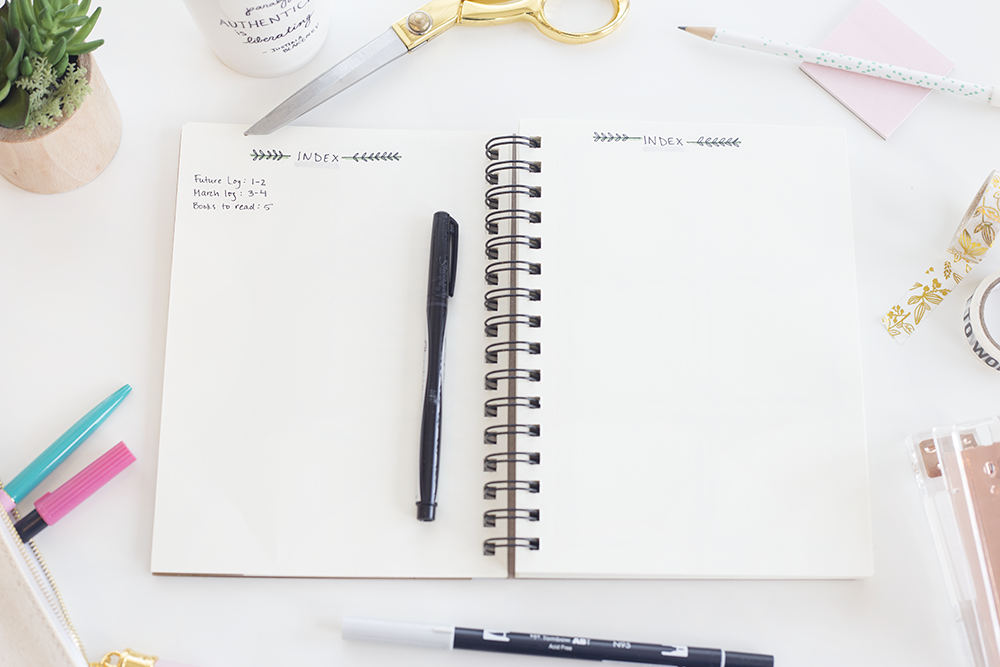
Step Two – Prepare Your Index
The index section is the first blank spread in your journal (after the legend) and lets you organize your pages. When you create a new collection, number your pages and write those numbers in your index.
According to the Bullet Journal website, the first two entries in your index should be the Future Log and the Monthly Log, which are explained by a video here.
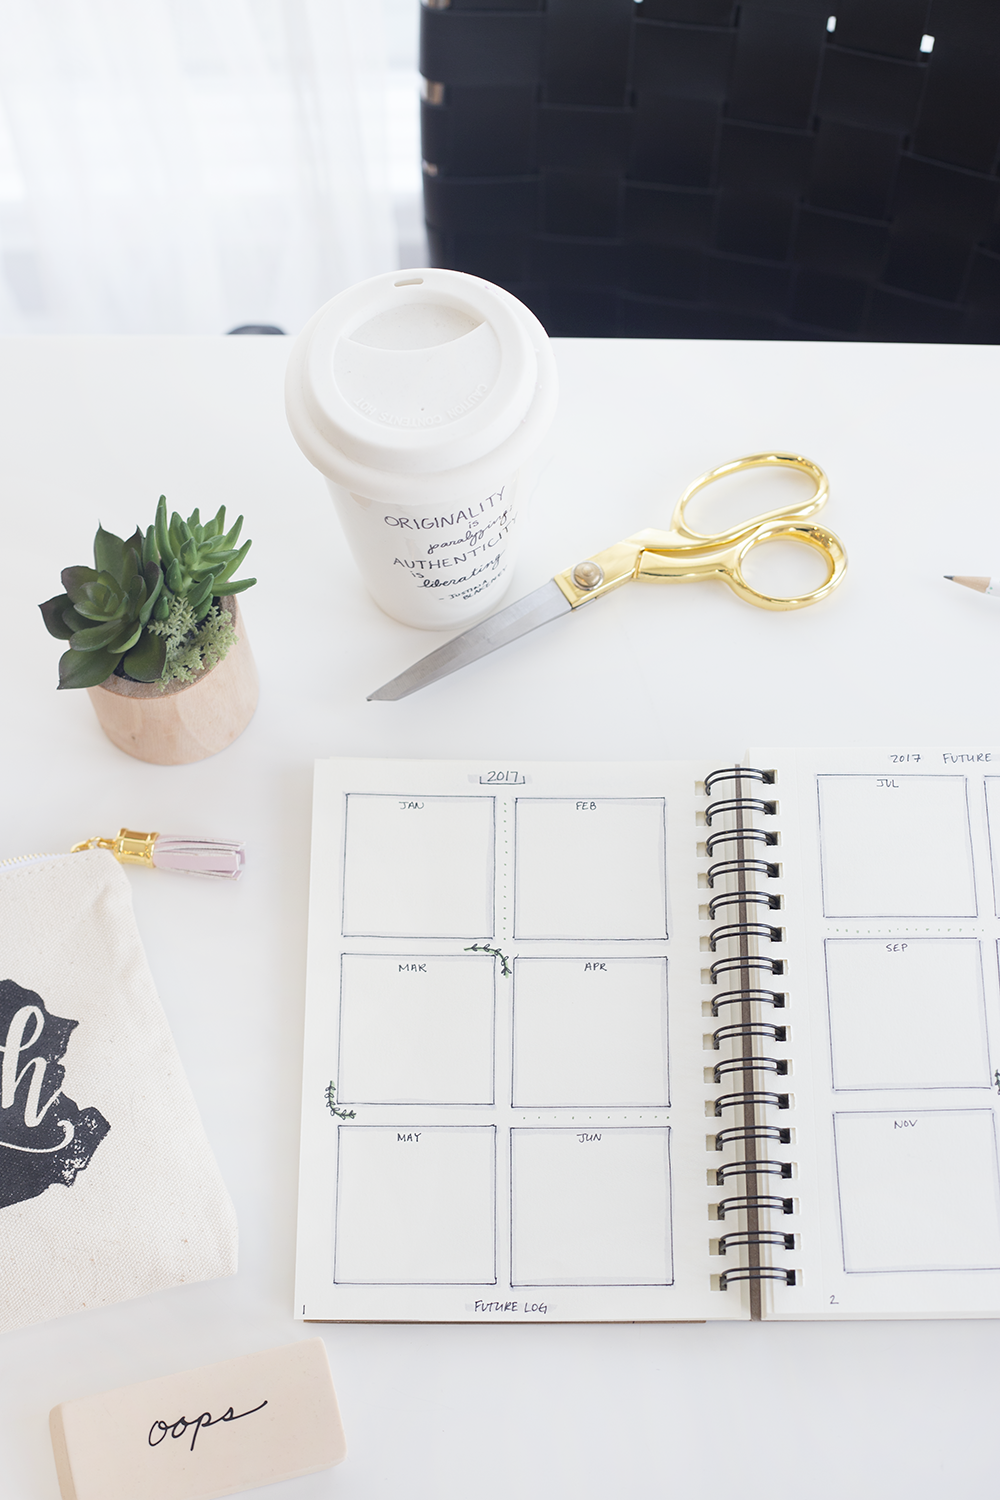
Step Three – Plan Out Your Future Log
The Future Log is where you plan out tasks due months from now and keep track of them at a glance. You can move tasks you don’t complete on a monthly level to whenever you need them again in the future.
I created my Future Log by turning to my second open spread and drawing out six boxes per sheet by tracing a stack of mini Post-It notes. Don’t forget to number your pages and write them in the index!

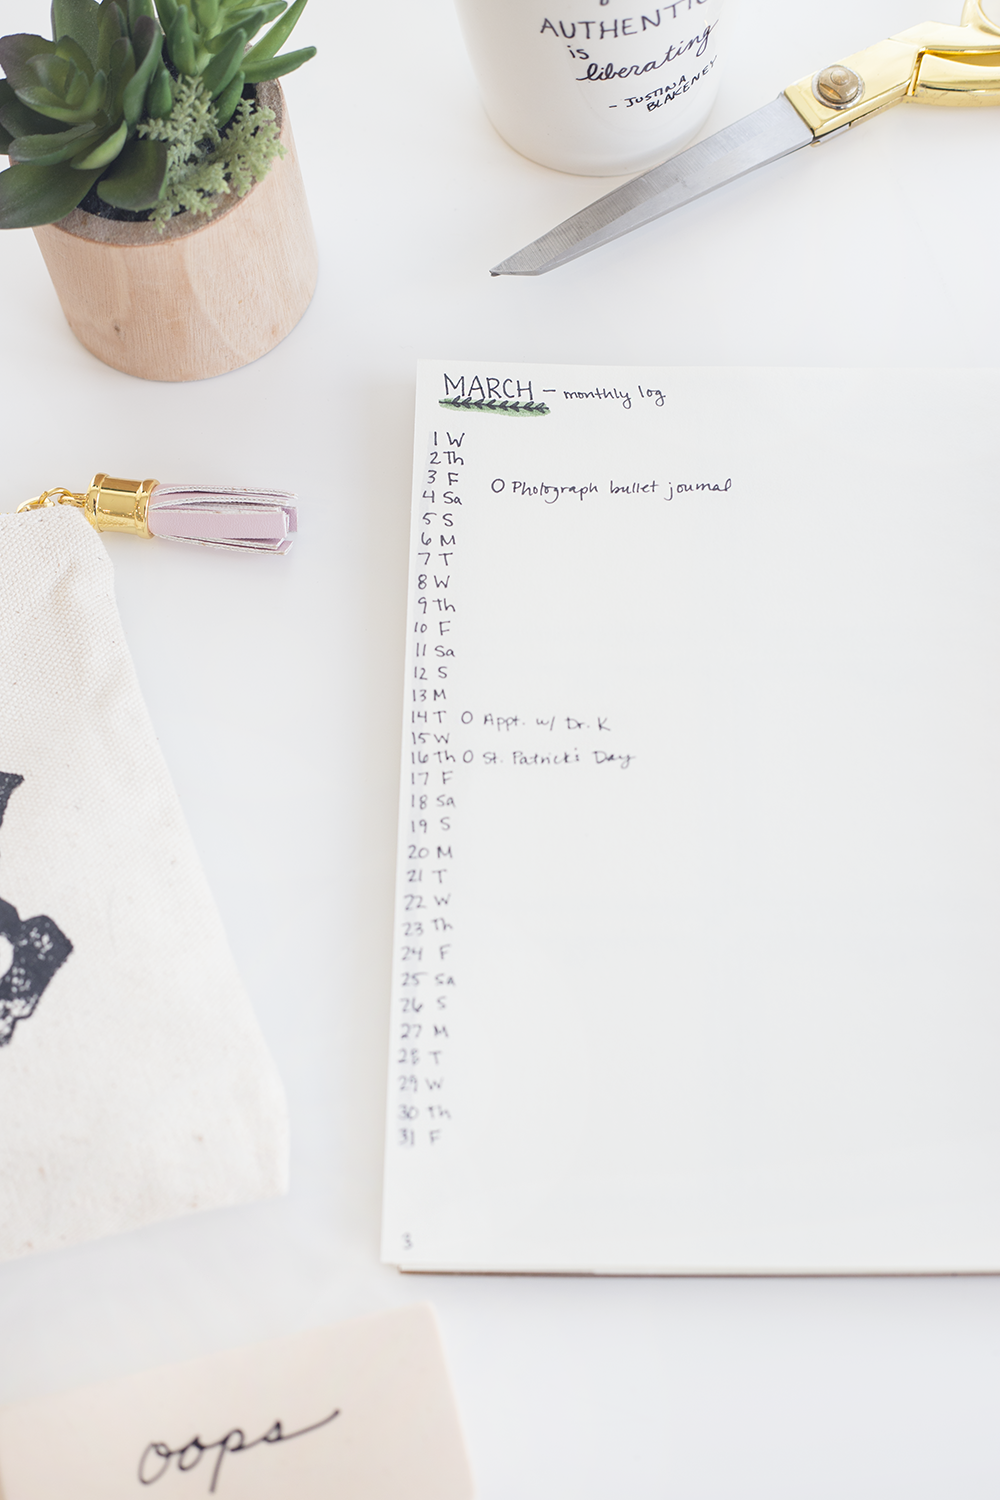
Step Four – Write Out Your Monthly Log
After your Future Log, open a blank spread to start your first monthly log. I began with March since that’s when I started my journal.
The first page of the Monthly Log has all the dates of the month written down in a straight line with the day of the week next to the corresponding date. This is where you jot down any events or holidays for that month.
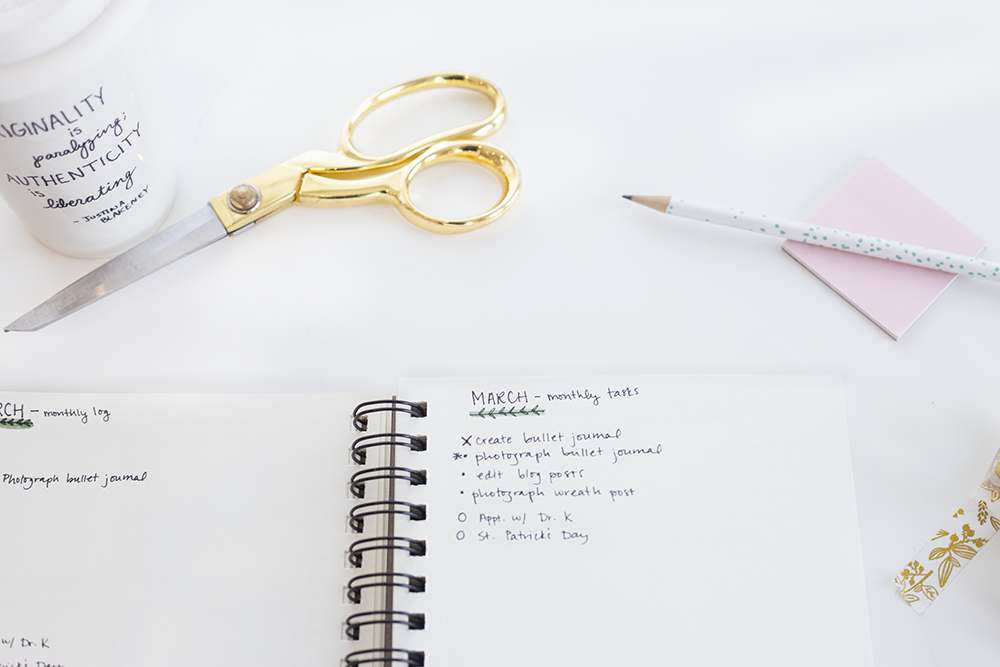
The second page of the spread is your monthly task list – this is where you use the system you created in step one. Mark to-do tasks with a bullet and cross them out with an X once completed, or, if you need to move it to the next month, put a right arrow next to it and make the task a new bullet in your next monthly task list.
Step Five – Make it Your Own
Feel free to have as much fun with your Bullet Journal as you want! I follow this blog on Tumblr for endless inspiration and Pinterest is great for this as well.
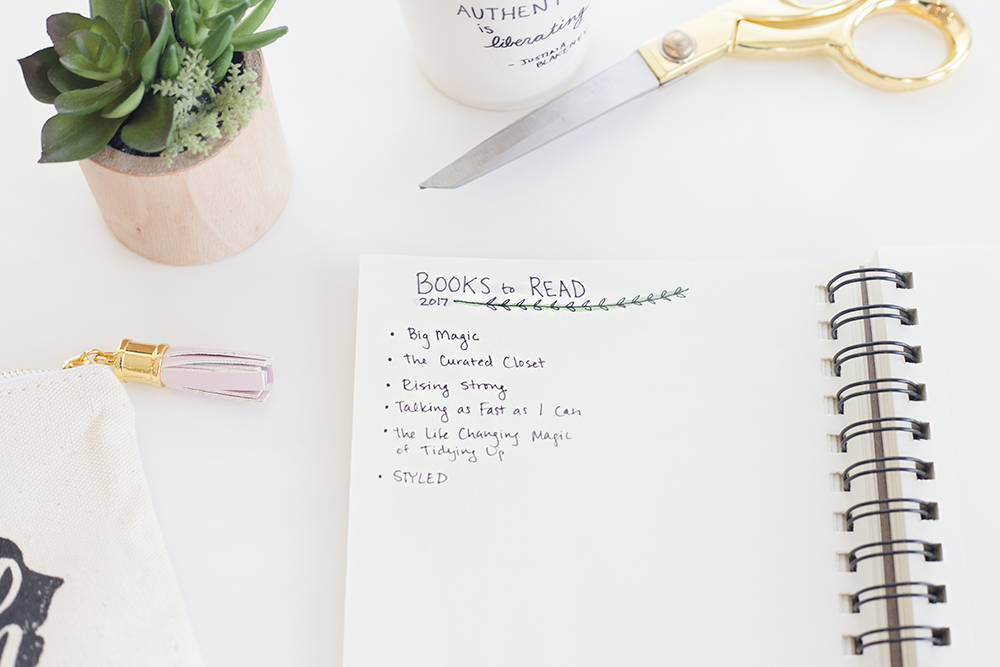
There are so many things I can’t wait to log, such as books I want to read (and what rating I give them), places I want to travel, and movies I want to see. You can keep your journal minimal or draw all over it – it’s totally up to you! That’s what’s great about the Bullet Journal – you can adapt it to however you best feel organized.

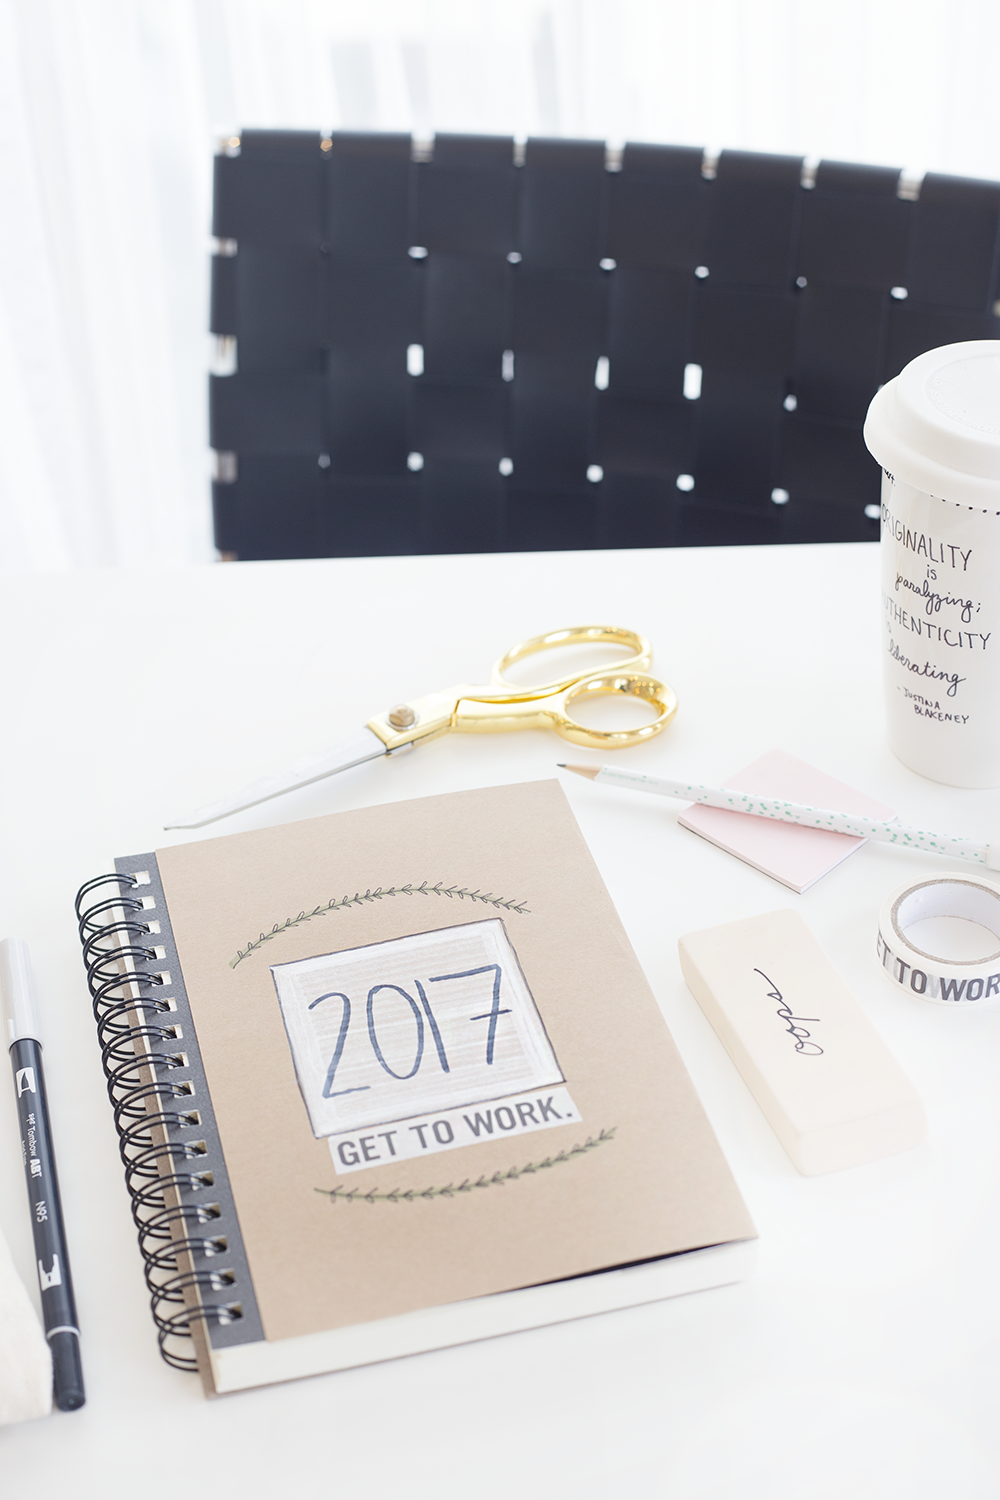
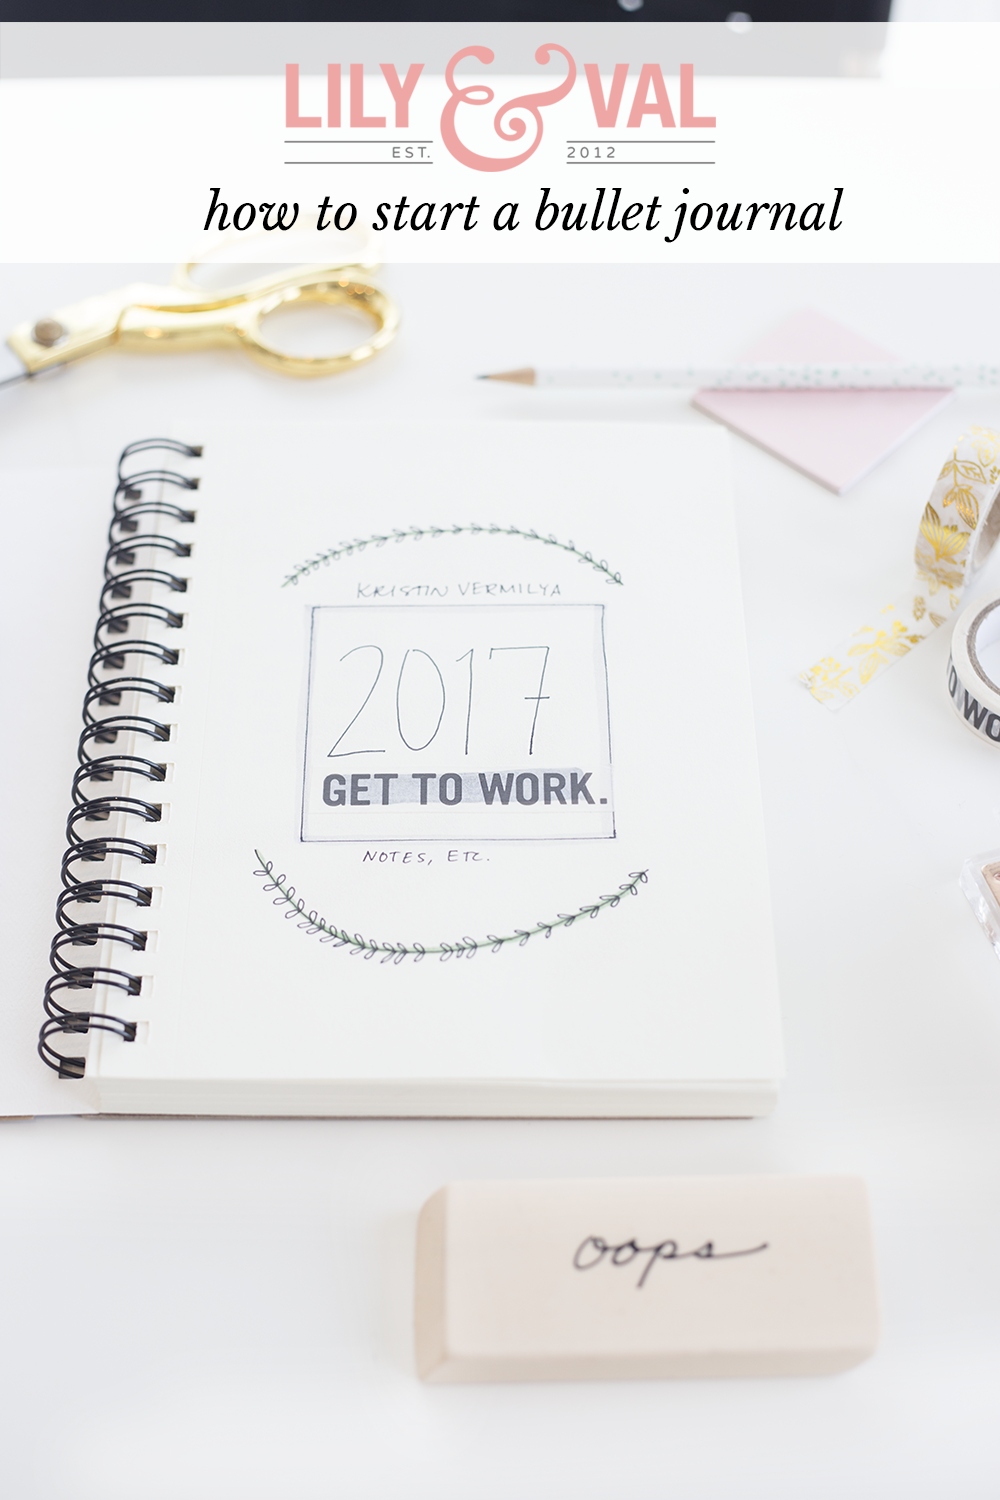 I customized my journal by taping kraft paper to the front and doodling on it since I’m not much of an artist in the drawing arena. I love my washi tape from Get to Workbook though! It’s like a little sticker kick in the butt.
Be sure to check out the video from the Bullet Journal website to see how everything works in motion! I’m excited to keep myself organized now, which is a big feat for me.
Have you ever thought of making a Bullet Journal? Where do you go for inspiration? Let us know in the comments and show off your journals on Instagram with #lilyandvalliving!


No Comments