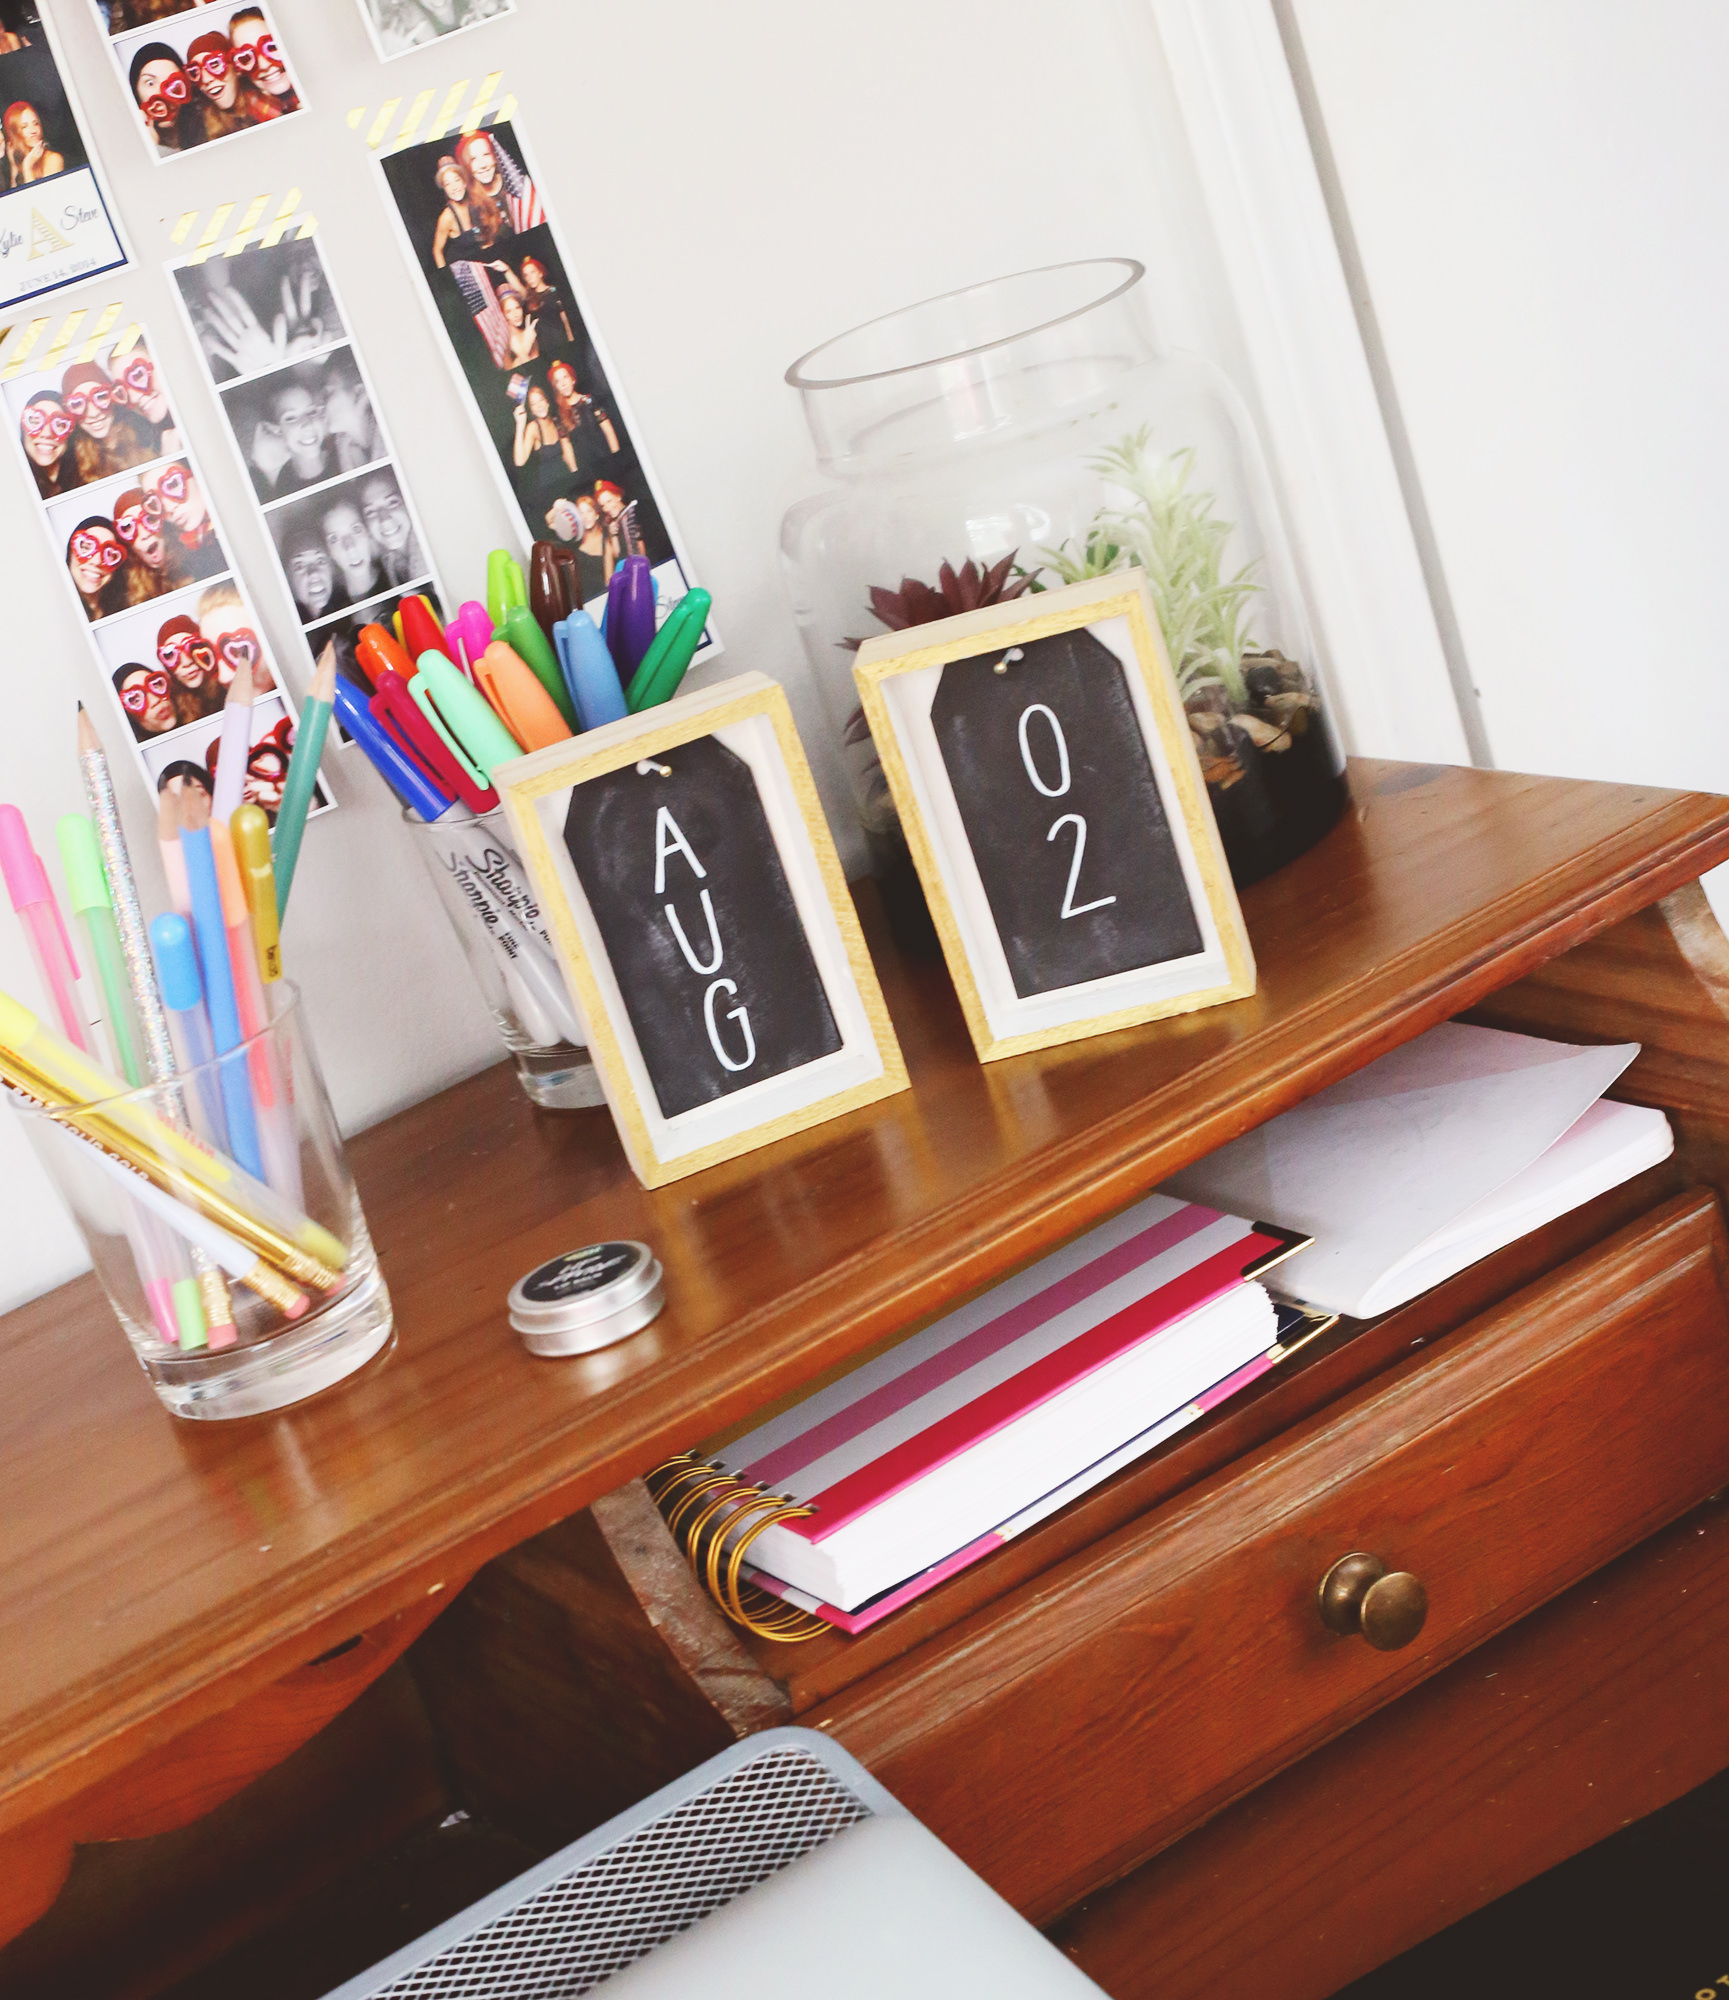
We’re all about desk accessories- even better when they’re practical! This fun little DIY is definitely one that serves a purpose and also adds some style to your office space. We took our love of chalk art and turned it into a calendar for your desk!
What you’ll need:
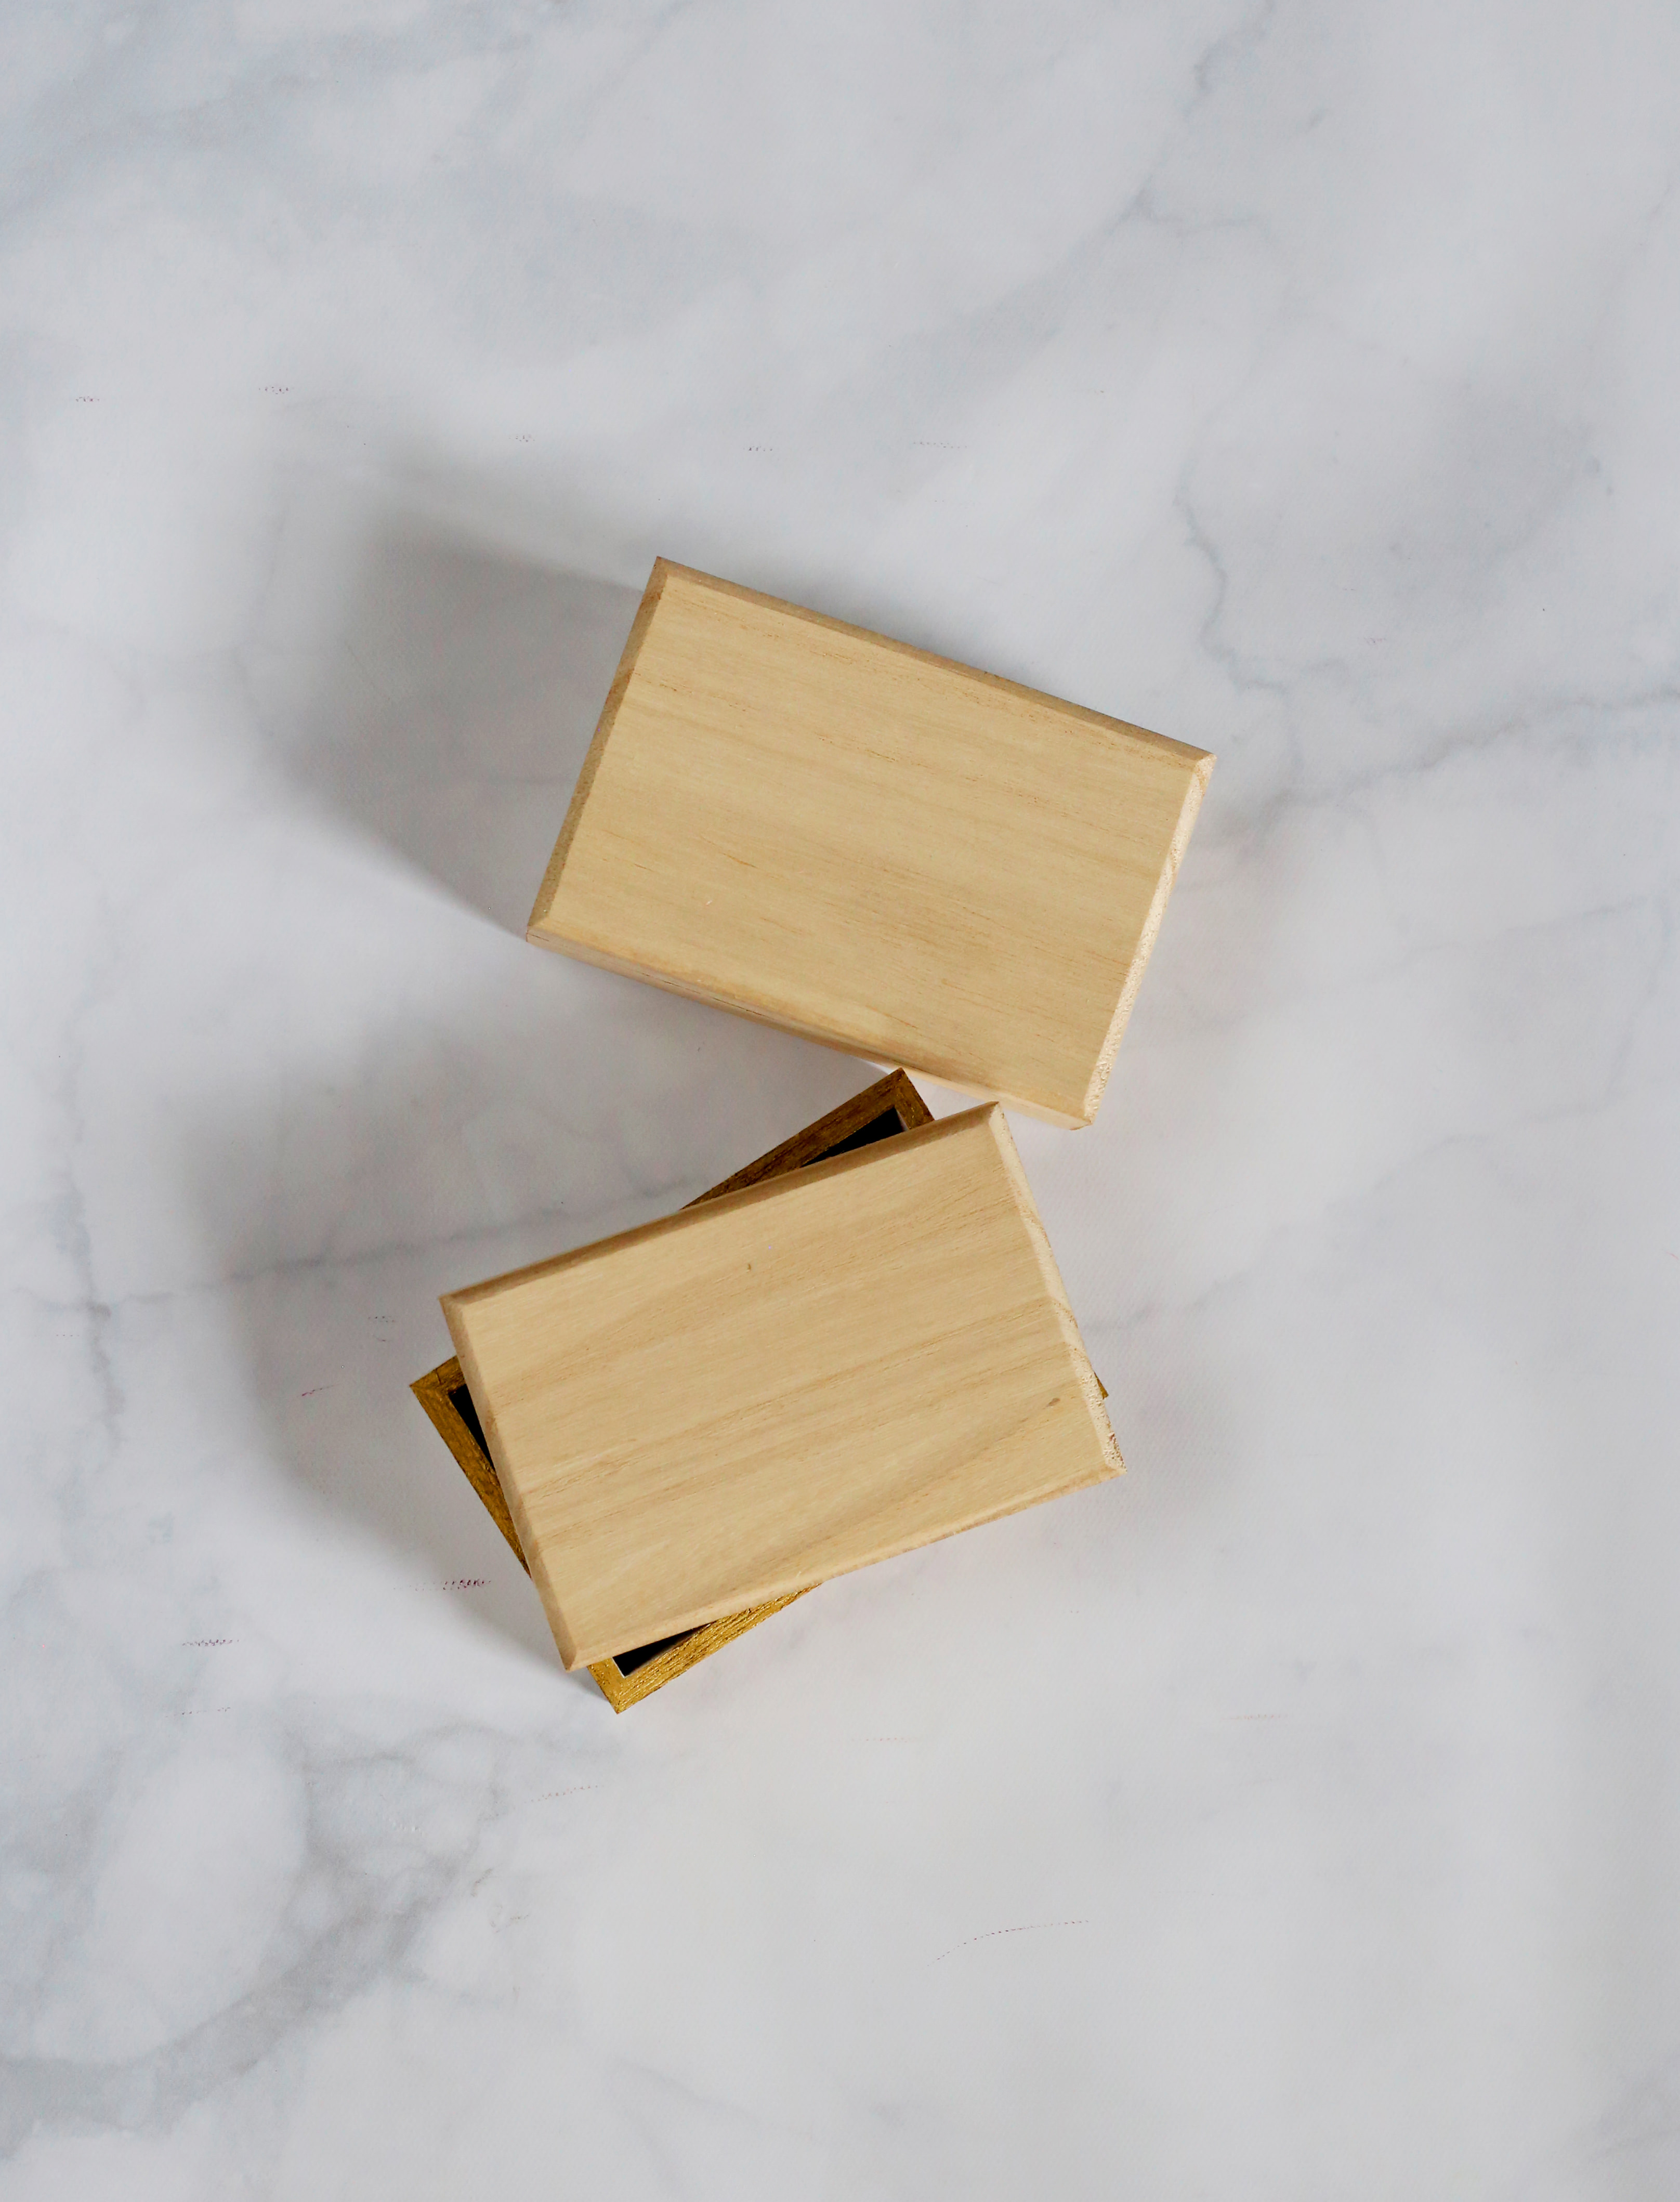
– Two small, plain wooden boxes (with or without lid)
– Chalkboard or black gift tags (you could make your own with card stock and a hole punch too!)
– White gel pen
– White chalk
– Two small nails
– White and gold acrylic paint
First, remove the lids of your wooden boxes. What’s left is the frame for your calendar tags! I found these wooden boxes in the craft section of Walmart and thought they would make a perfect frame for this DIY!
Next, paint the inside of the boxes white so the black tags stand out and look more styled. I also added gold paint to the edges because gold makes everything prettier!
Next, make sure those black tags fit into your boxes. I had to trim mine a little so they would be a perfect fit.
After that, write out all twelve months on your black tags and a tag for every day (up to 31). I used a white gel pen and once that was dry, I ‘seasoned’ the tags with white chalk to give them a chalkboard feel! So cute!
Then, hammer a nail to the top of each of the boxes for the tags to hang on!
Voilá! Your DIY desk calendar is finished! You could glue the boxes together, but I really liked they way they look next to each other. This is a fun, interactive calendar that adds a decorative touch to your office space!
We love this DIY idea because it only takes a few steps and you can make it your own by painting the wooden box any color/style you want!
Photos courtesy of Jenny Poe









1 Comment
Such a cute calendar and easy.