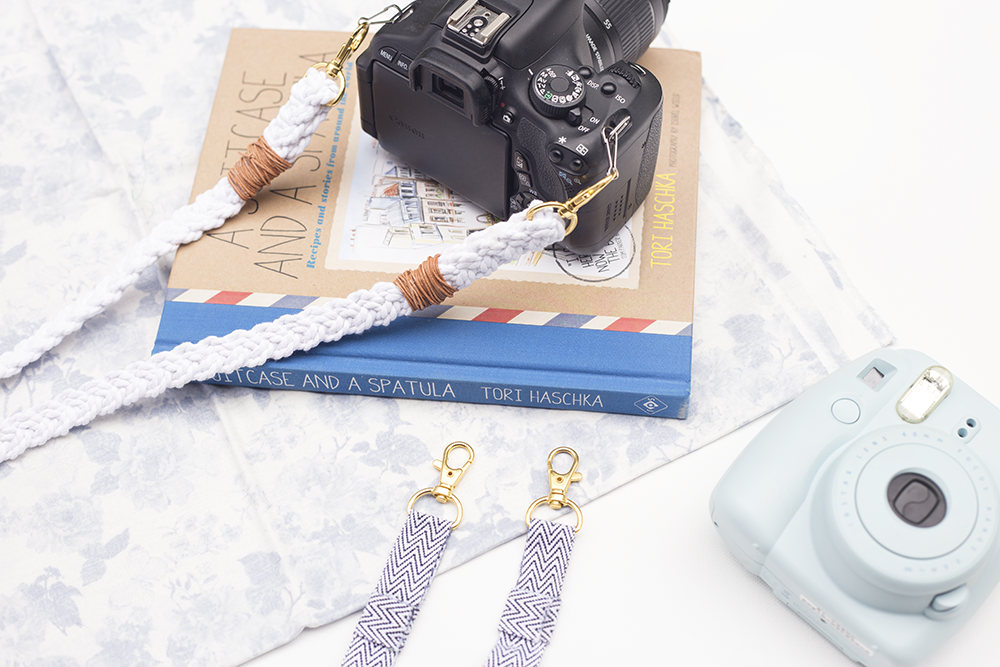
 I love photography, of course, but one of my favorite kinds is travel photography (isn’t travel grand? We love it here at L&V). It lets me bring home all the memories I make somewhere else. And actually, I just got back from a week-long trip to London (!!) and wanted to share a DIY camera strap I made specially for my adventure!
Whenever you take your camera with you during travel, it’s important to remember that a giant “Canon” or “Nikon” logo emblazoned across your camera strap is basically a bat signal for someone to mug you for your fancy equipment. To help avoid this, I like to make sure when I go somewhere new and unfamiliar, I have my own camera strap that doesn’t make me a target.
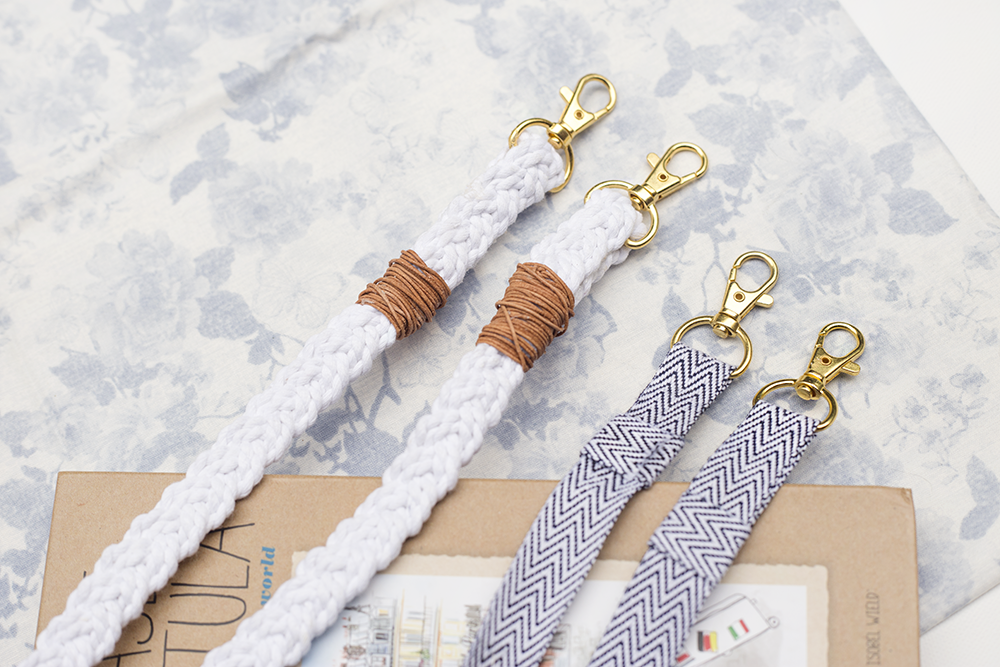
I fell in love with the idea of a white rope strap and wanted to try to make one myself! Below you’ll see how I made the white rope strap pictured as well as a simpler version that doesn’t require cording.
 Supplies for Your DIY Camera Strap
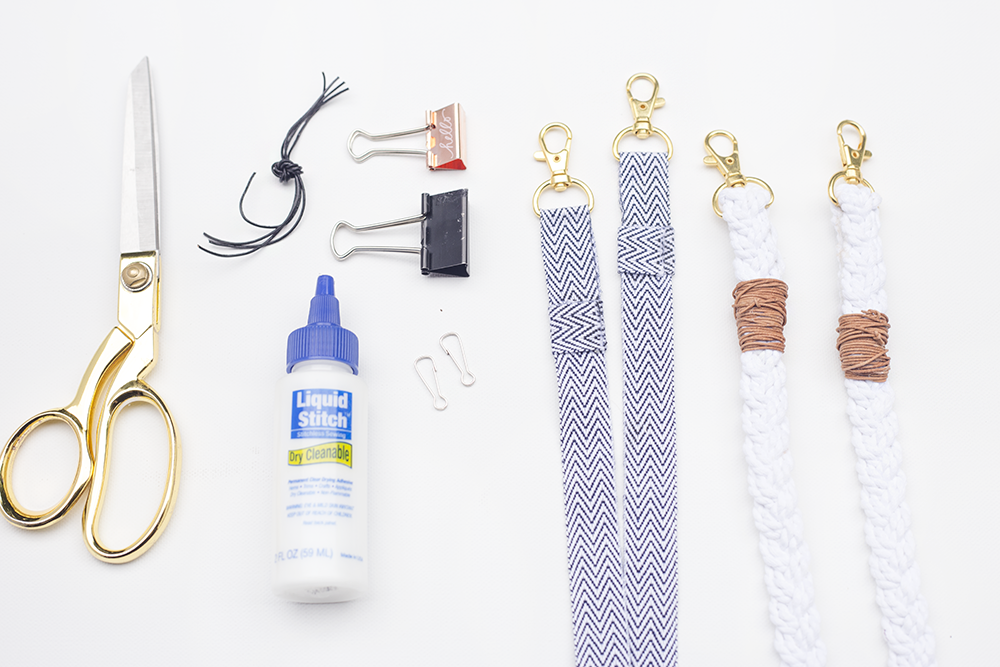
To make either (or both) of these straps, you’ll need:
- 1 yard of rope, cord, or strong ribbon
- 2 lobster claw swivel hooks
- 2 lanyard clasps
- Leather or suede cording
- Liquid Stitch or similar permanent fabric adhesive
- Binder clips
- Scissors
 Step One – Measure and Glue Fabric around Lobster Claws
For both of these camera straps, the first step is to adjust your rope length as you wear it around your neck (trimming the ends to shorten if needed) so you can gauge where your camera will sit when in use.
Once you have your desired length, slip the ends of your rope (or ribbon) through the D-shaped base of your lobster claw hooks. Only let about an inch of your rope material overlap.
Glue down the folded over rope or ribbon excess with Liquid Stitch so your lobster claw hook cannot move. You want to lay a thin strip of adhesive on both parts of your material – this will end up making a glue sandwich, if you will, where the rope or ribbon is only coated with glue on the insides.
 Step Two – Clamp and Let Dry
Once you’ve applied the Liquid Stitch, use binder clips to hold the rope/ribbon in place until it dries – this could take up to an hour depending on the thickness of the material.
The Liquid Stitch should dry slightly clear – you shouldn’t be able to see white on the outside edges of your material. Keep the binder clips in place even after the adhesive has dried so that you have a sturdy working surface for wrapping the cording around your strap ends.
 Step Three – Secure Strap with Cord or Excess Fabric
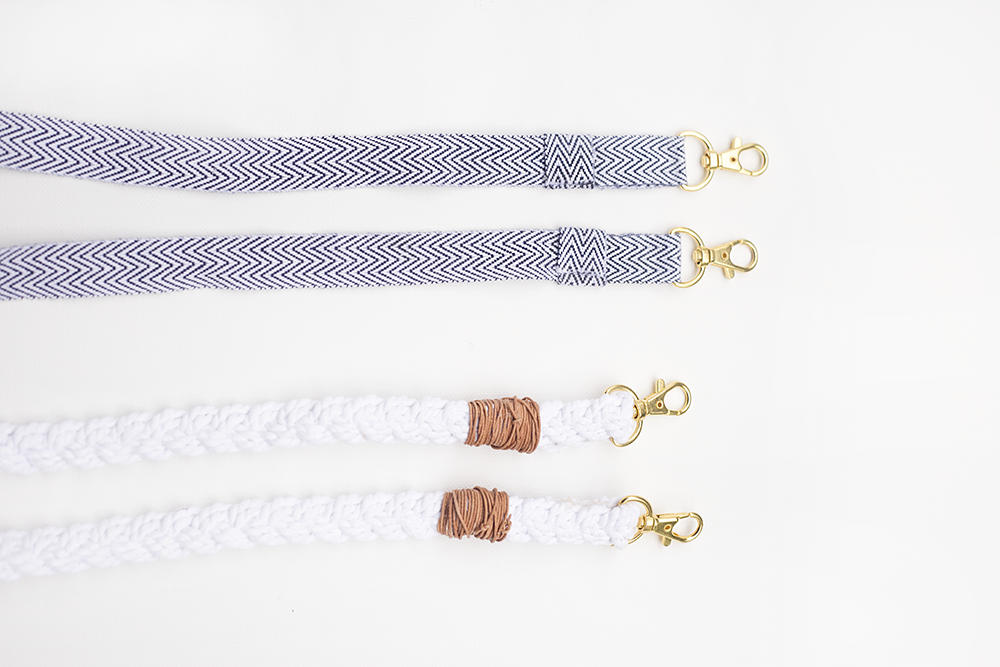
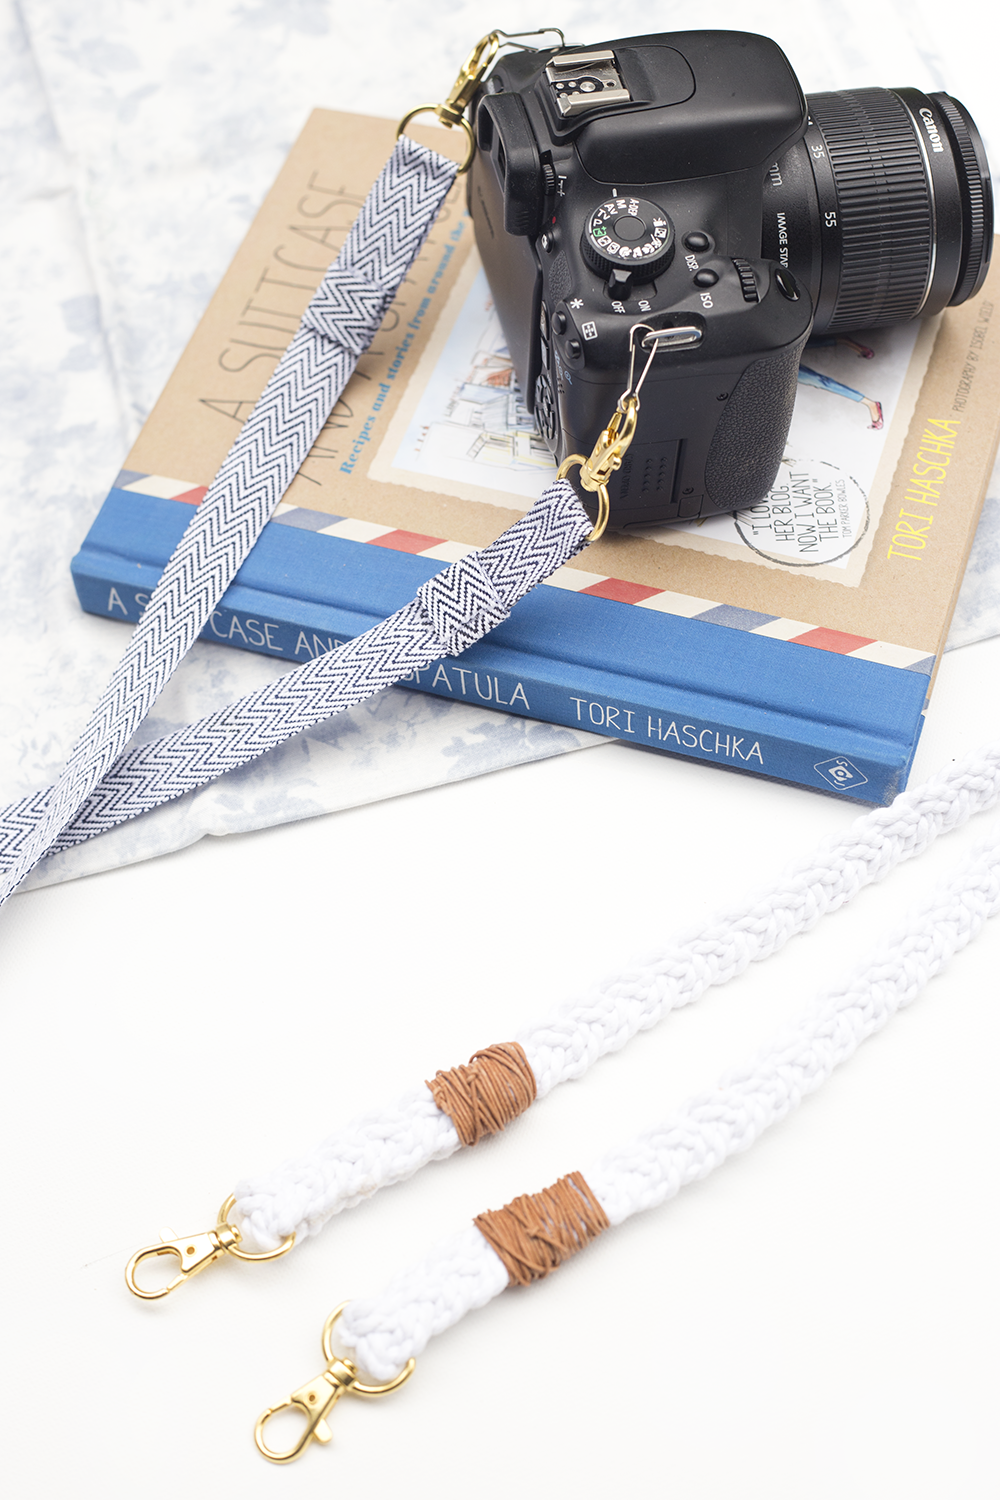
Move your binder clips right next to where your lobster claw hooks begin so you can see the edge of your overlapping material. Where this excess rope/ribbon ends is where you will use cord or extra fabric to hold it in place and add oomph to your DIY camera strap.
If you’re using leather cord (like the strap on the left in the above photo), start by tying a quick knot around the edge of your overlapped rope. Then, continue to wrap the cord around the excess material, working your way upwards towards the lobster claw hook.
Once your cording covers all the overlapped rope material, finish with another knot and glue this knot in place with a dot of Liquid Stitch.
For the simpler camera strap version (on the right in the above photo), I just used extra ribbon material to cover the edge of where my overlapped ribbon ends. I didn’t want to leave a raw edge to the ribbon and I also wanted to be sure the strap was secure. The extra material – glued down with Liquid Stitch – adds another layer of sealant so the strap doesn’t come unglued.
 Step Four – Hook Strap to Camera
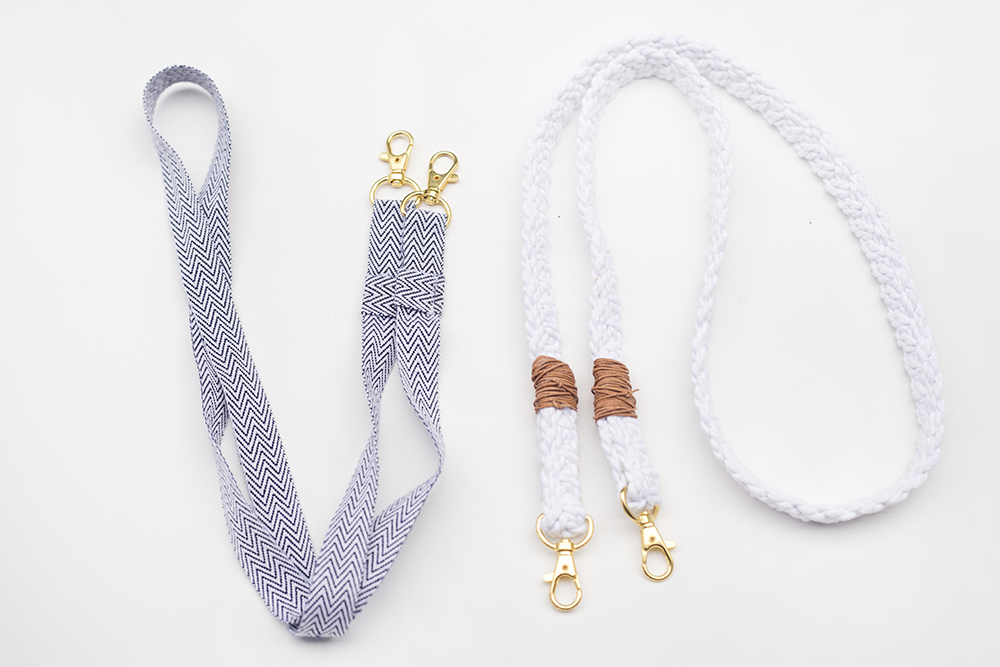
Finally, to finish off your DIY camera strap, attach two small lanyard clasps to where your camera brand straps are tied. I use these because there aren’t many types of clasps that are thin enough to fit through these rings and sturdy enough to hold the weight of my camera.
Attach your lobster claw hooks to these lanyard clasps and you’re all set! Enjoy your new DIY camera strap!
Which strap do you like better? I like the simplicity of the blue and white strap but I love the color combination of the white rope with brown suede cording.
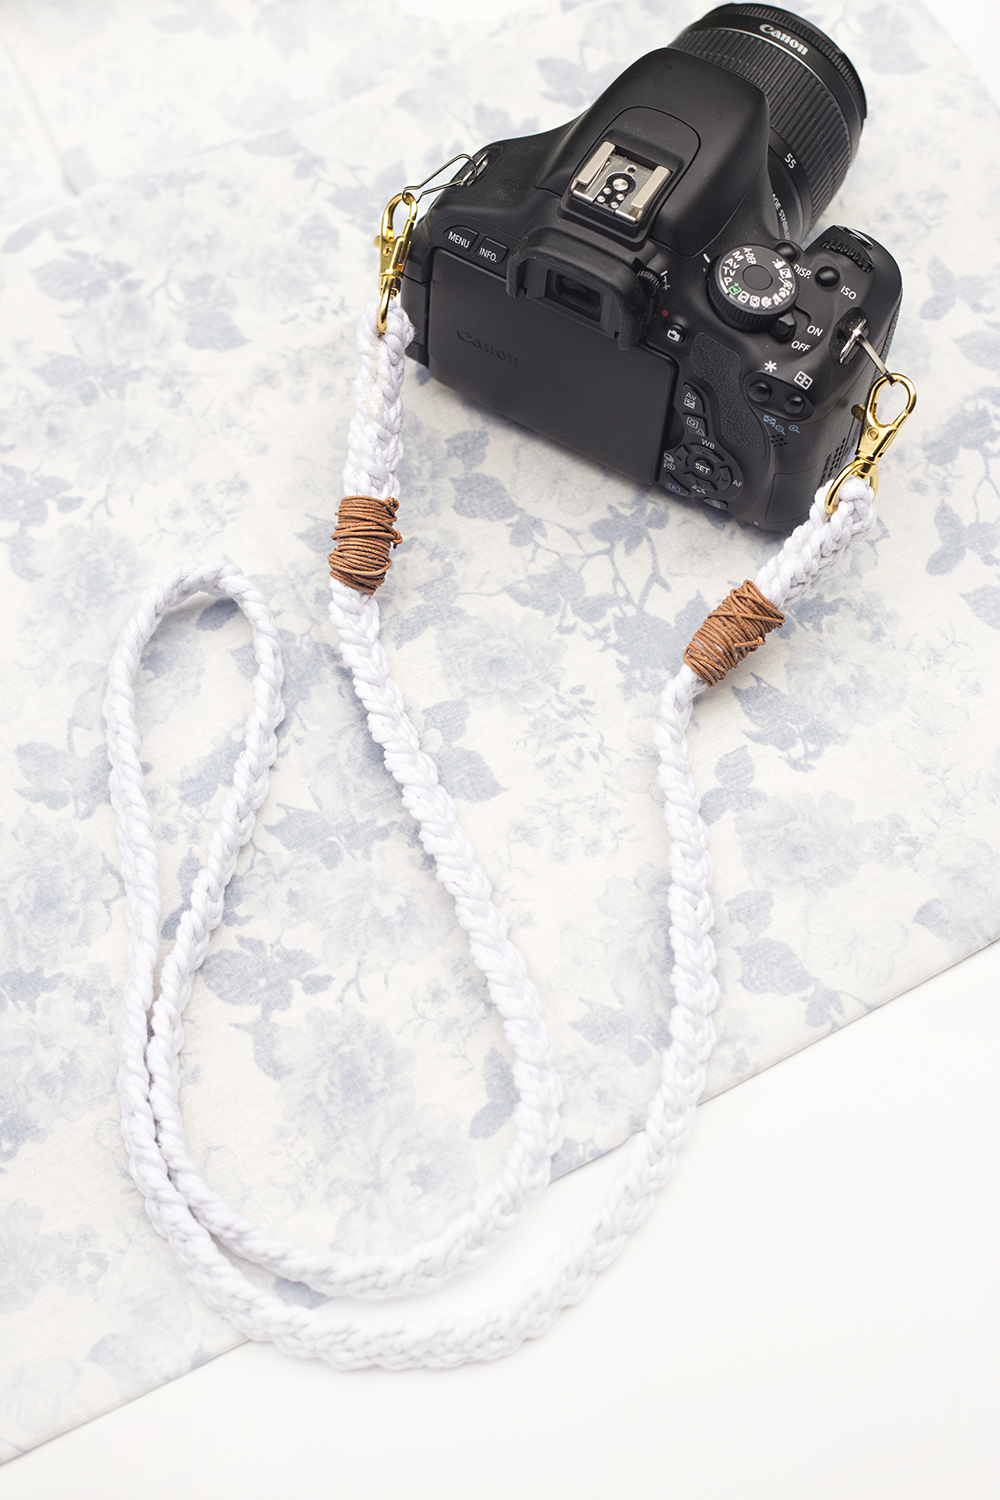
Despite these straps being relatively light, they’re both sturdy! I can attest that I carried my Canon 6D around London with the white rope strap and did not once get mugged or drop my camera. So there’s your proof.
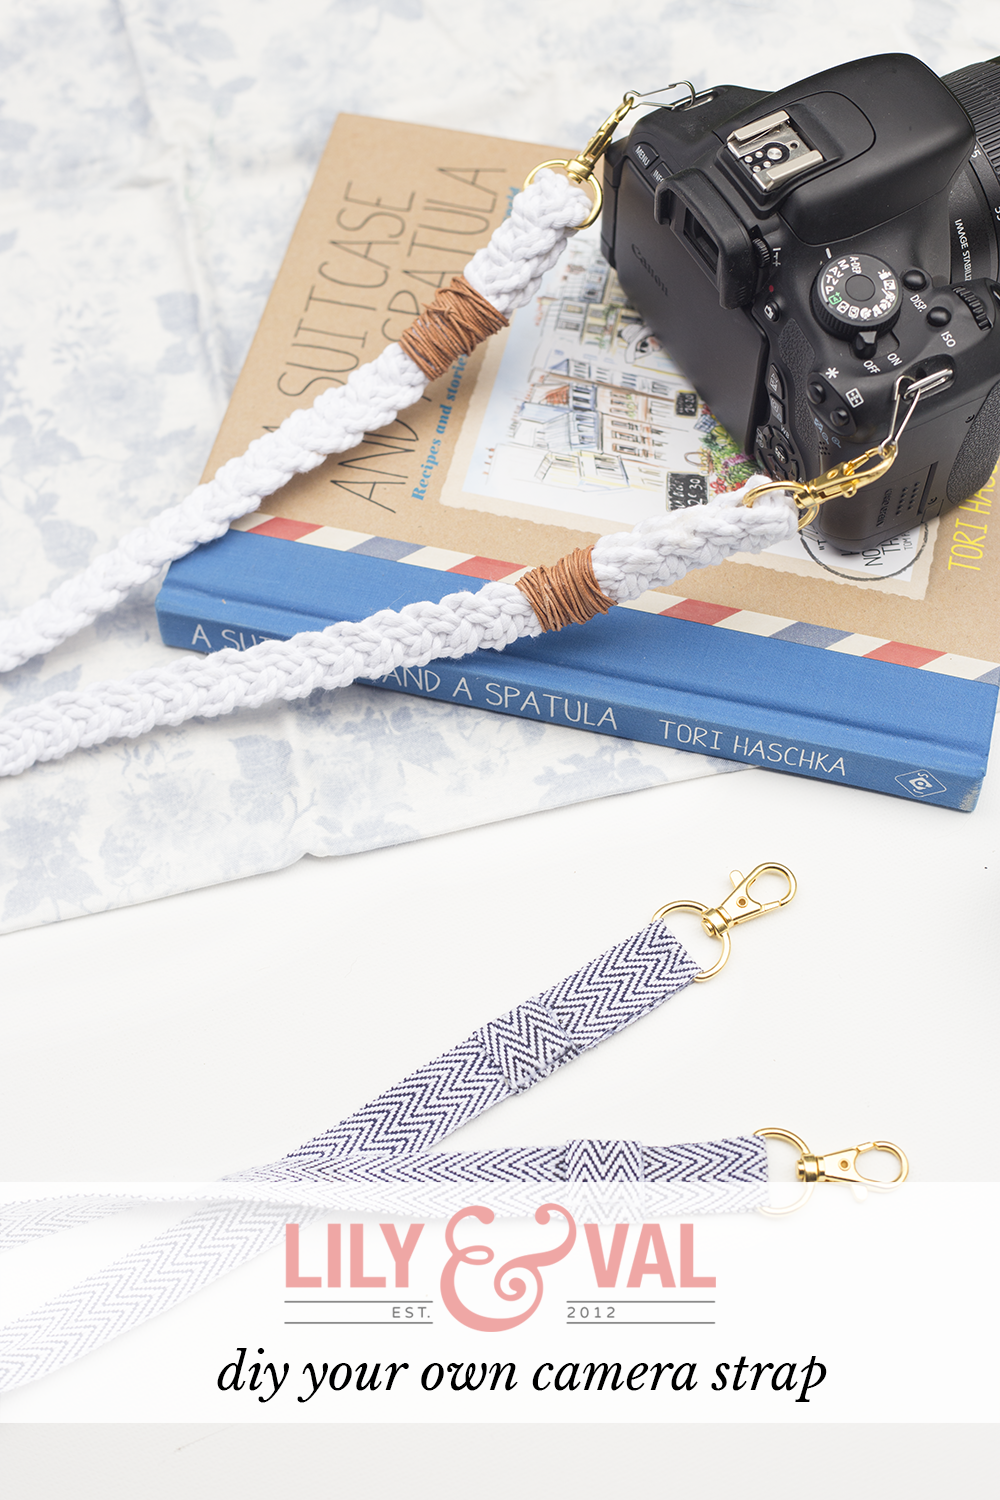
If you make one of these straps, I’d love to see photos! Tag us on Instagram with #lilyandvalliving – we’d love to check out where you’re traveling to, as well! I like to live vicariously through others on Instagram. (Also, if you liked this post, pin the above image to share! )
If you need more on-the-go inspiration, check out our post on travel necessities! For our fellow travel-loving friends, get the chalk art prints for your walls here.

No Comments