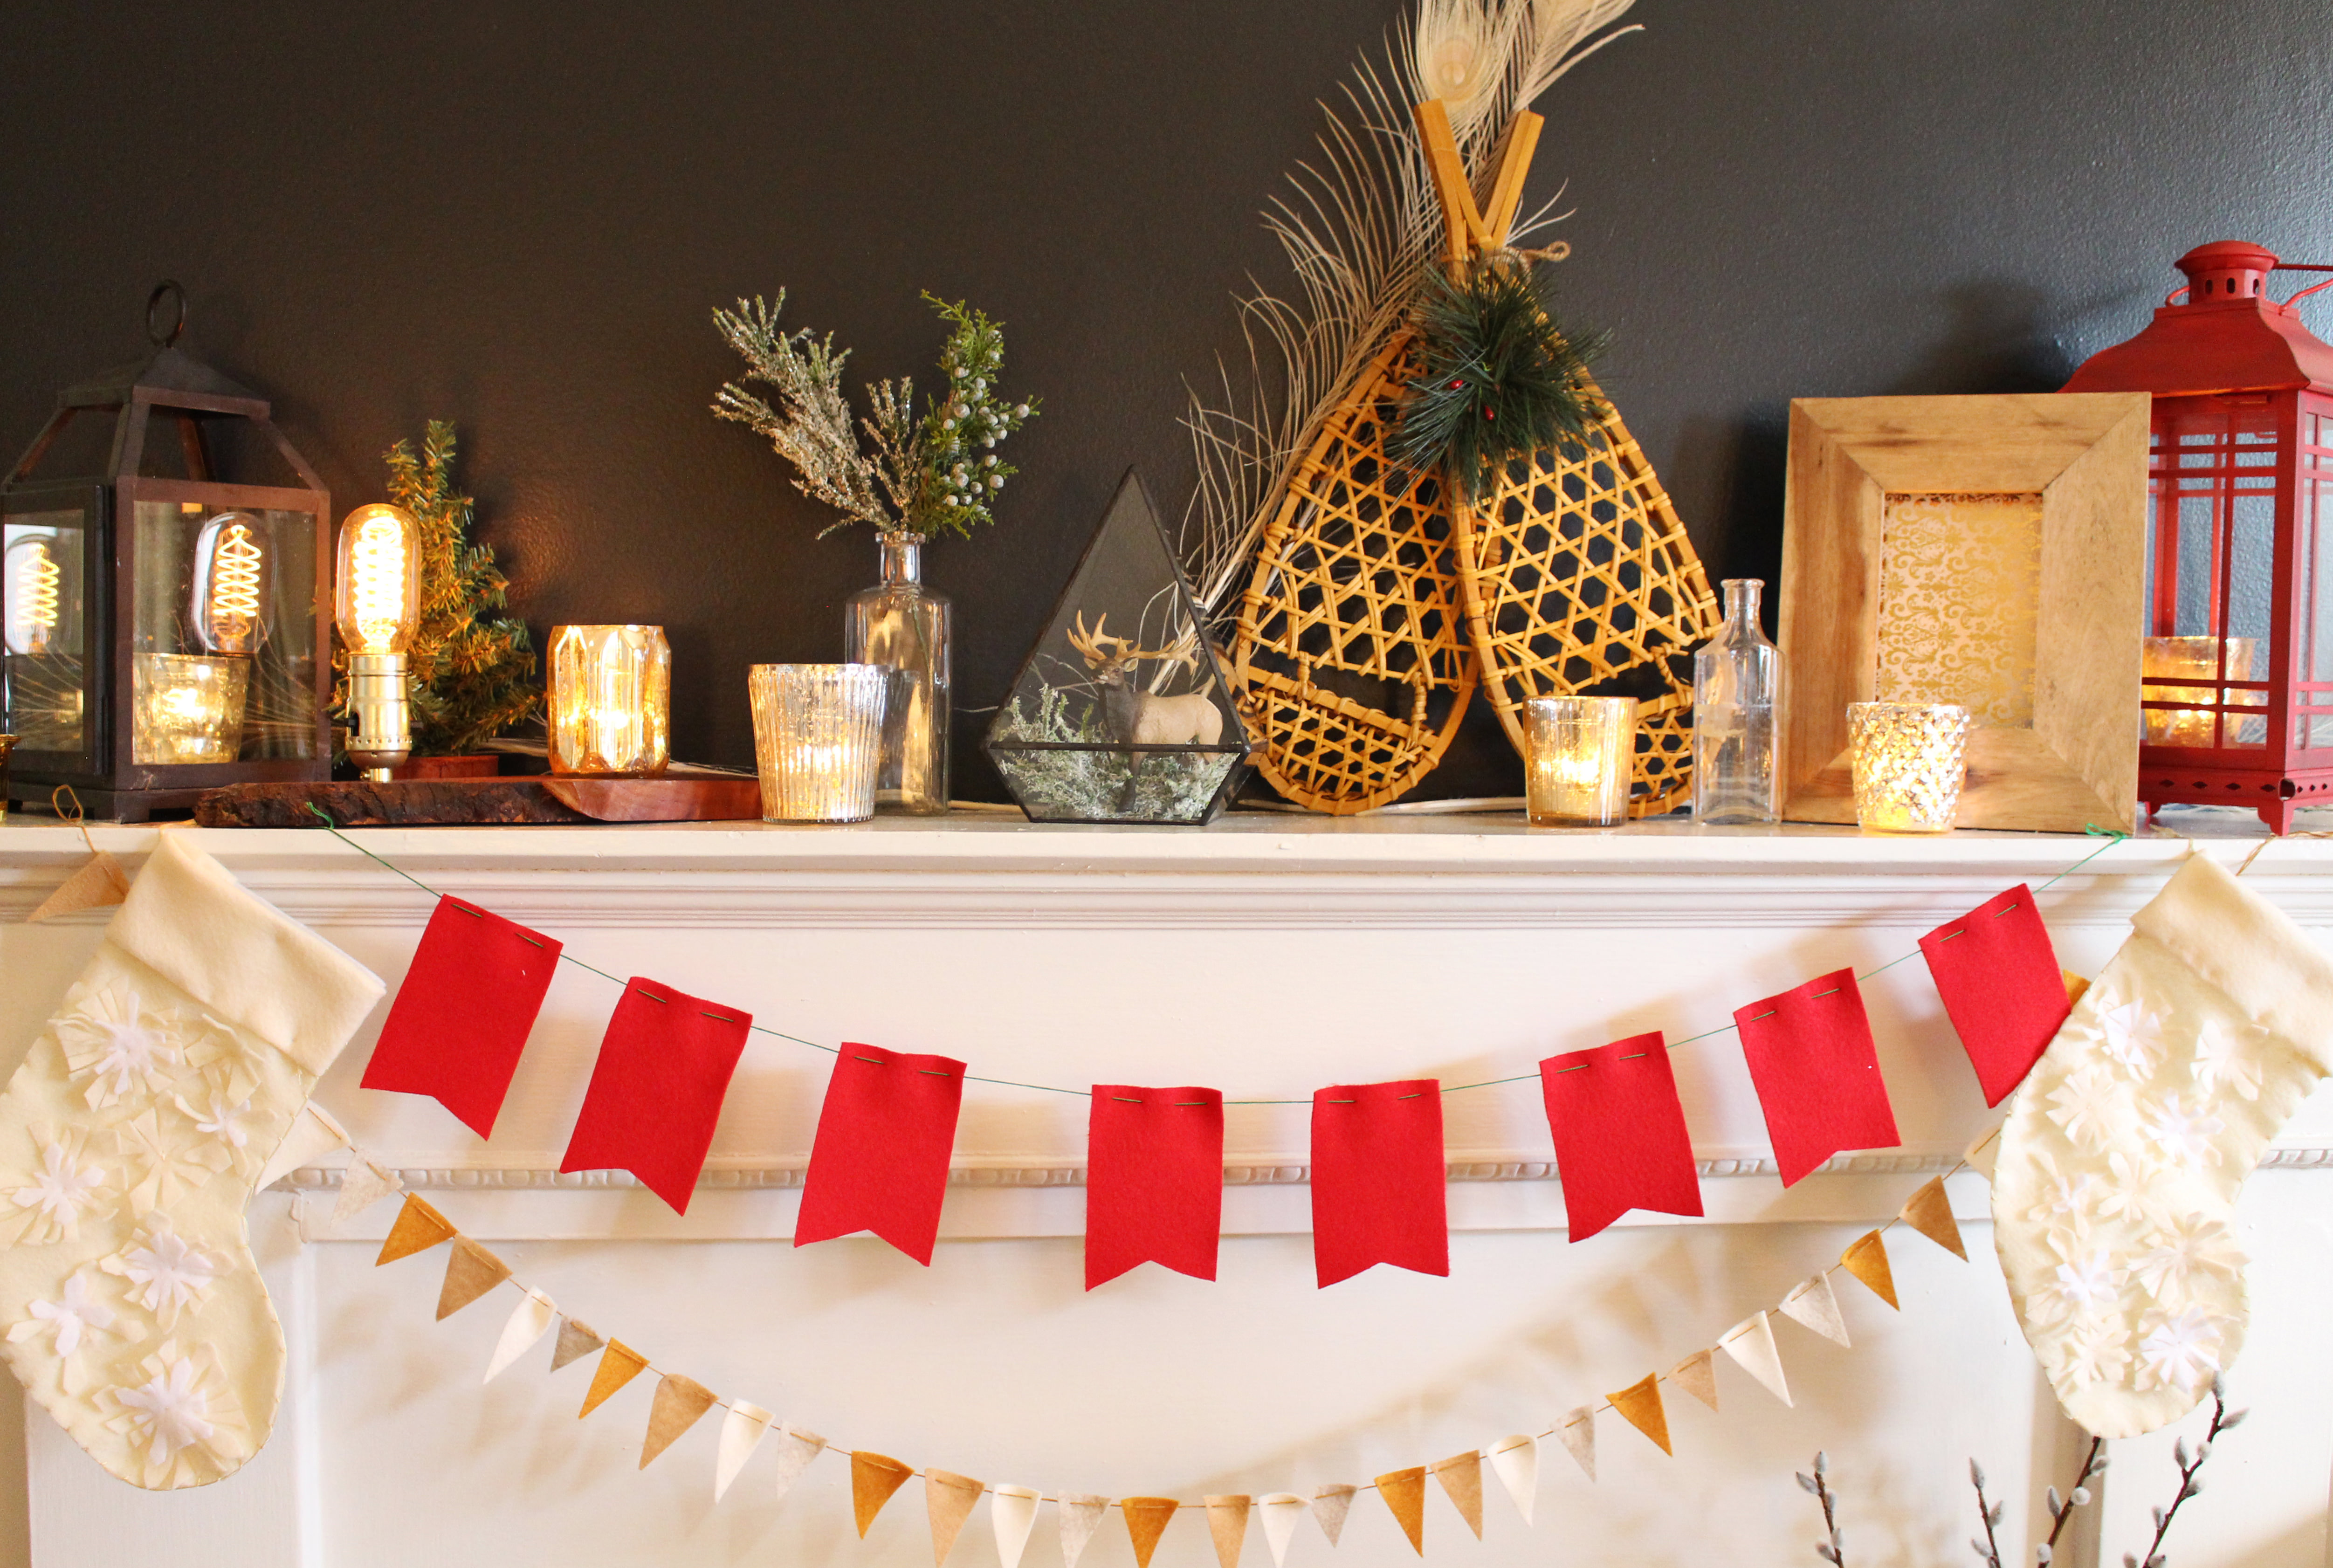
I am so in love with banners lately. I love their versatility, endless possibilities, and how they work with virtually all types of decor. I hope you enjoy this beautiful felt banner inspiration for the holidays (but really, they can work all year round!)
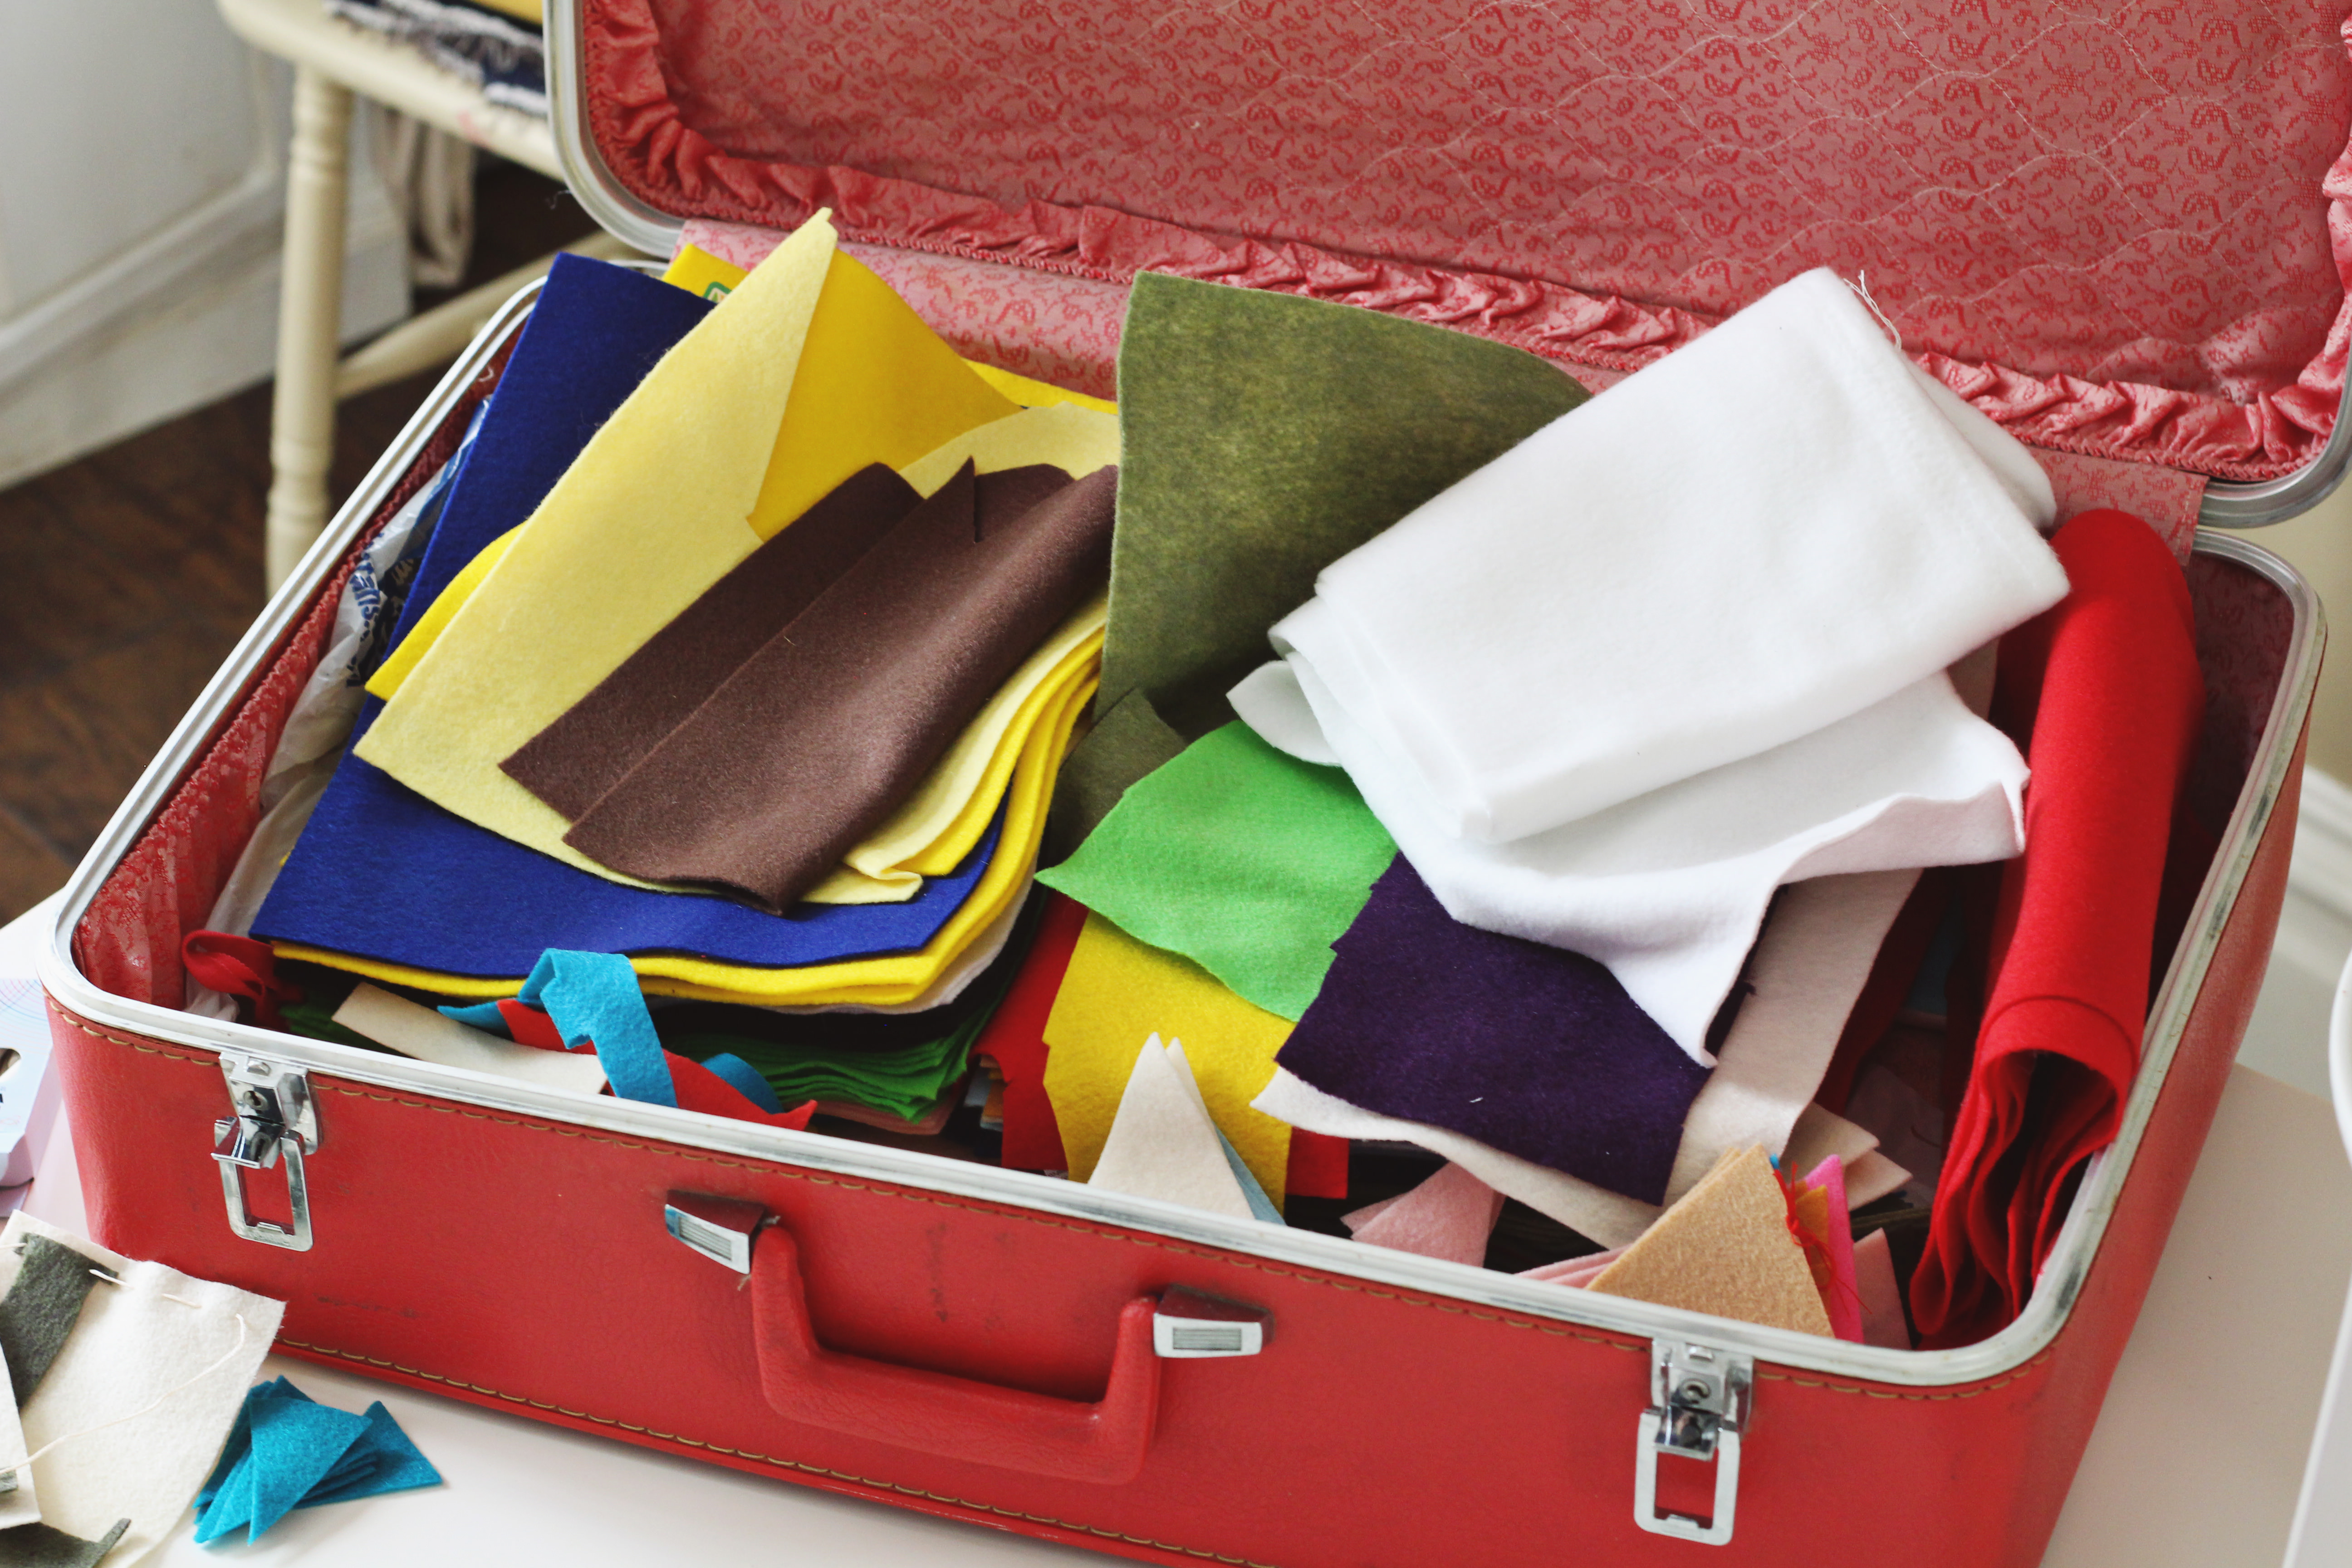
 How amazing is Emily’s collection of felt? So many colors to choose from!
 DIY Felt Banners
You will need:
Felt in colors of choice
Embroidery floss in colors of choice
Heavy needle with a large eye
Scissors
Chalk
For the Letter Banner:
Choose your felt for the letters. Then using chalk, sketch out the letter shapes (we chose a block serif style) to spell whatever you wish. Cut out the letters.
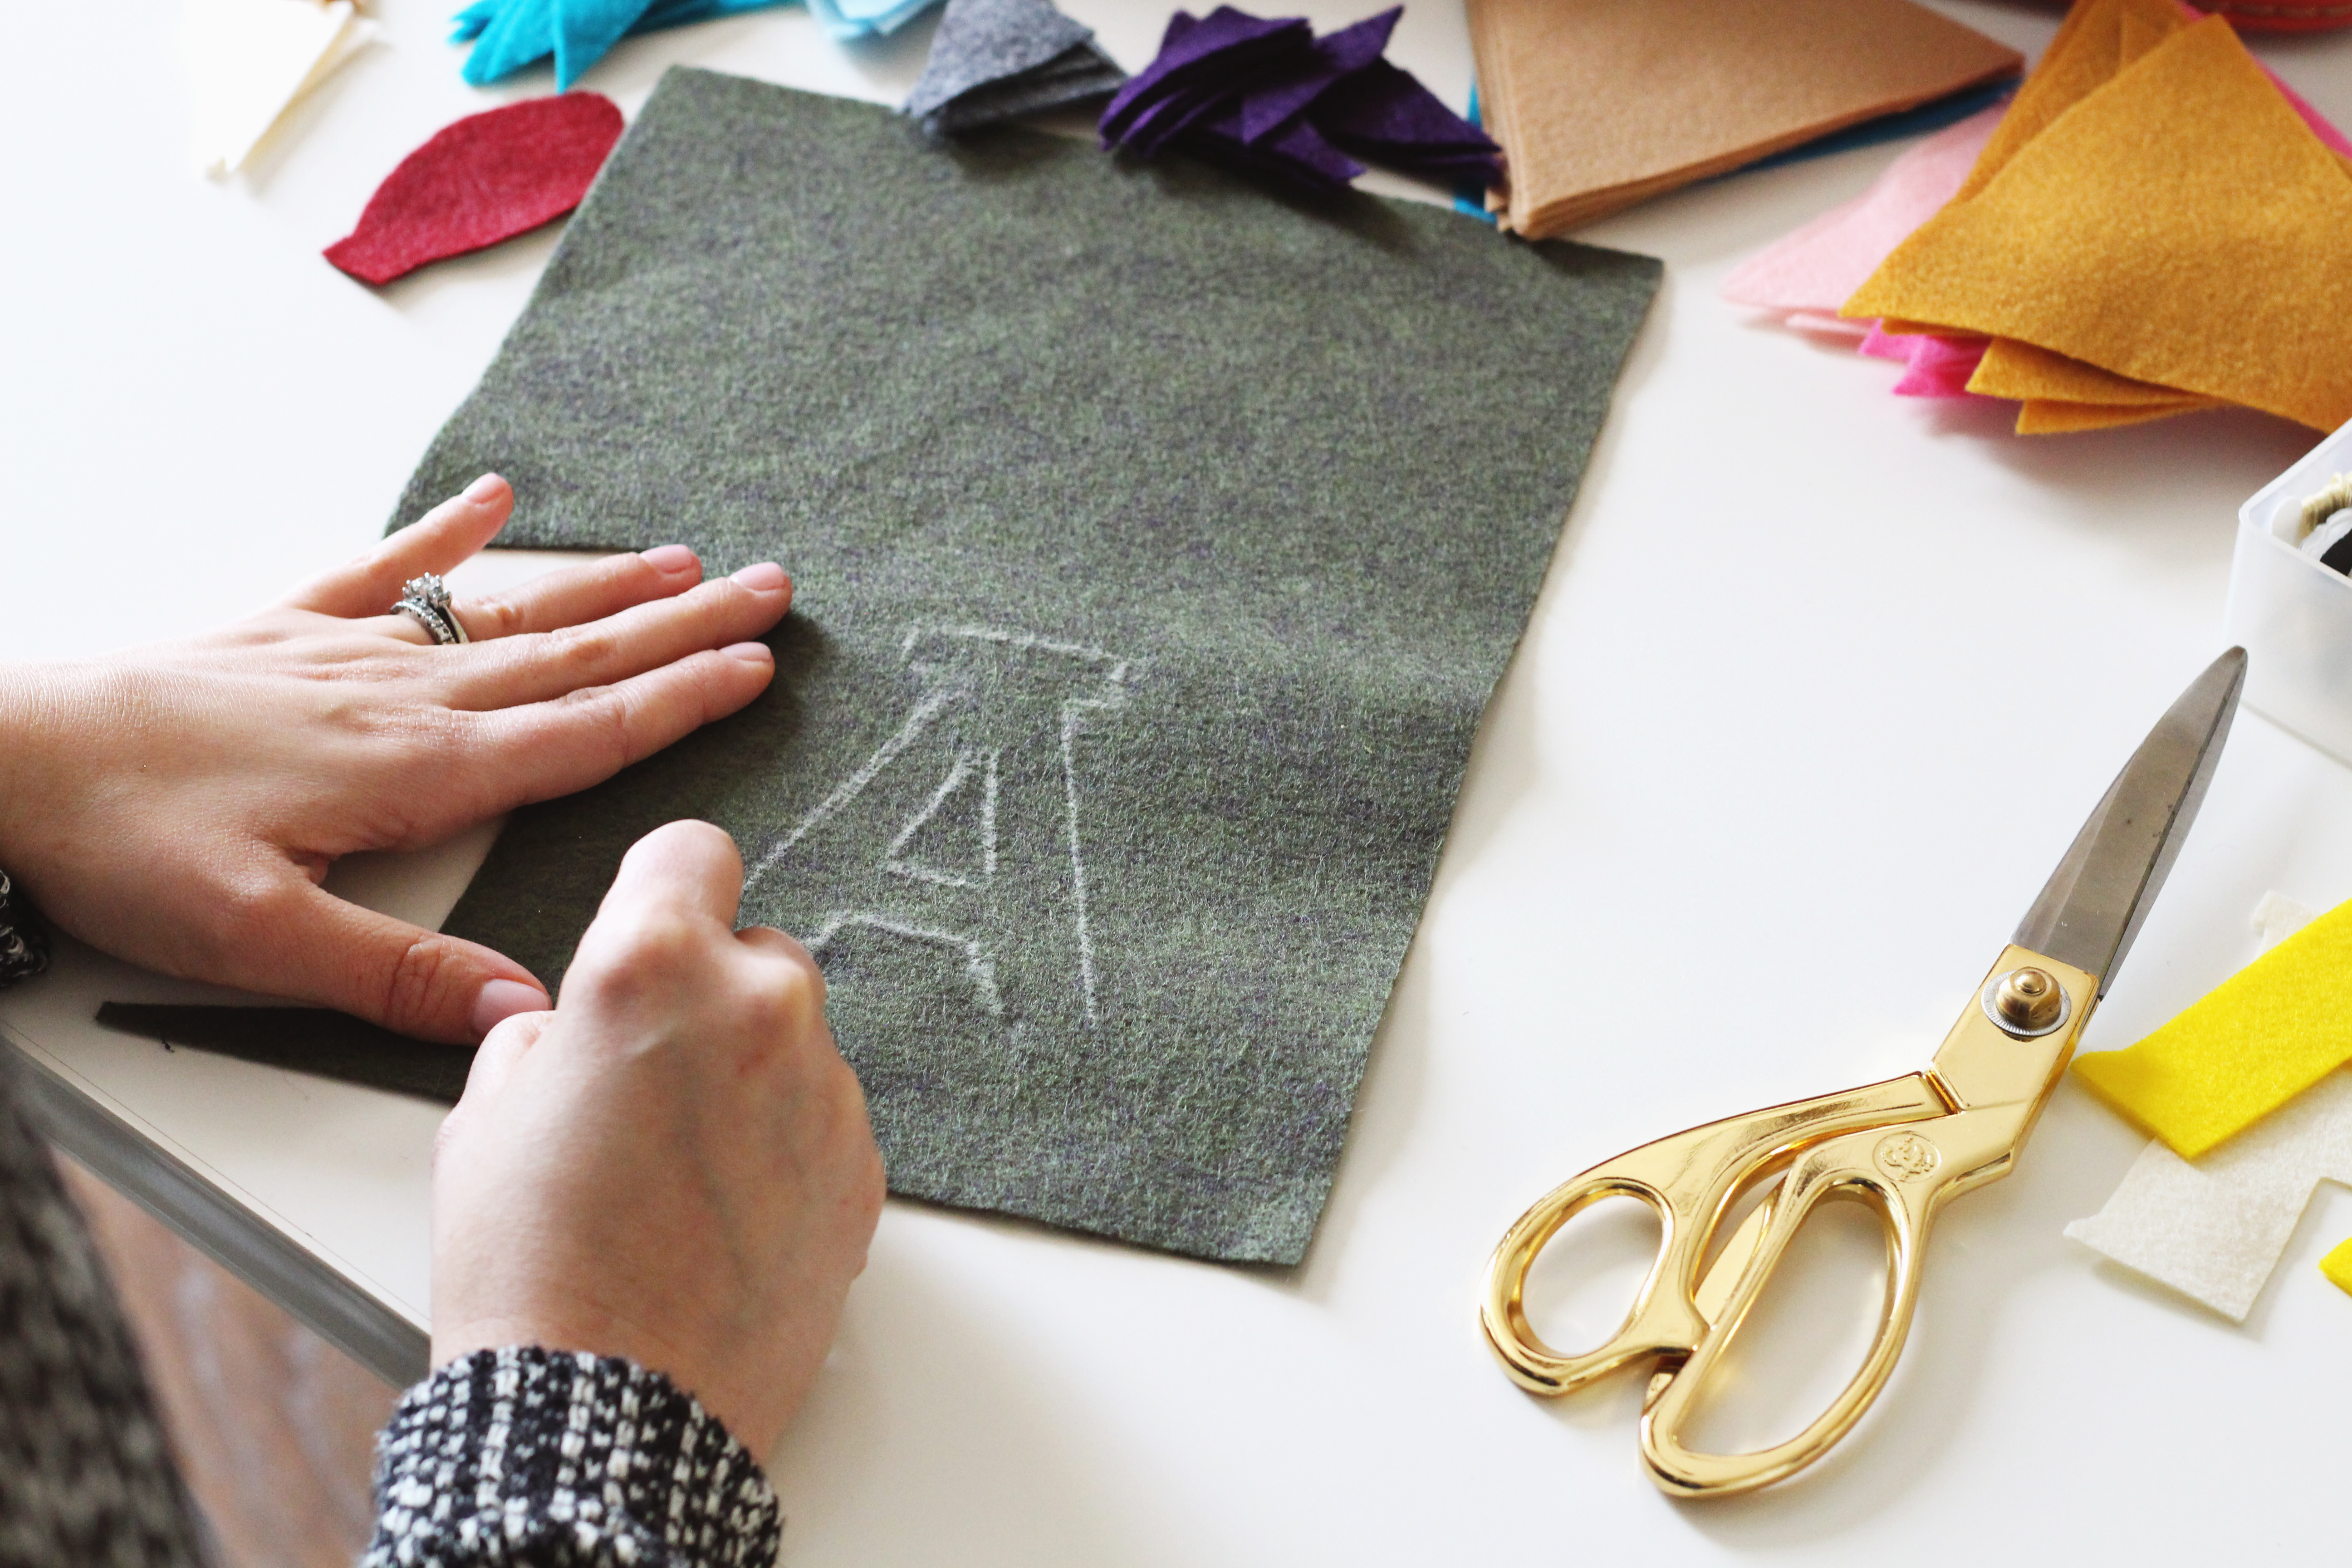
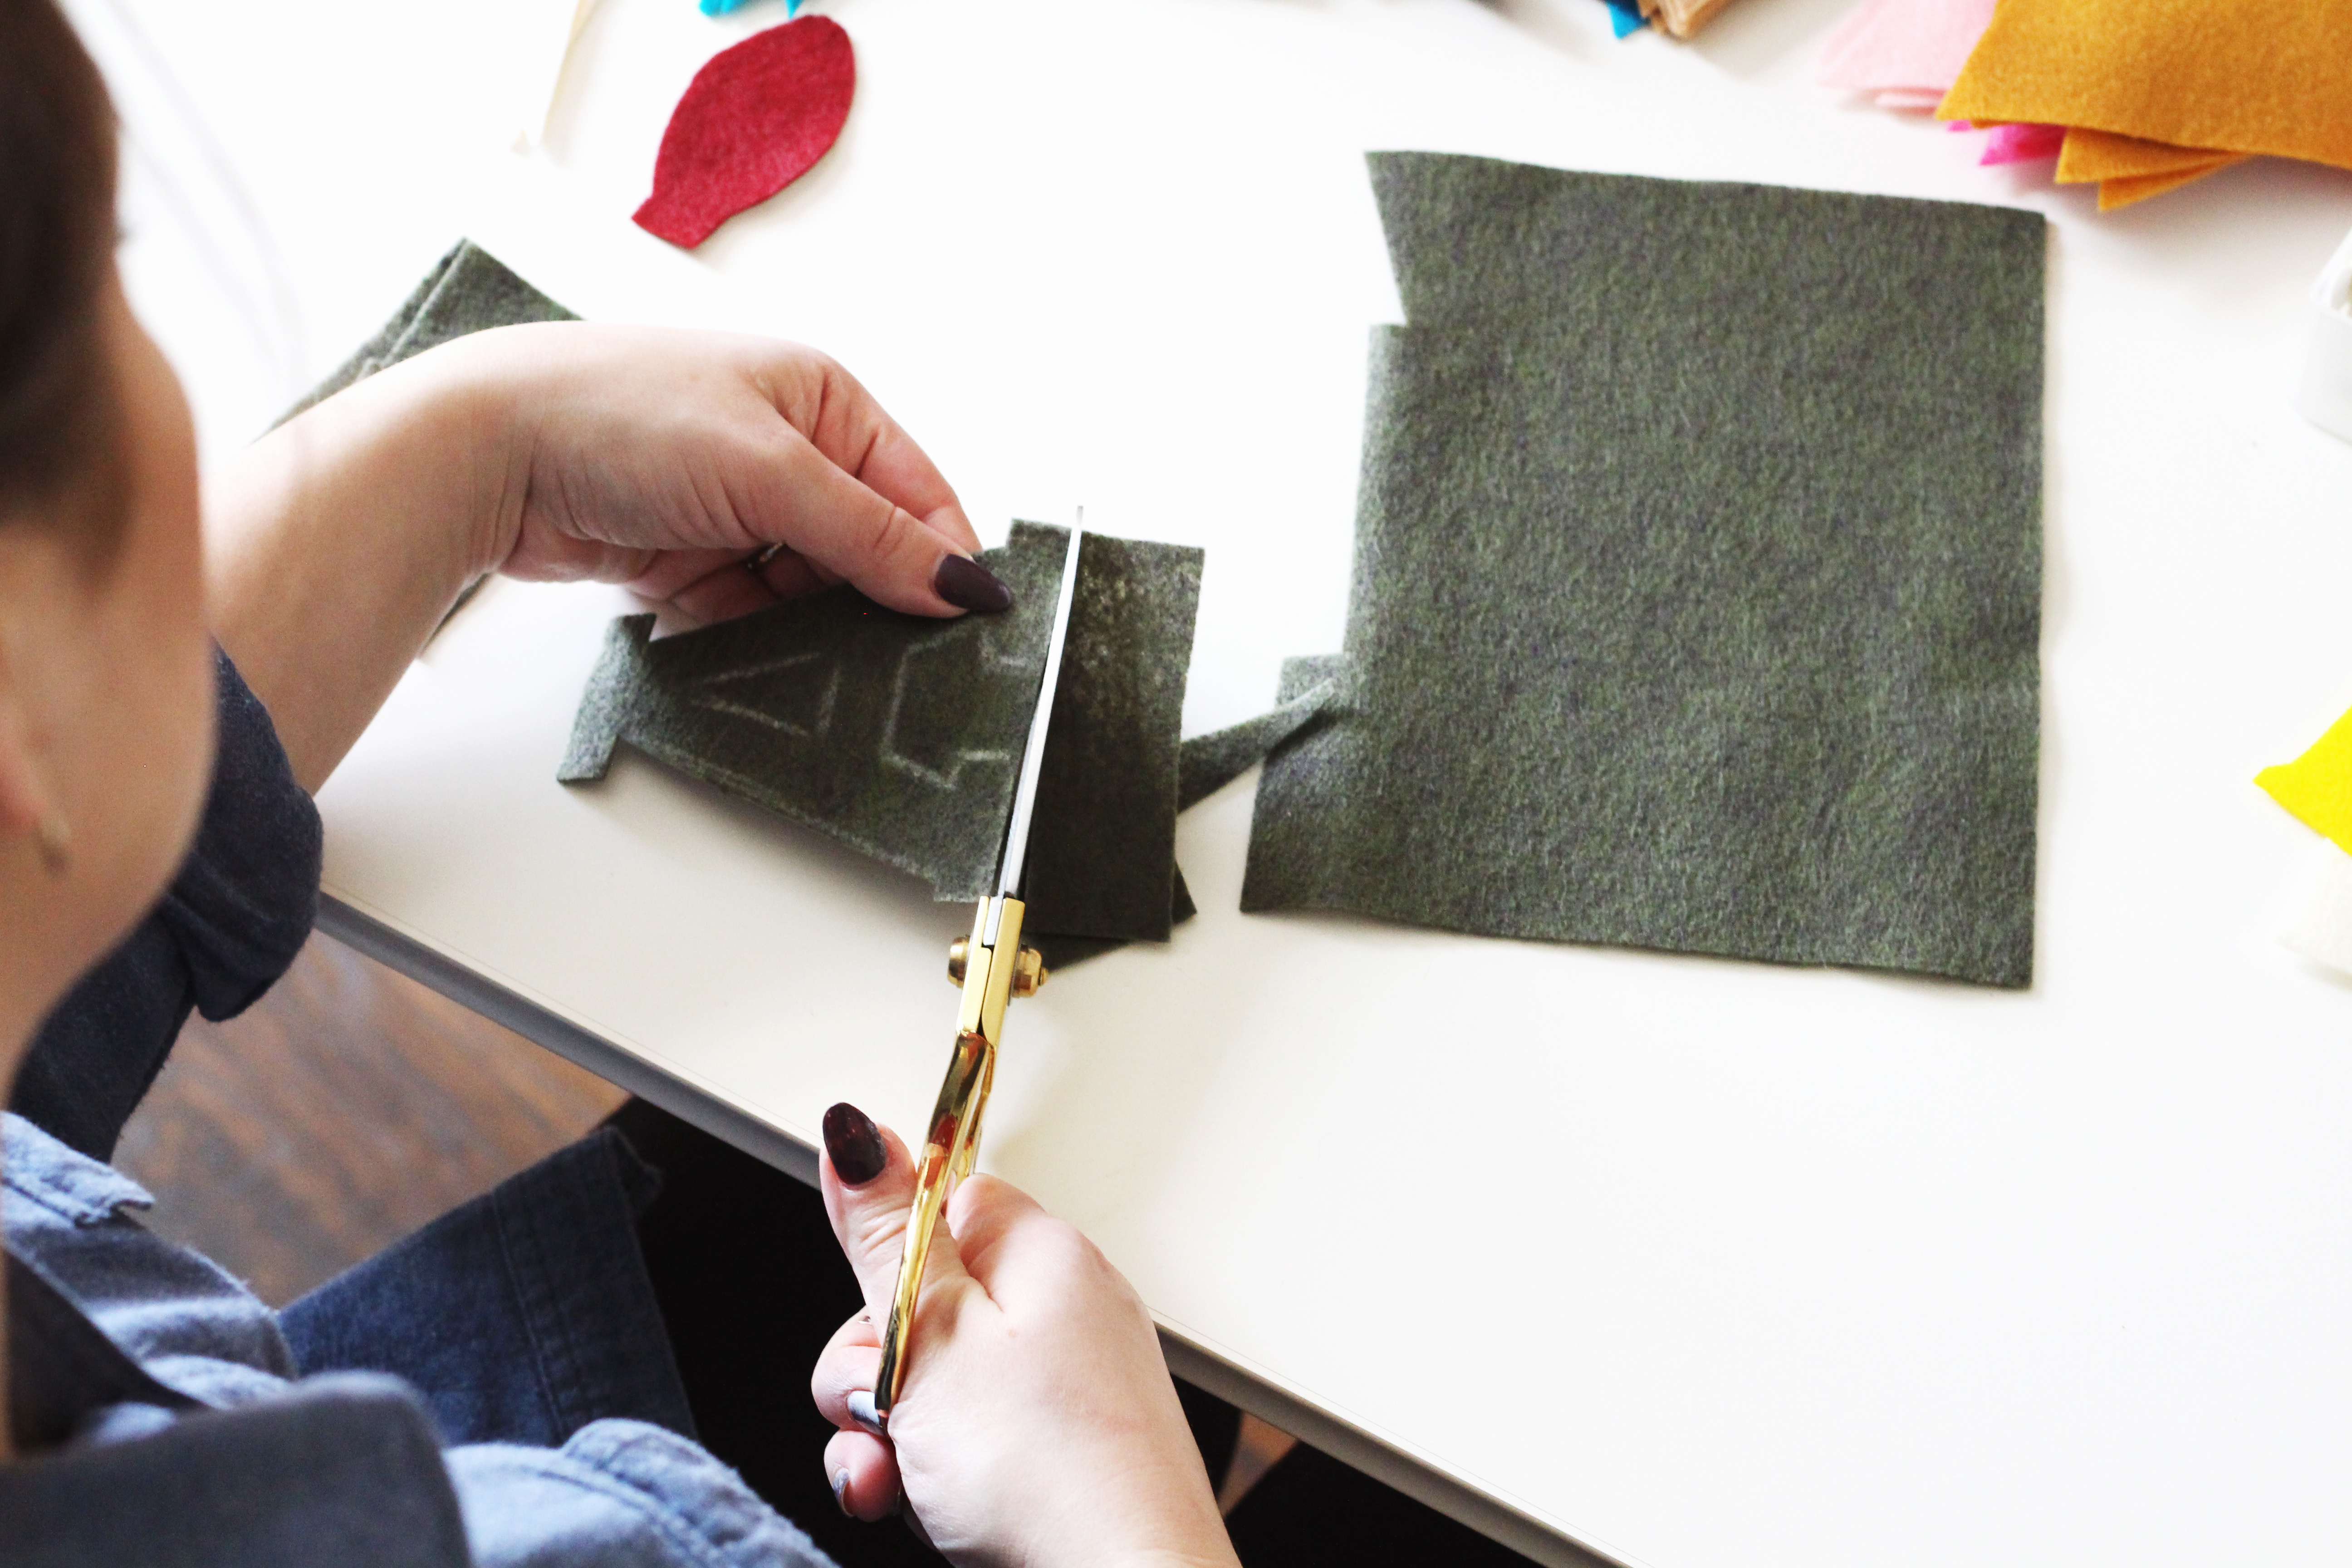
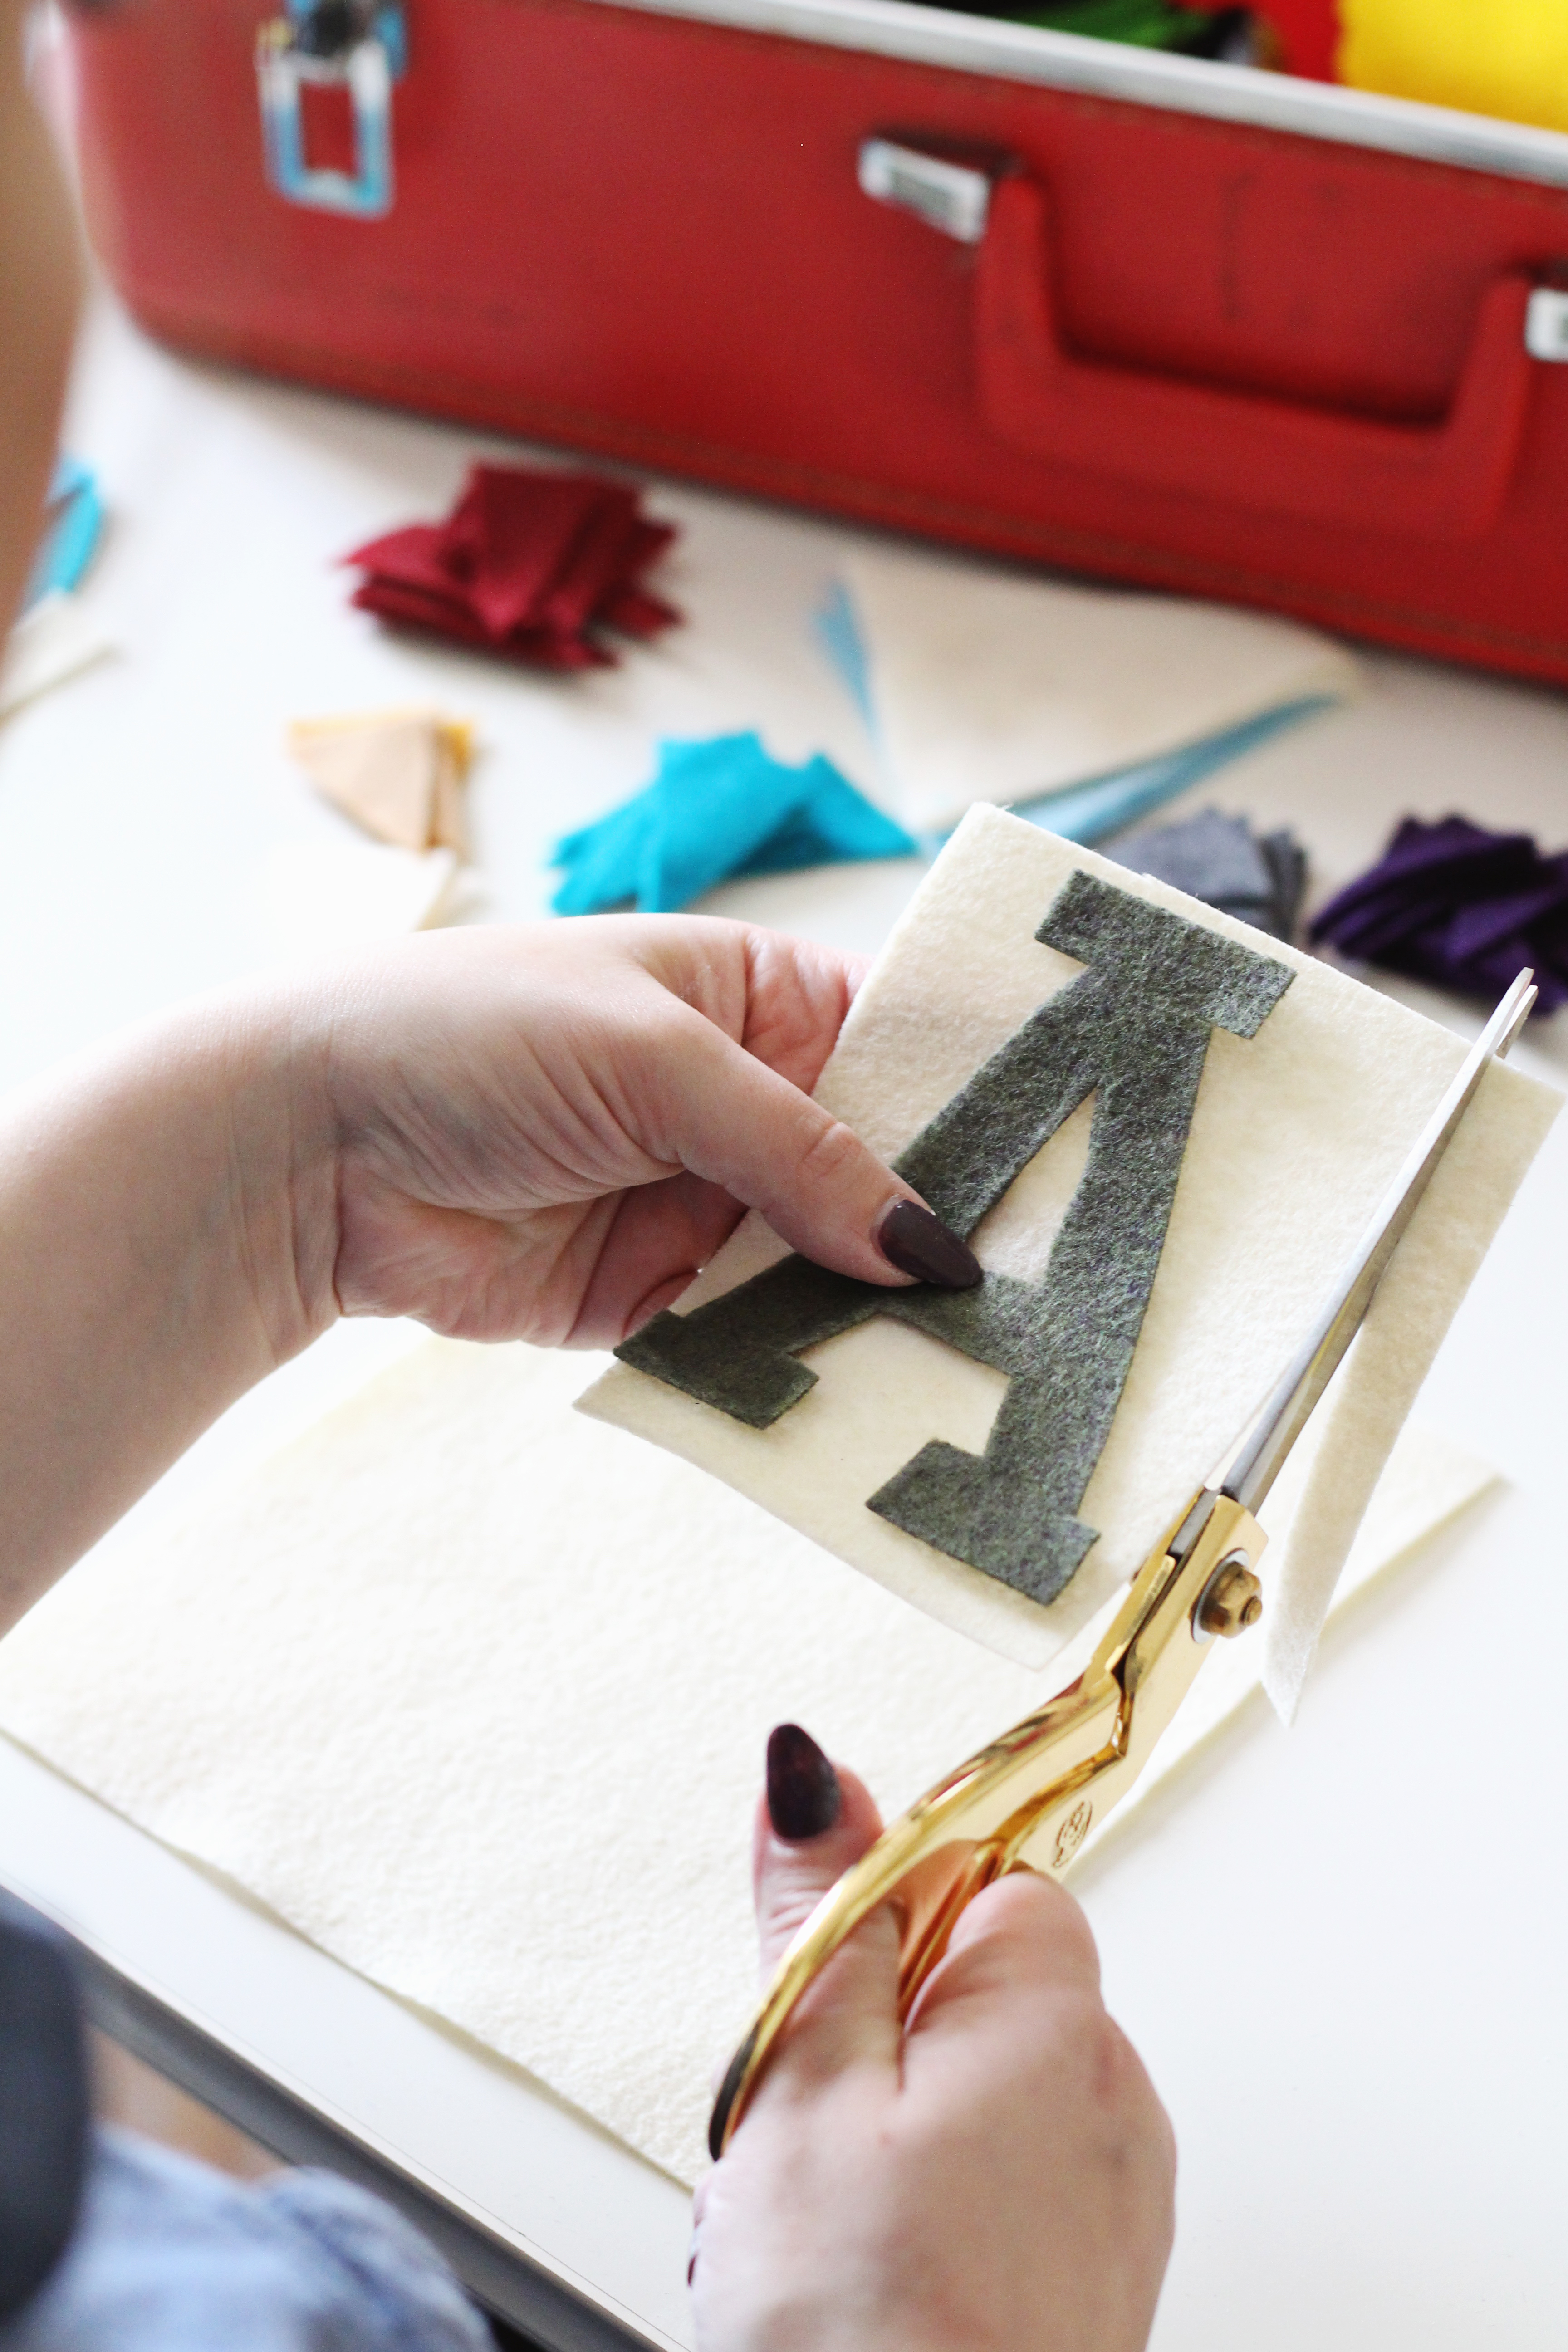
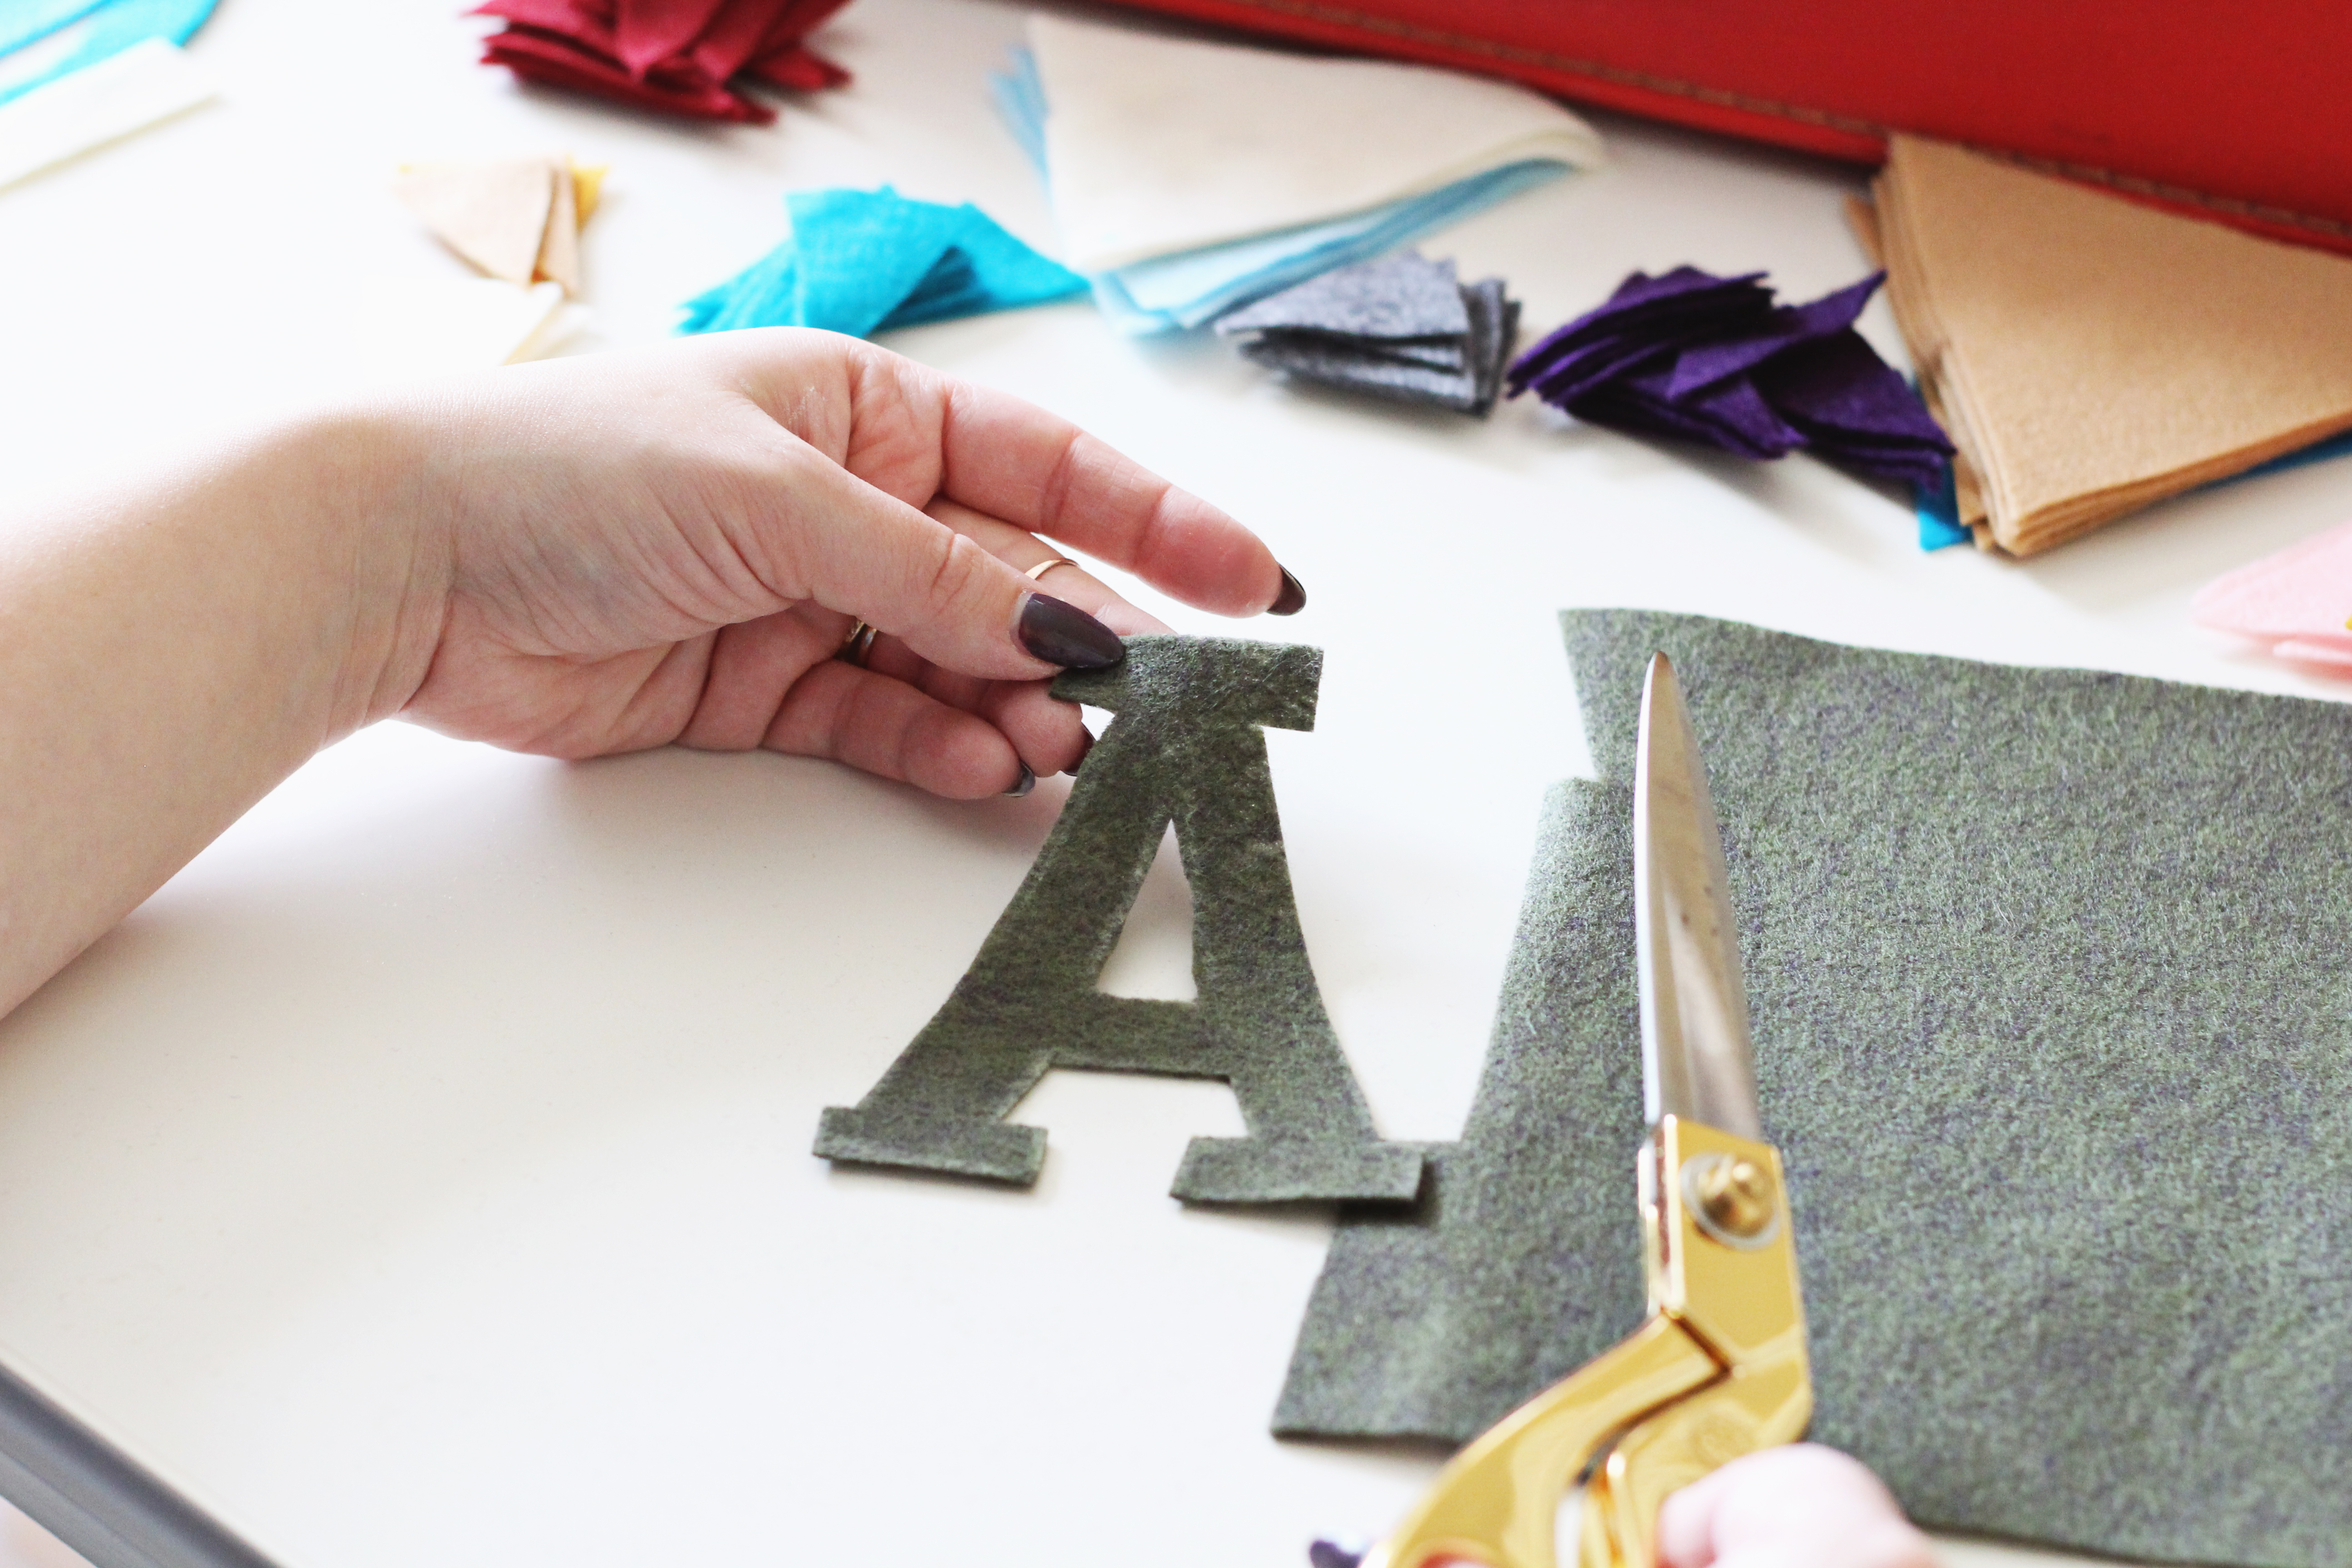 You can opt to create a banner out of just these letters (scroll down for those instructions) OR choose a coordinating/contrasting color as a backing and cut out the rectangles. No need to cut them exactly the same – variety will give your banner a handmade feel. Pin your letters to the rectangles using straight pins so they don’t budge as your sew them together.
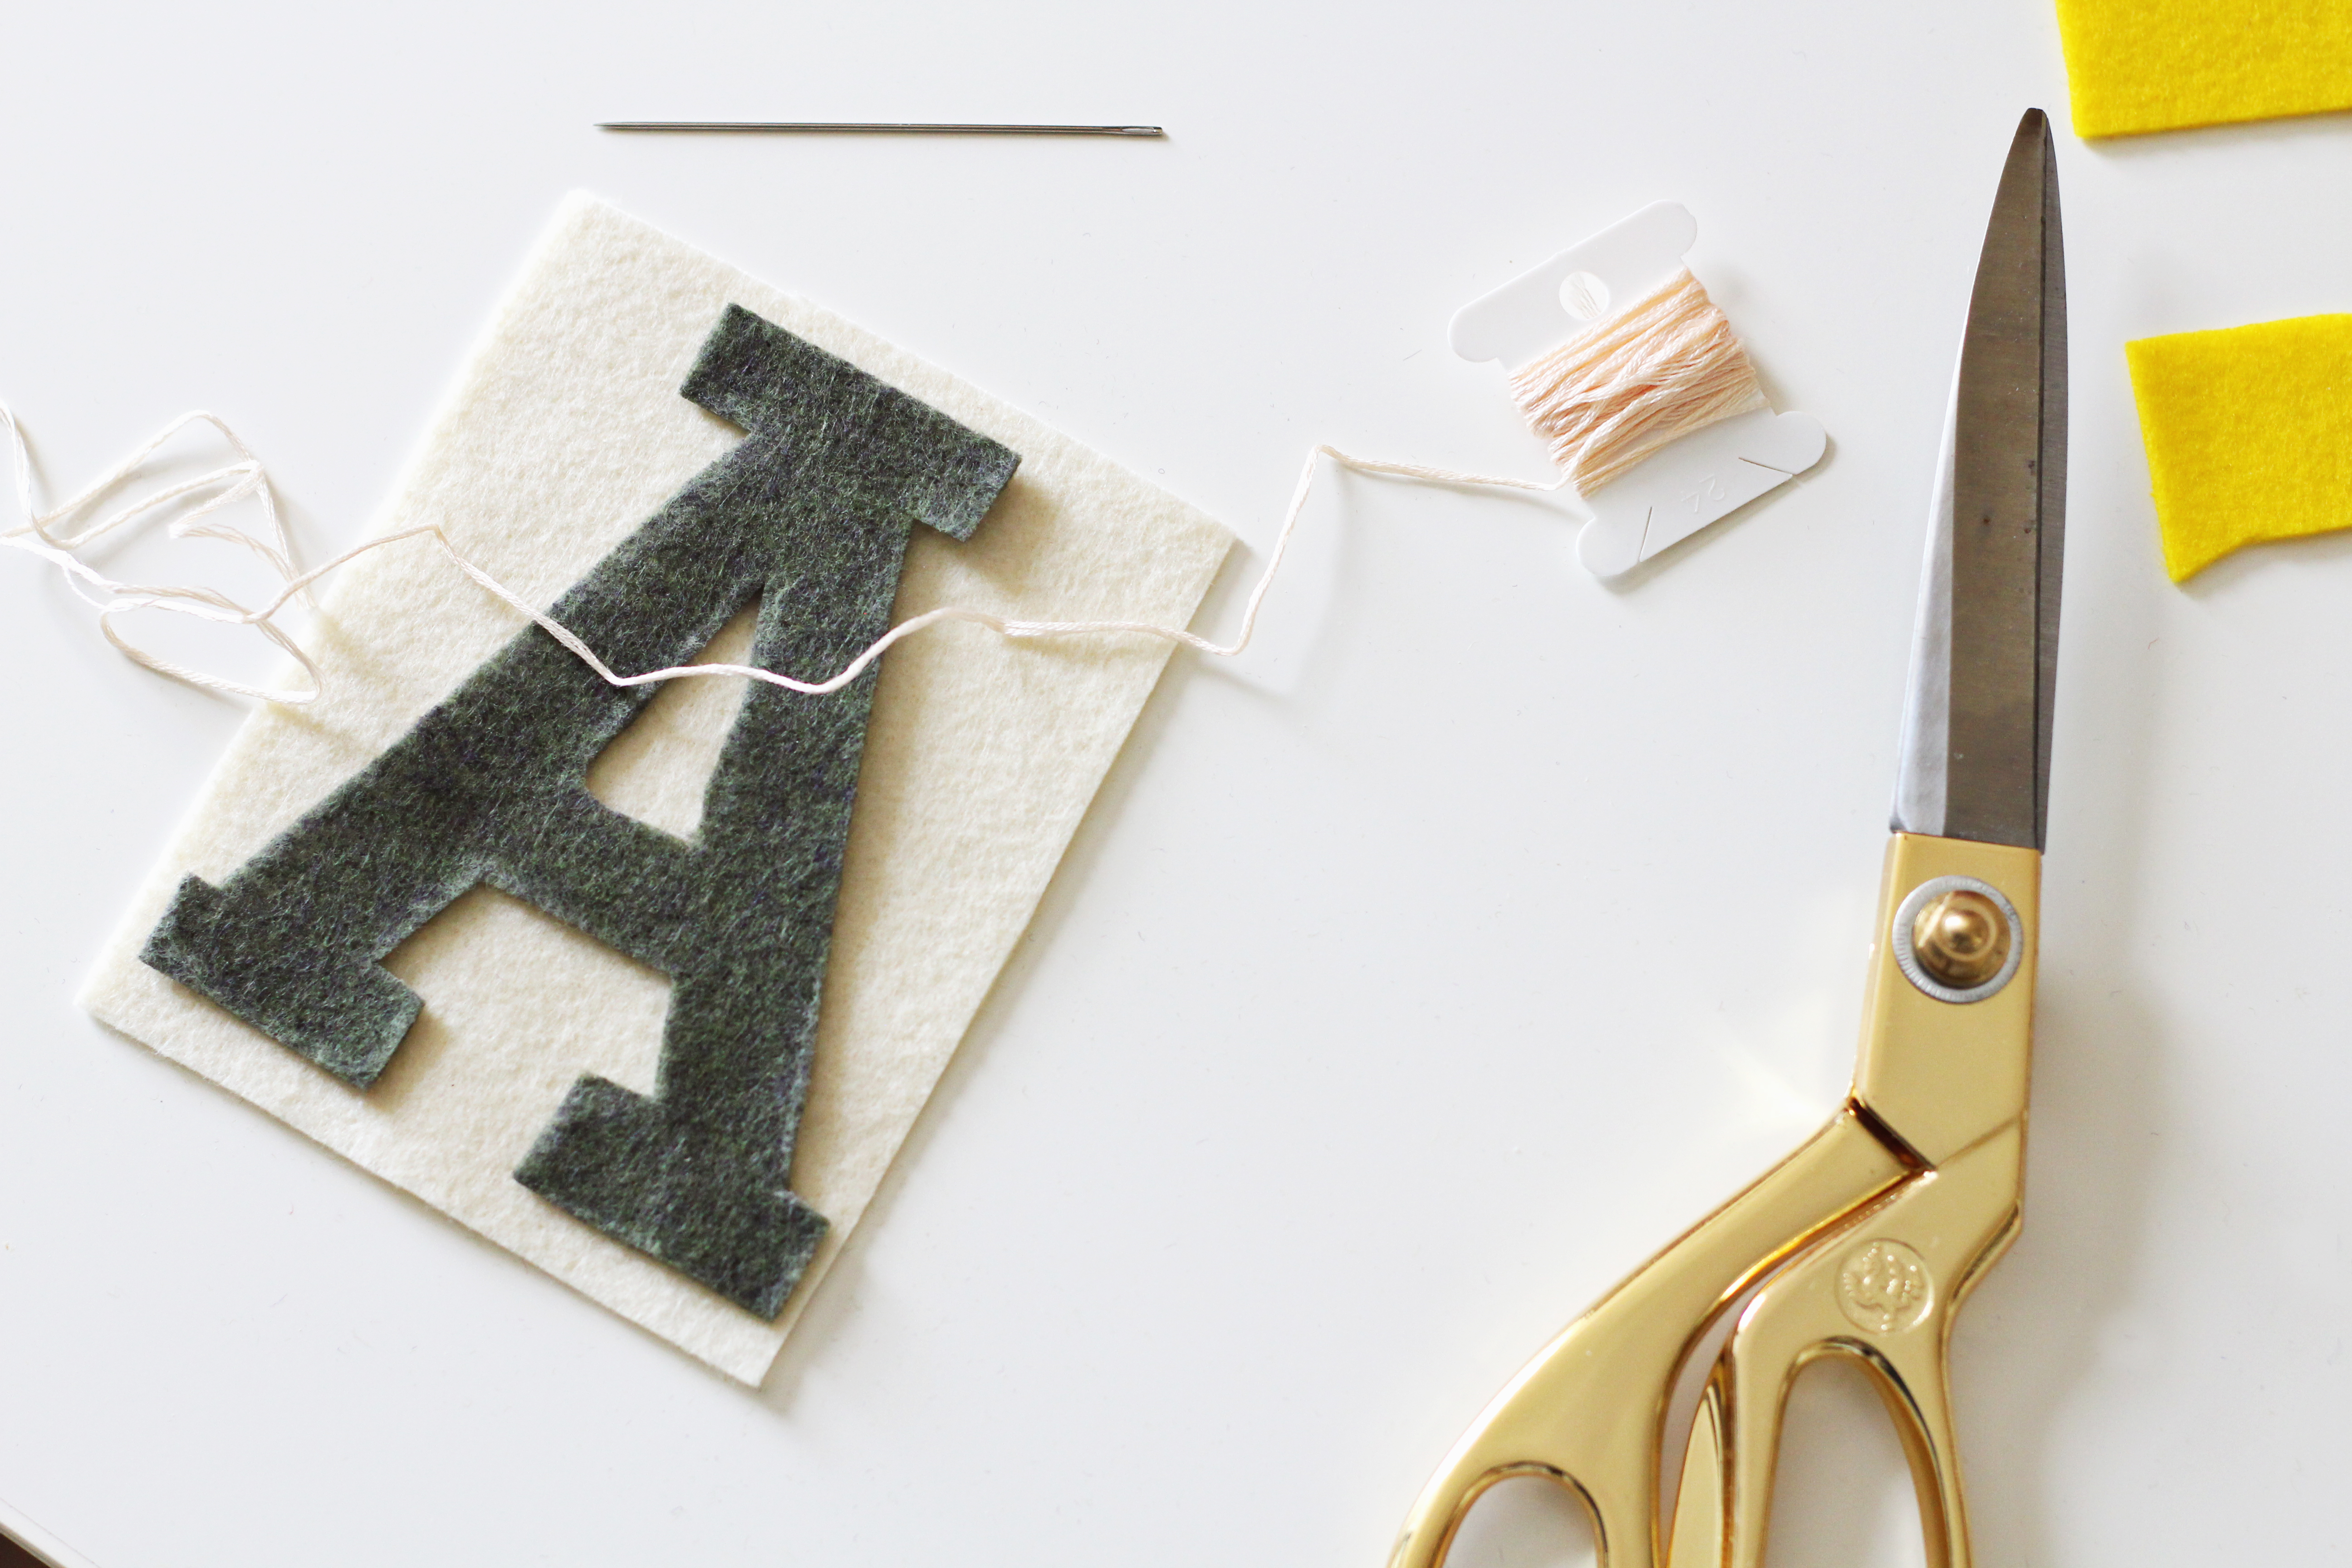
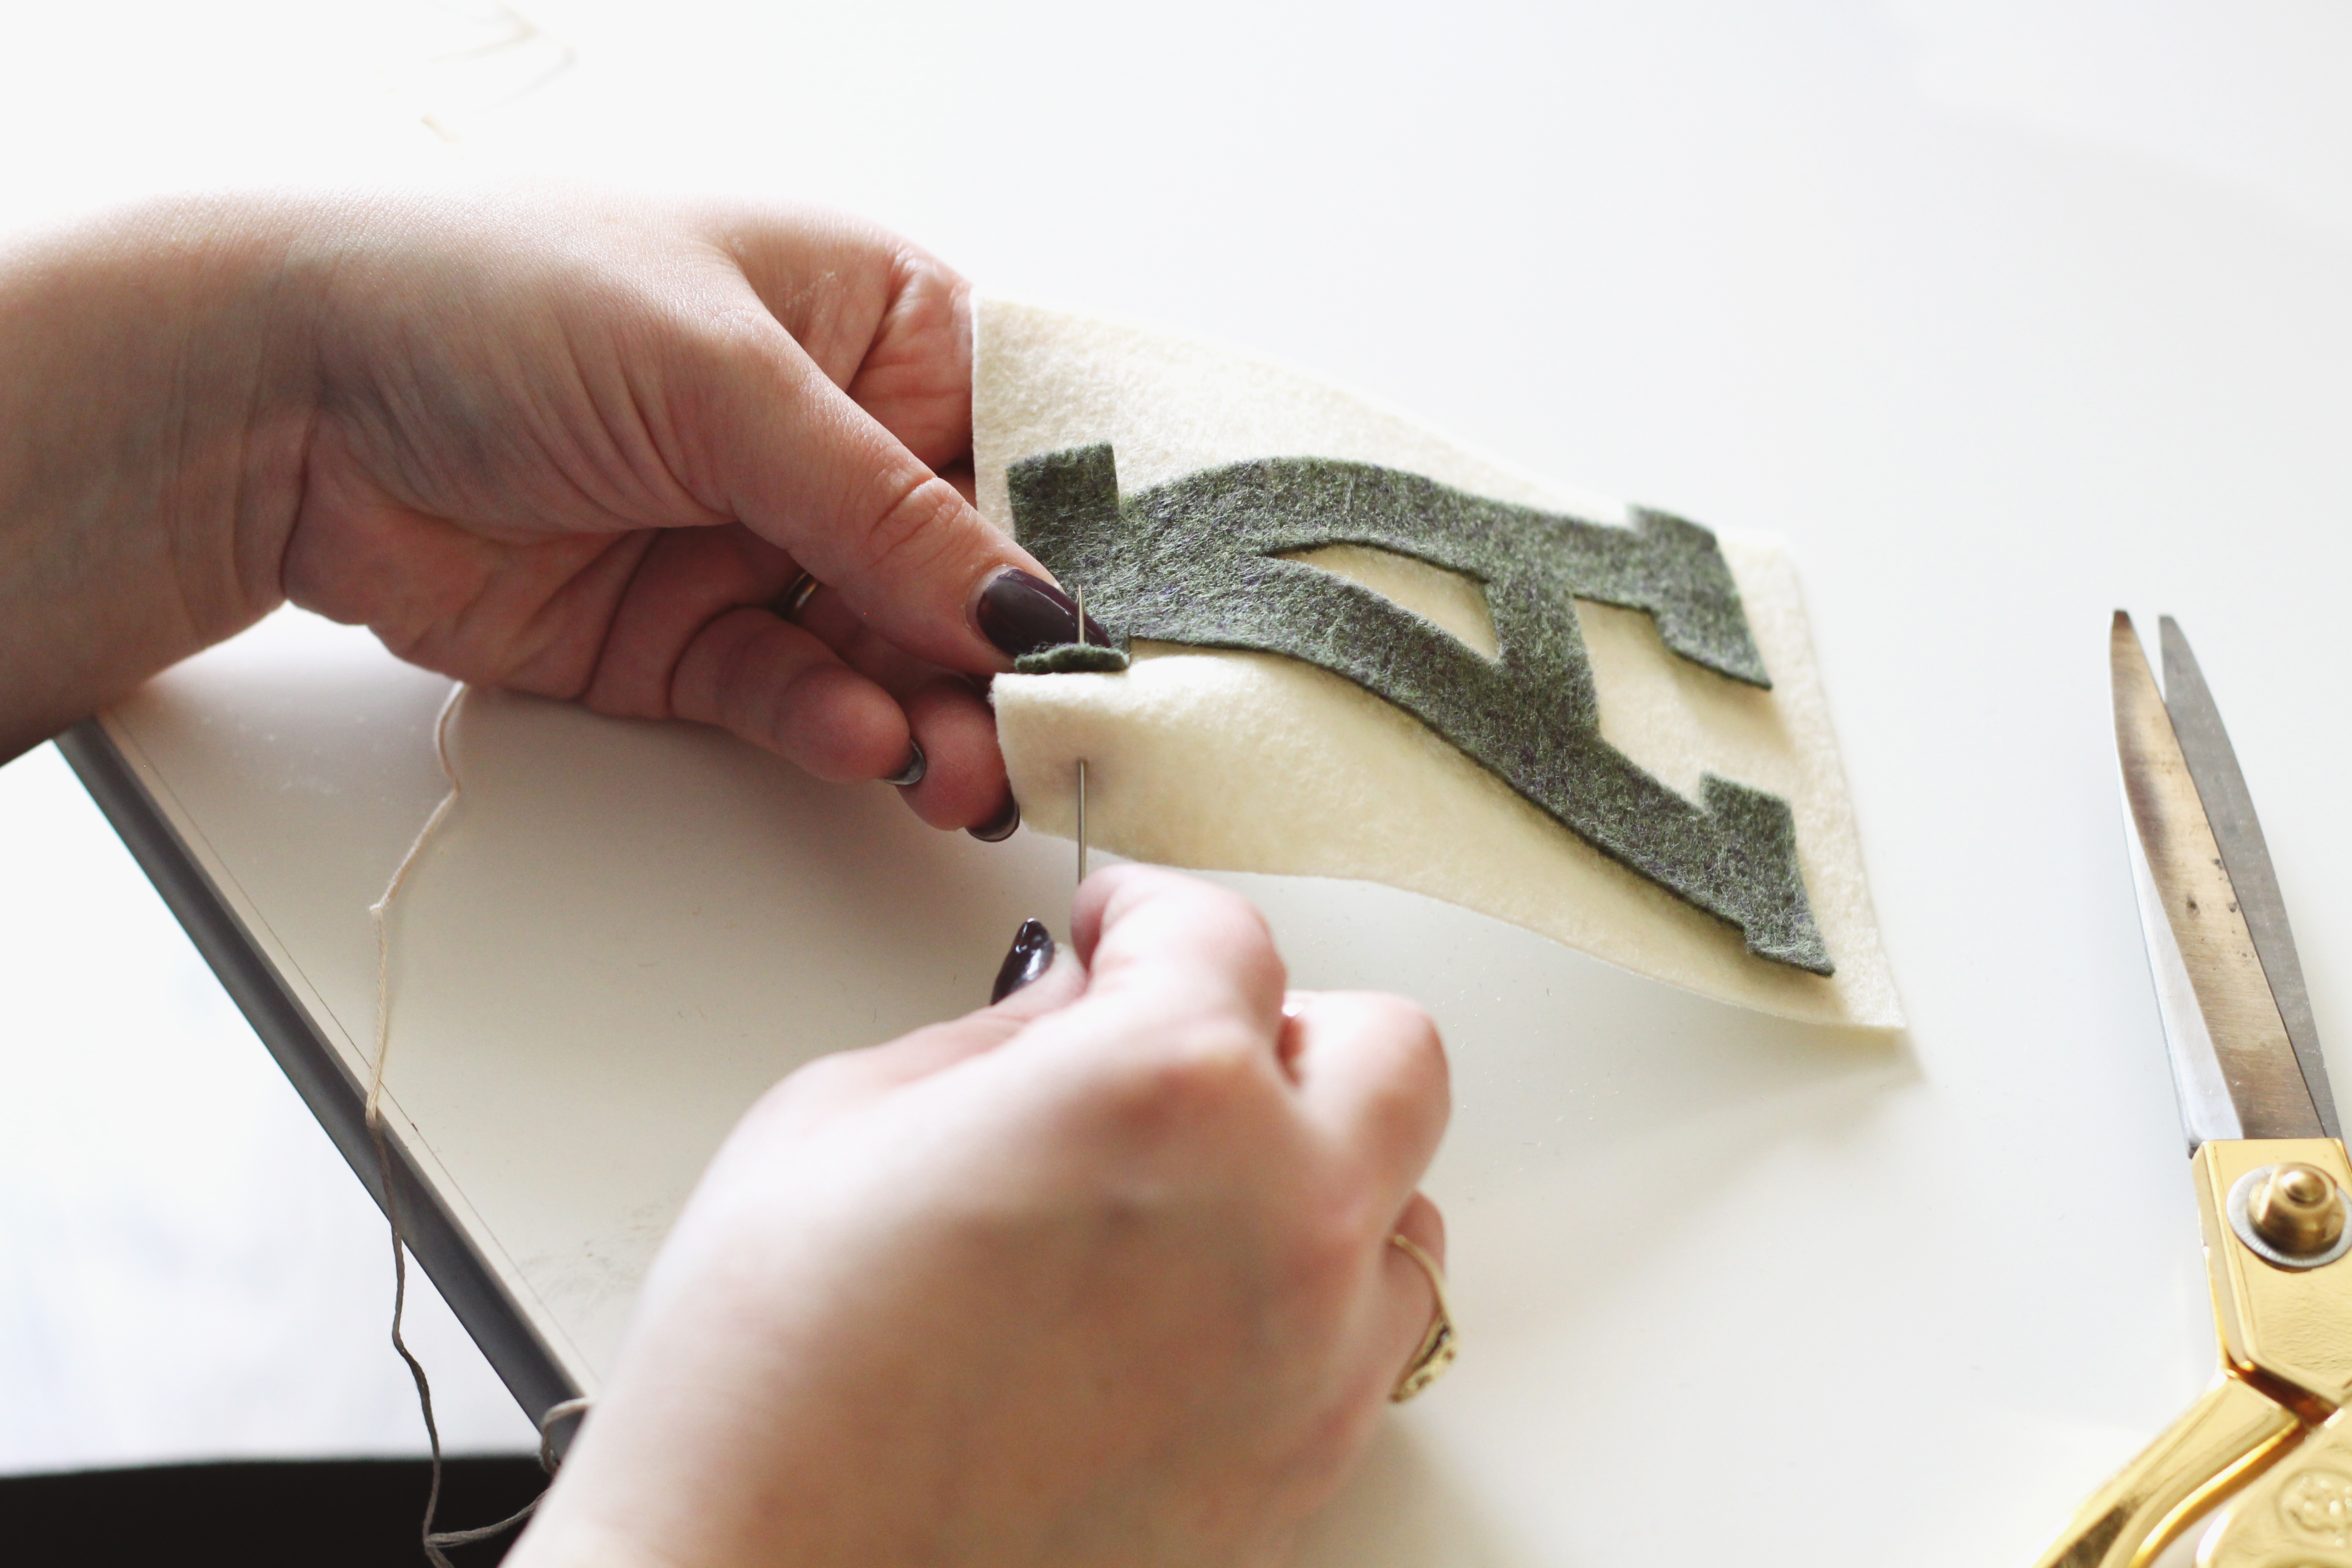
 Choose your embroidery floss color and, starting with the first letter in your banner, insert the needle into the felt rectangle and bring it up through both the rectangle and the letter. Insert the needle back into the letter/rectangle to ensure the letter is securely fastened. Stitch as needed across the rectangle so that the banner stays flat when it is strung. Proceed with the next letter and so on. Finish both ends with a loop for easy hanging.
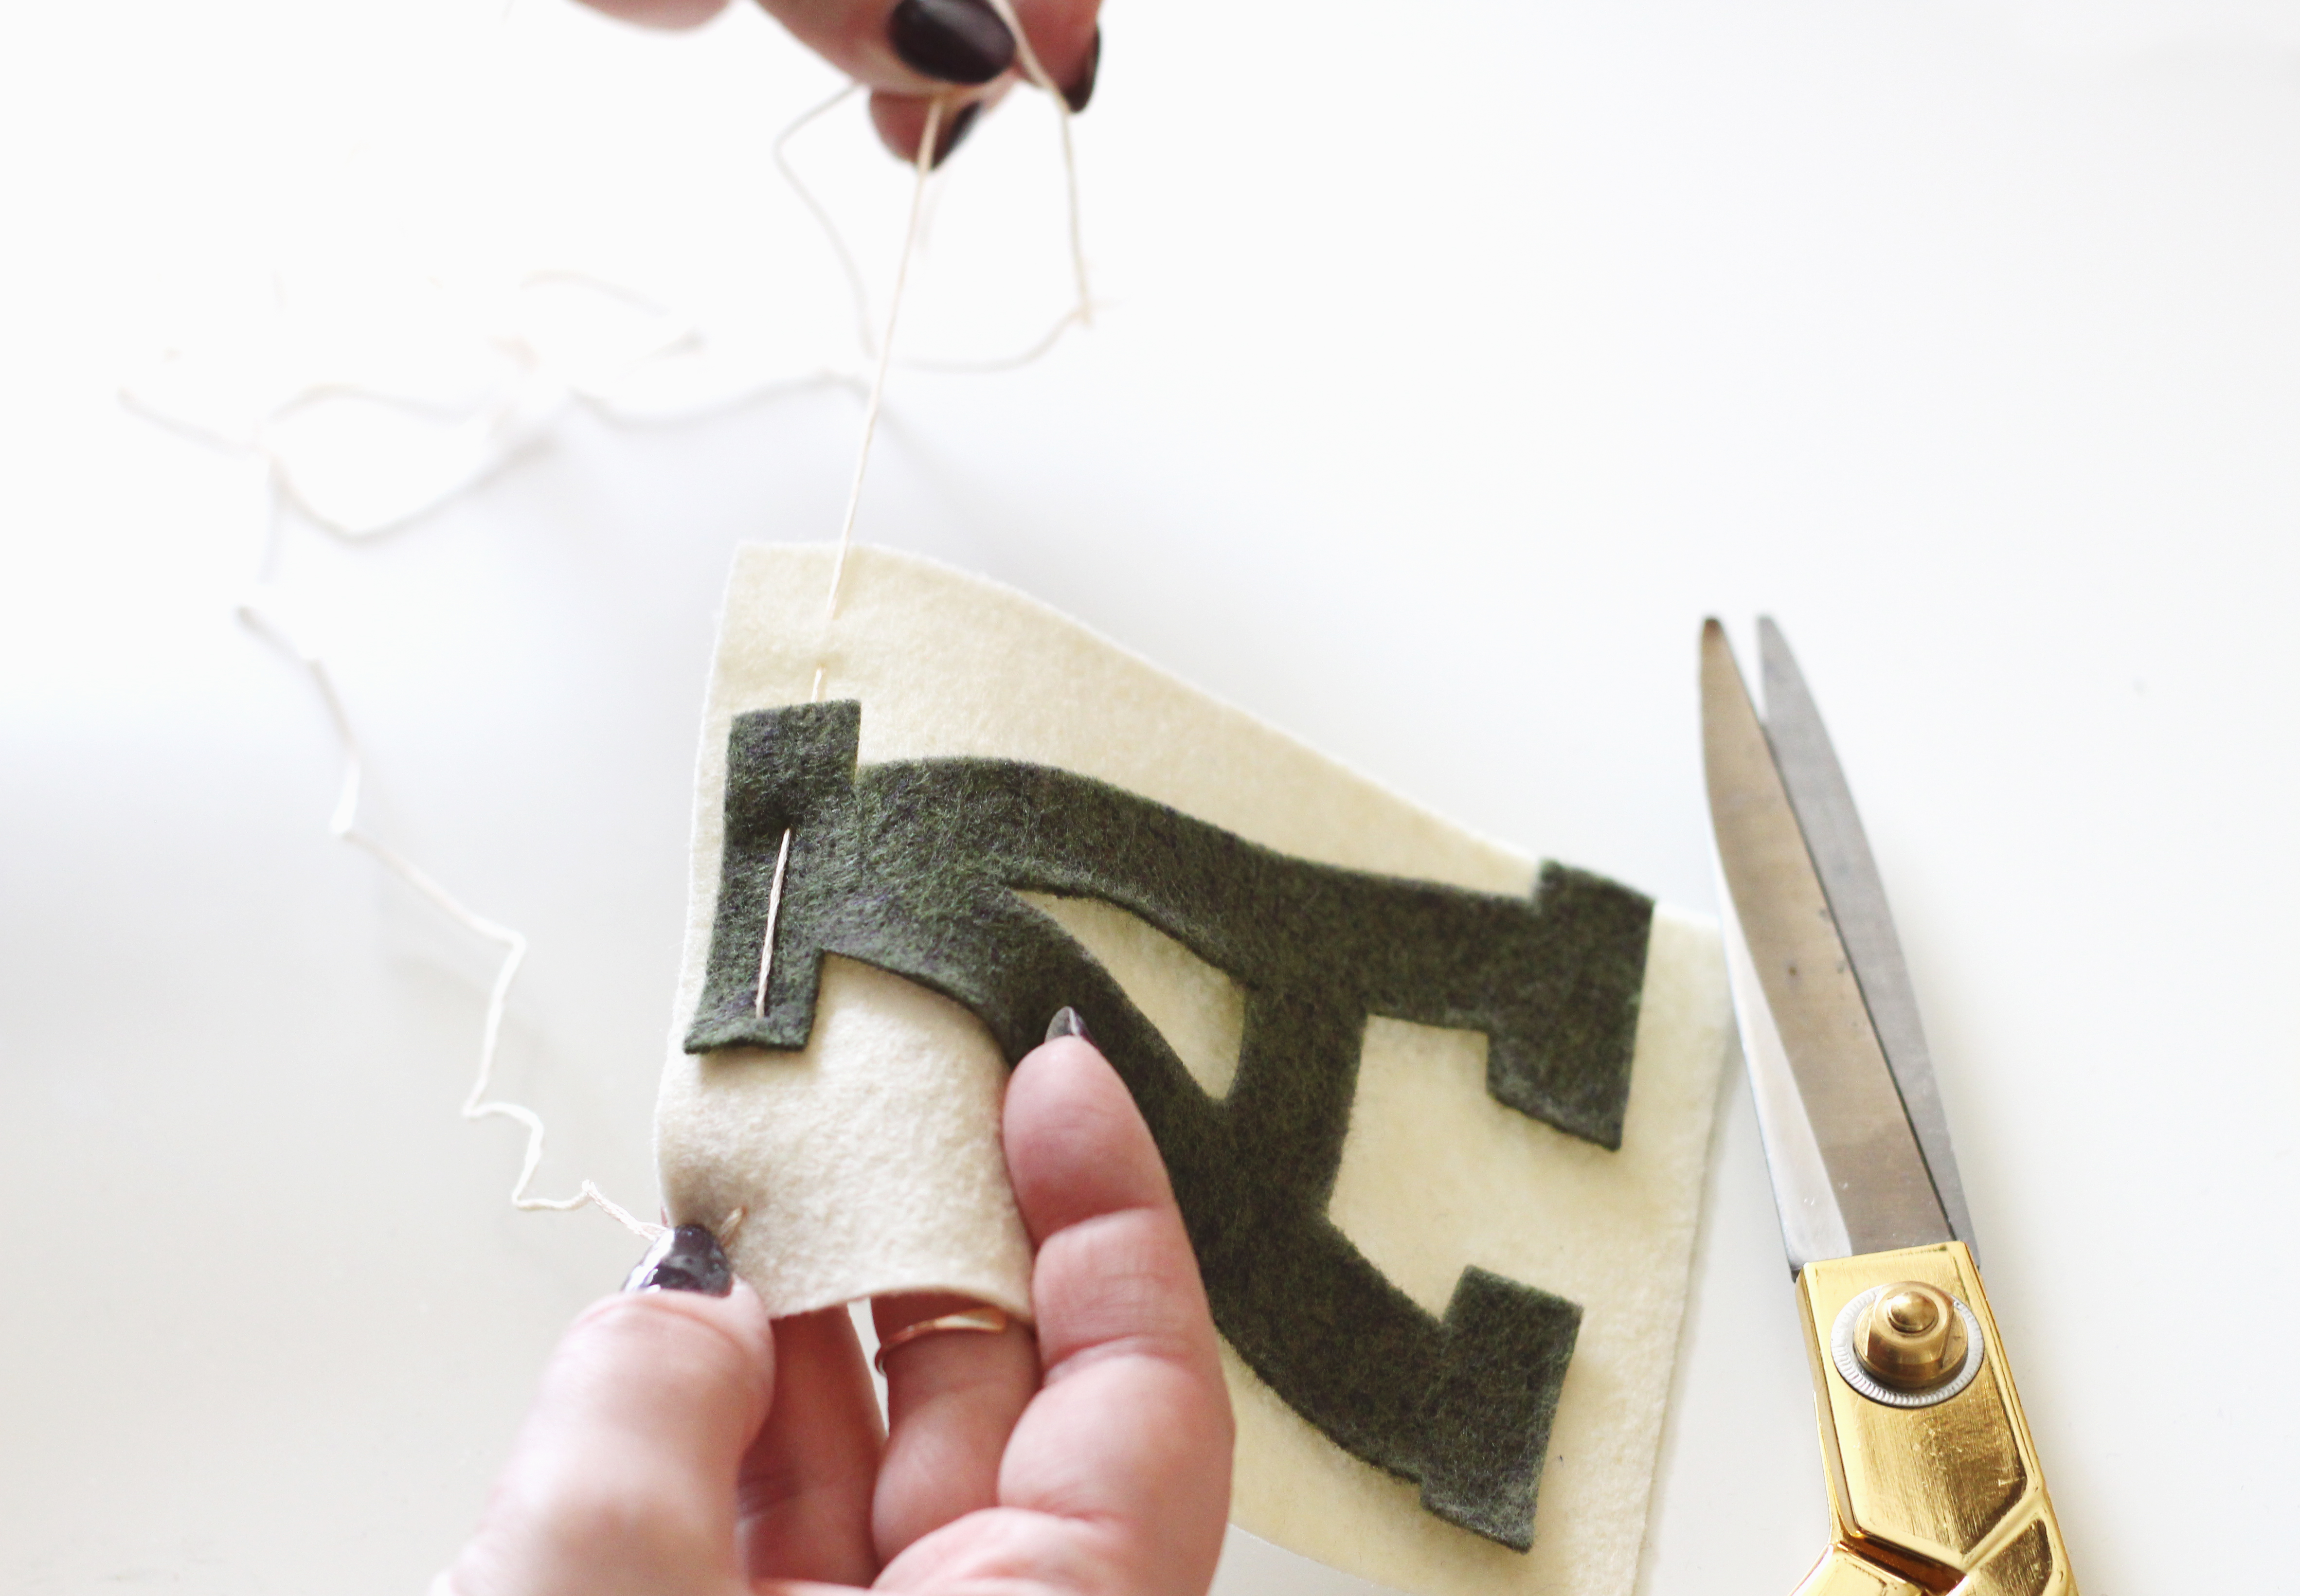
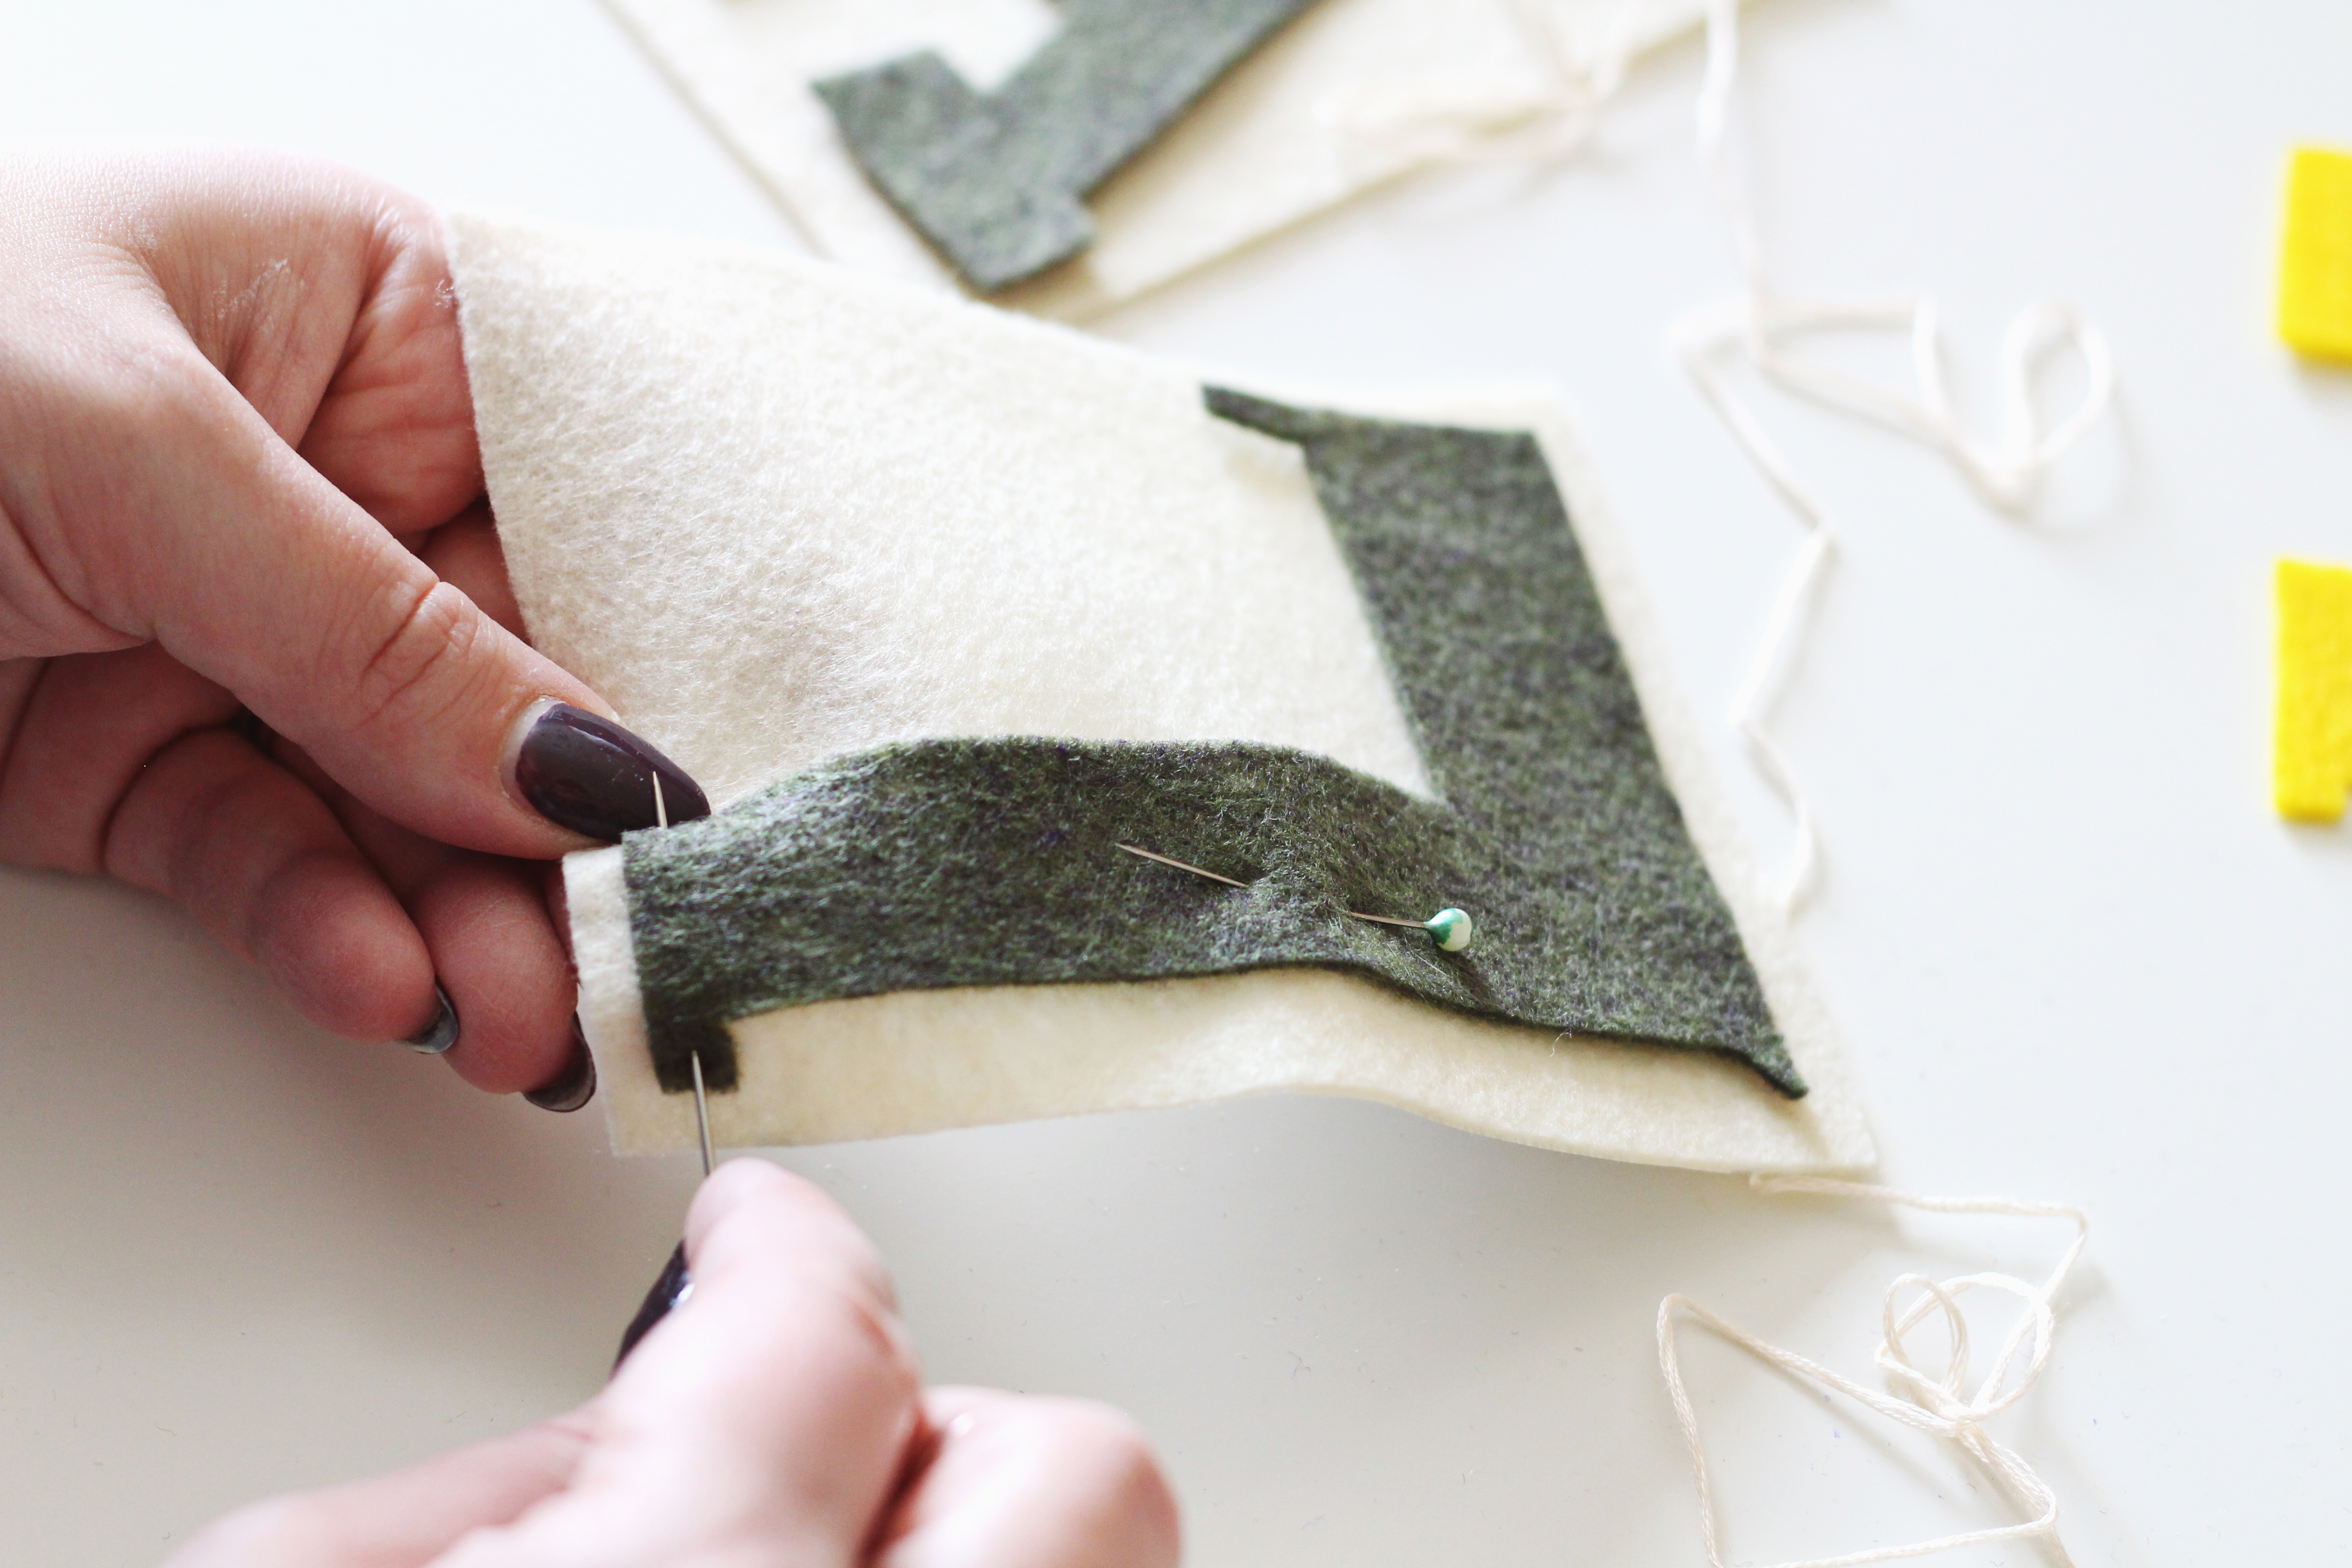
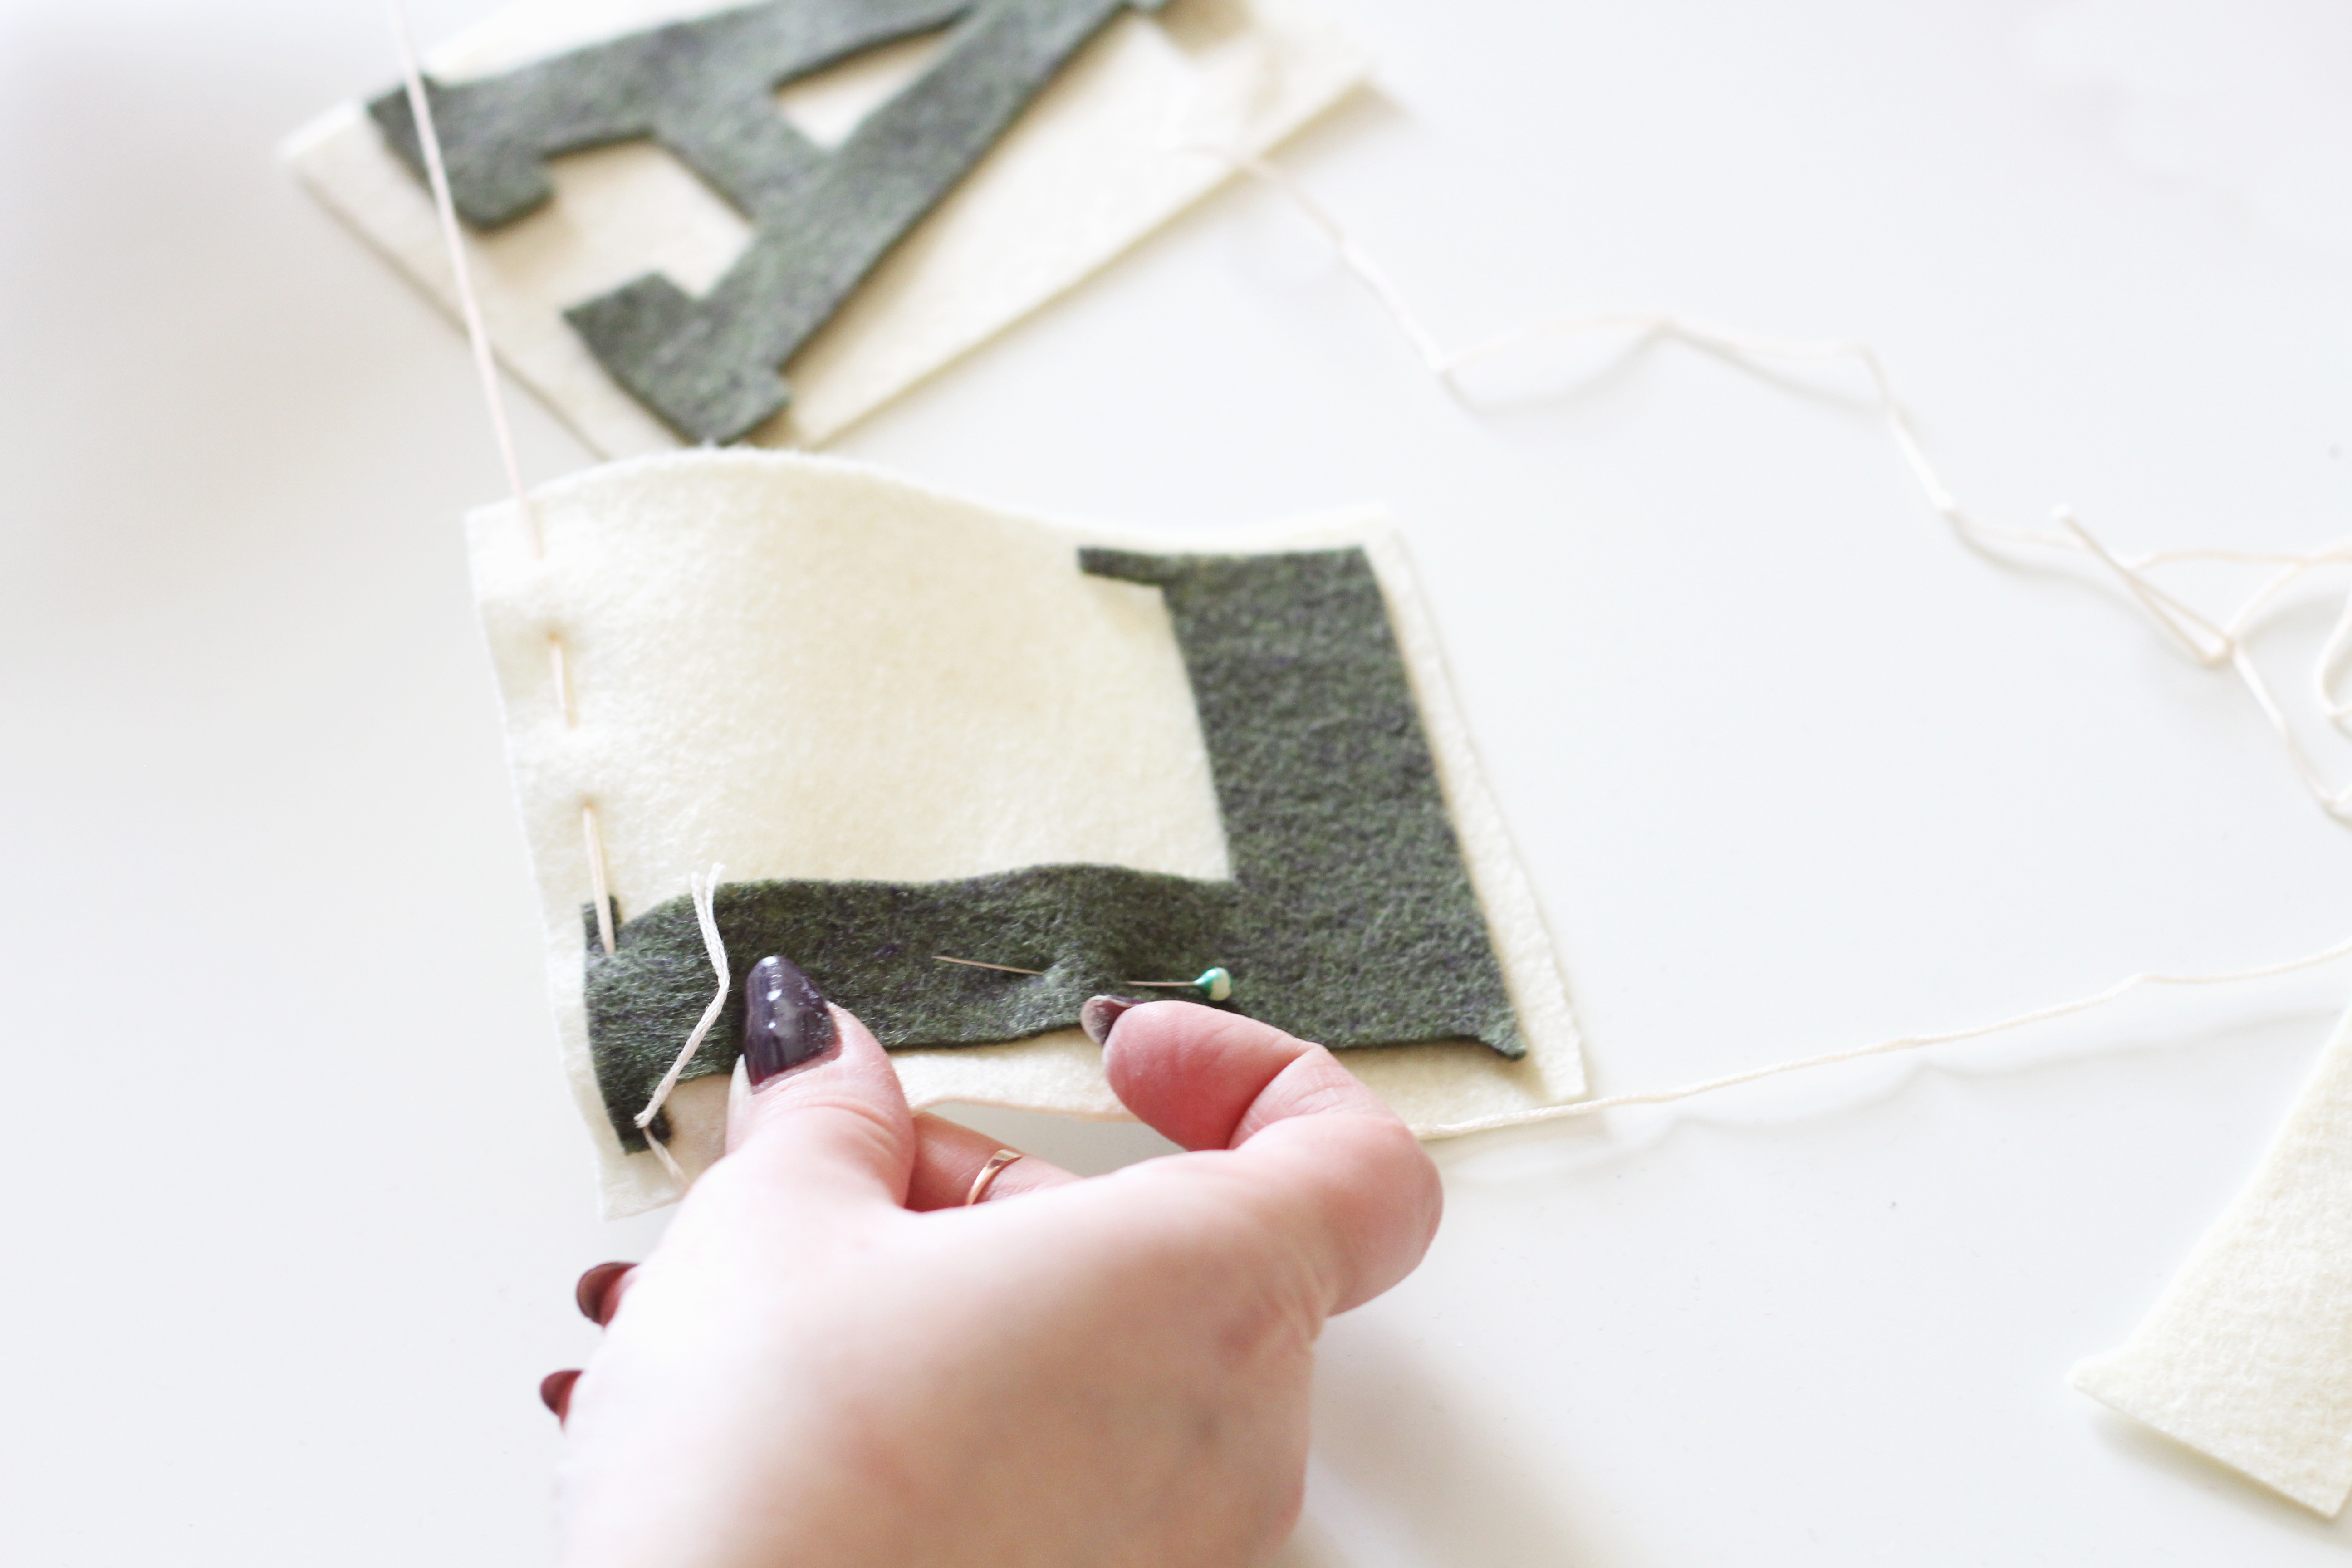 I absolutely love this gold, taupe, and ivory color palette Emily chose for this “Happy Holidays” banner using the same technique. It is so cozy.
 To create a banner with the letters only simply add a stitch on each “arm” of the letter. So, for an “H”, you would add two stitches. Begin your stitch from behind so that the stitched floss shows across the front. This is especially pretty with a bright floss color!
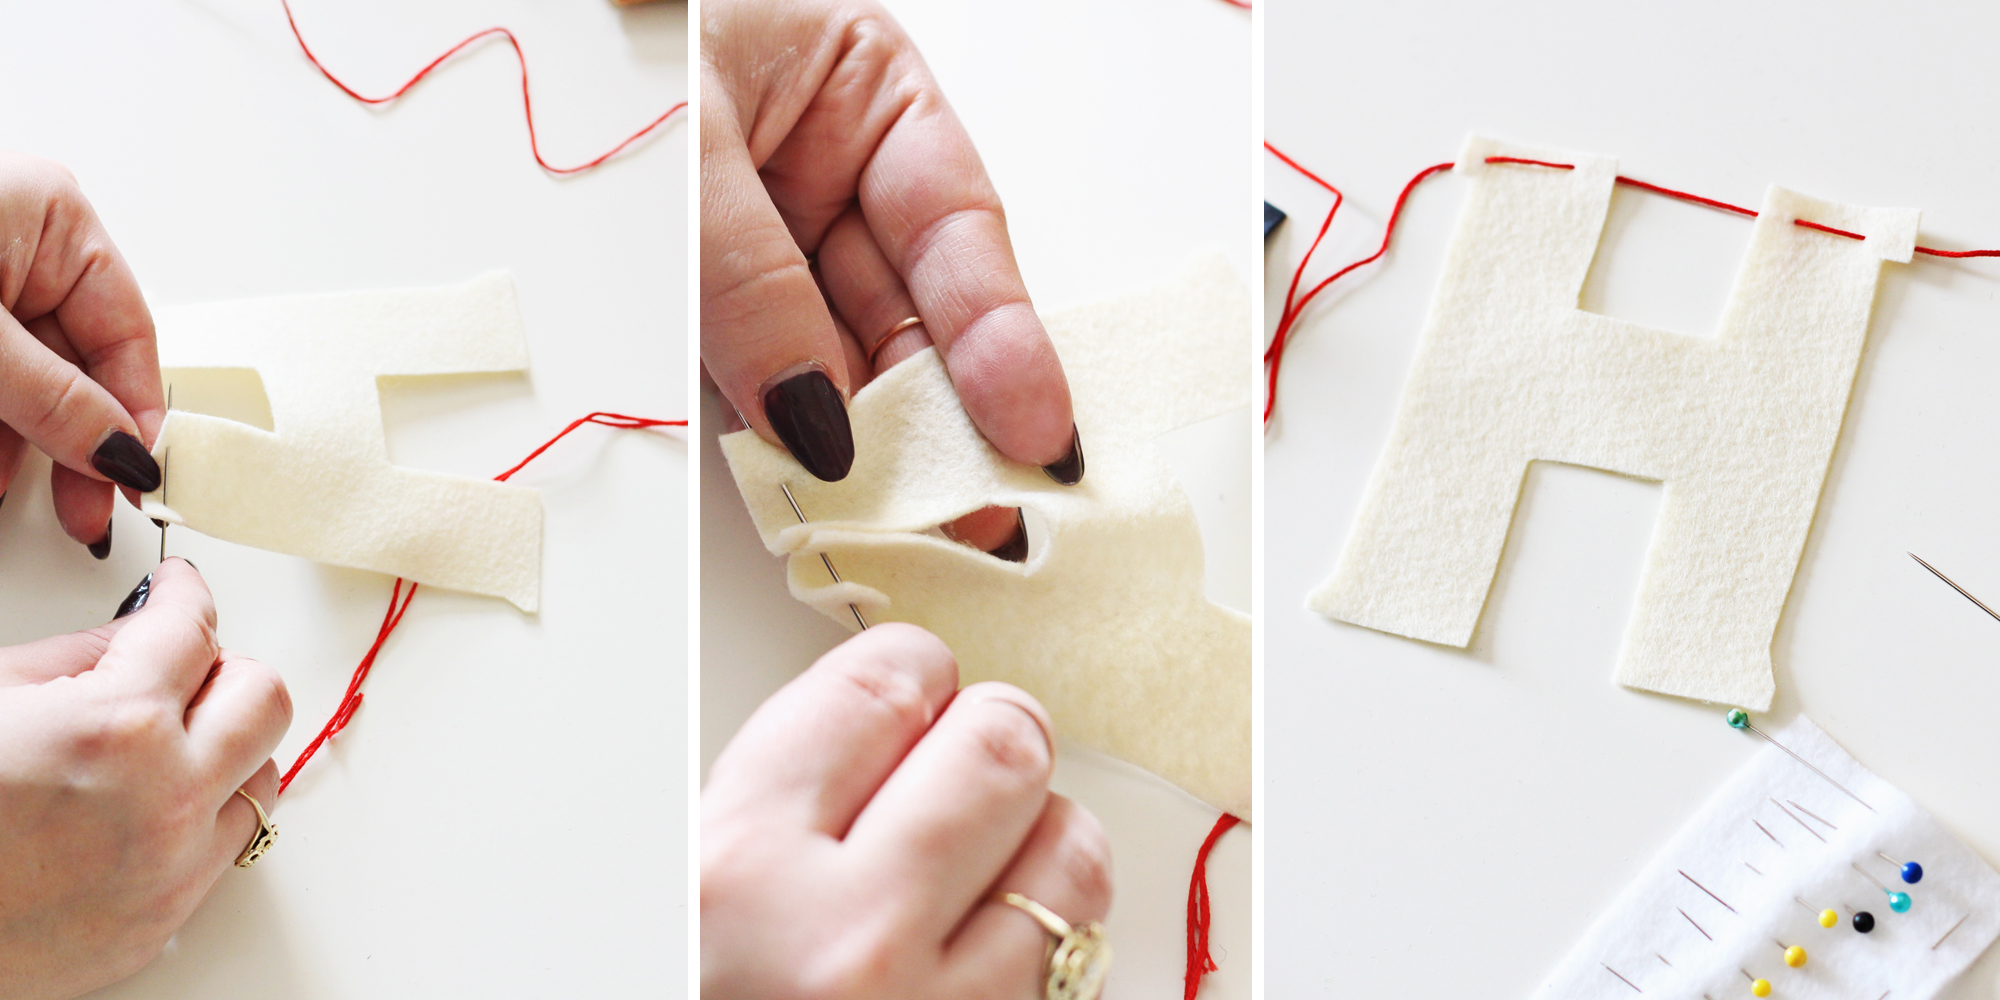 Once you know this basic technique, you can create banners in all different shapes and sizes. Traditional pennant banners are created with triangles. Once you cut one, use it as a stencil to cut out the rest. Try varying the triangle sizes and layering the strings for a textured display.

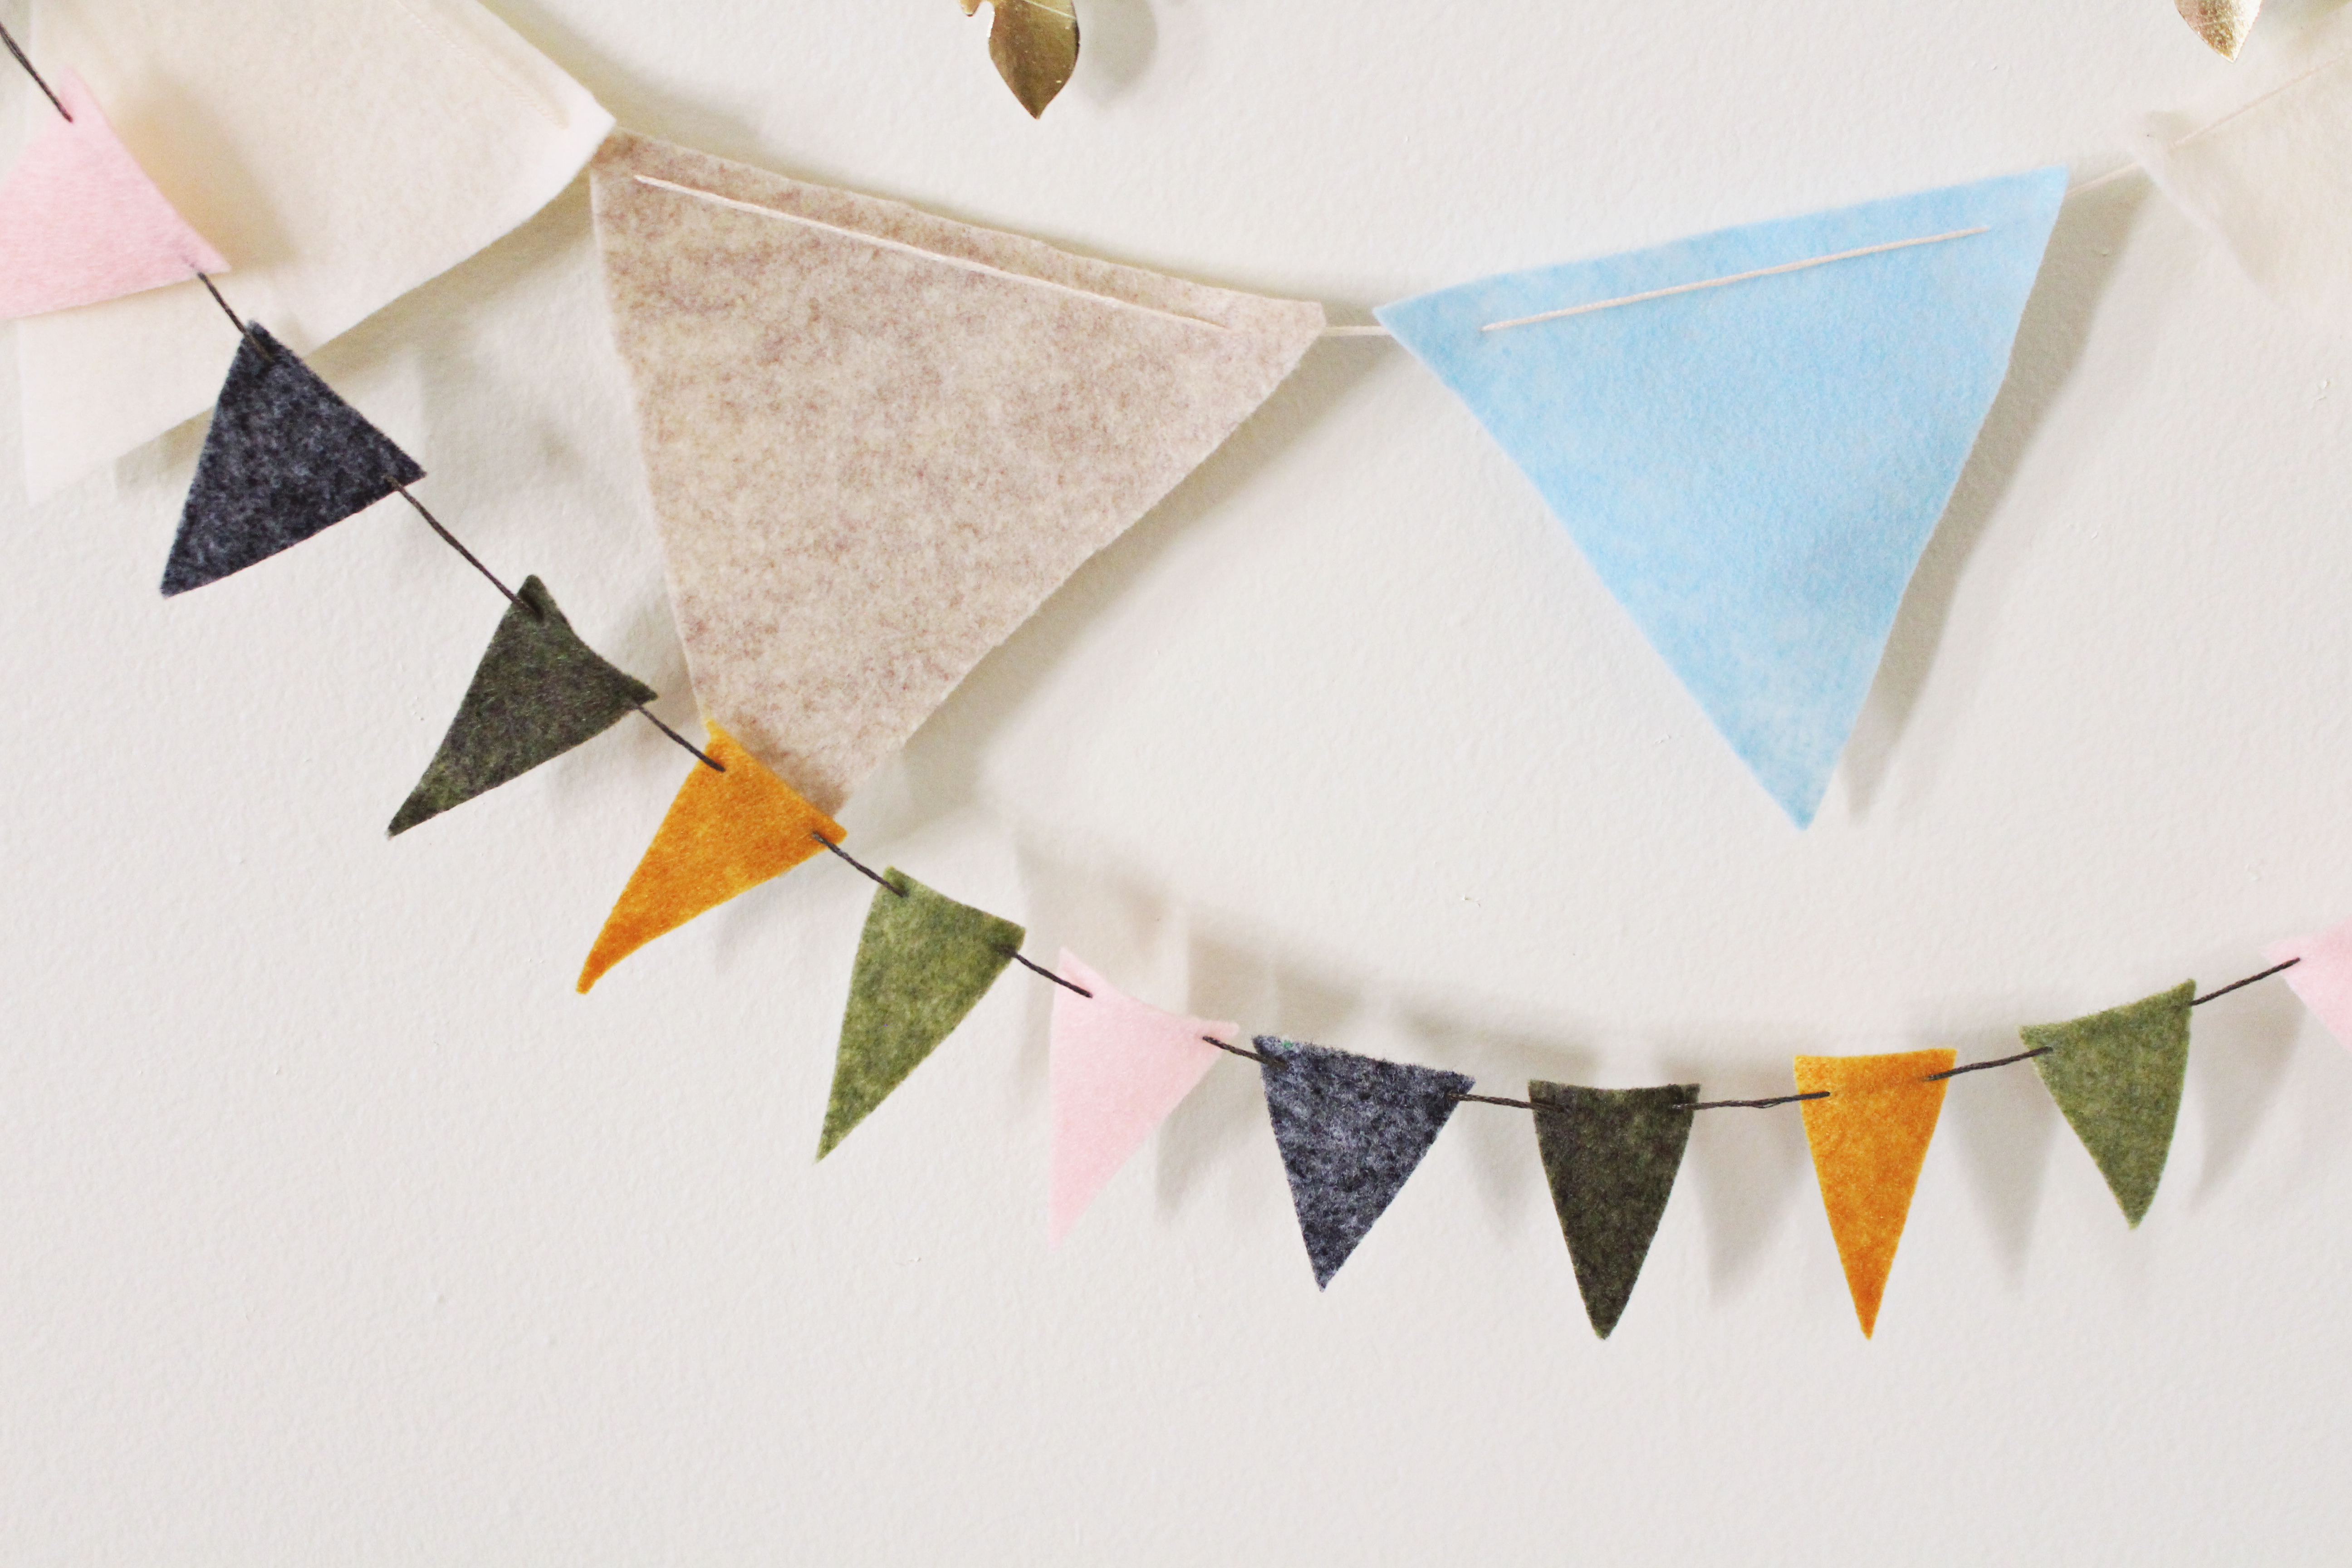 These banners are addicting to create once you get going! Happy crafting!


No Comments