Surprising someone with a piece of snail mail is certainly special in and of itself, but sometimes the extra, little details can make a huge impact – especially around the holidays when mailboxes begin to fill up with seasonal greetings! I had so much fun coming up with these 5 holiday card envelope decorating ideas to help you add a festive touch to your Christmas card sending this year! Click on each photo to shop the cards too!
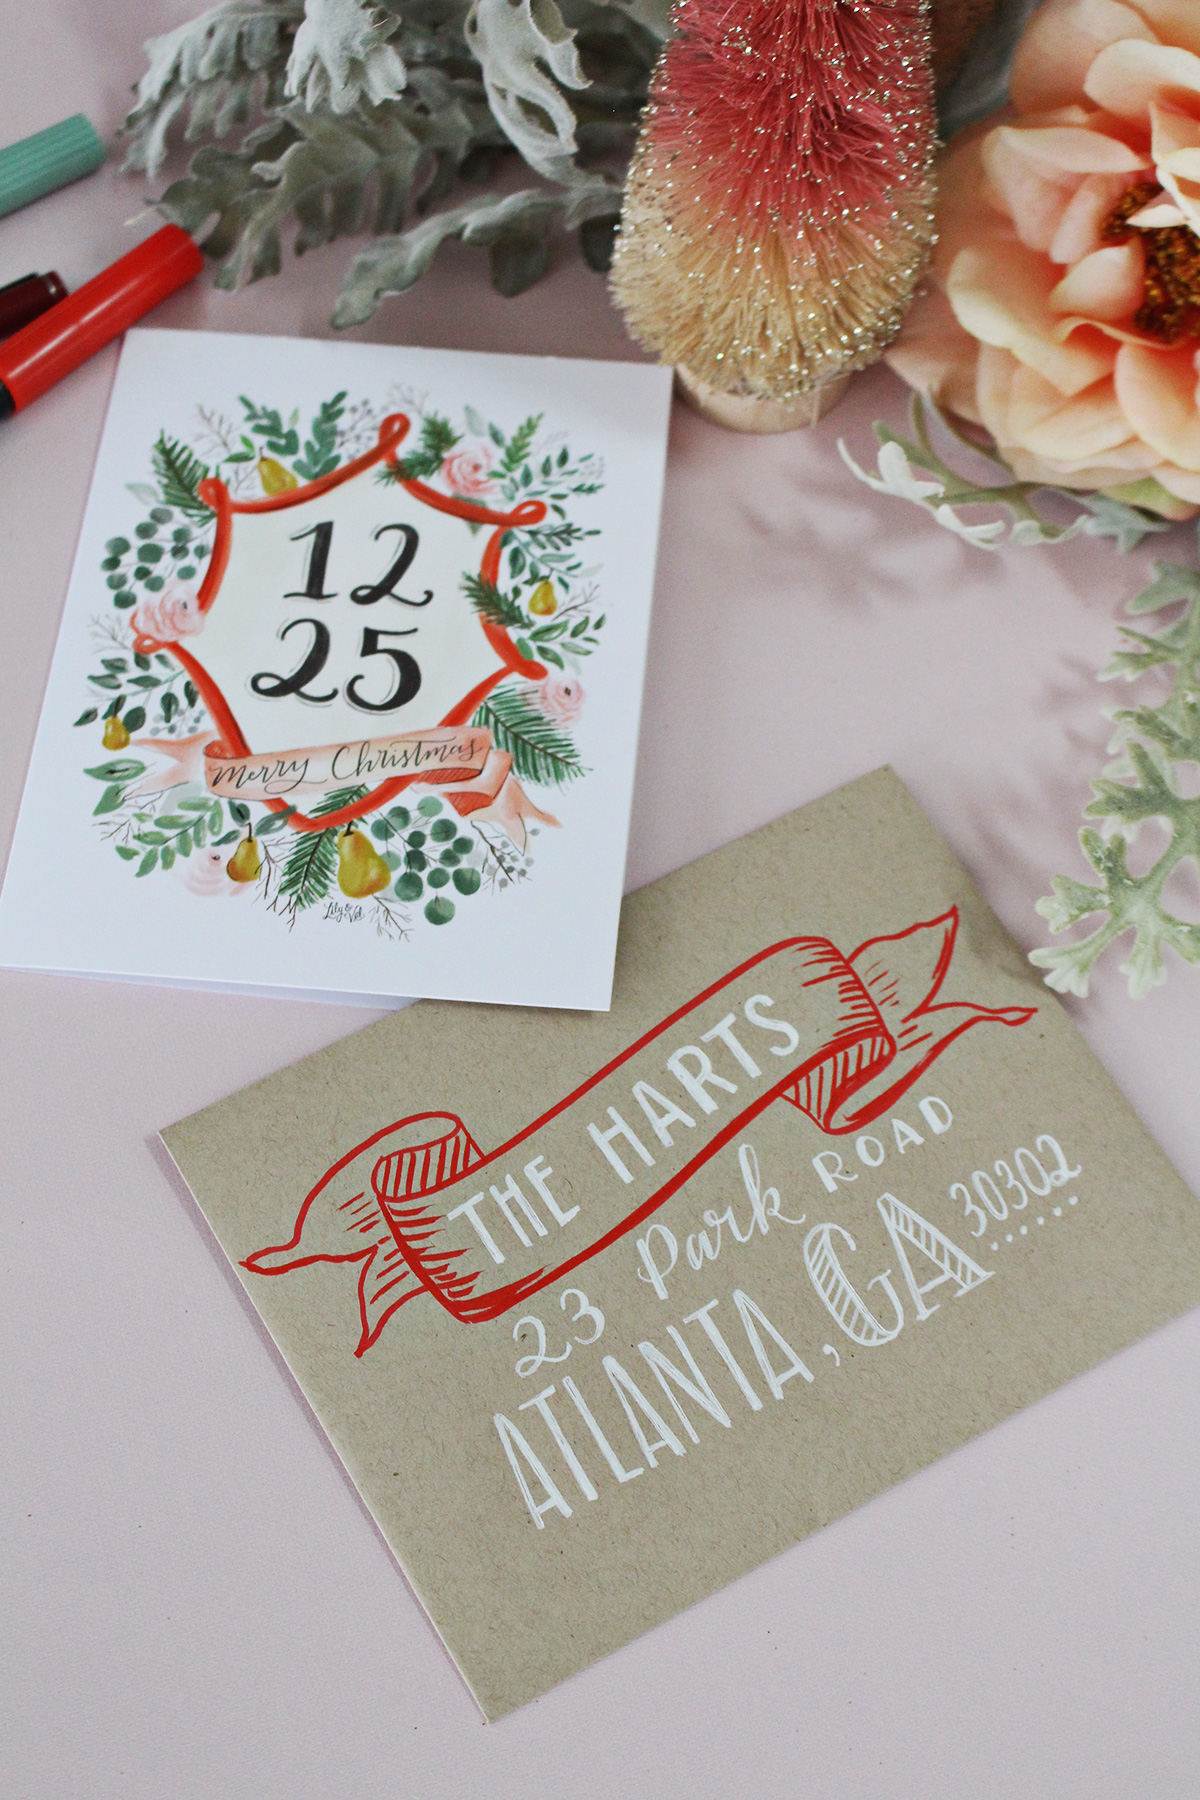
No. 1. Banner:
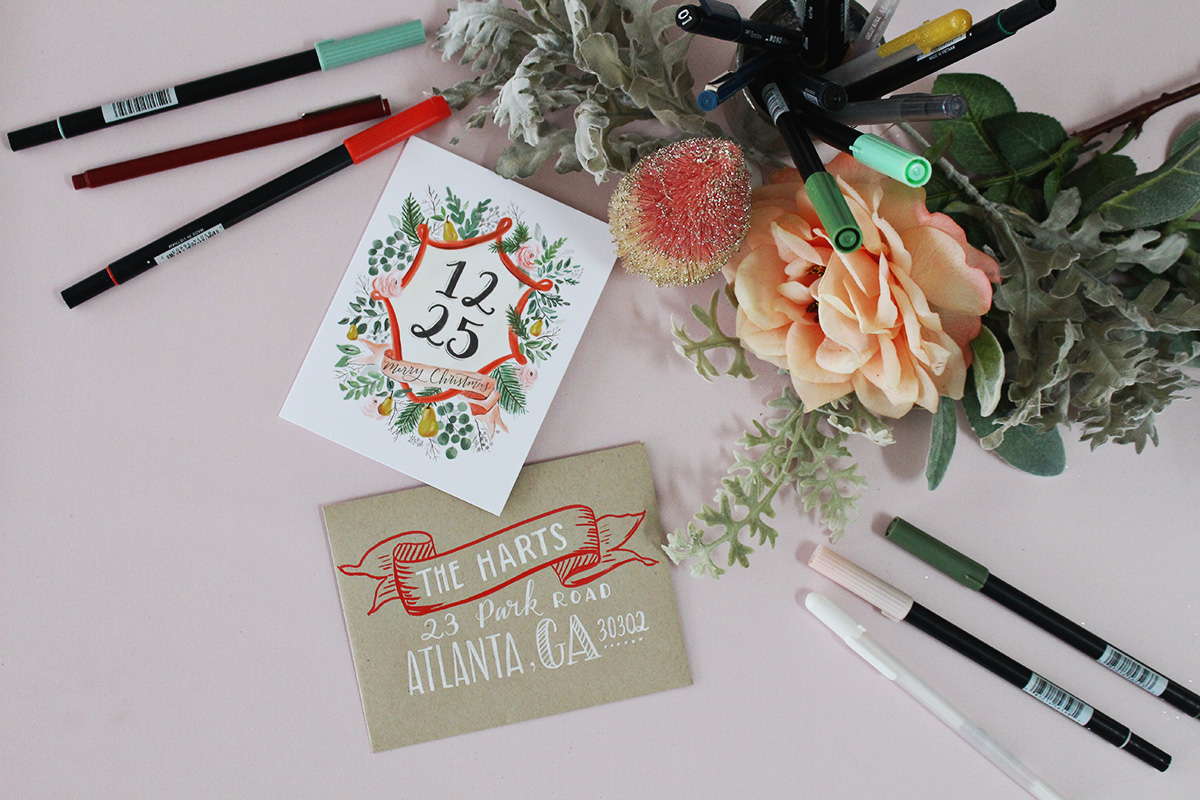
My philosophy is: When in doubt, put a banner on it! 🙂 A hand-drawn banner is an amazing way to add emphasis to the name of your recipient. Choose a marker in a shade that matches the card. Here I kept the rest of the lettering the same color (using a white gelly roll pen) so the banner would really pop.
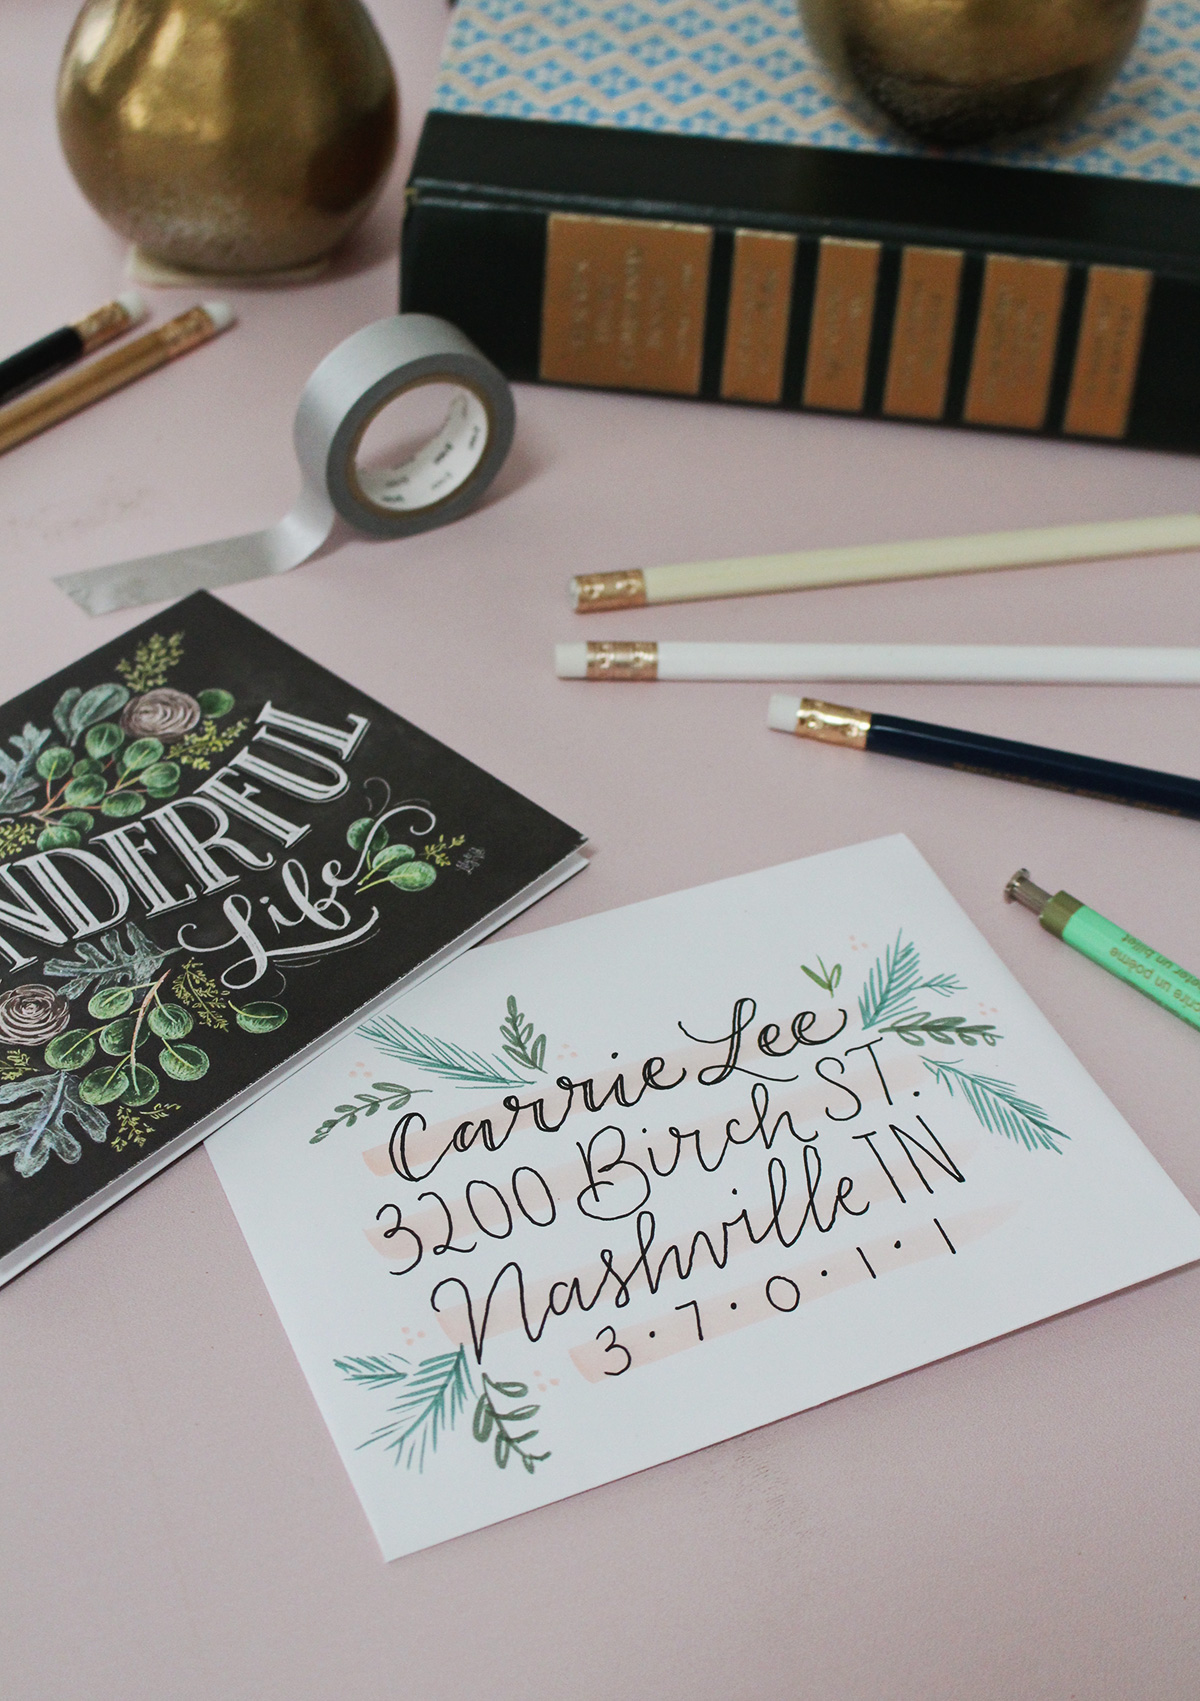
No. 2. Strokes of Color
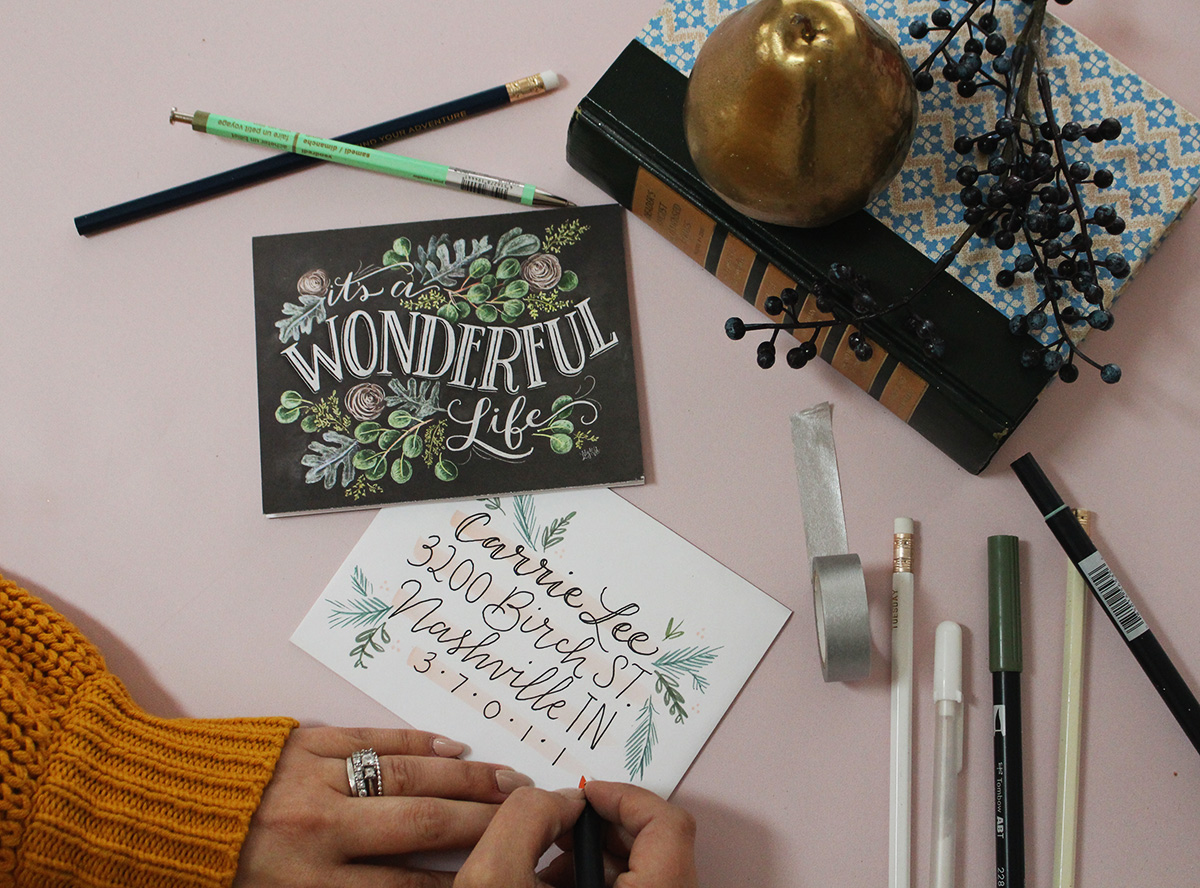
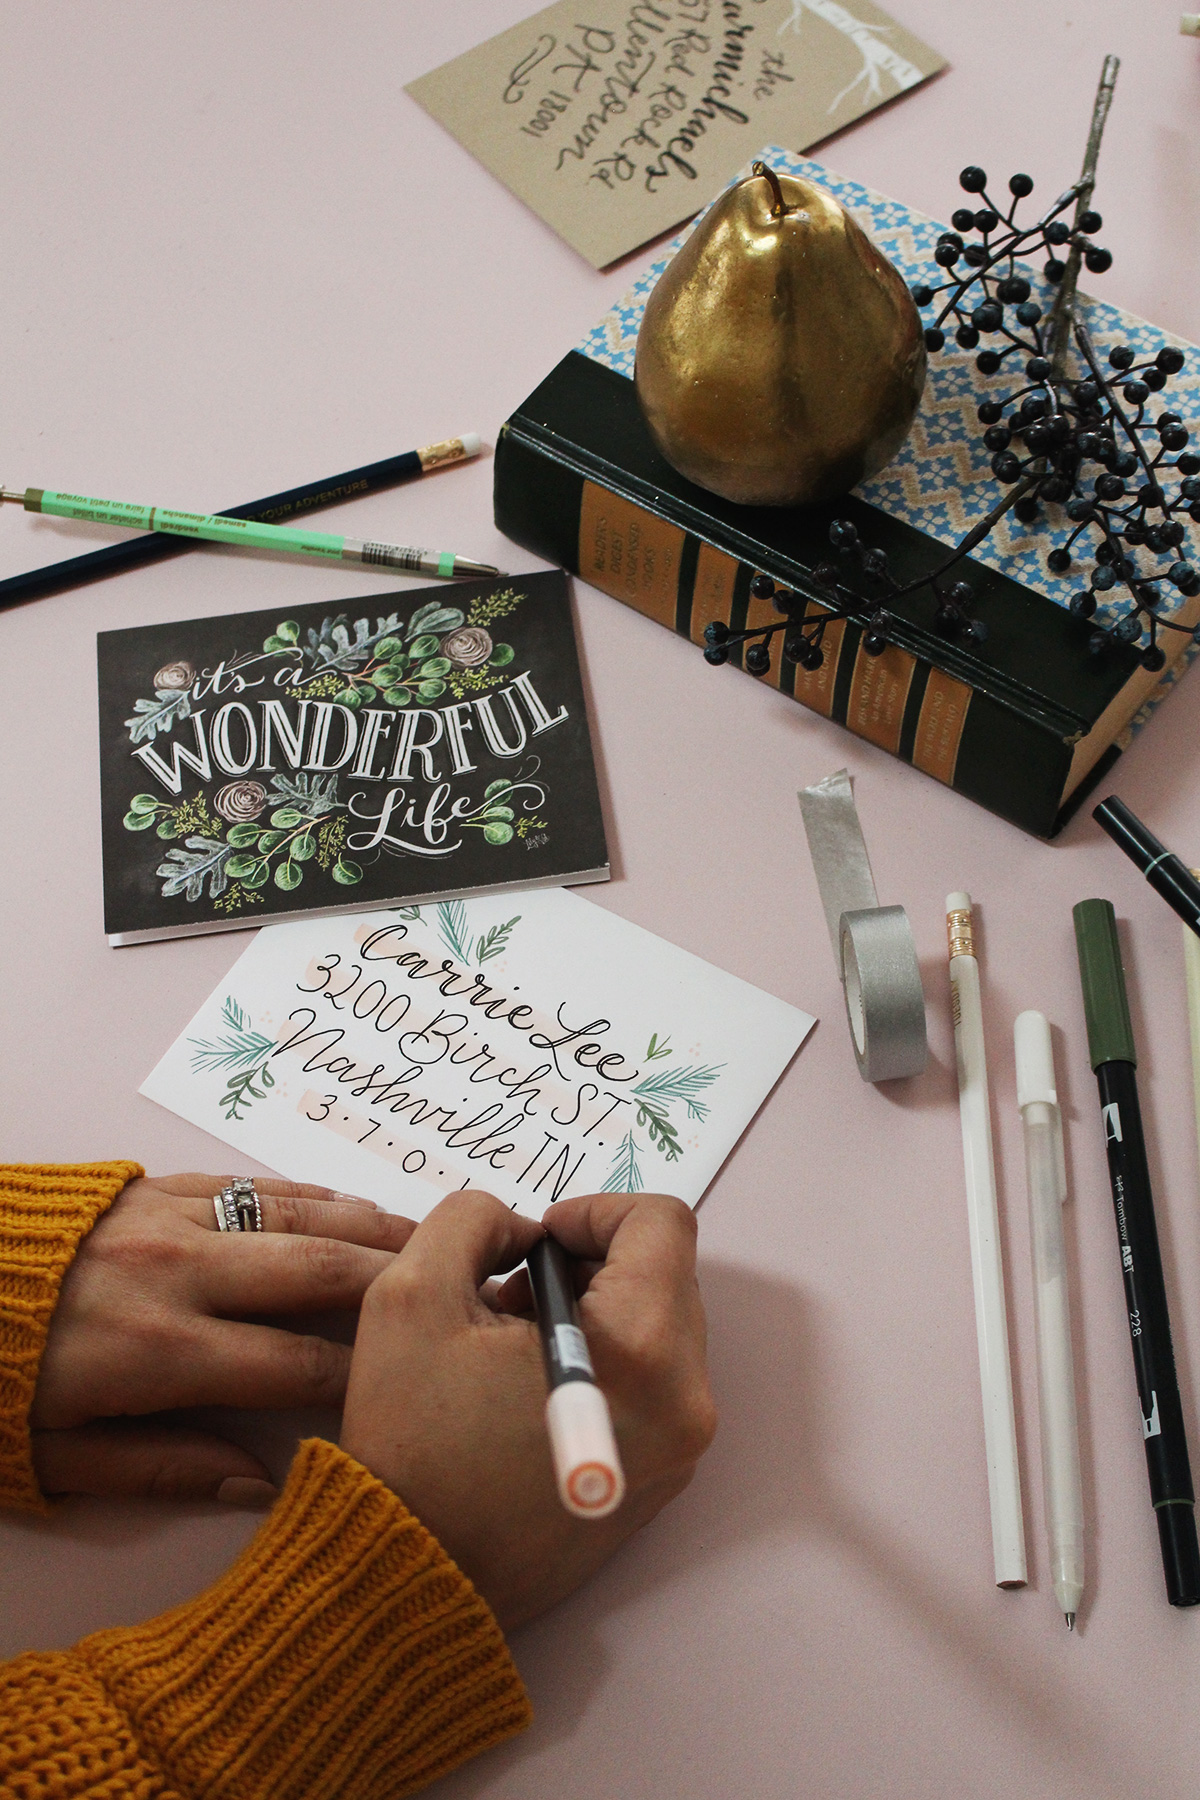
For a simple way to add a bit of color to your envelope, use a brush pen to give your words a backdrop! Just add 4 strokes of color, then write your name and address on top of each stroke. The beauty of this technique happens when the lettering goes above and below your stroke line. It looks a bit haphazard and whimsical this way! I also added some simple, holiday-feeling leaf, laurel, and berry details to accent the address. The markers I used here are Tombow Dual Brush Pens.
No. 3. Sparkle and Shine
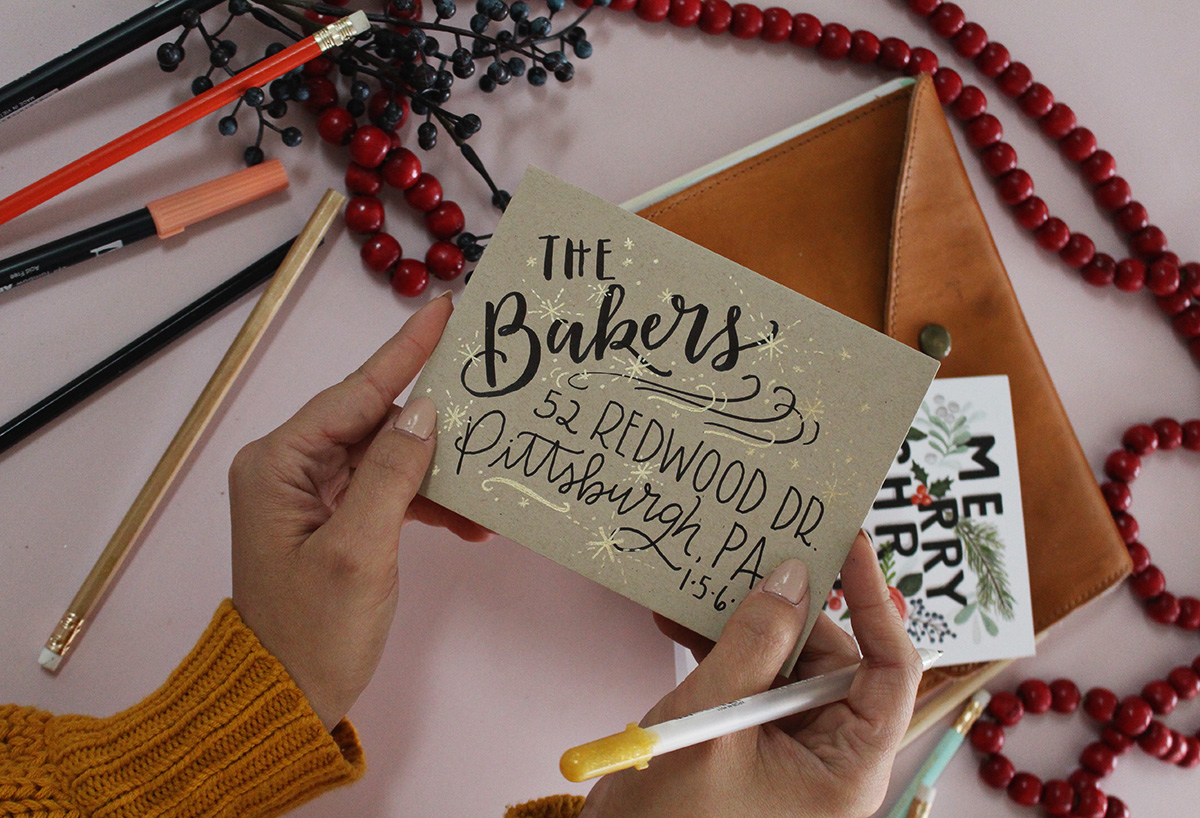
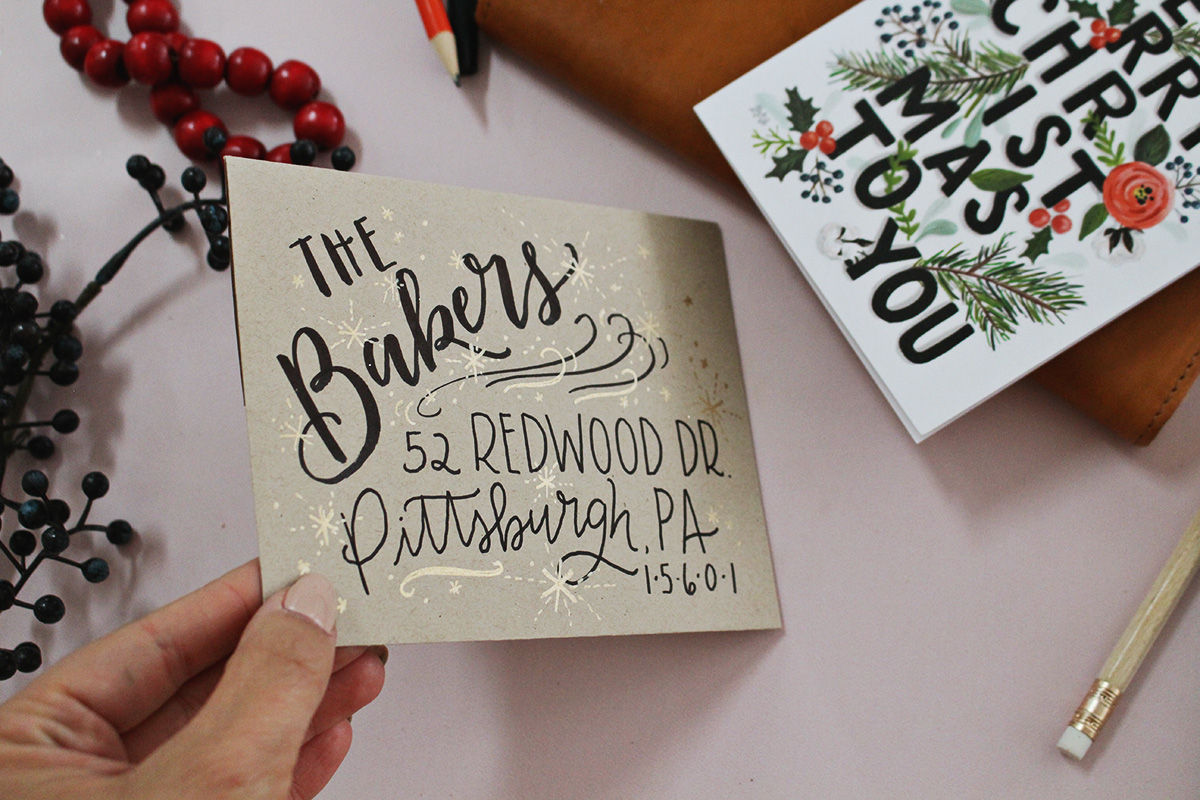
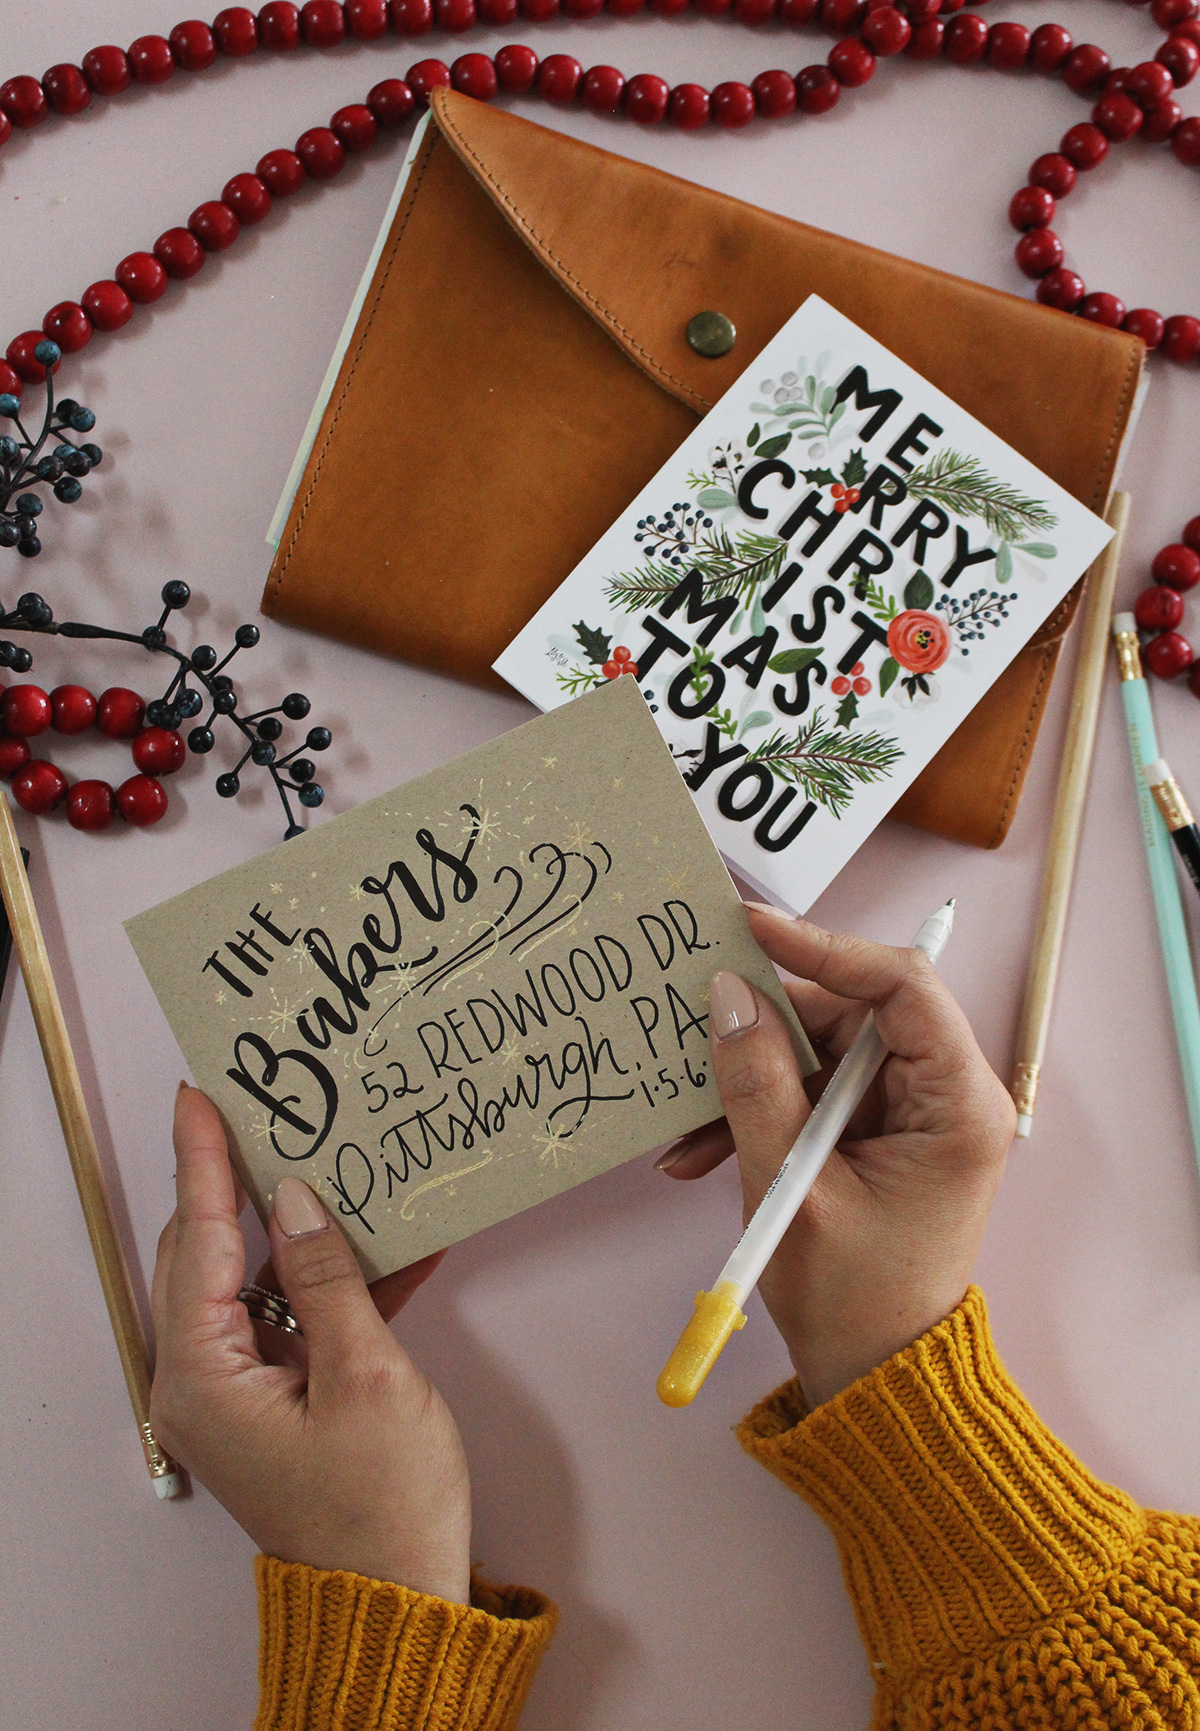
Gelly roll pens are one of my absolute favorite pens for envelope addressing, especially the metallic pens! They come in a variety of colors, but I’m particularly smitten with the gold on the kraft envelope! After you letter or write the address, go back on top with the gelly roll pen and add starbursts, asterisks, dots and dashes. Add some of the “sparkles” on top of the letters and also accents around the address. Your recipients will be delighted to see it shine in their mail!
No. 4. Birch Tree
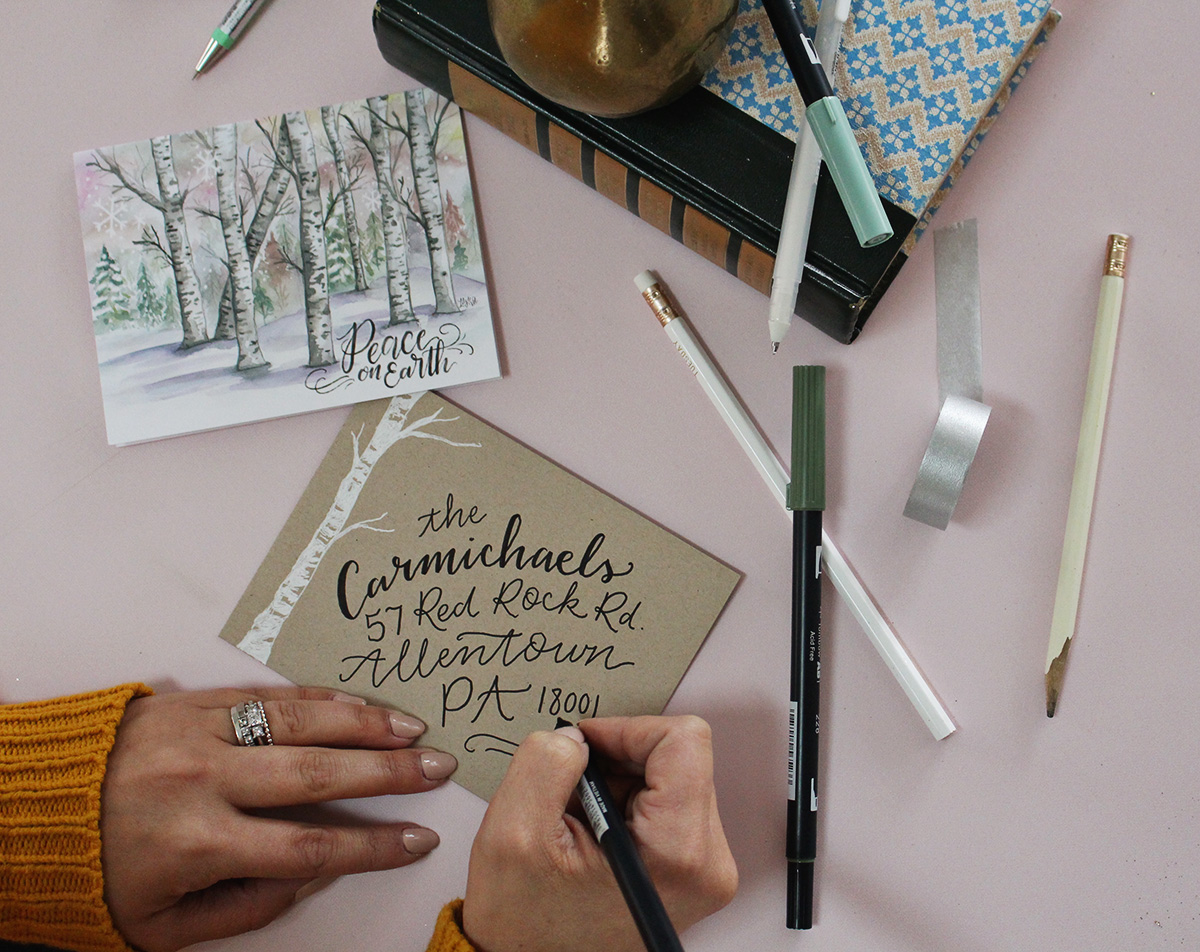
Here it is again – another gelly roll pen idea! Using a white gelly roll on a kraft envelope, draw the outline of a tree off to the side of the envelope, leaving room for the address. When you fill in the tree, sporadically leave blank rectangles to mimic the markings of a birch tree. The great thing is, the markings are meant to look imperfect, so it’s easy to produce the effect! I love how a curved address looks next to the tree.
N0.5. Snow!
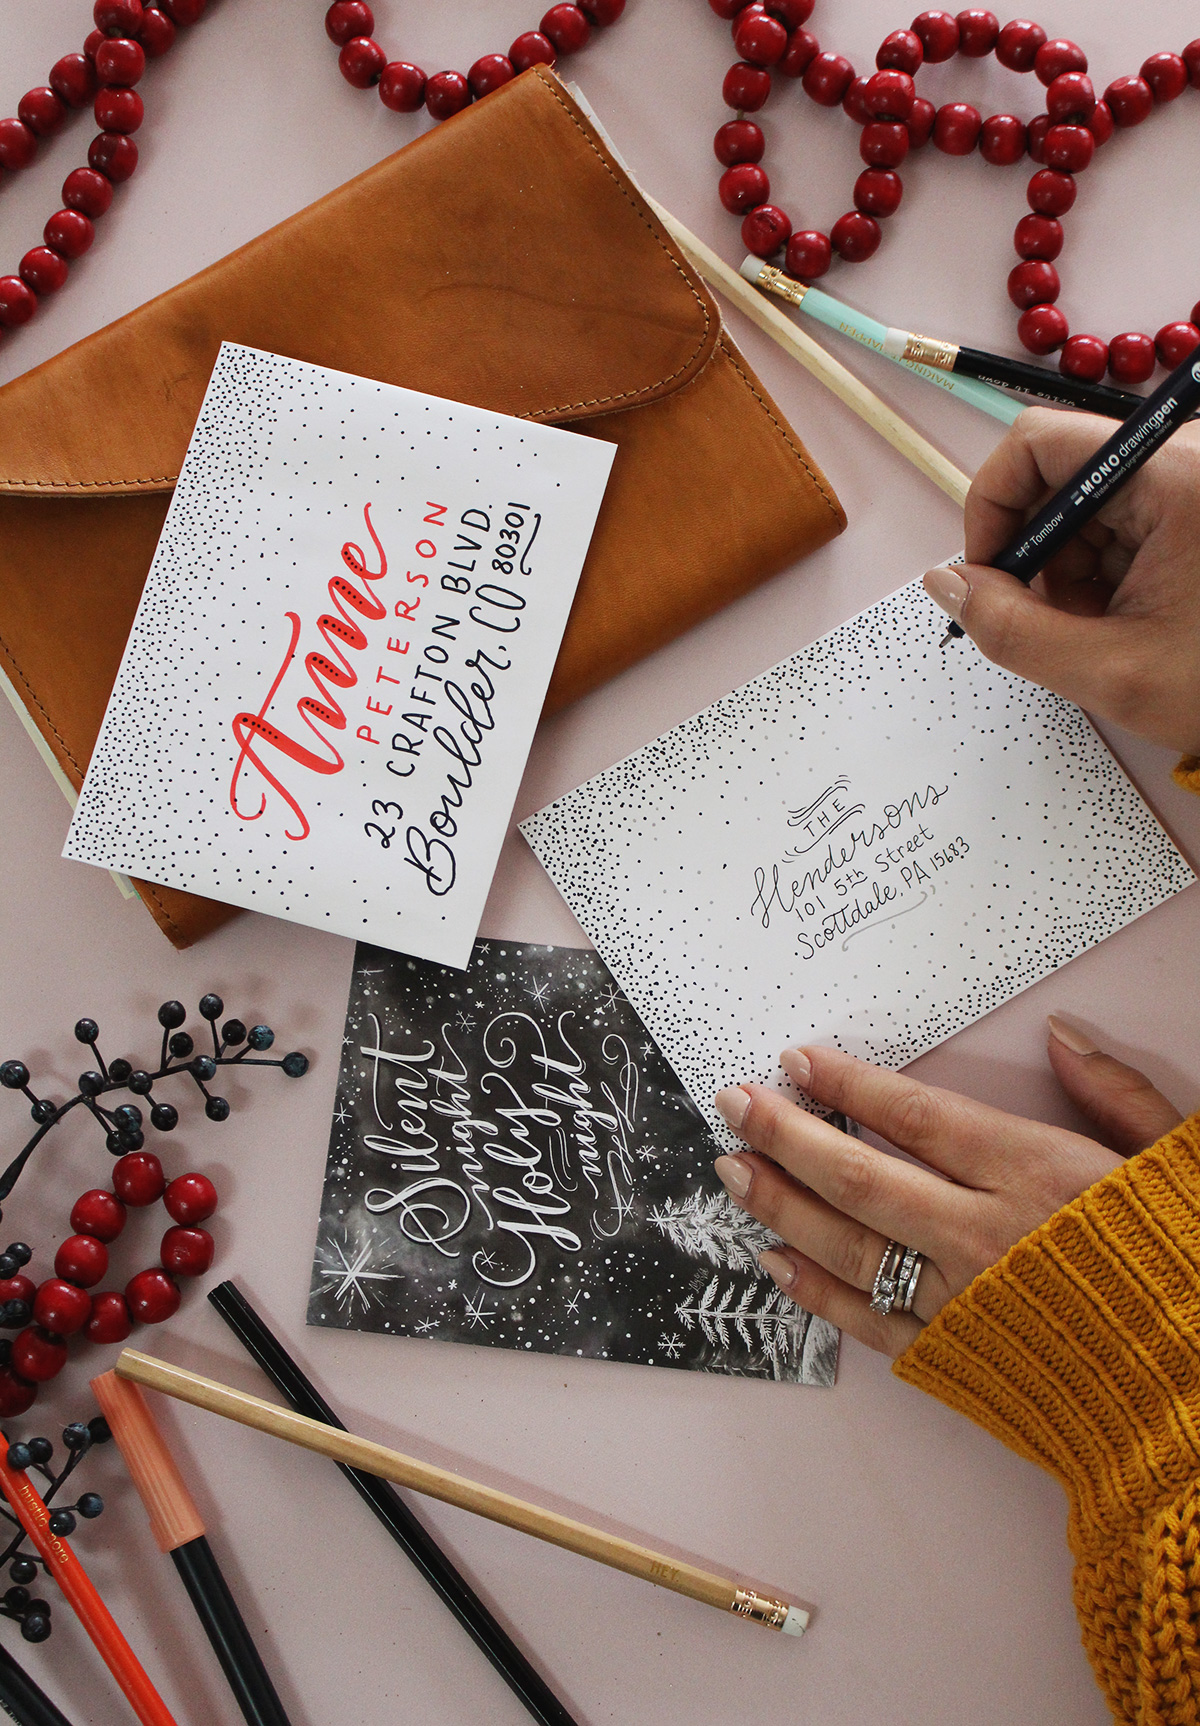
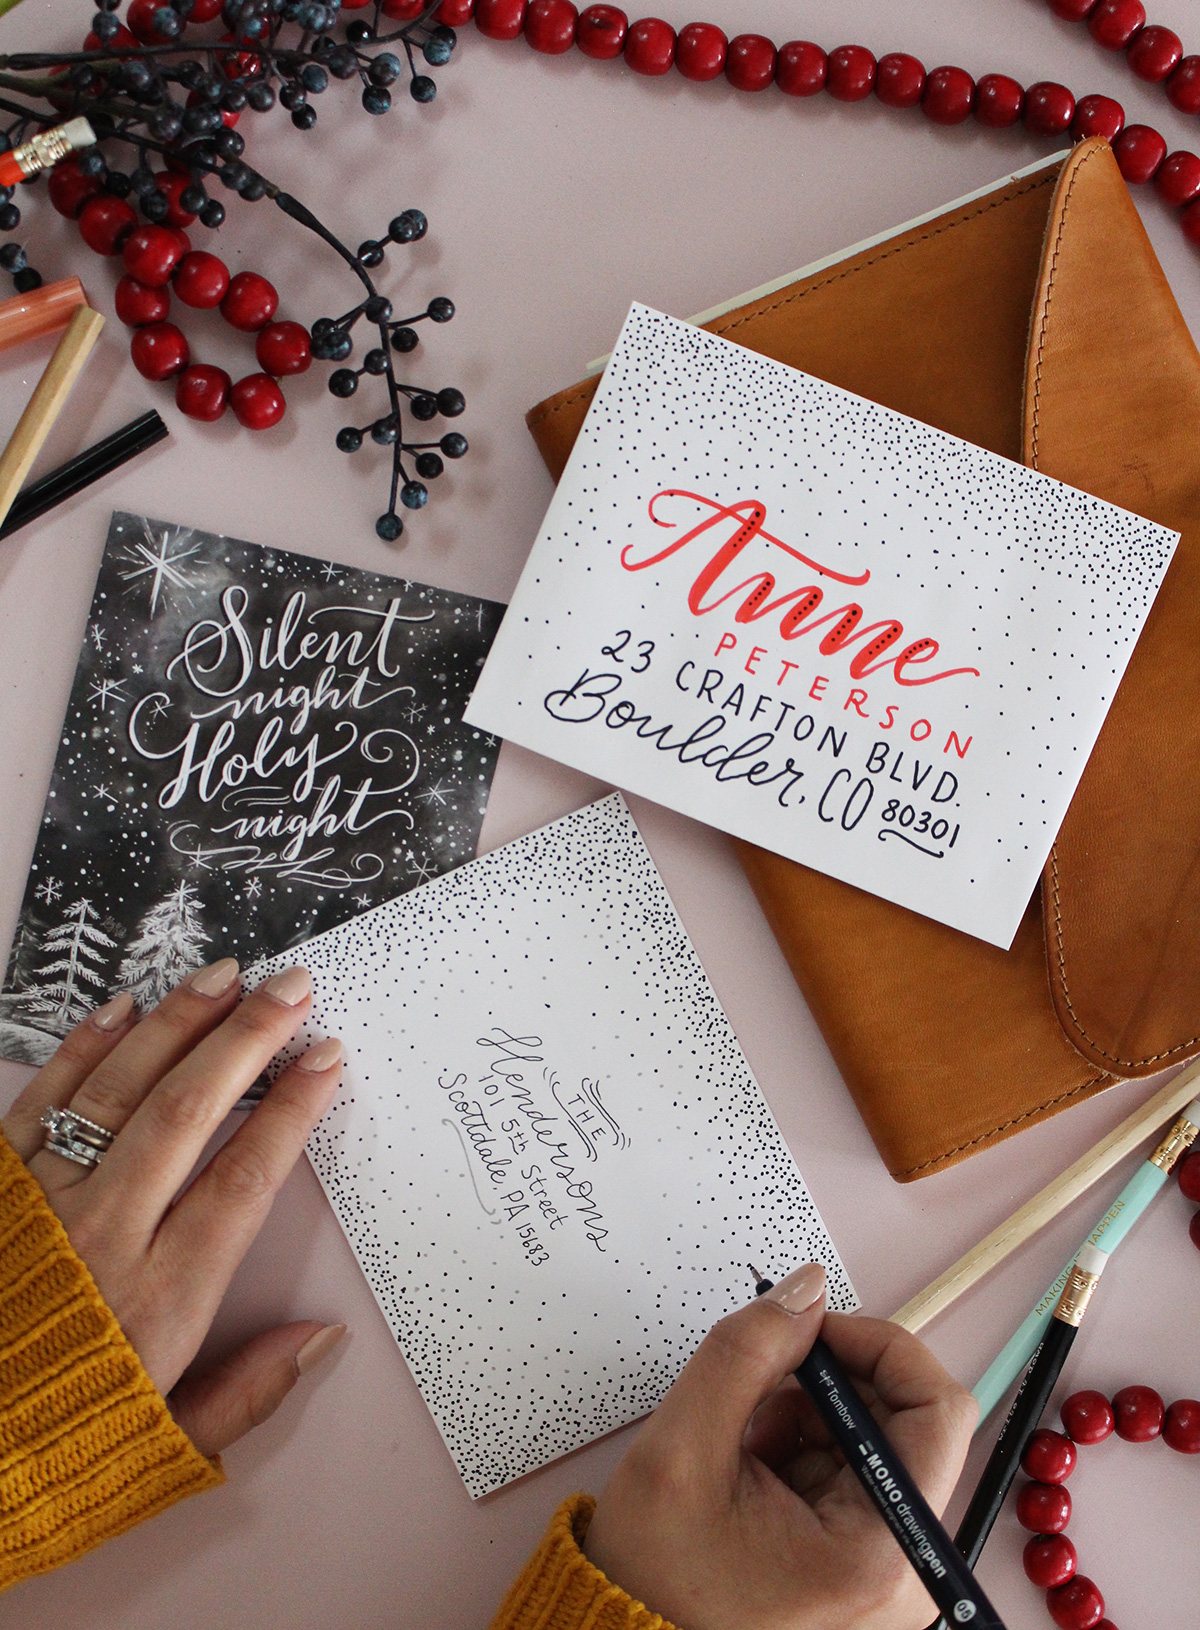
This idea is a bit more time consuming, but SO easy and the effect is truly something special. I think it might be my favorite one (and saved for last!) Just take a fine tipped marker (like the thin side of a Tombow DualBrush Pen, a Micron Pen, or something similar) and touch it to the paper to create a dot. If you want the dots to come from the top down, add more to the very top and slowly add less and less as you come closer to the center of the envelope. You’ll notice around the addresses, the dots are less frequent. Same principle for the snowy border – you’ll want the dots to be tighter and closer together around the edges then gradually loosen as you move to the center.
I think this is such a modern way to depict a snowy scene, especially when paired with our Silent Night card!
I hope you enjoyed these ideas!
Here are some additional resources for you:
I know these aren’t chalkboard projects, but The Complete Book of Chalk Lettering will help you learn hand lettering for all types of mediums! It’s also filled with laurel and branch inspiration as well as how to draw the banner above.
To keep all your card sending in order be sure to check out our Holiday Gift Tracker! We’re all about less hustle and bustle this year and trying to keep everything organized!
All 5 of the cards pictured here (and three others!) are available as an assorted boxed set. You can purchase this set for a discounted price as opposed to each card individually.
Happy card sending, friends!





3 Comments
Love ❤️ this. For special friends especially.
Thanks so much Gwen! 🙂
These are beautiful!! I’ve done this in the past, but nothing as gorgeous as these!! ❤️❤️