Okay – it’s 3 days before Christmas and you still need a last minute gift or a thoughtful stocking stuffer. Making a few of these DIY hand-lettered notepads may be the perfect little items to complete your list! We even have a free download for you to make it super simple.
 DIY Hand-Lettered Notepads
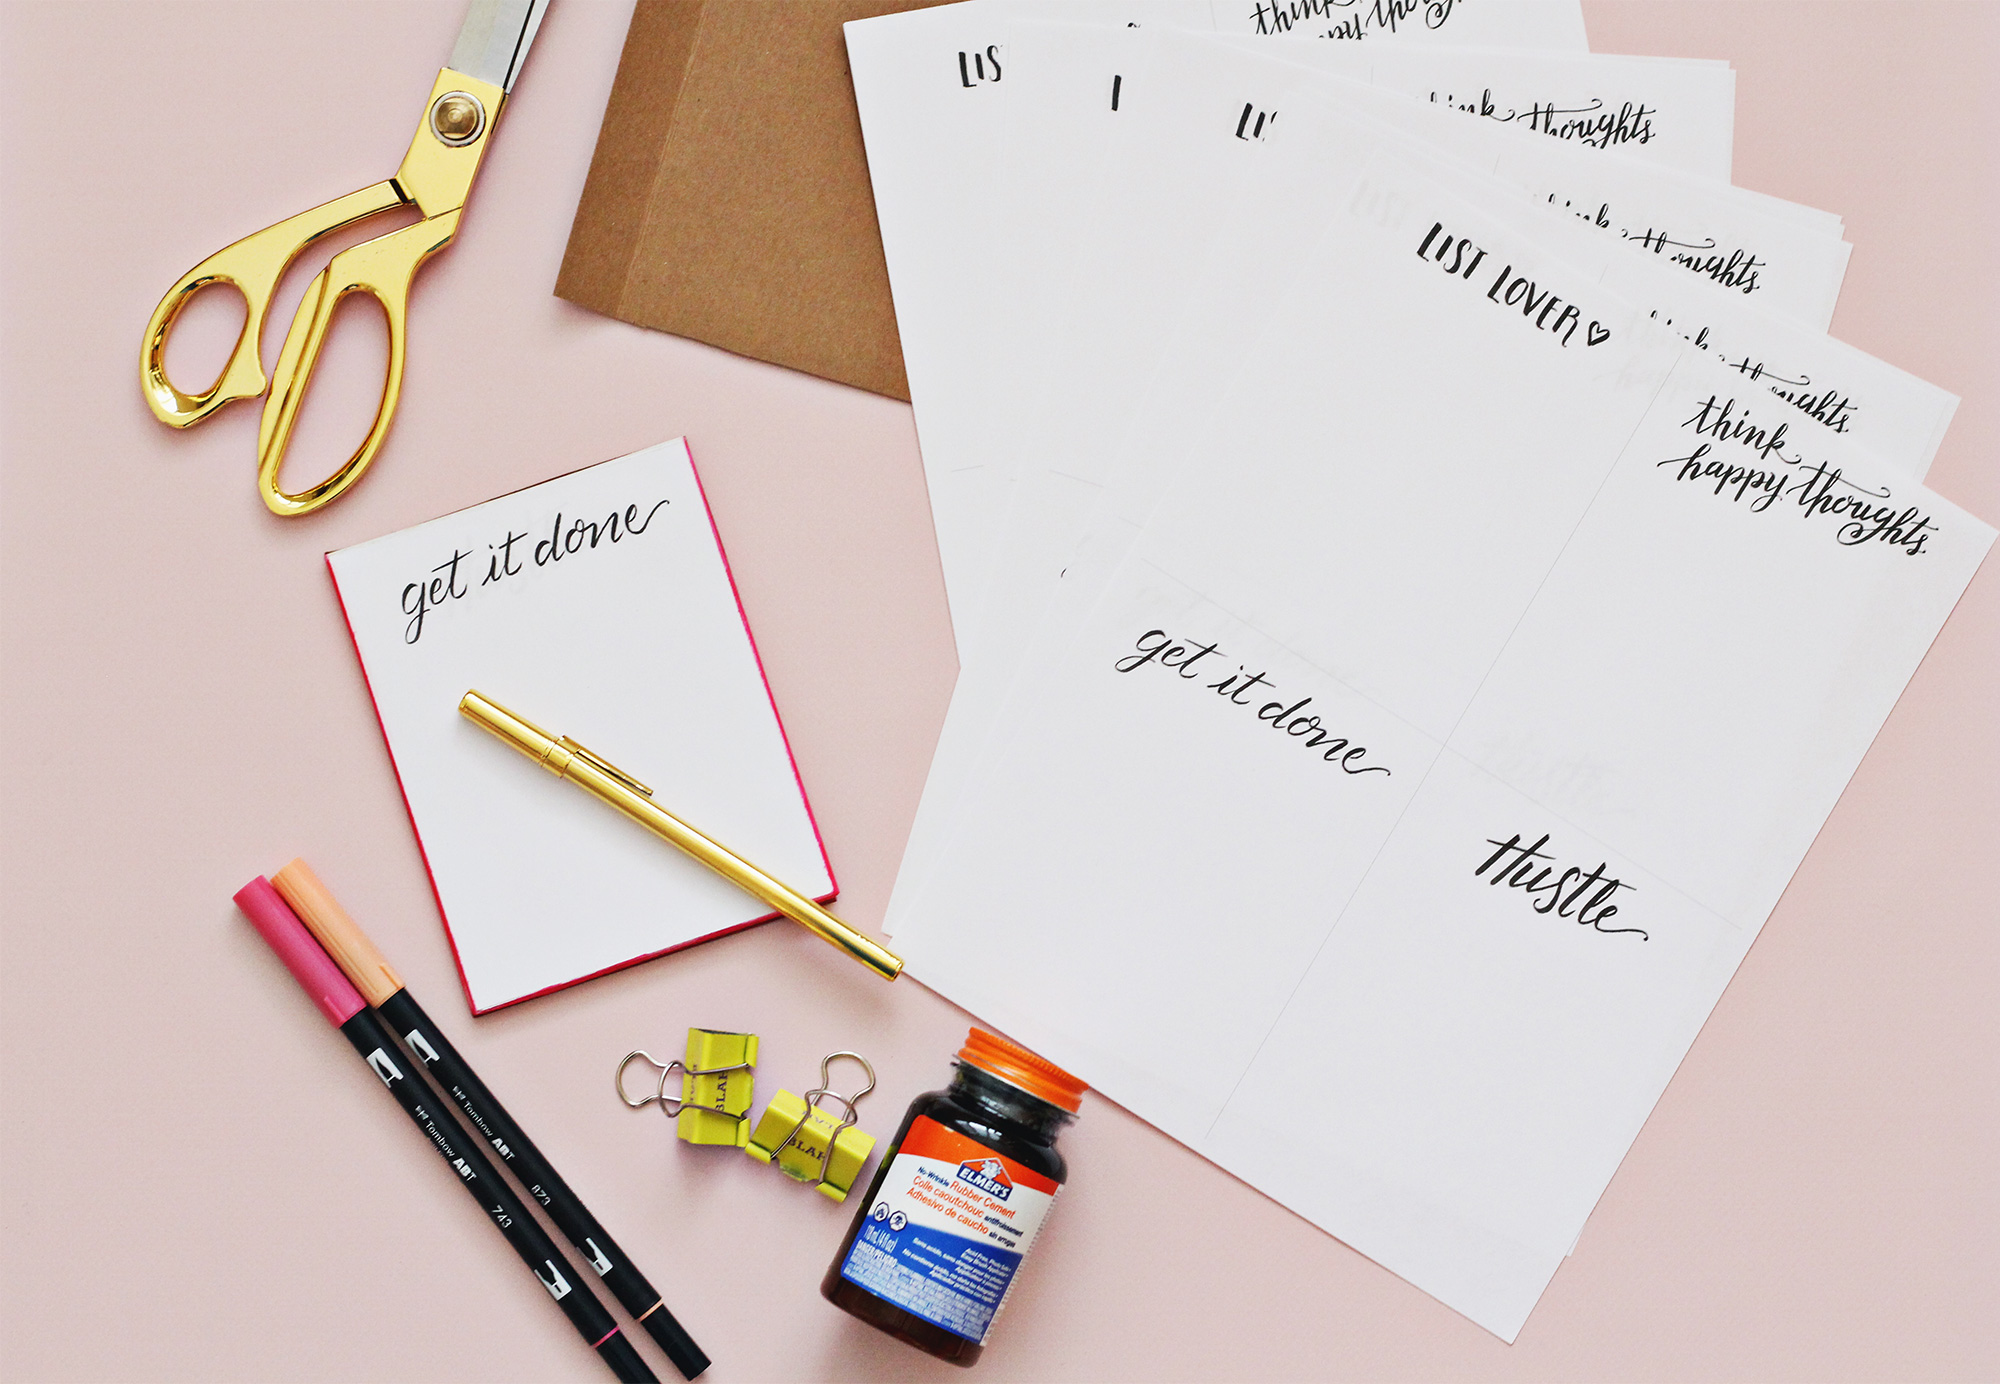
You will need:
8 1/2″ x 11″ sheets of paper
Light cardboard (cardboard from a cereal box works perfectly)
A printer
Document clips
Rubber cement
Scissors
Paper Cutter
Colorful markers
Our hand-lettered notepad download
Instructions:
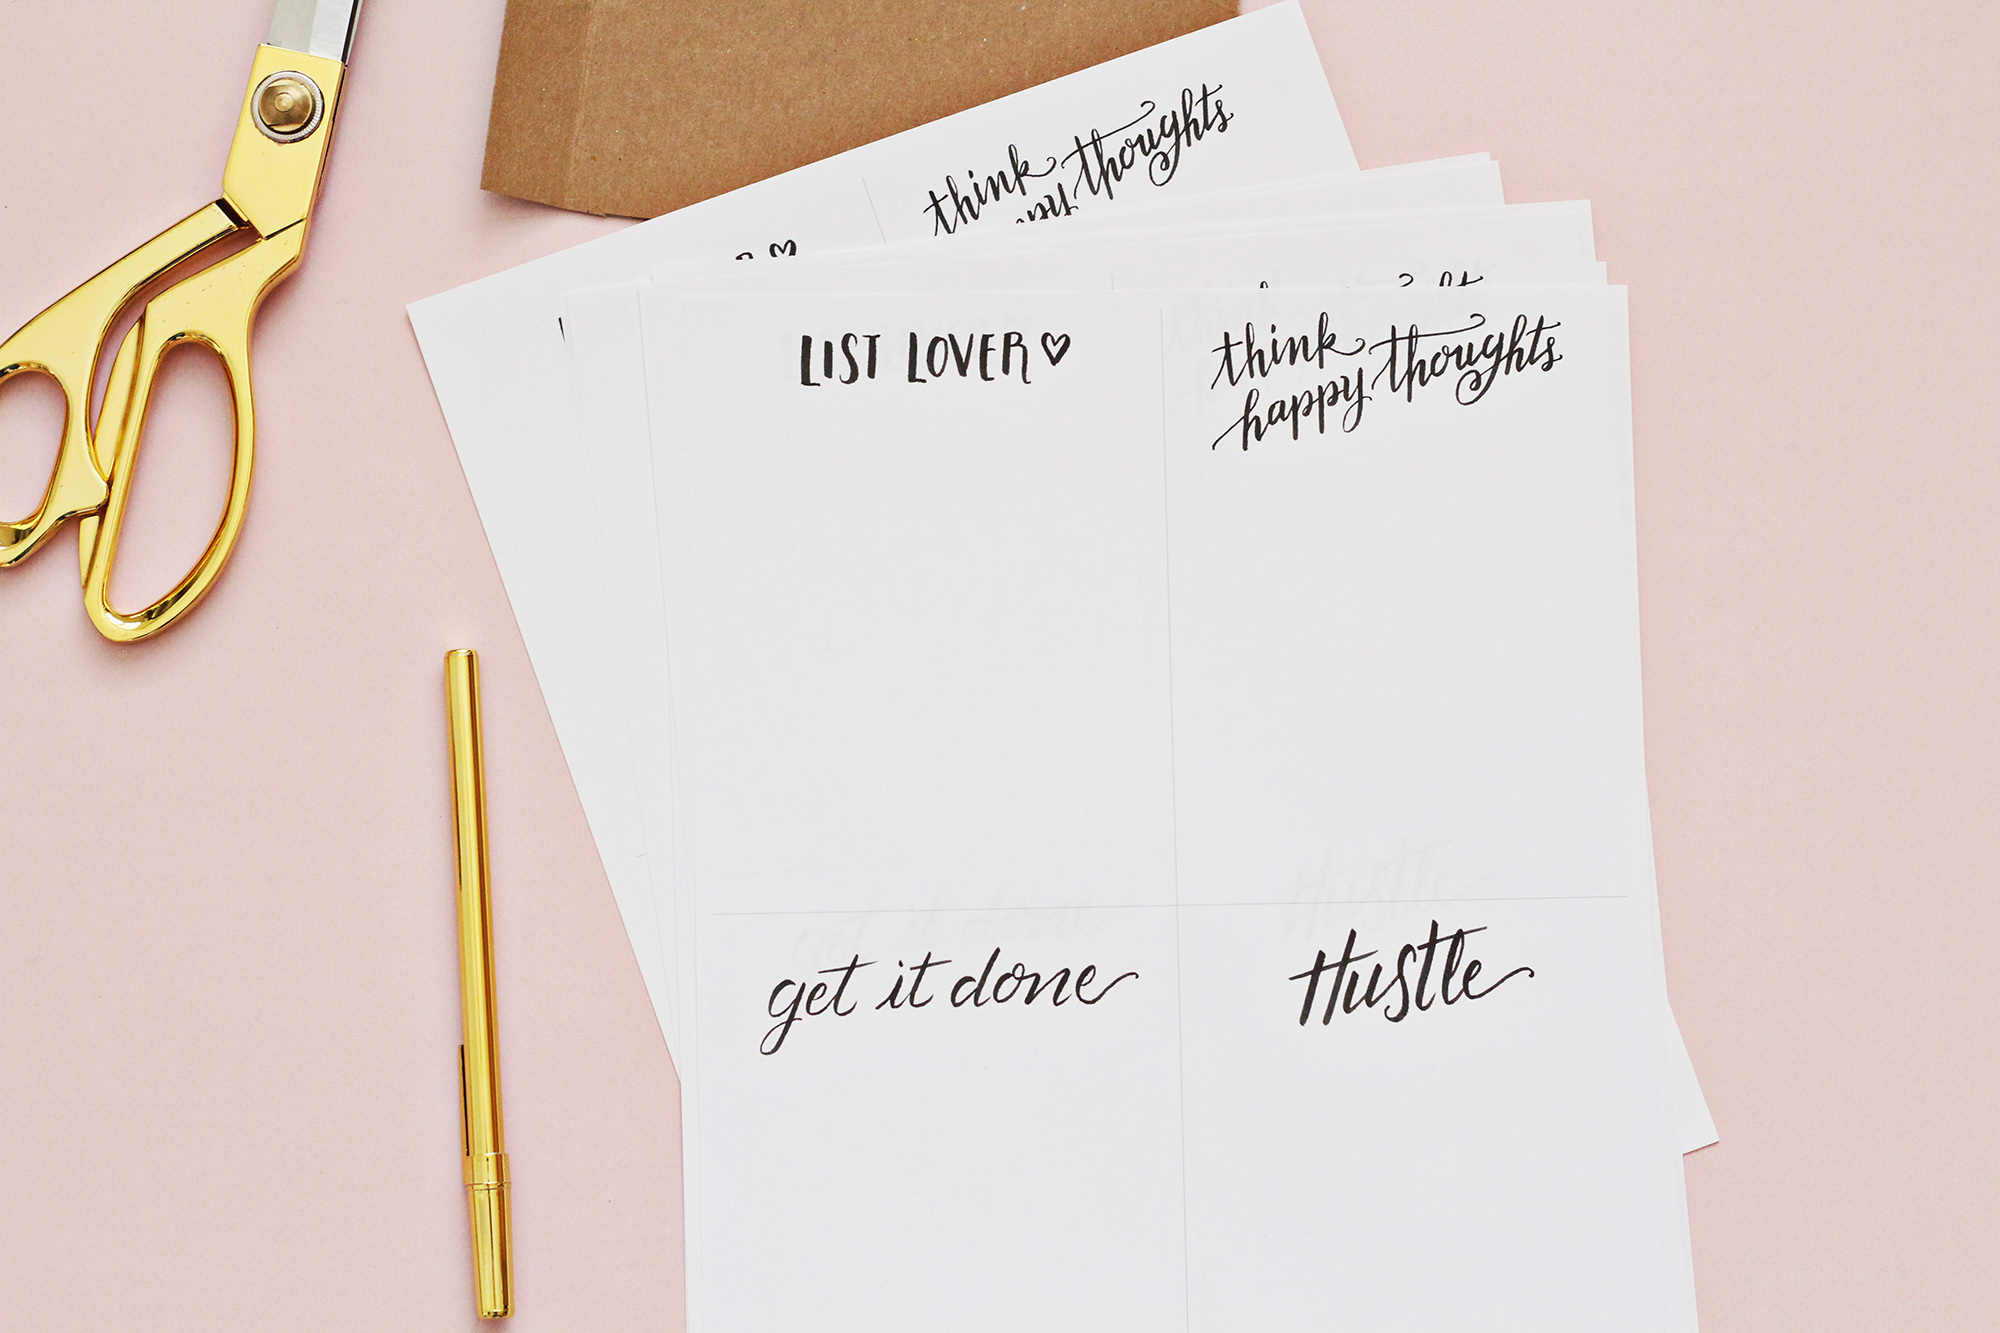
- 1. I really like the size of a standard 8 1/2″ x 11″ sheet quartered for notepads. So, I brush lettered four sentiments onto the paper and made it available as a download here. Important to note: When printing out the download, be sure you are printing at 100%. Do not scale the image to fit the page or it will add an extra margin and the pages will not line up. Your computer will probably alert you saying the image will get cut off. Still click “proceed.” I used 10 whole sheets for each notepad, which is actually 40 pages once the sheets are cut.
 2. Once you’ve printed your desired number of pages, use a paper cutter and cut the sheets into quarters using the guidemarks on the download.

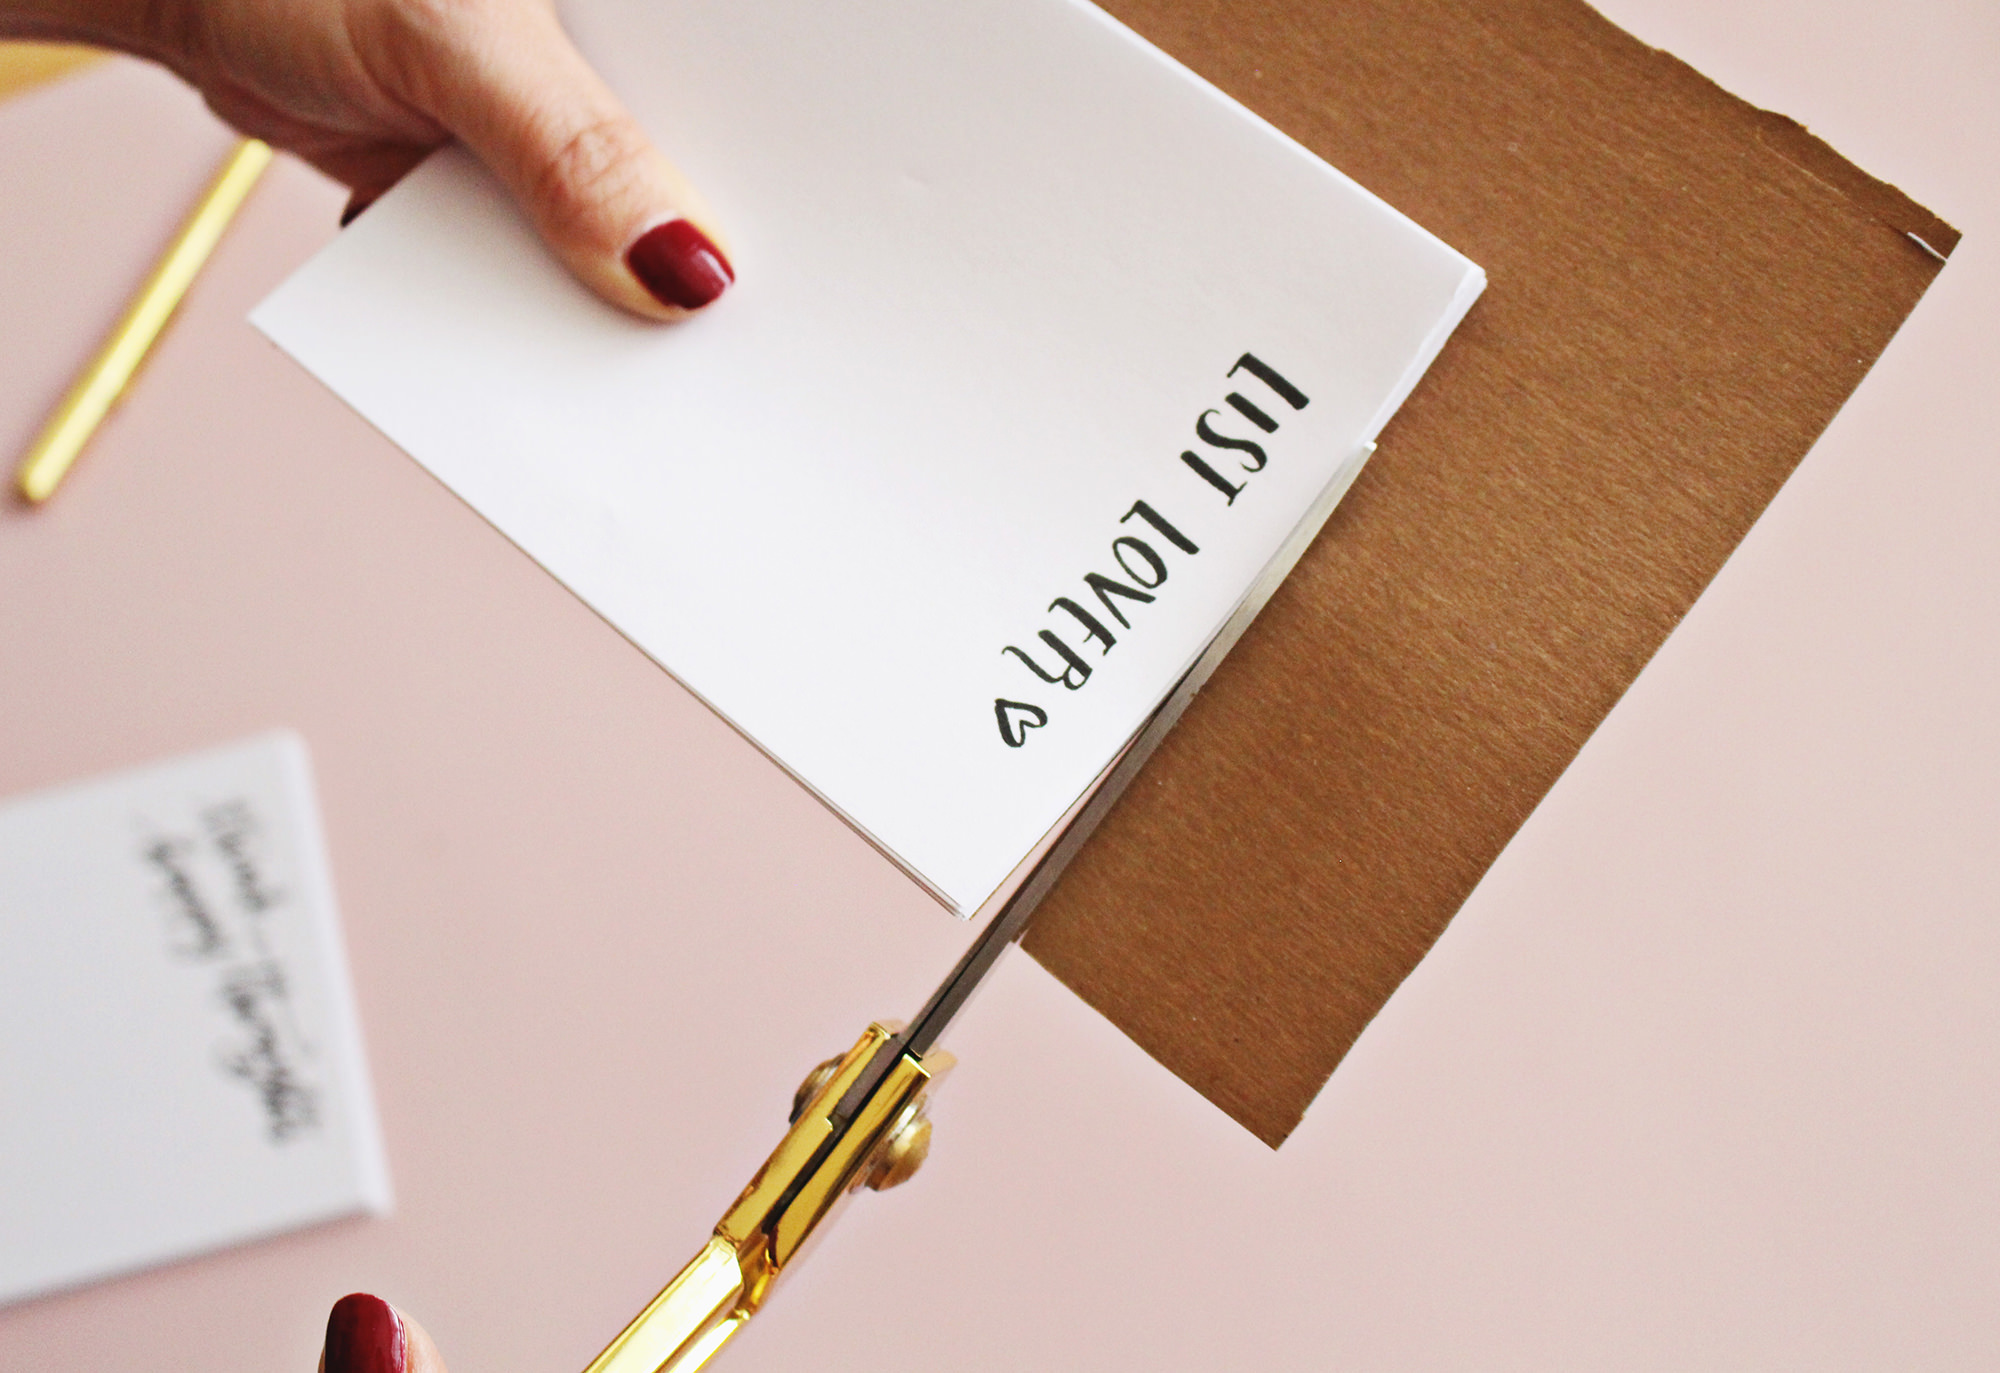
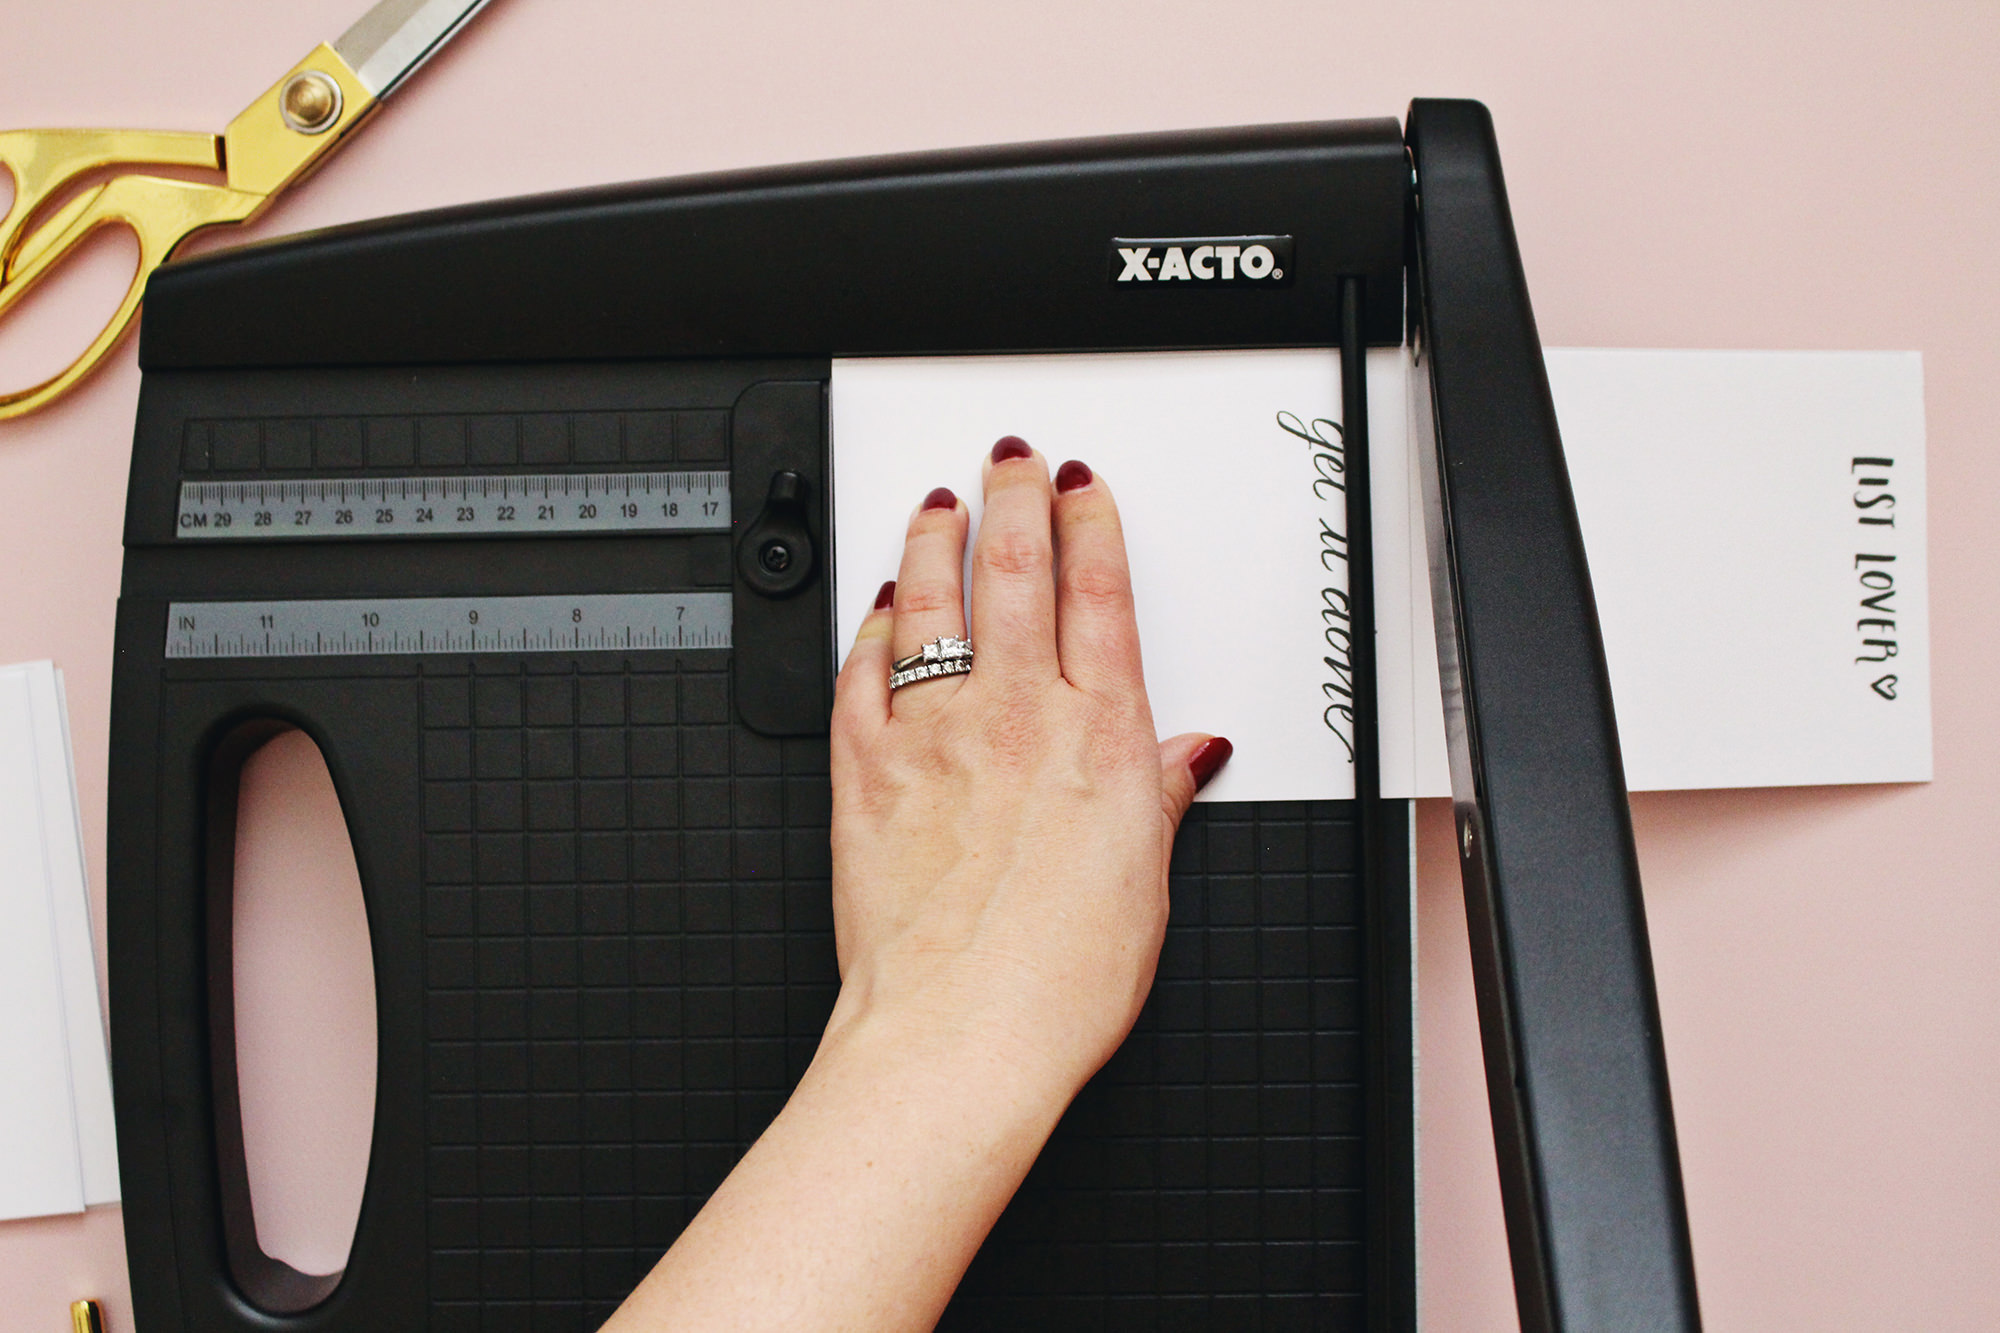 3. Stack the pages together onto your piece of light cardboard and cut to size. This will be your notepad backing.
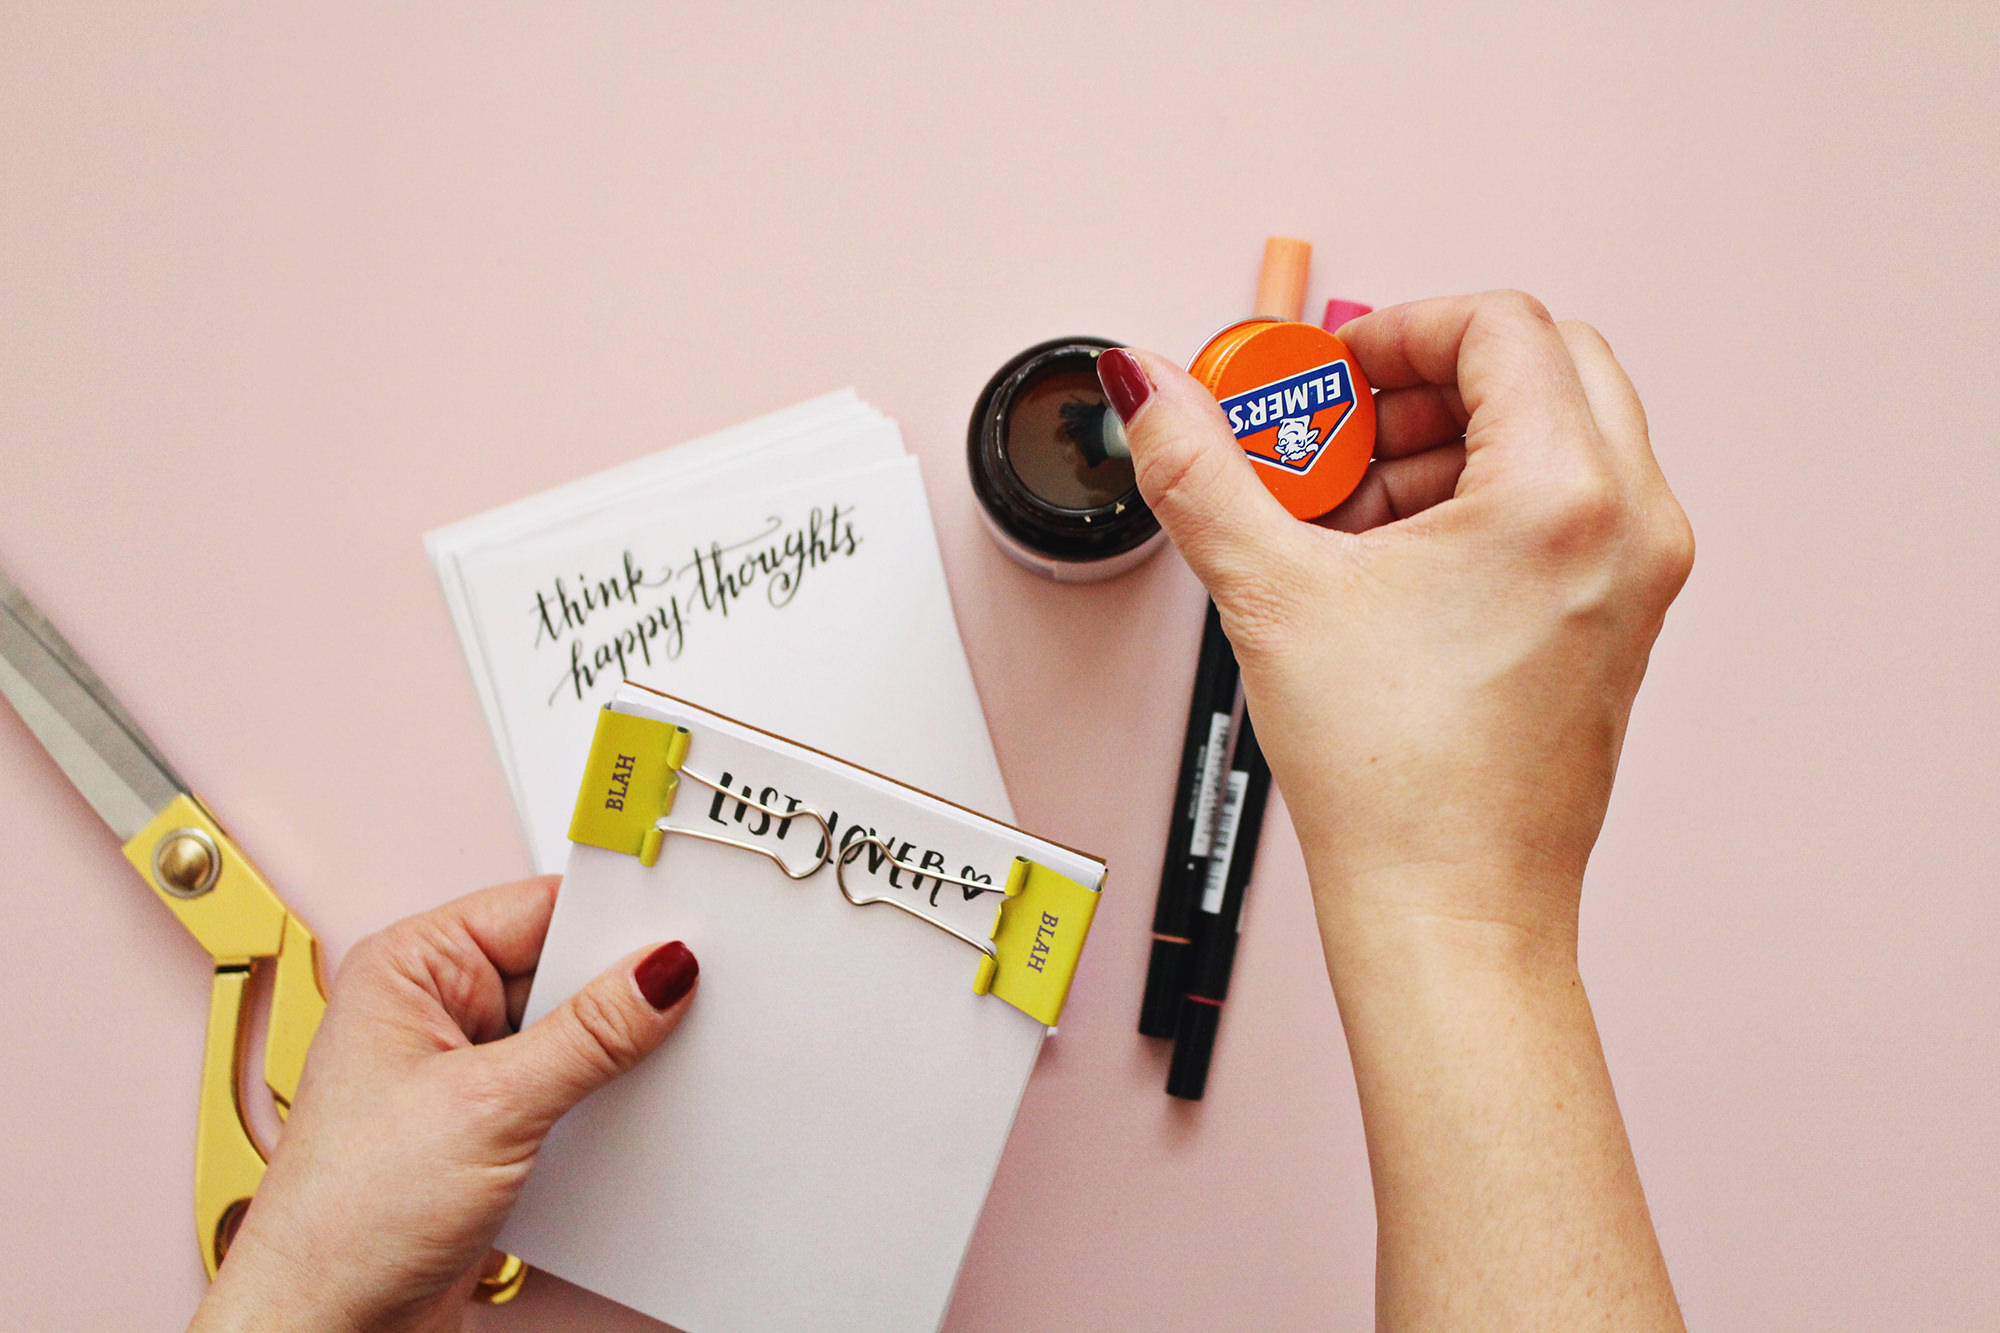
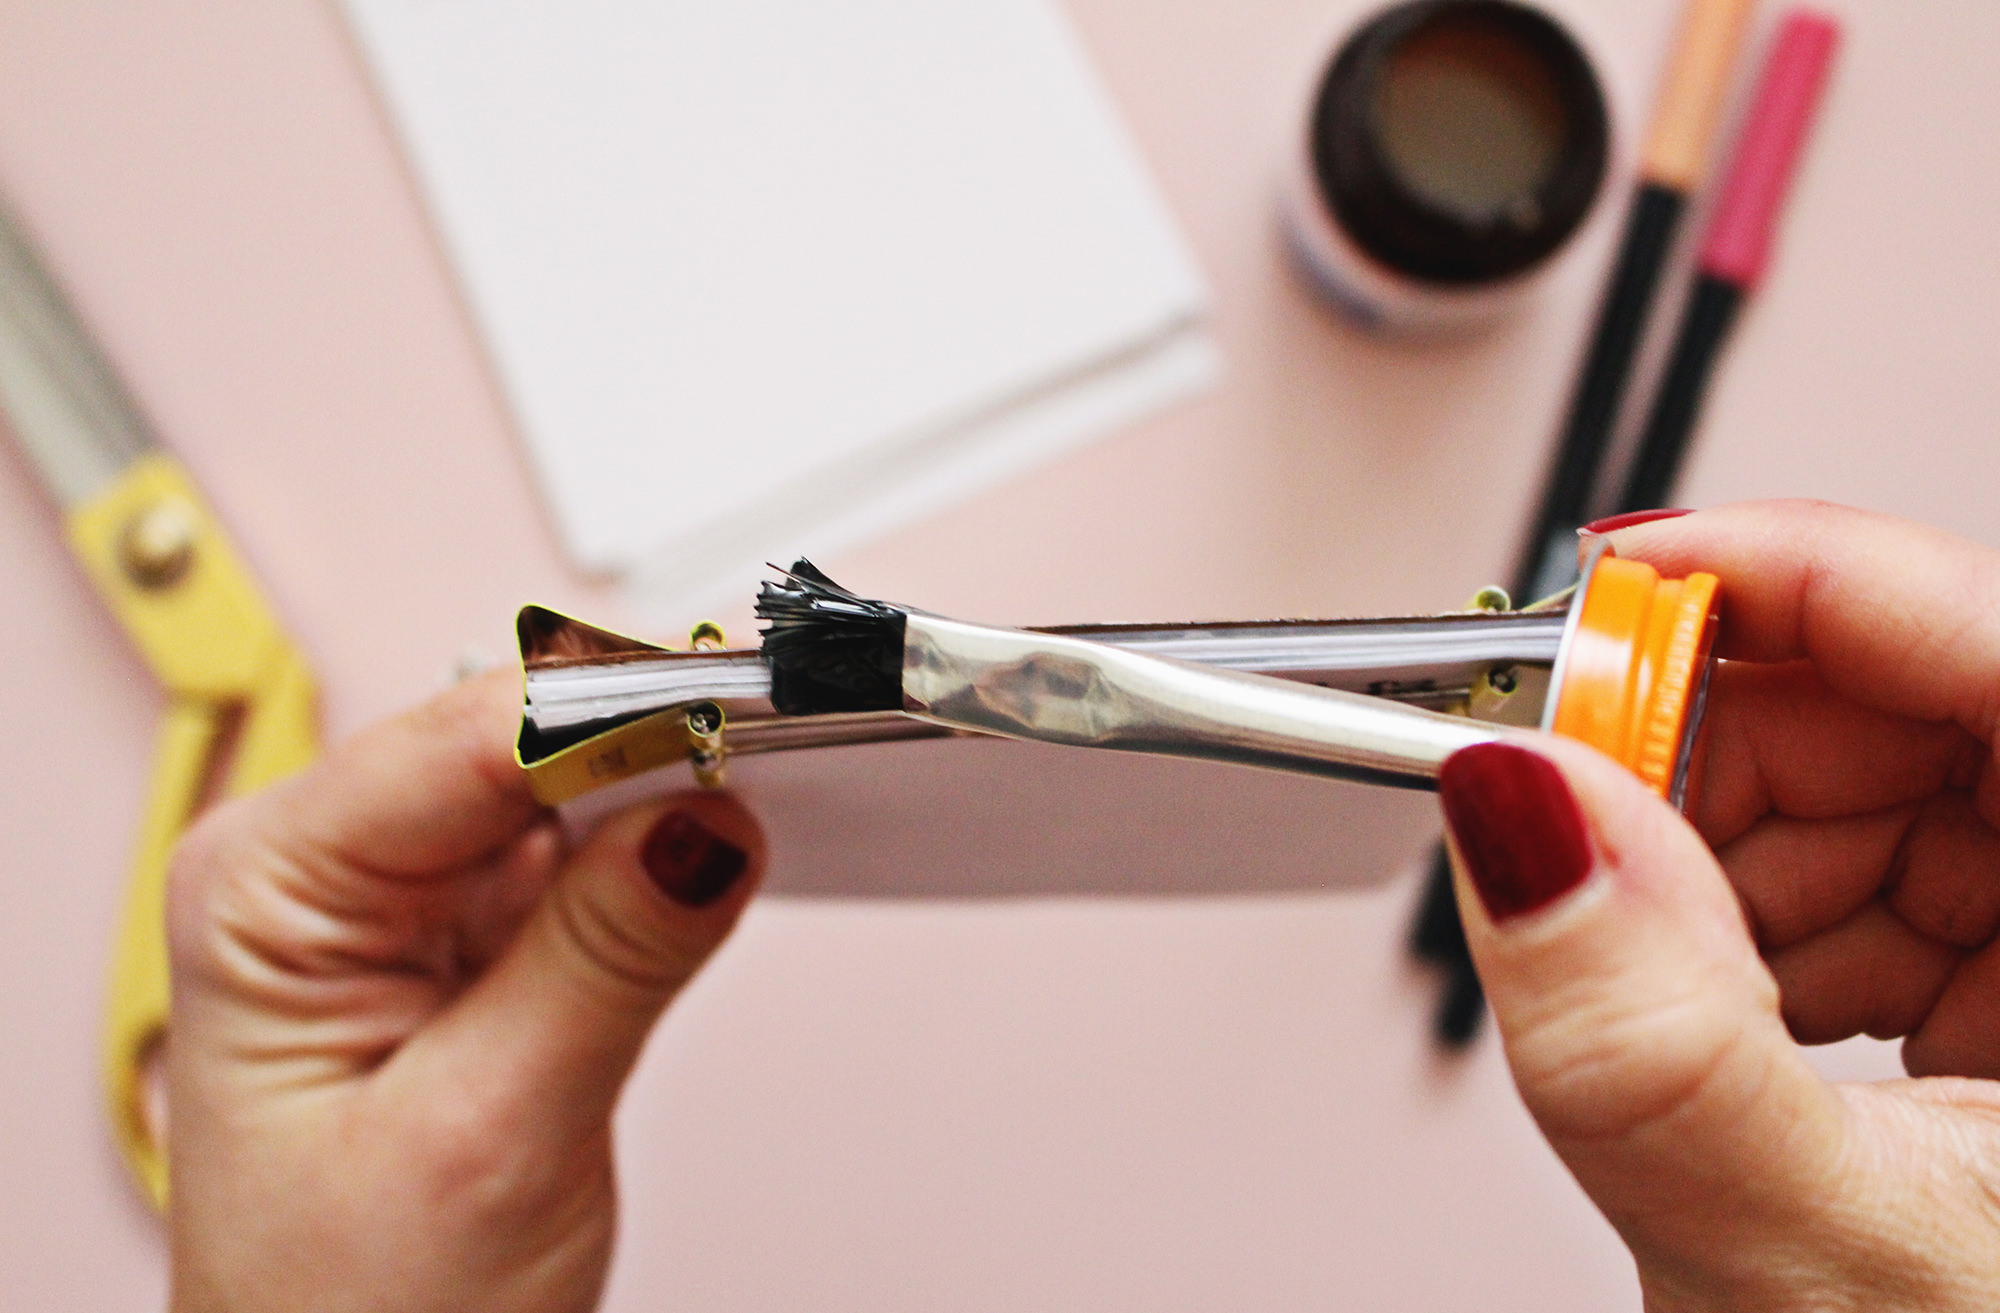
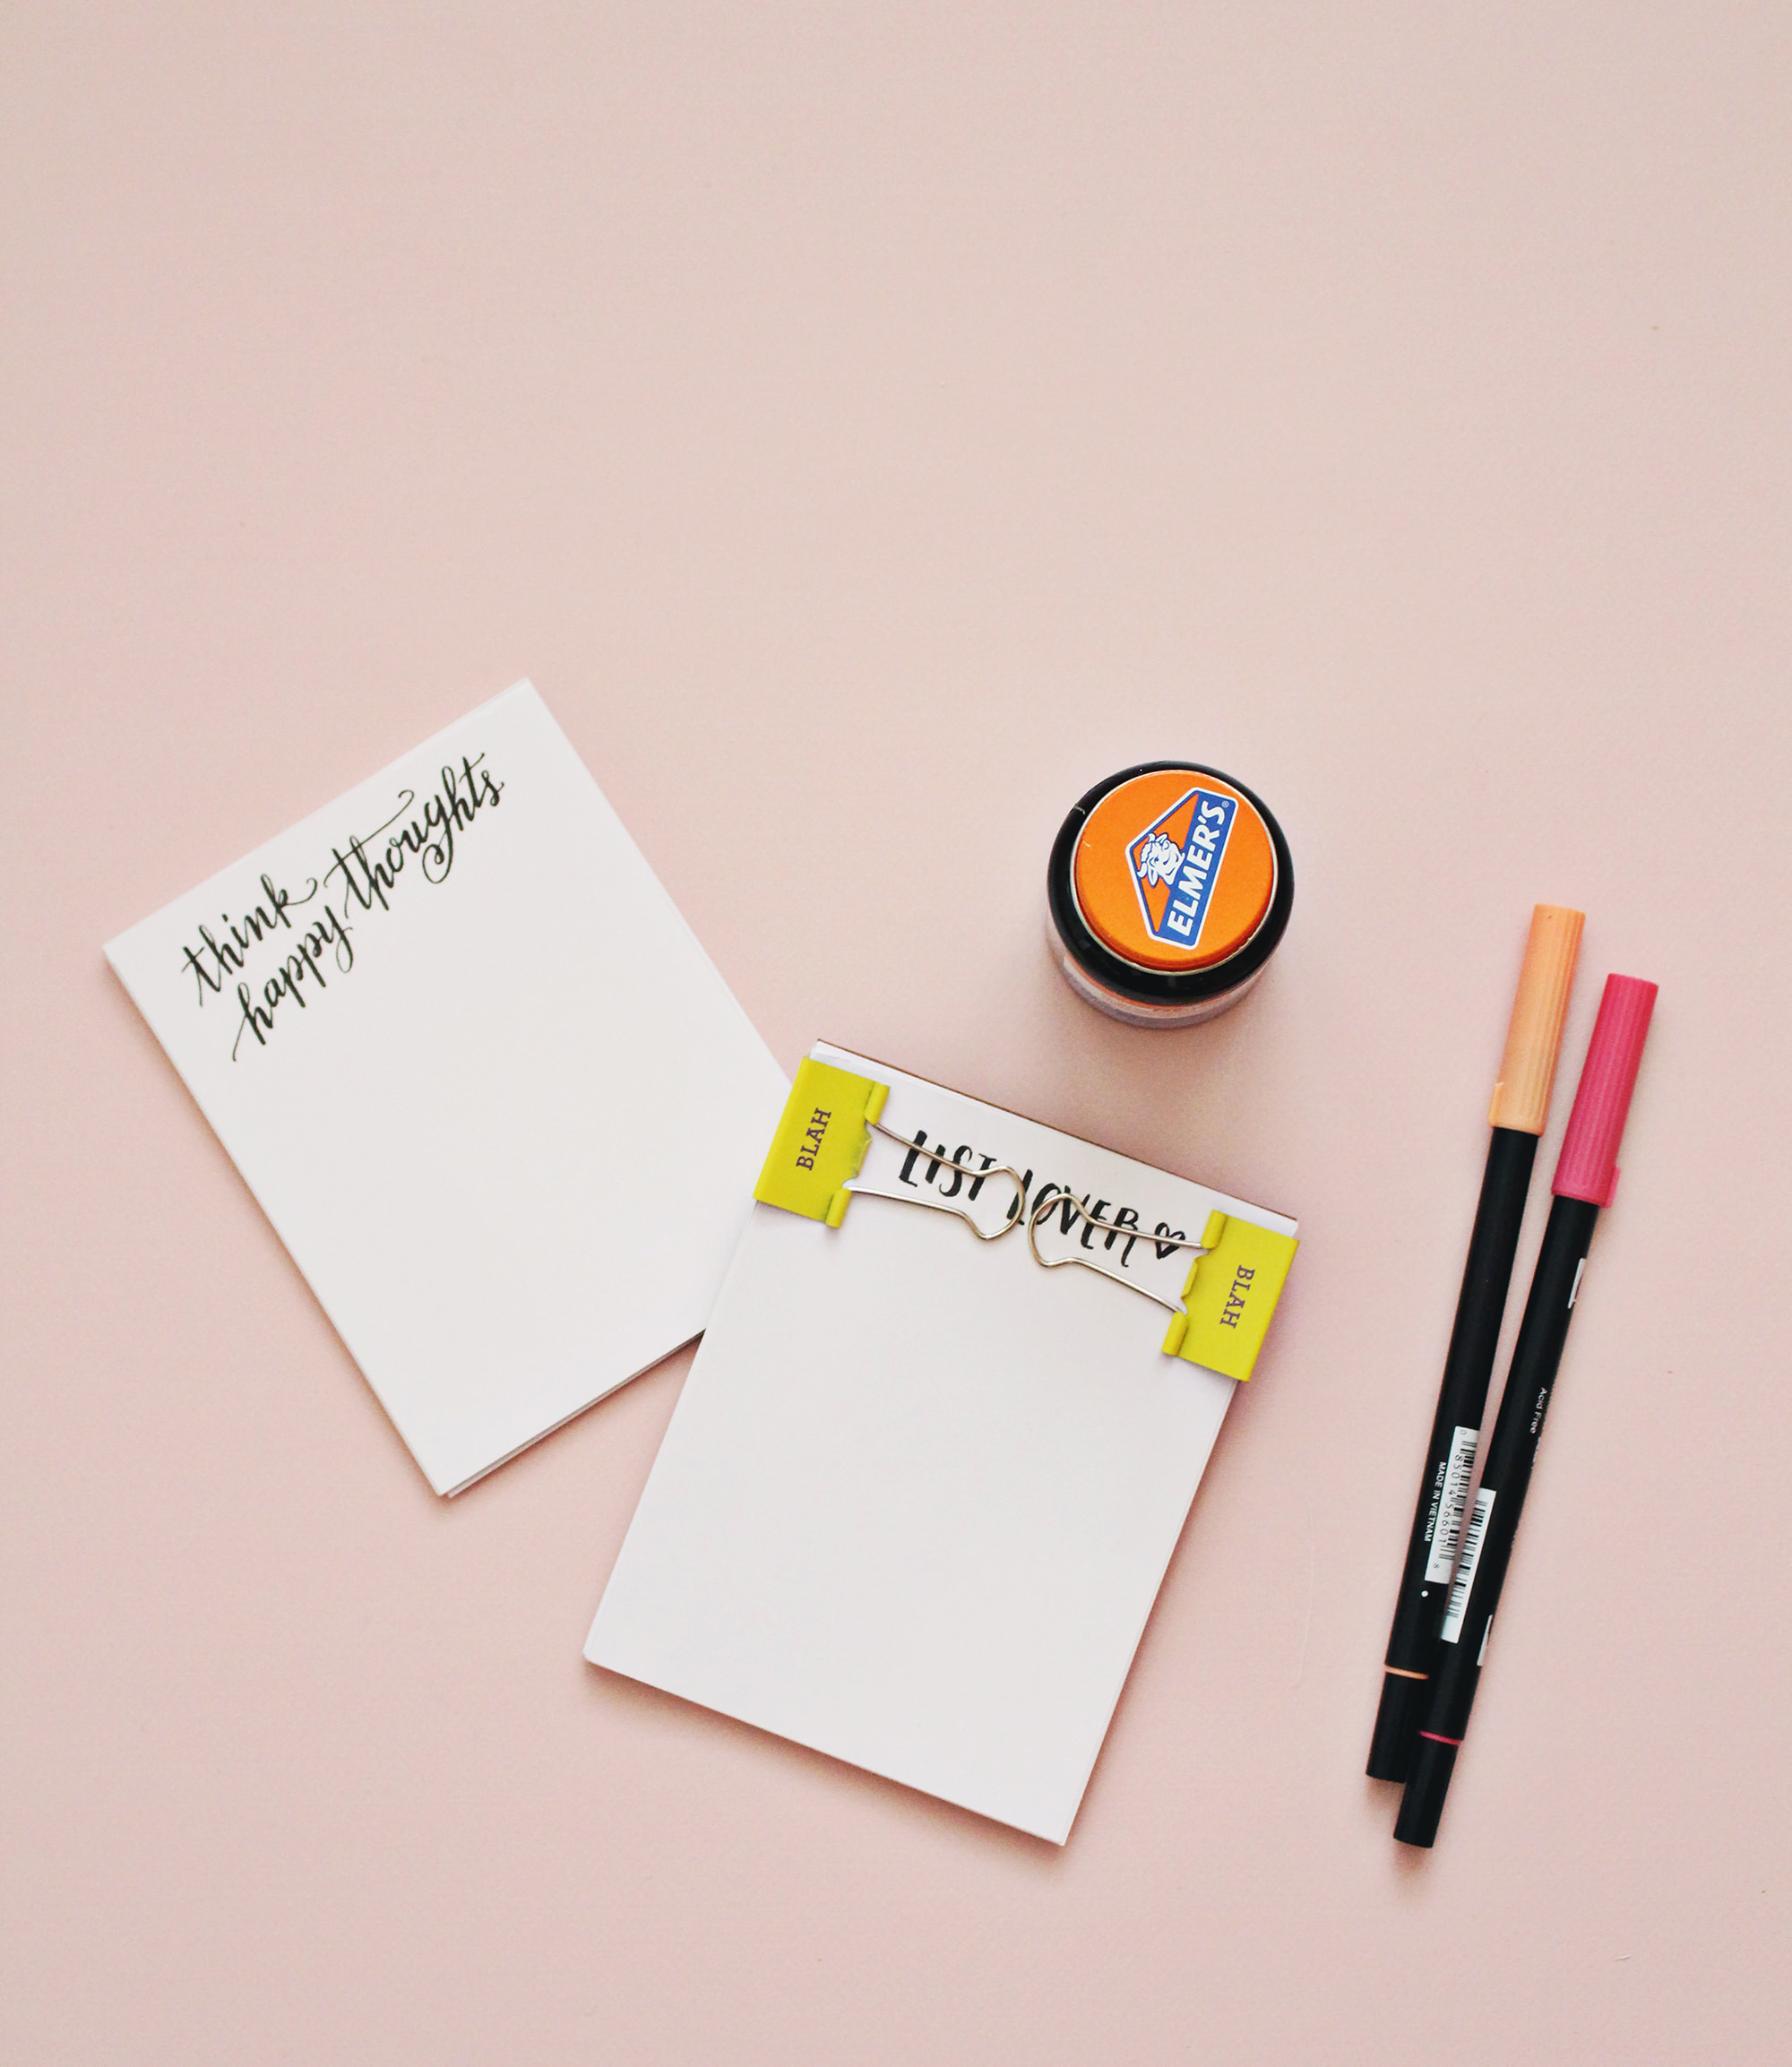
 4. Holding your notepad in place with sturdy document clips, brush a few coats of rubber cement onto the top edge. Be sure to fully saturate each page and the cardboard backing. It’s okay if you get rubber cement on the first page, you can tear this page off.
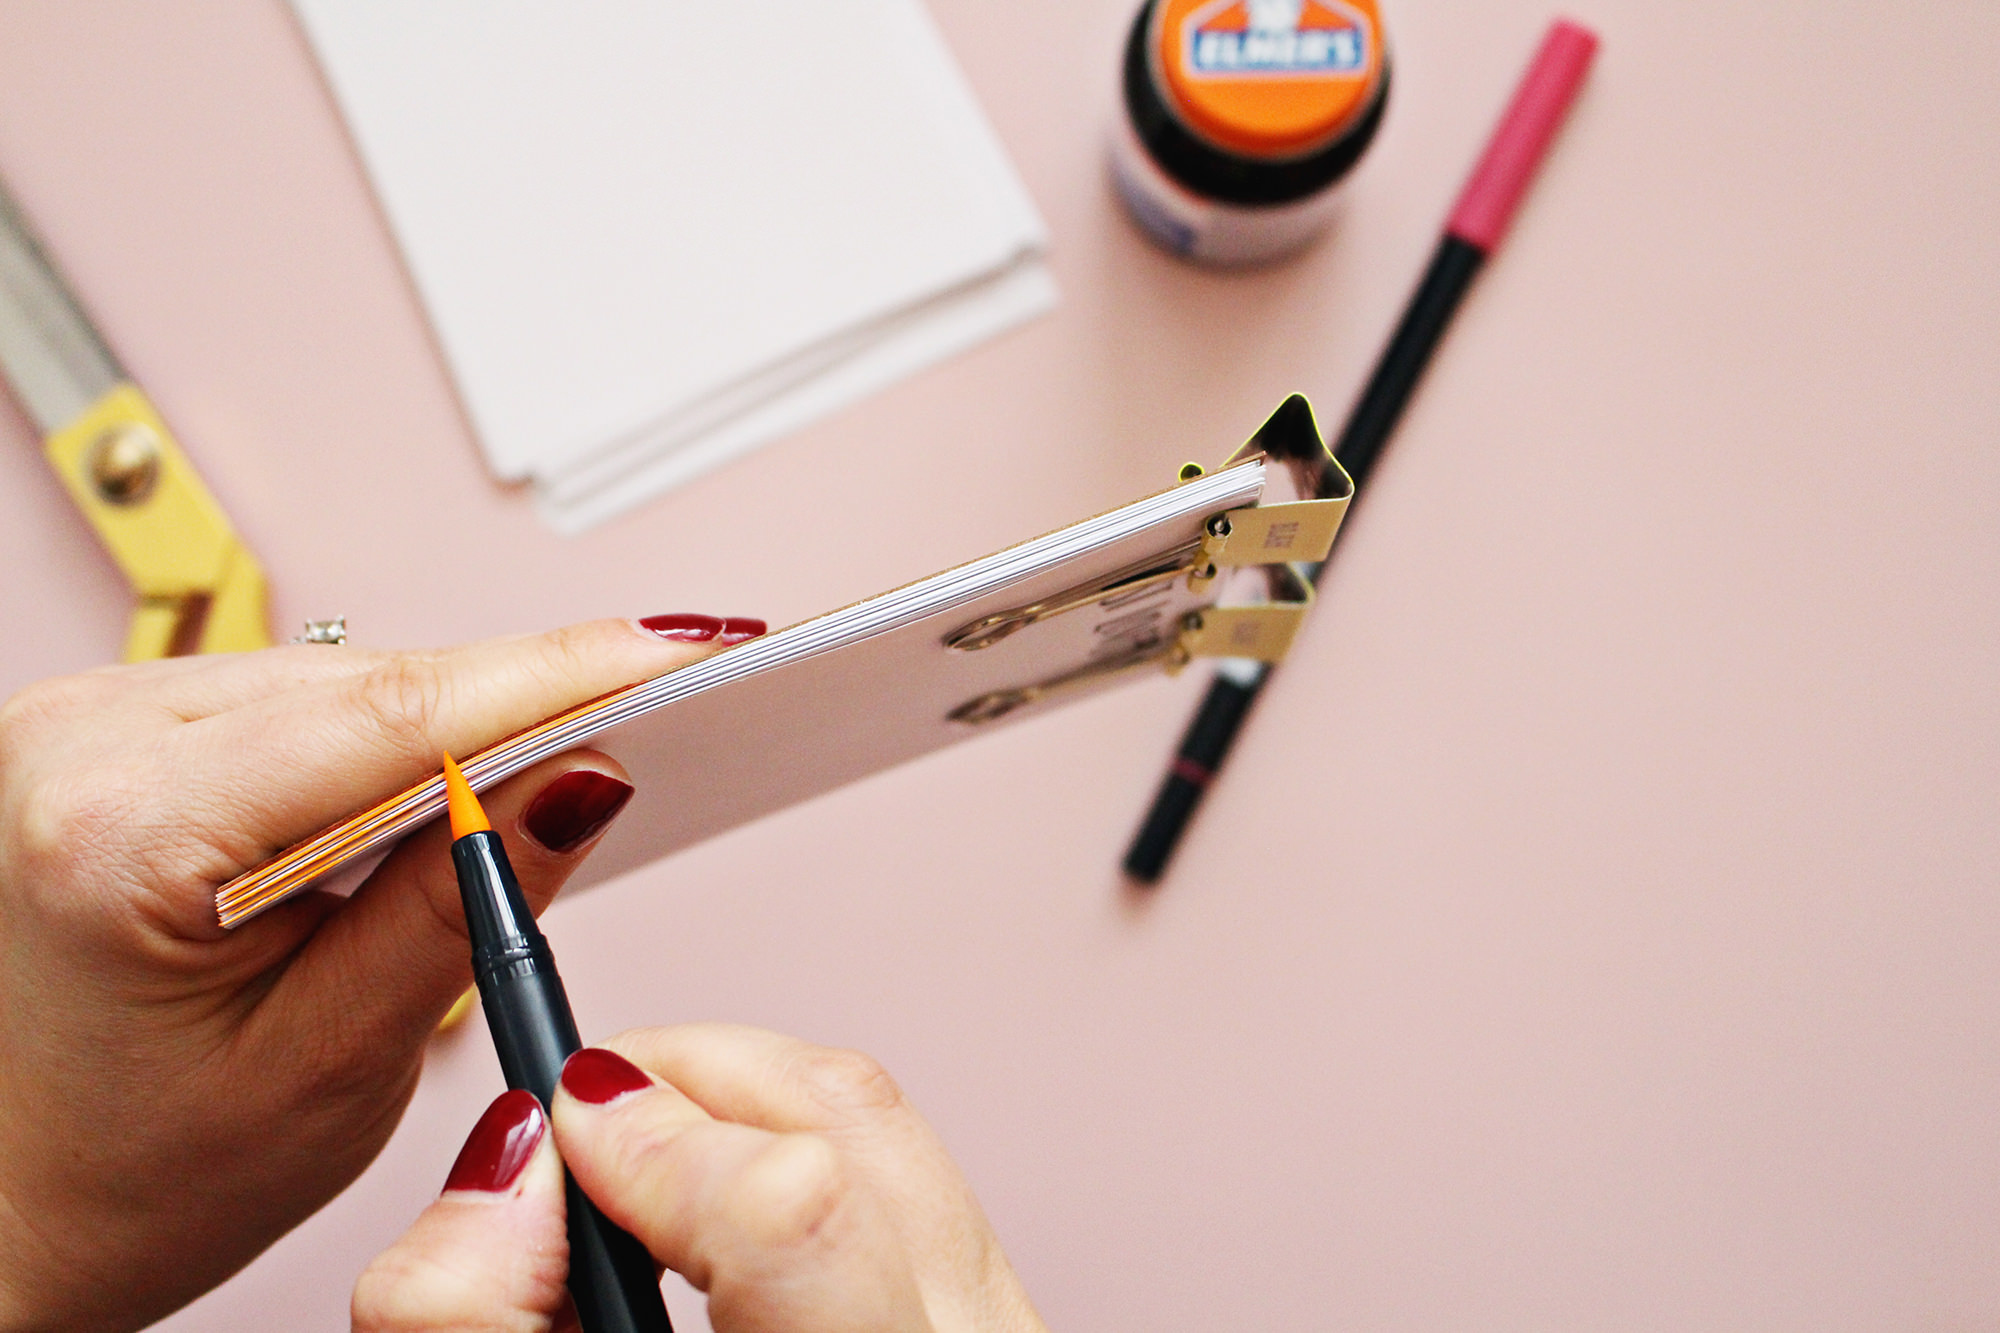
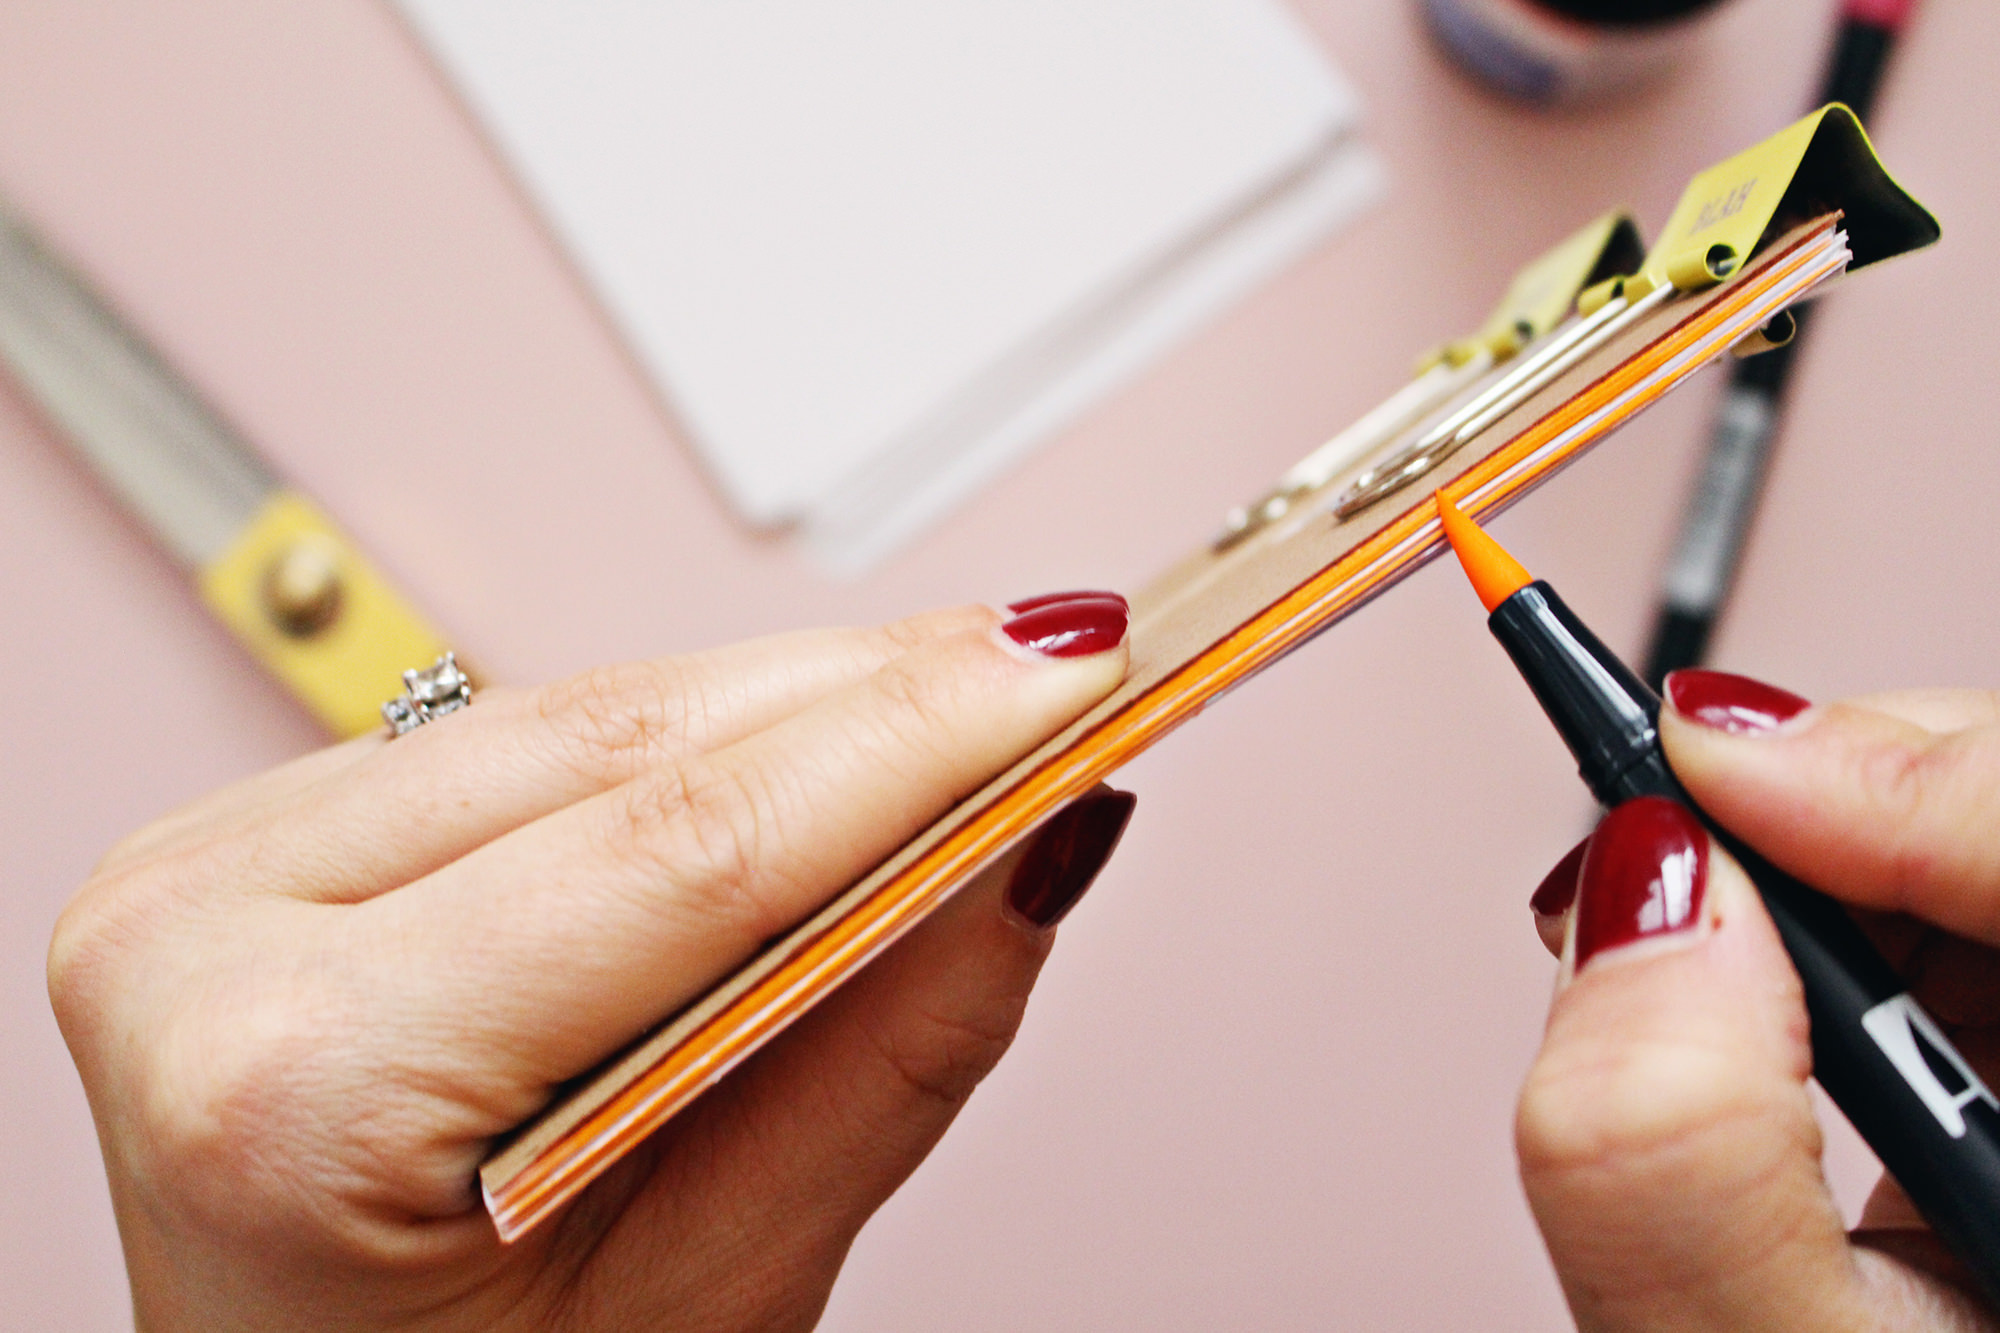
 5. To make the notepads extra special with a pop of color, use a marker to color the sides. Squeeze tightly to make sure the marker colors the edges and not the inside pages. I used a Tombow brush marker.
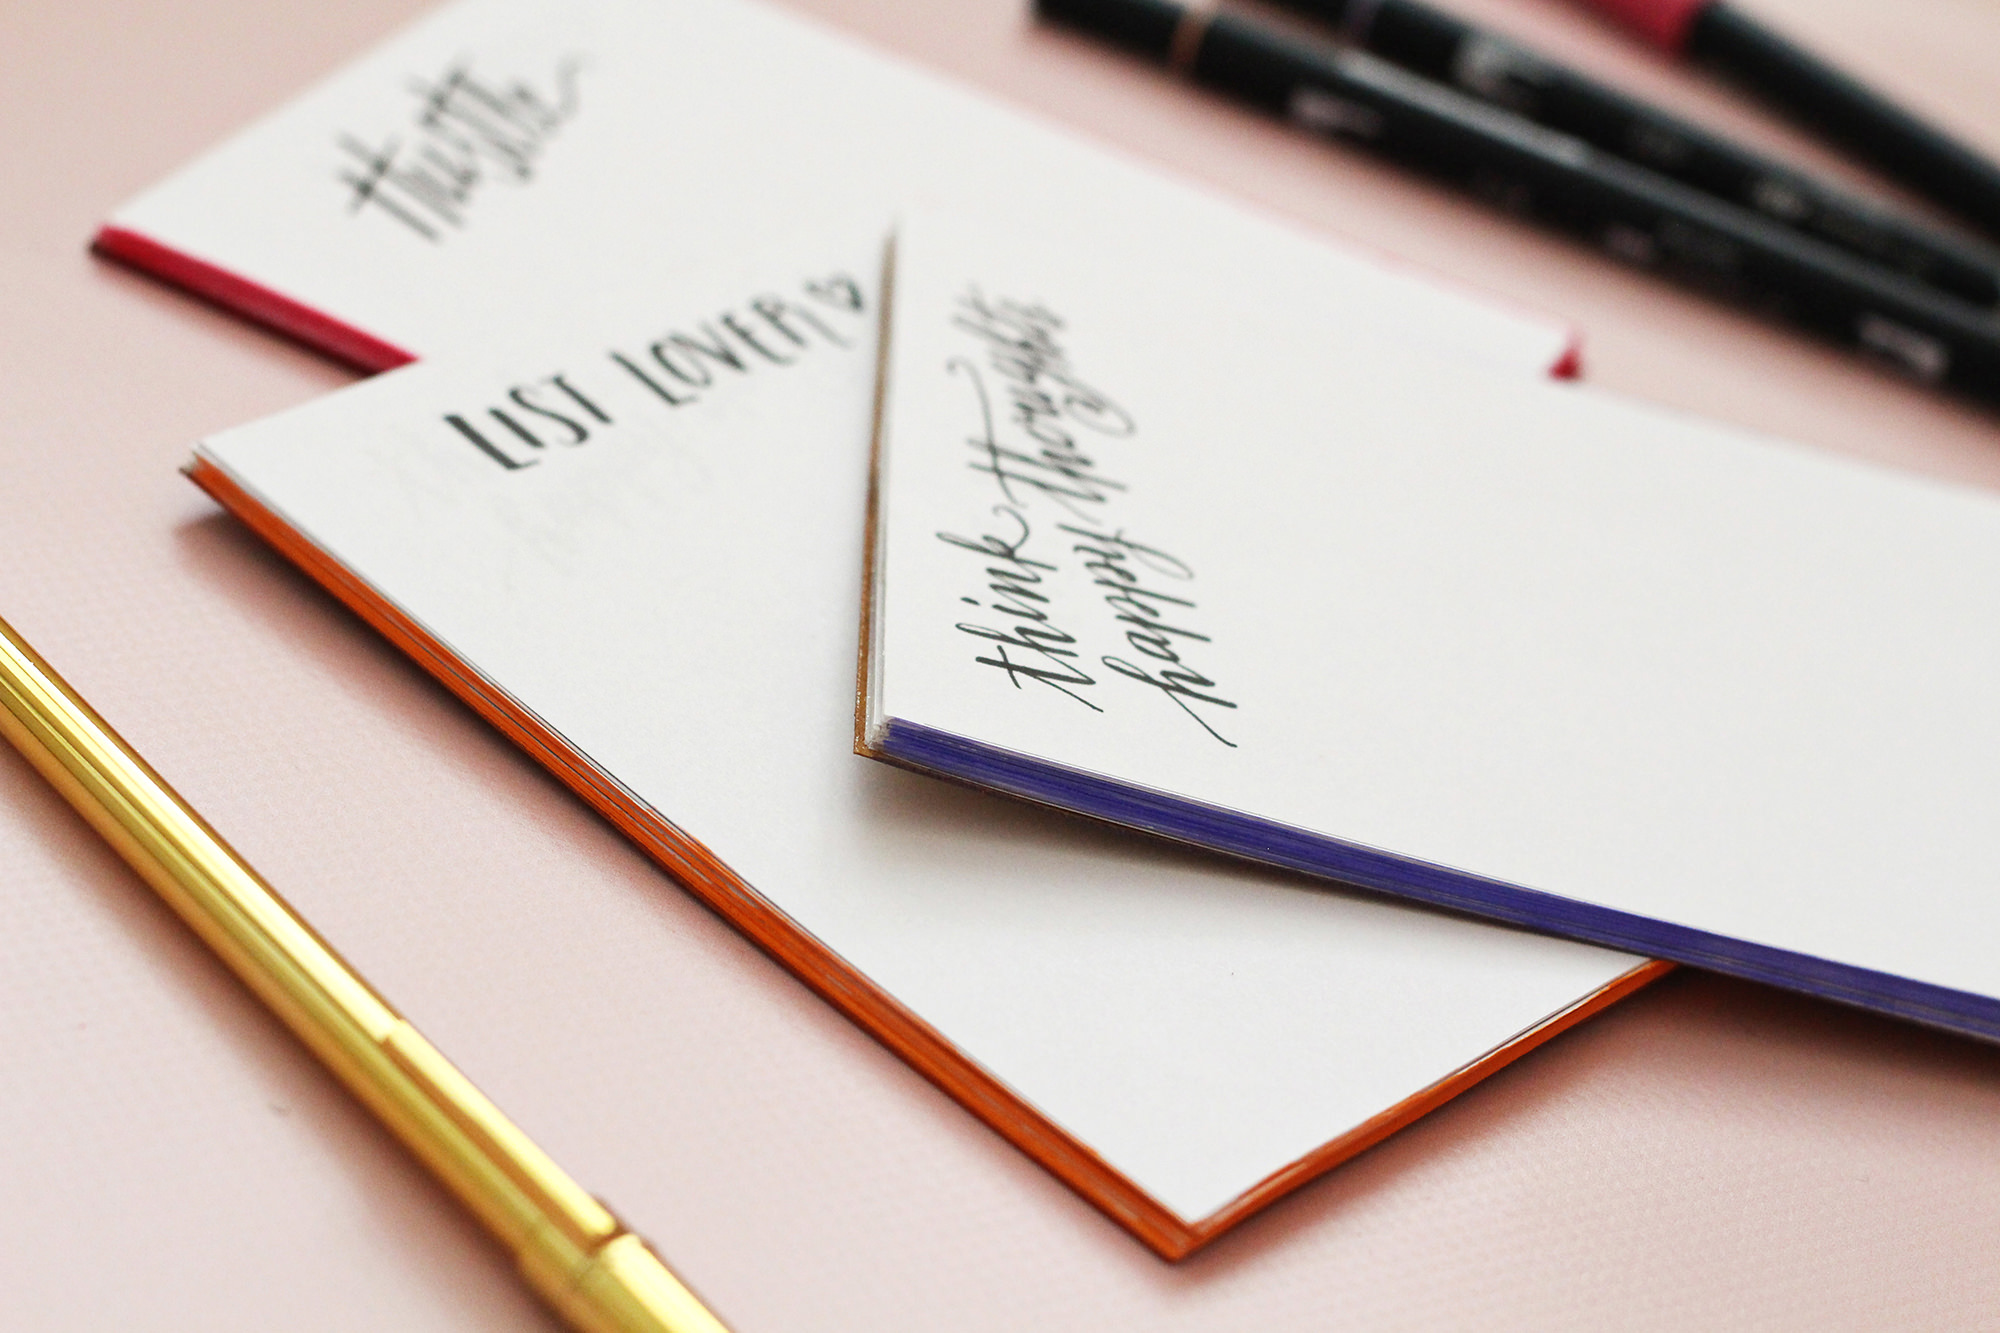
 Once the rubber cement dries, you are left with cute, unique notepads! You can use this technique to make notepads out of all types of paper!
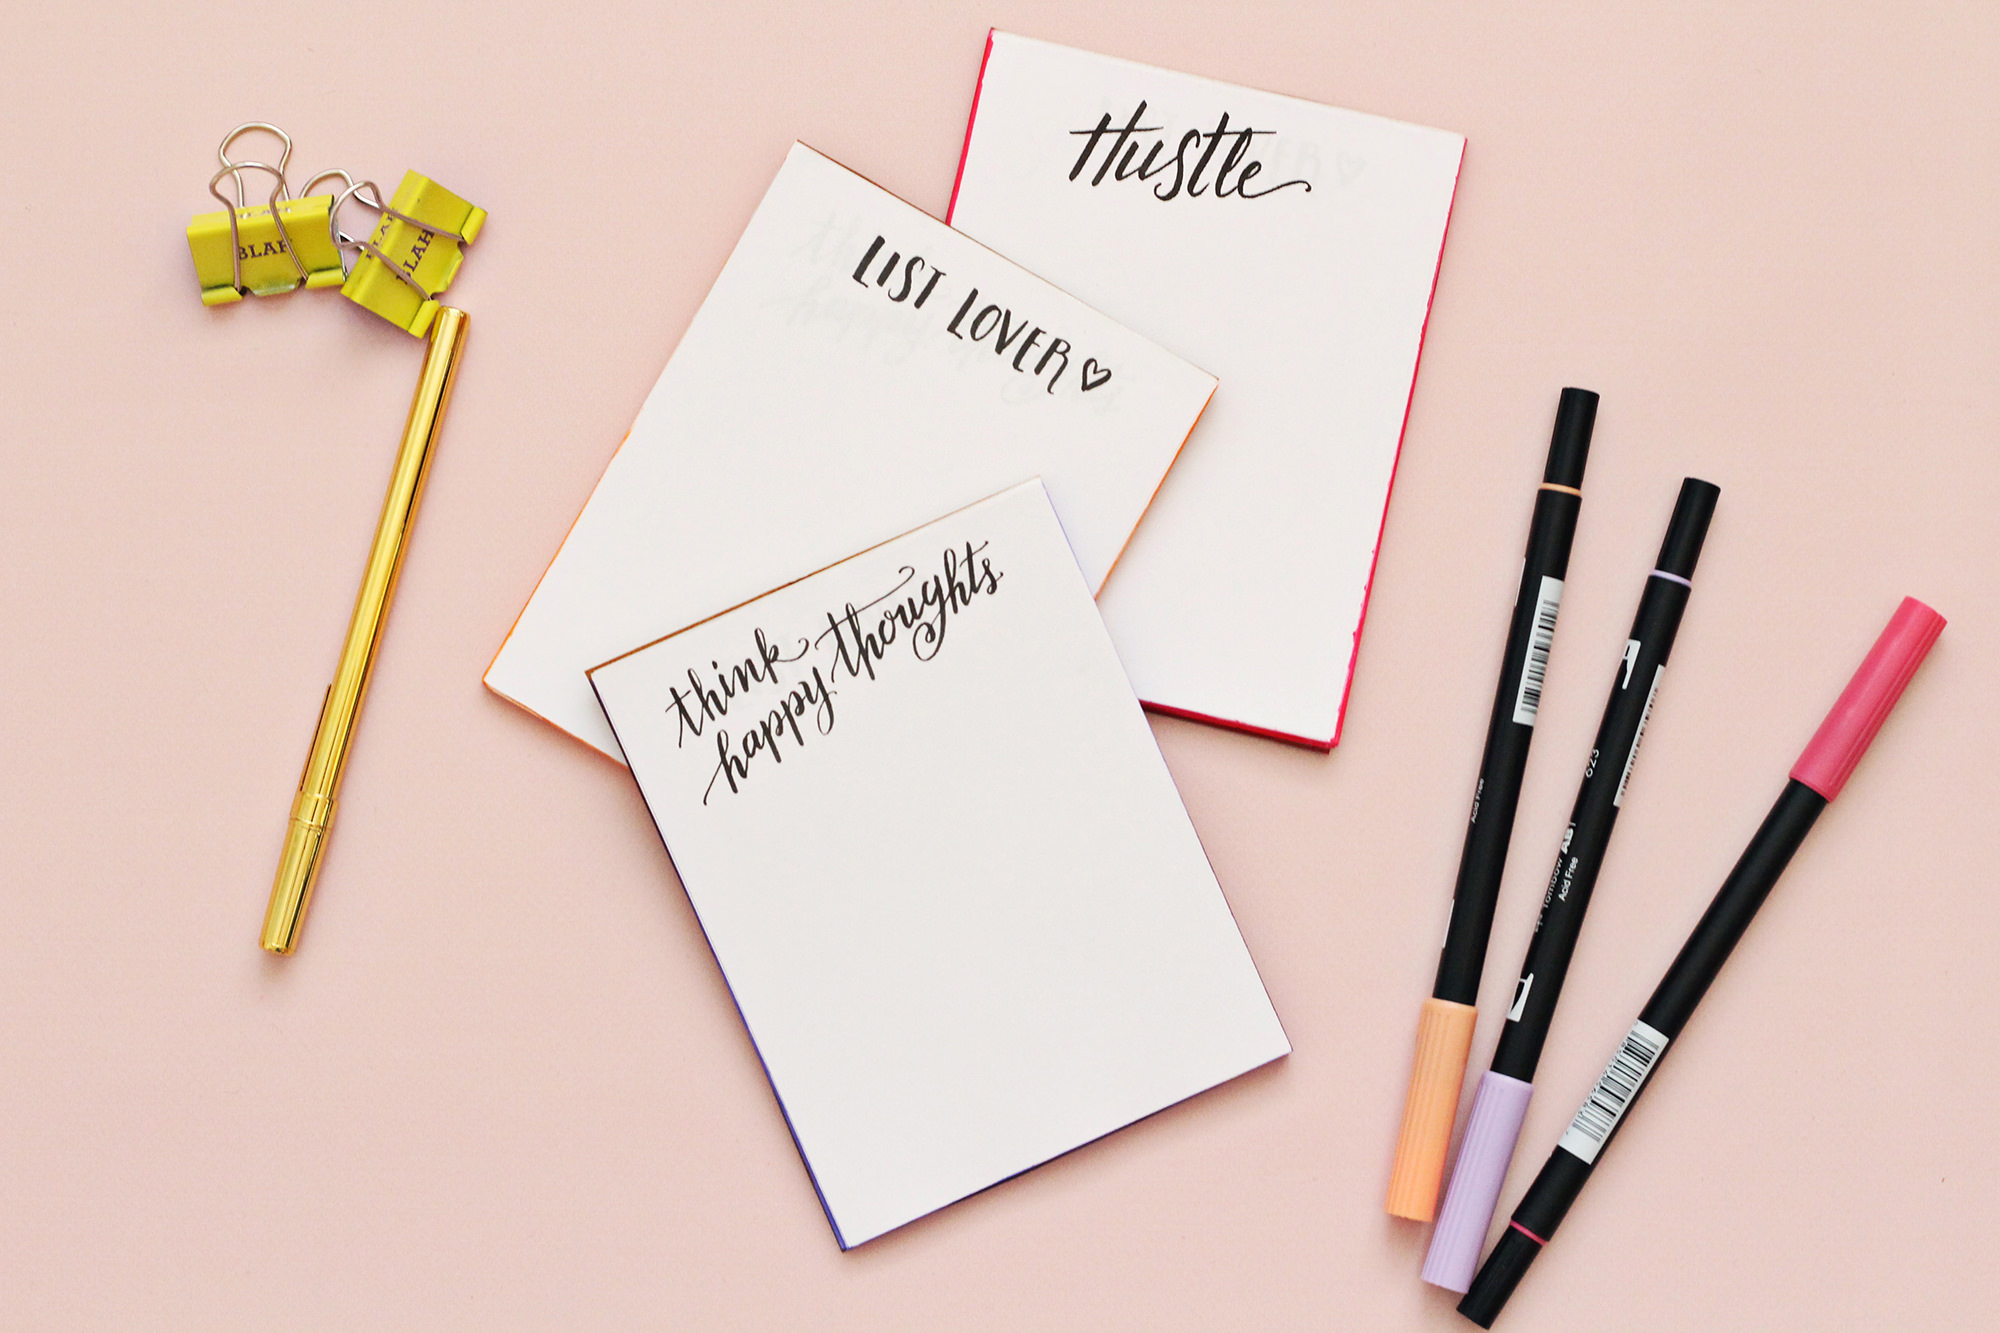 These notepads will give the recipient a little motivation on their desk to start the new year! Be sure to keep one for yourself too. 🙂


No Comments