
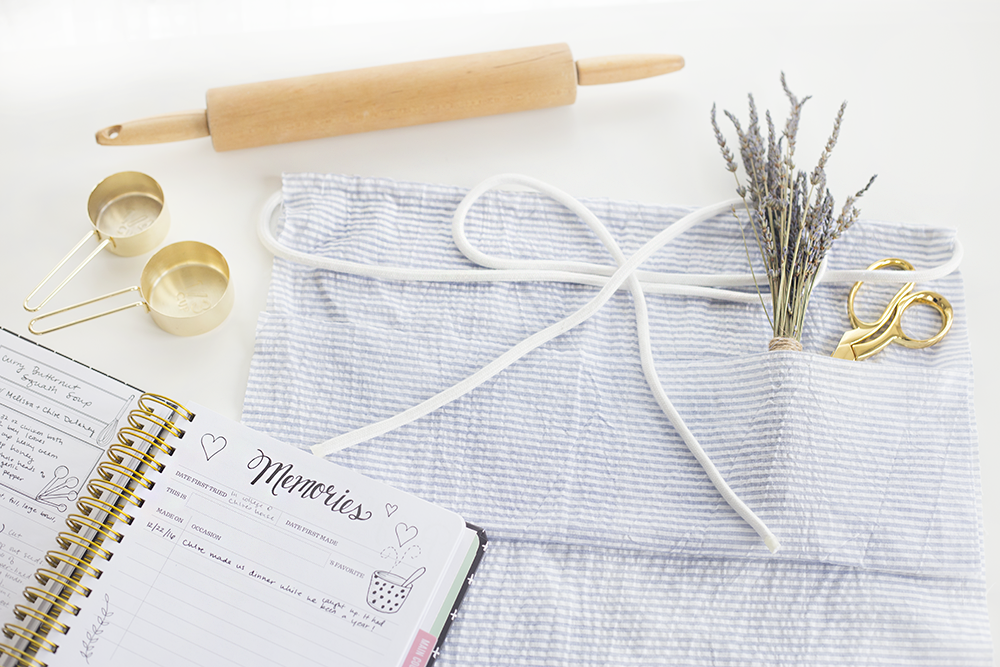
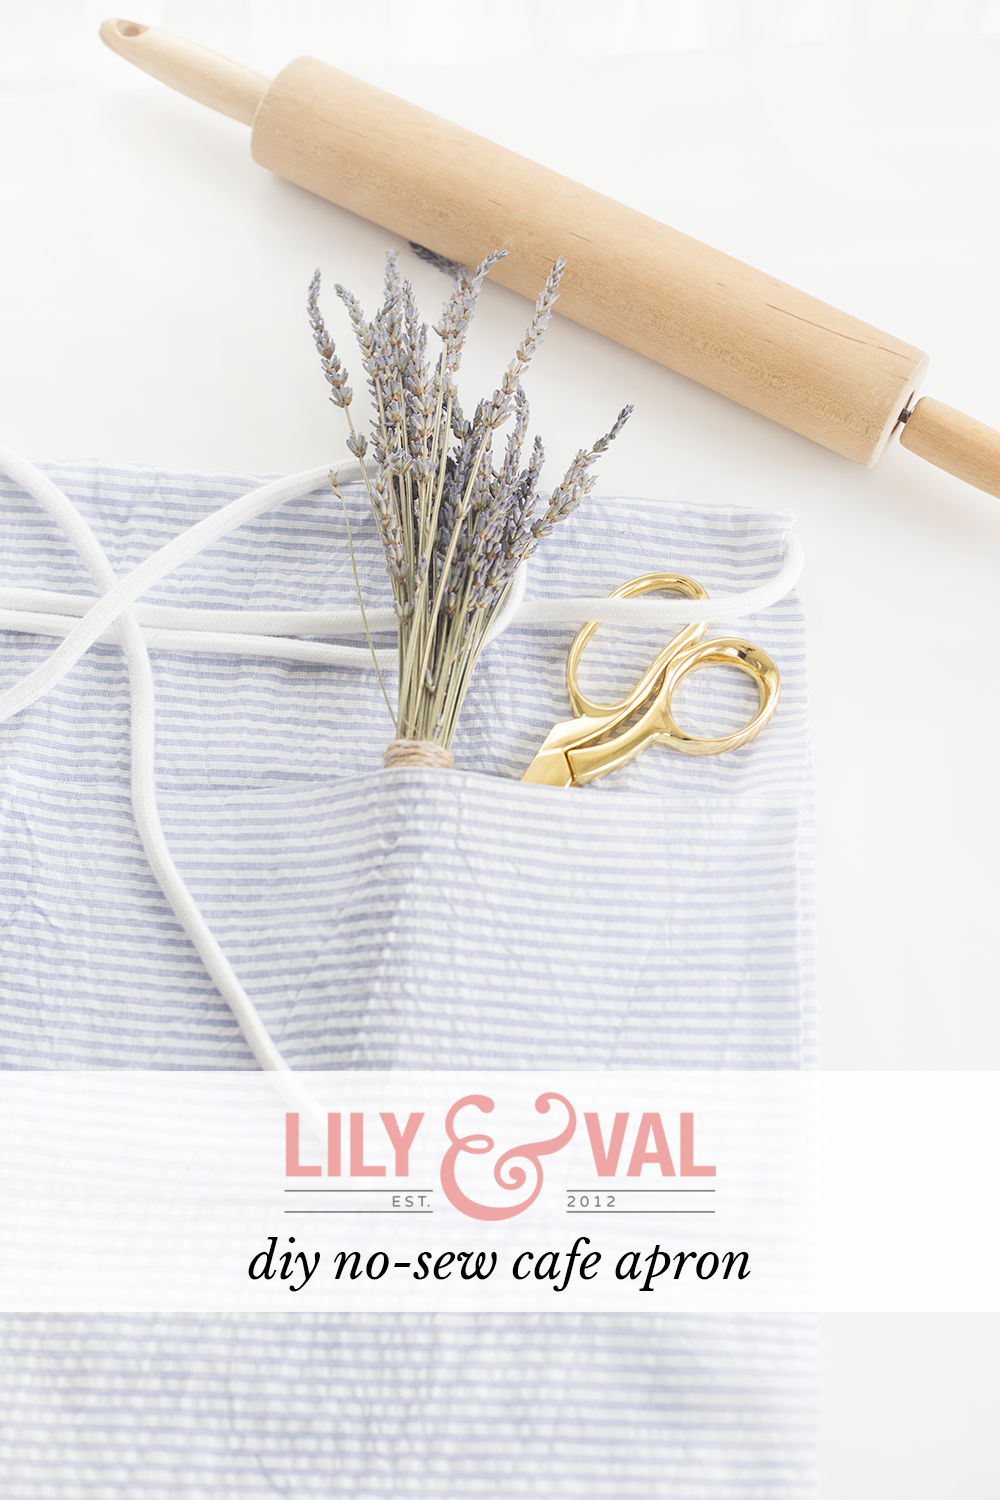
I’ve found myself doing a lot of baking these days since I started blogging for Lily & Val, which means making a lot more mess in the kitchen than usual. So I figured it was about time that I crafted this DIY No-Sew Apron to avoid the flour-all-over-myself phenomenon.
It’s a simple cafe-style apron with a front pocket and an easy cord tie. I’ve outlined the steps below so you can make your own – in under fifteen minutes. Pretty good, eh?
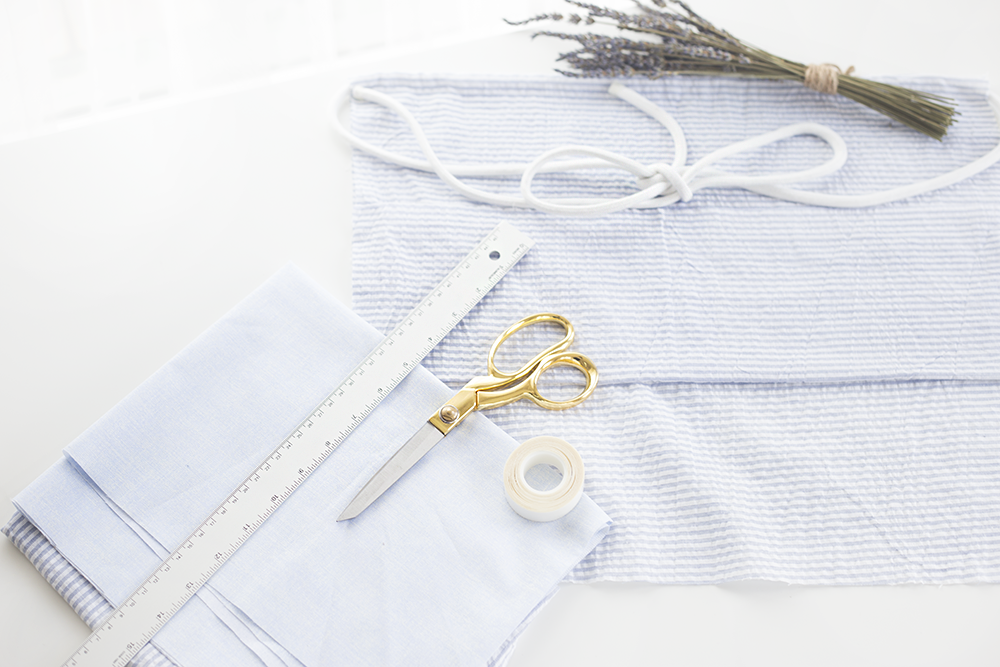
 Supplies
To make this no-sew apron, you’ll need:
- -1 yard of linen or cotton fabric (mine is a cotton seersucker)
- -Fabric scissors
- -Ruler or straight edge
- -1 1/2 yards of cotton cording (mine is from JoAnn Fabrics)
- -Fabric adhesive permanent tape (also called hem tape)
- -Fabric pencil or marker
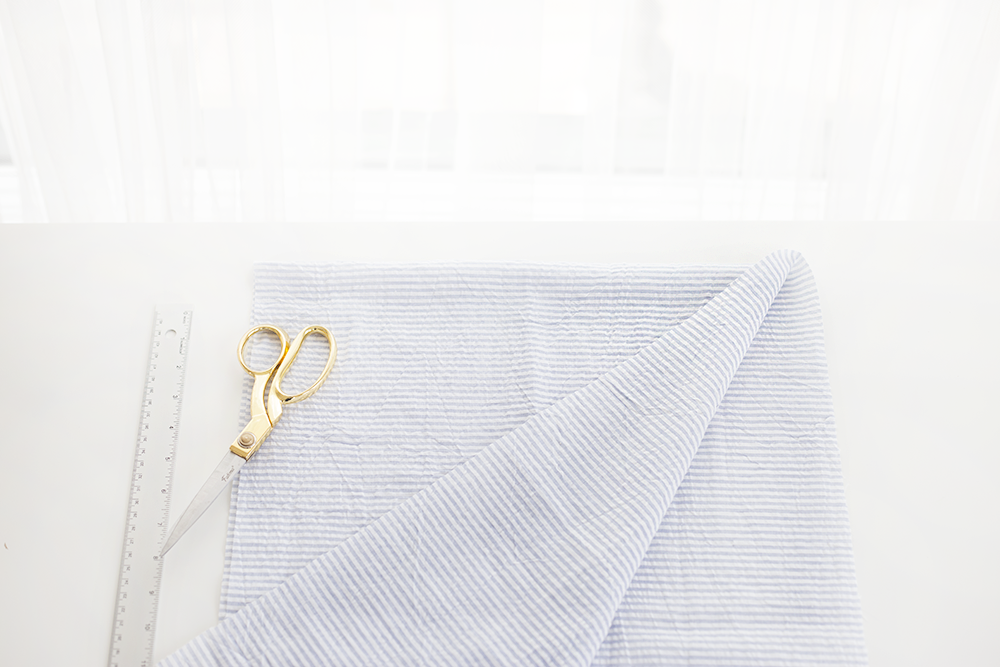
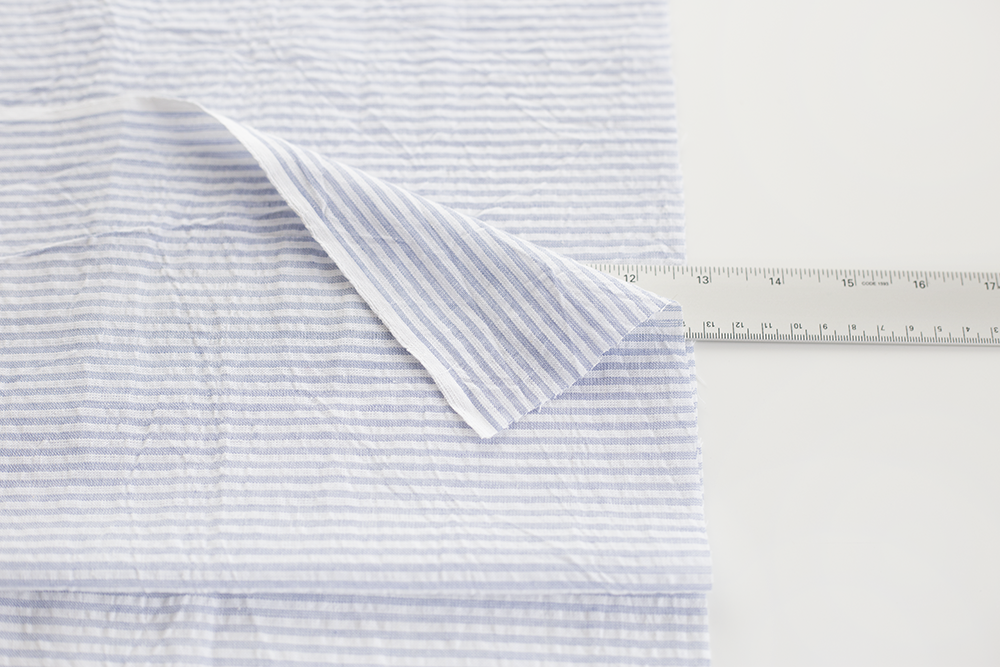
Step One – Measure and Cut Your Fabric
The easiest way to measure your fabric is to hold the yard (doubled over vertically, so it has a fold on the top) up to your waist with the fold around belly button height.
Position the fabric so that one edge stops where you’d like the end of the apron to lay and then mark where you’d like to cut to the other edge to cover yourself evenly.
Use your ruler or straight edge and fabric scissors to cut where you made your mark. If your apron is too long, mark where you’d like it to end and cut directly across the fabric at that mark. It’s helpful to have a cutting board for this!
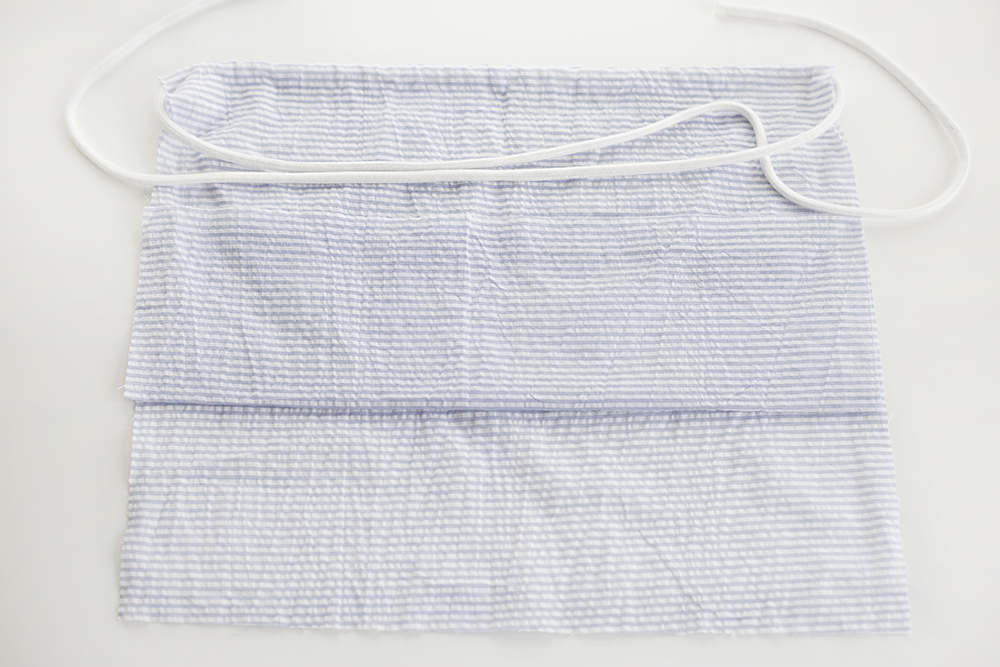
The photo below shows the width I cut my apron to and how I doubled up the fabric so the fold is at the top.
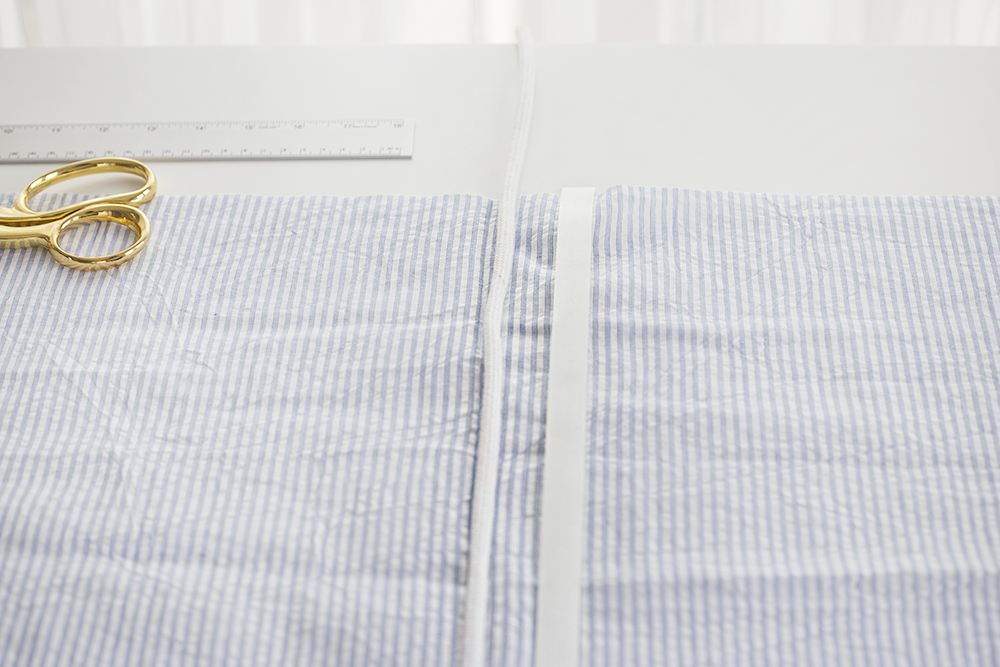
Step Two – Secure the Cord Tie
Open your cut fabric horizontally so the fold is in the middle and the two layers open hot dog style (like a book). Place your cord exactly where the fold would be – you should be able to see a crease there to help you position it. You want your cord placed so that there is equal excess on both sides.
Measure out the length of your fabric in the permanent fabric tape and place the bottom sticky side a little less than an inch away from the cord.
Remove the paper backing and carefully bring the left edge of your fabric to meet the right edge, closing the book.
Press down firmly on the fold where the fabric tape is to make sure it holds. You’ve just created your tie!
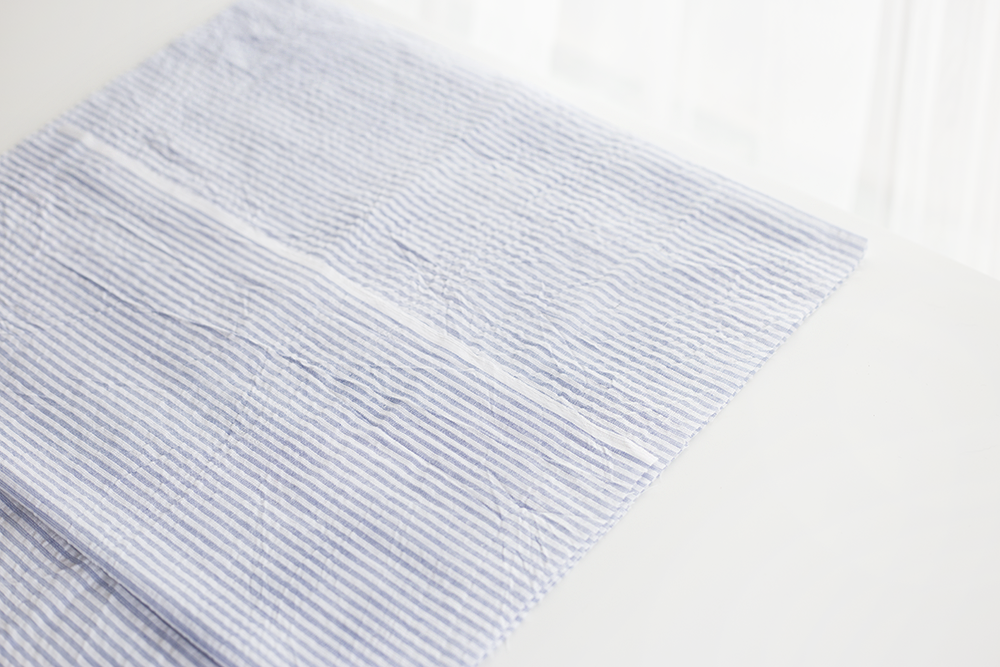
Step Three – Create the Pocket
Position your apron so that the fold (where your tie should now be) is back at the top, with the layers of fabric doubled up (this is what I used to call hamburger style back in elementary school).
Lift the bottom edge of your top layer of fabric and bring it up about midway, laying the top layer on itself (in sewing terms this would mean right sides together). This will form your pocket.
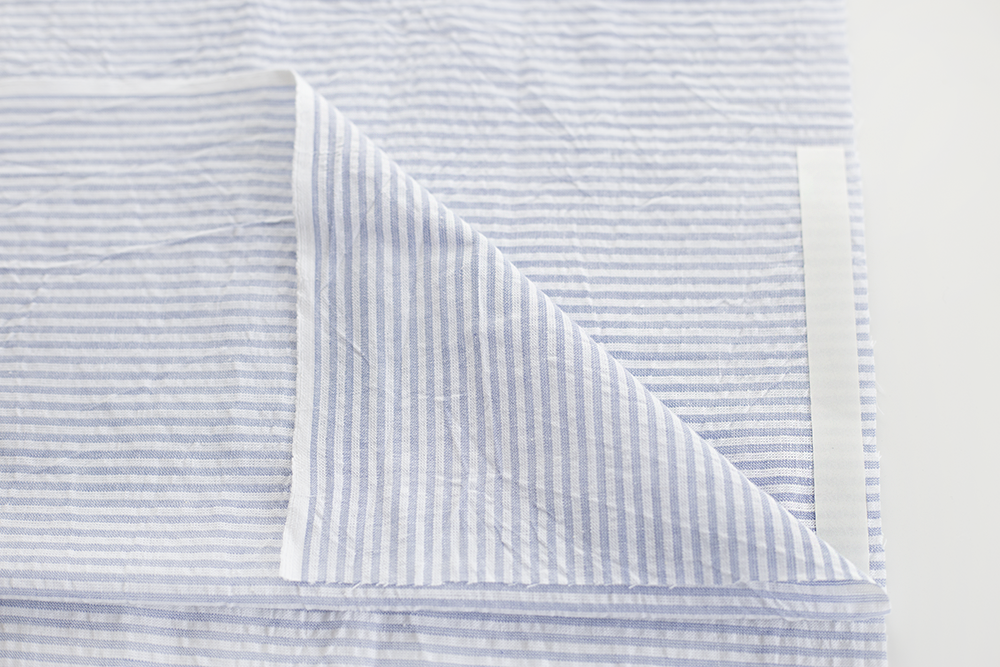
 Cut a strip of fabric tape the length of your pocket. Like we did with the cord tie, secure the sticky side of the tape to your apron where you want the pocket to lay. It’s important to tape as close to the edge of the fabric as possible.
Once you’ve placed tape on both sides of your pocket, peel off the paper backing and firmly press your top layer of fabric onto the tape, forming your pocket.
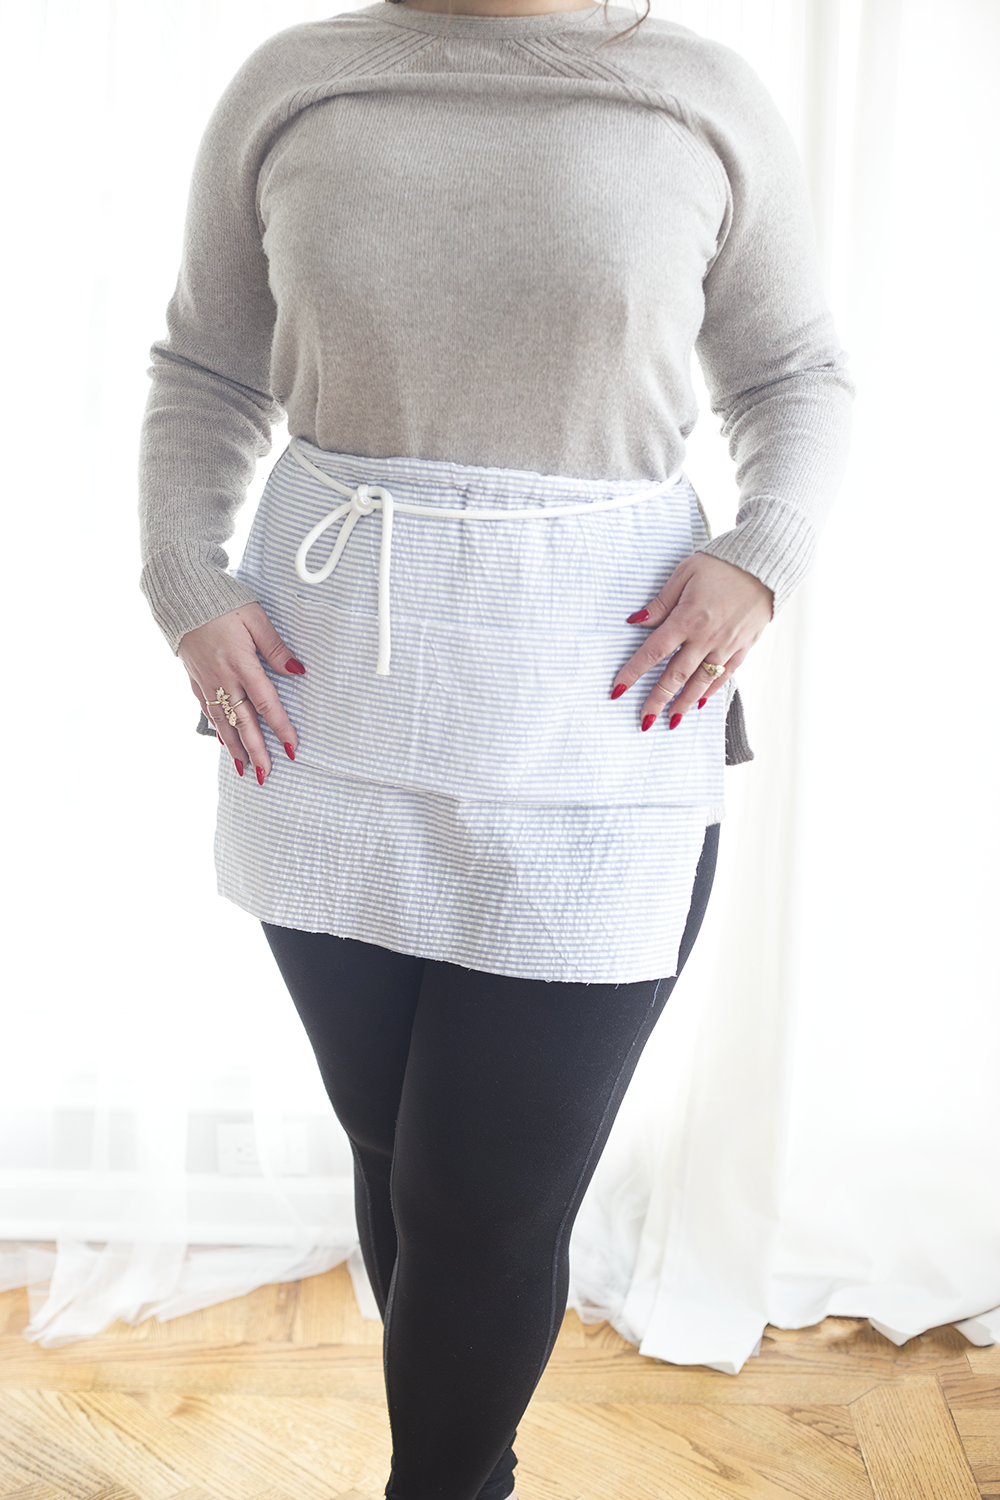
Step Four – Wear Your New No-Sew Apron!
Now that your apron is done, wrap it around your waist and tie the cord in the front in a pretty bow or knot.
Keep a few of your favorite tools in your pocket – it’s time to get cooking!

This project is great not just for baking but for crafts, too! I’m going to use my new no-sew apron for future DIYs as well as to keep flour off of me. Next time you decide to whip something up from your Keepsake Kitchen Diary, pull out your new apron!
What would you use this apron for? Don’t forget to show us your pictures on Instagram by tagging us with #lilyandvalliving. We can’t wait to see what you make!


No Comments