This week we are so excited to share part 1 of this super fun and beautiful do-it-yourself idea! After making this project for ourselves, we now want to make one for everyone we know! We love this DIY art because you can customize it to your home, your wedding, or season! This 3-D flower canvas is just the piece to make your gallery wall pop!

DIY 3-D Flower Canvas Art
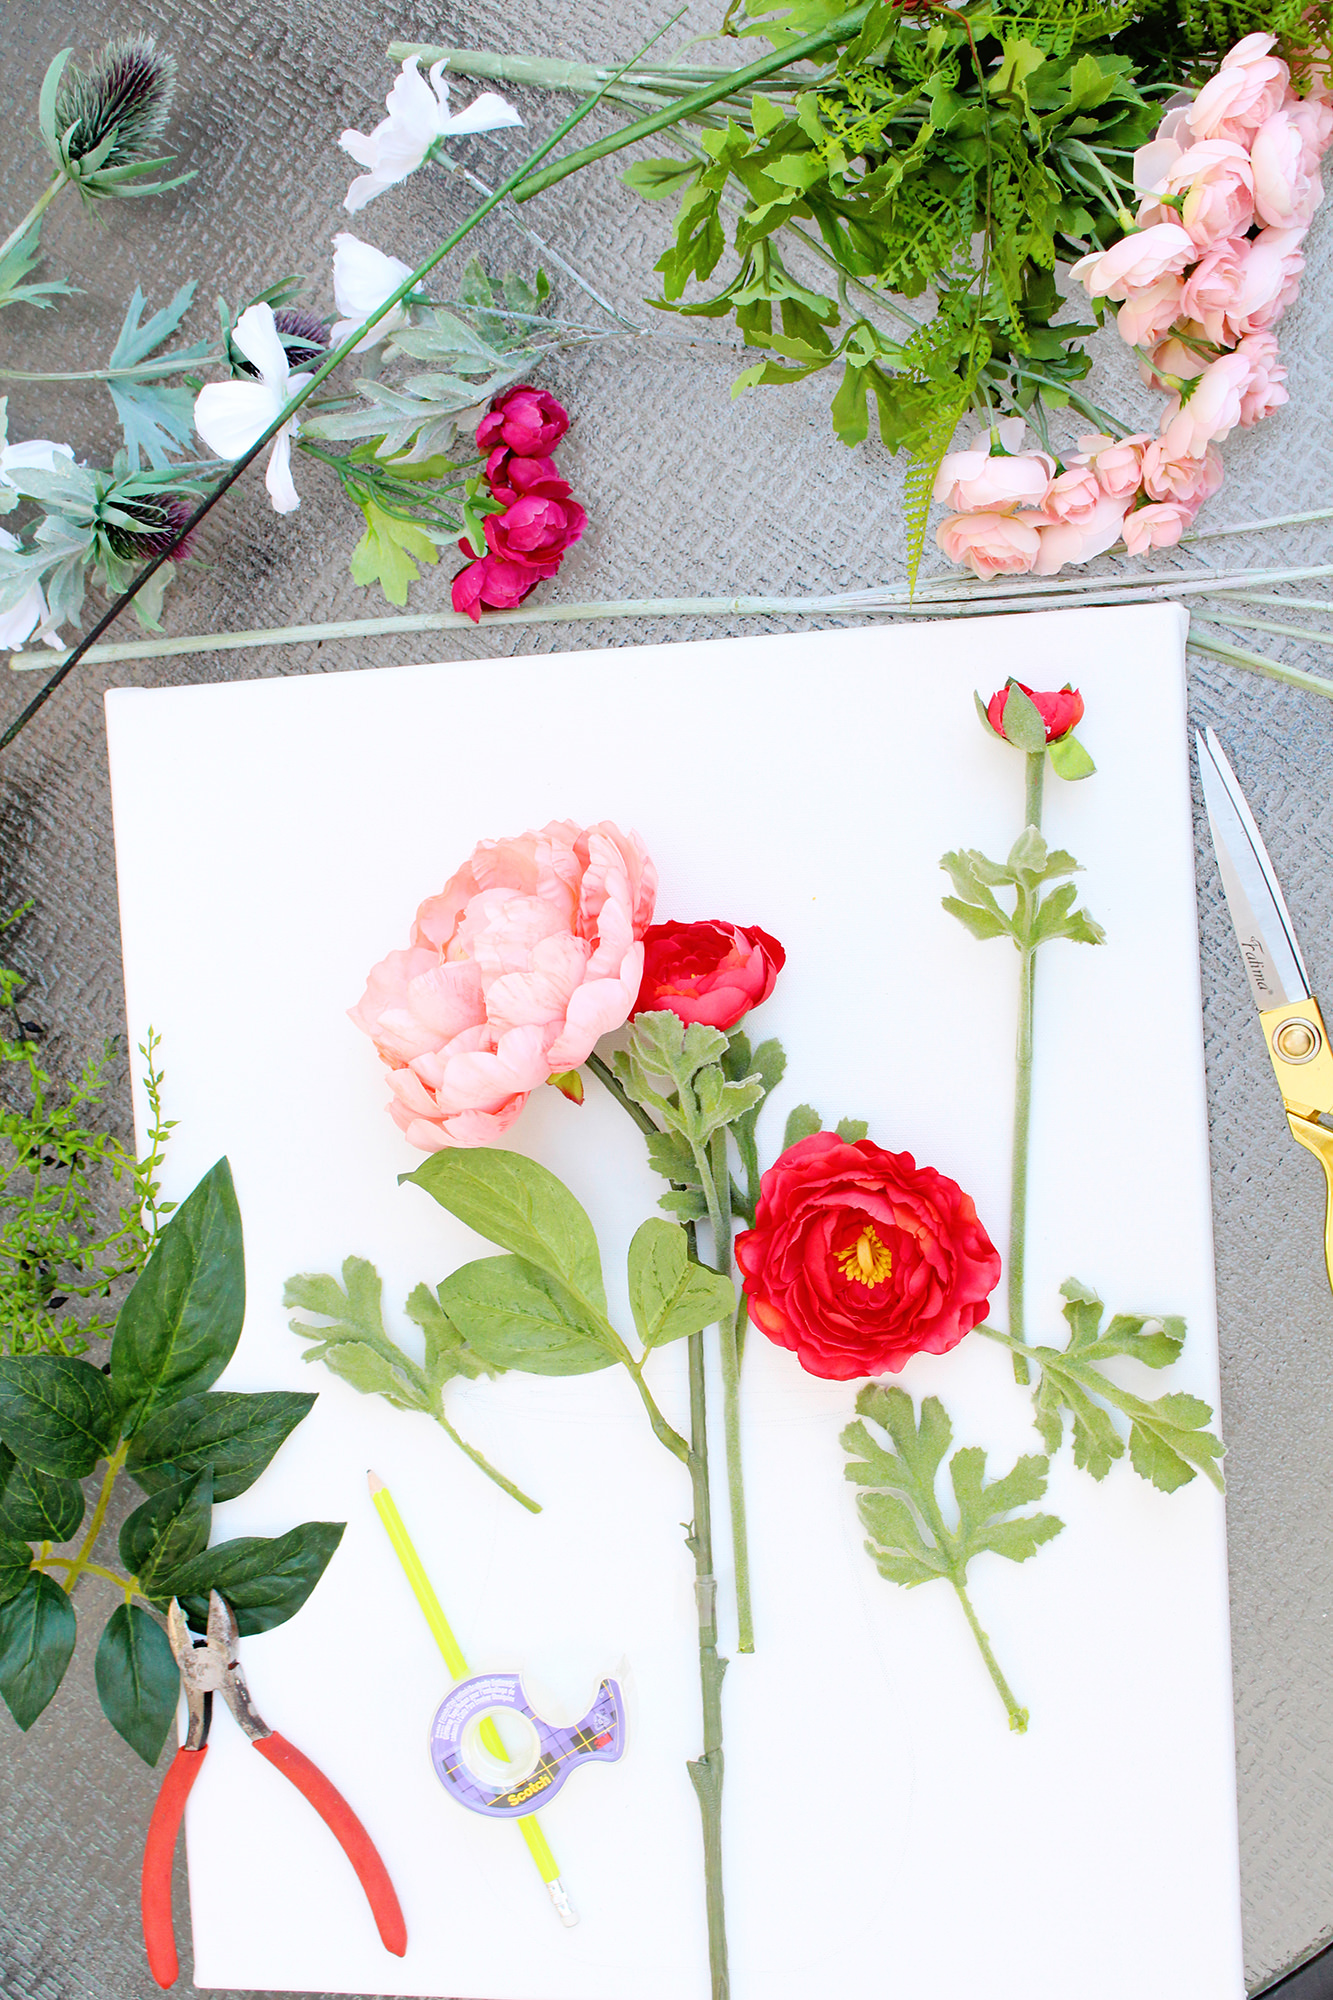
You will need:
1 White painting canvas (ours is a 16″ x 20″)
An assortment of coordinated faux flowers and leaves of your choice in varying sizes (for tips on shopping for faux flowers, read our post here.)
An X-acto Knife
Scissors
Wire cutters
1 roll of clear packaging tape or duct tape
A hot glue gun
Small push pins (optional)
Black acrylic paint and a small brush
A pencil
Directions:
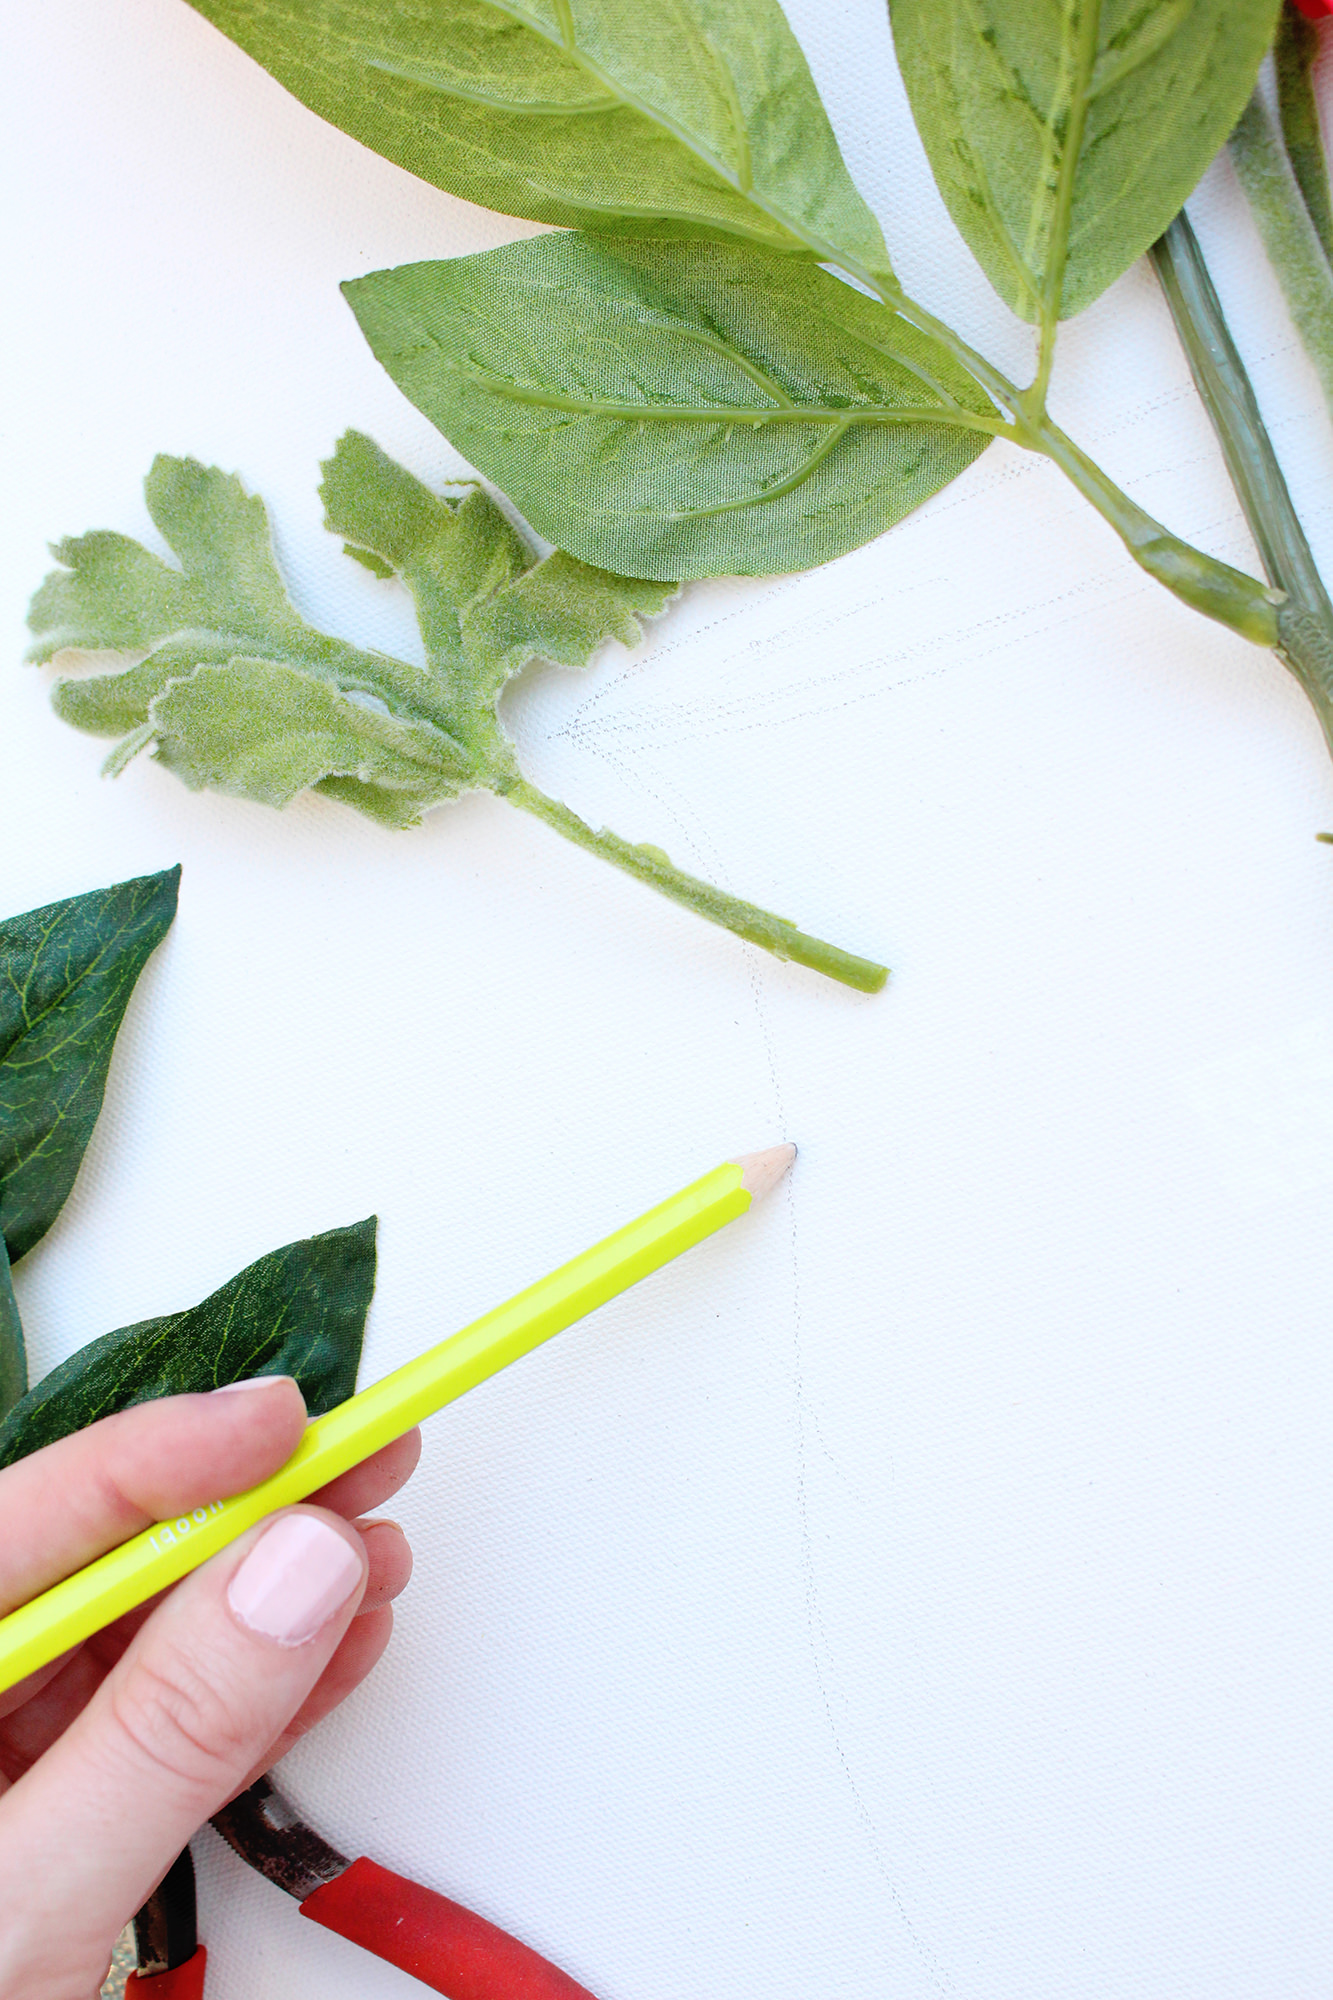
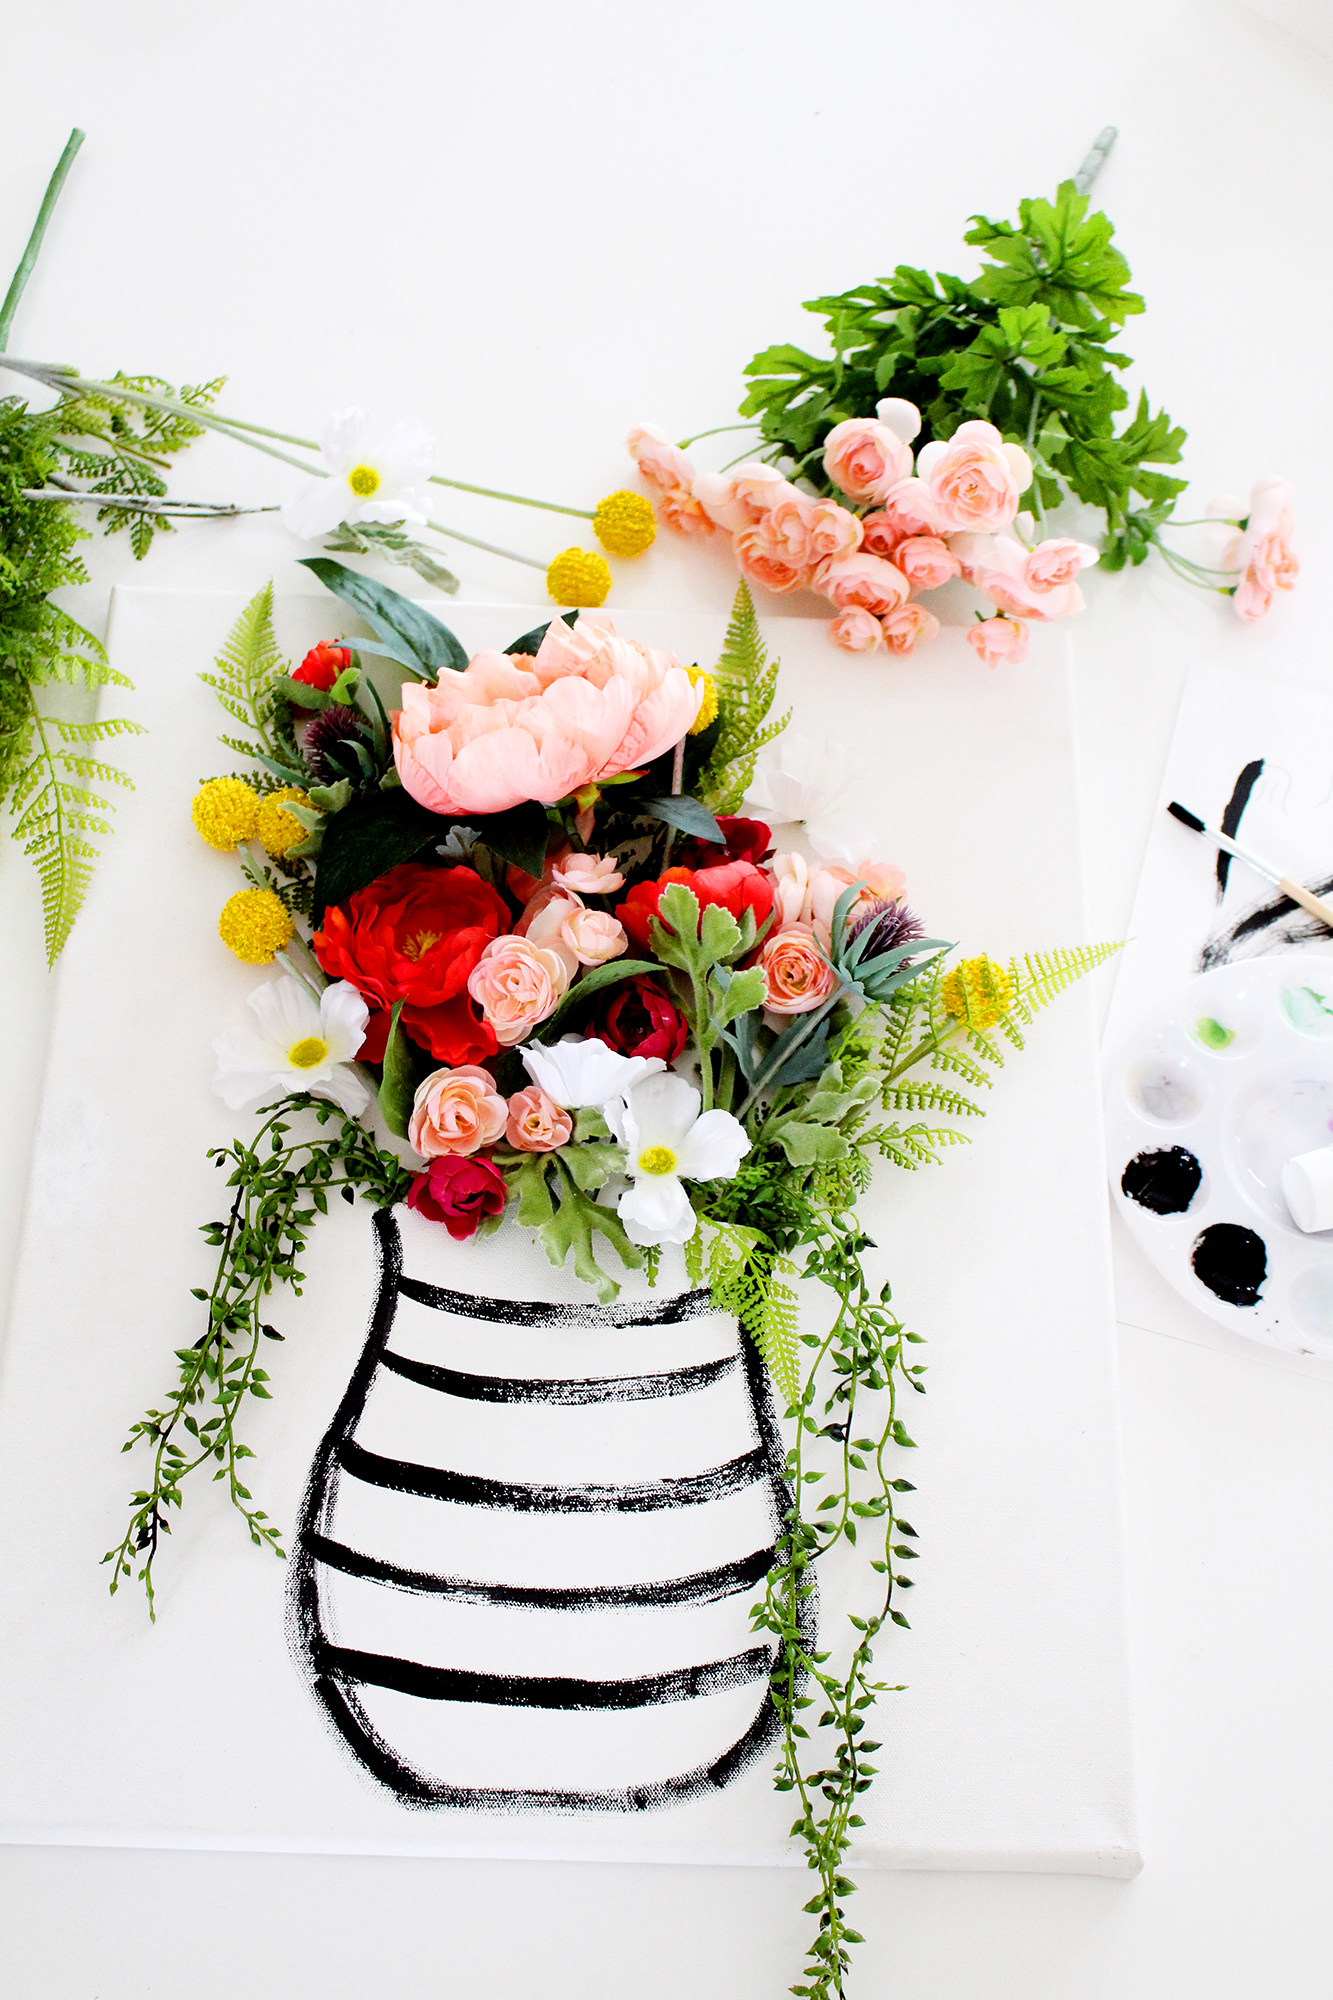
Start by first sketching the “vase” onto the canvas. This will determine where your flowers are placed. We wanted ours to take up the bottom half of the canvas so it would balance out the top and look proportionate.
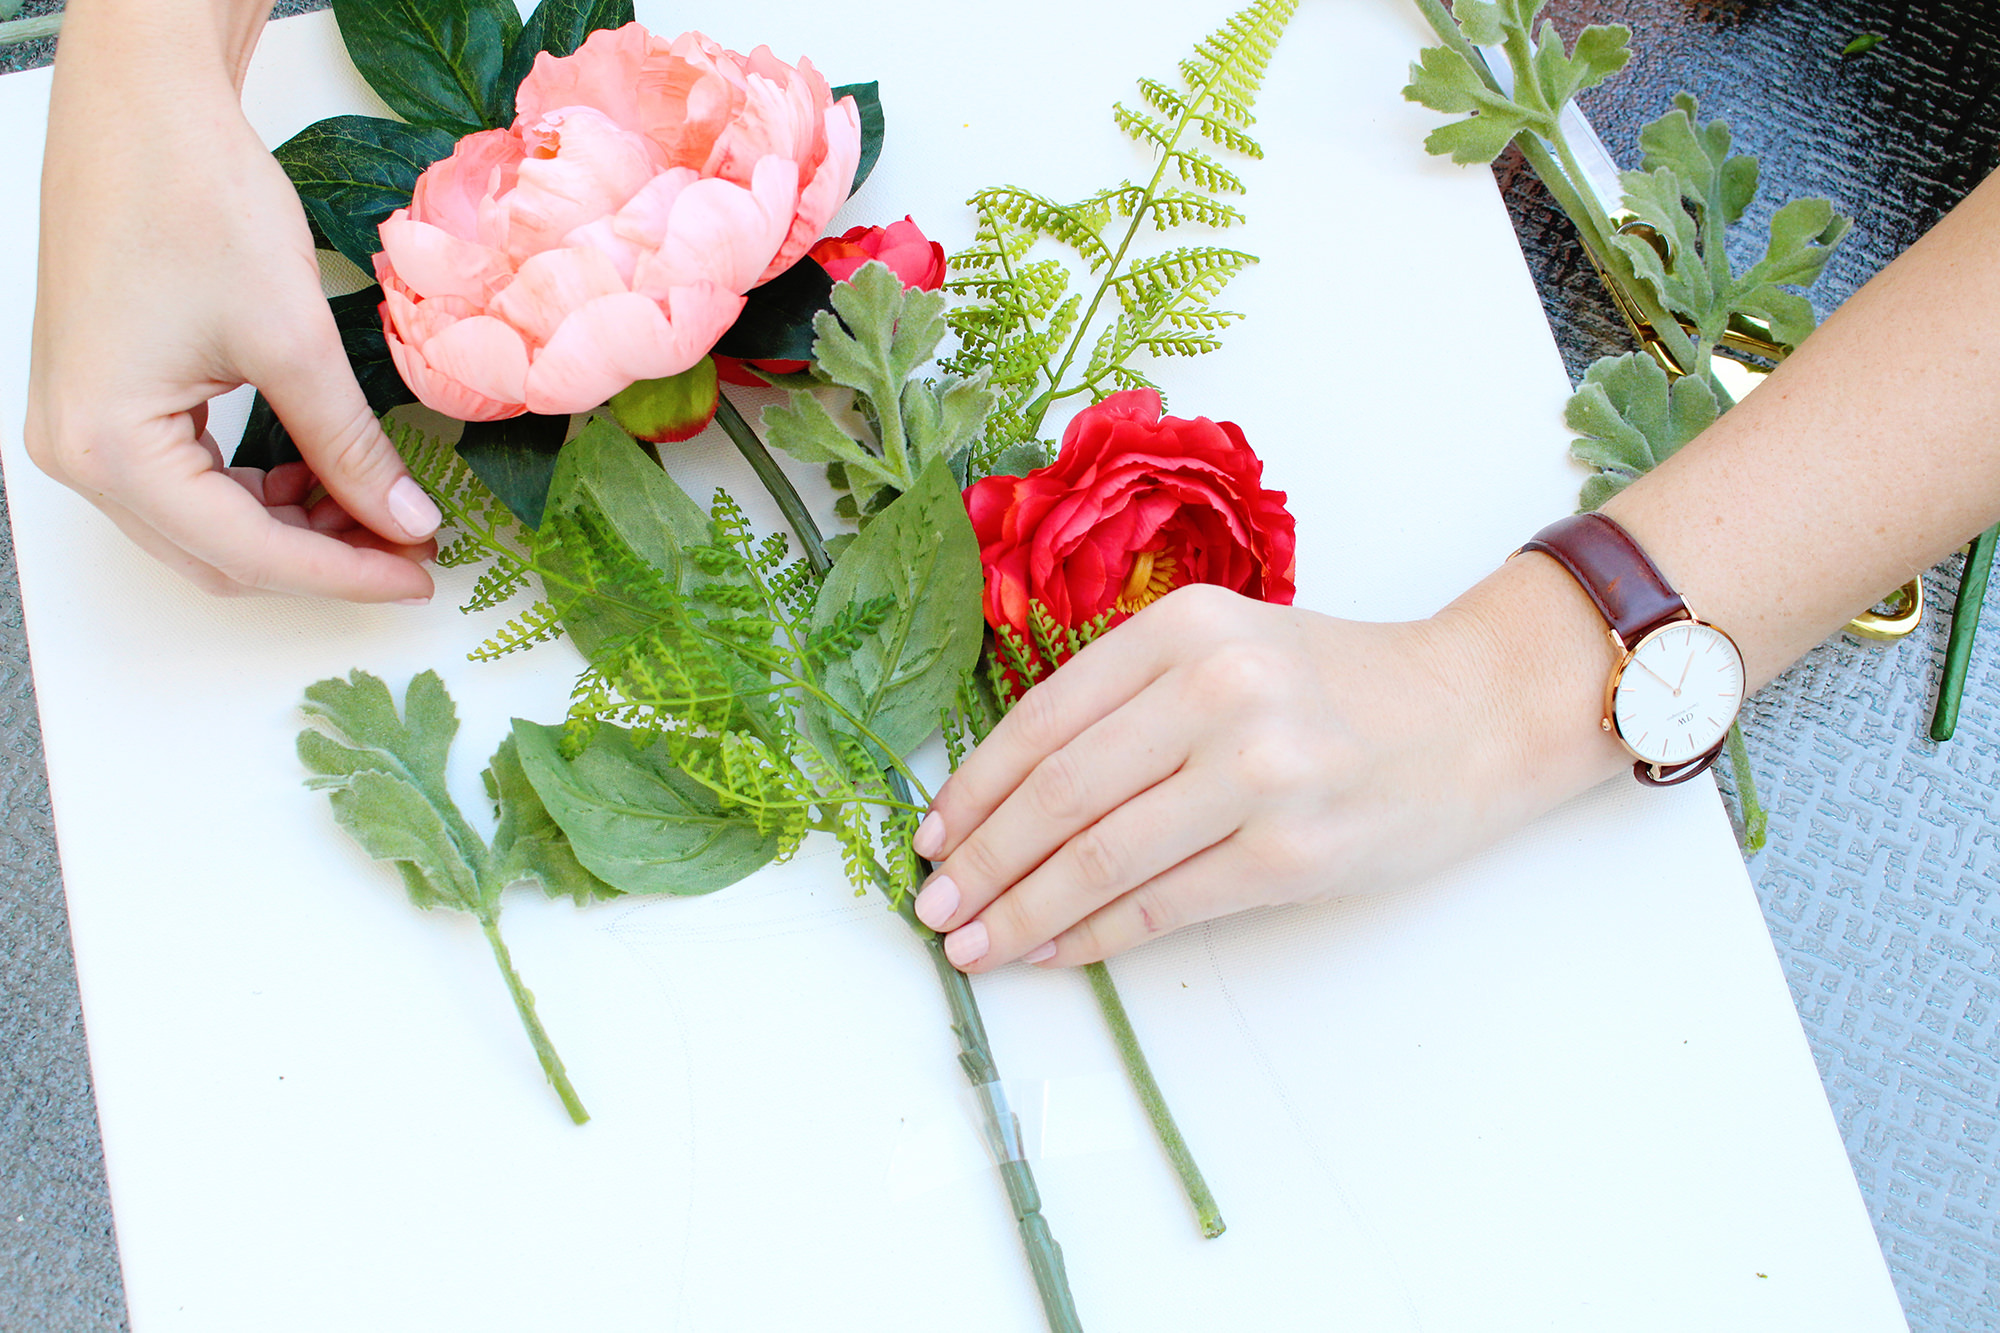
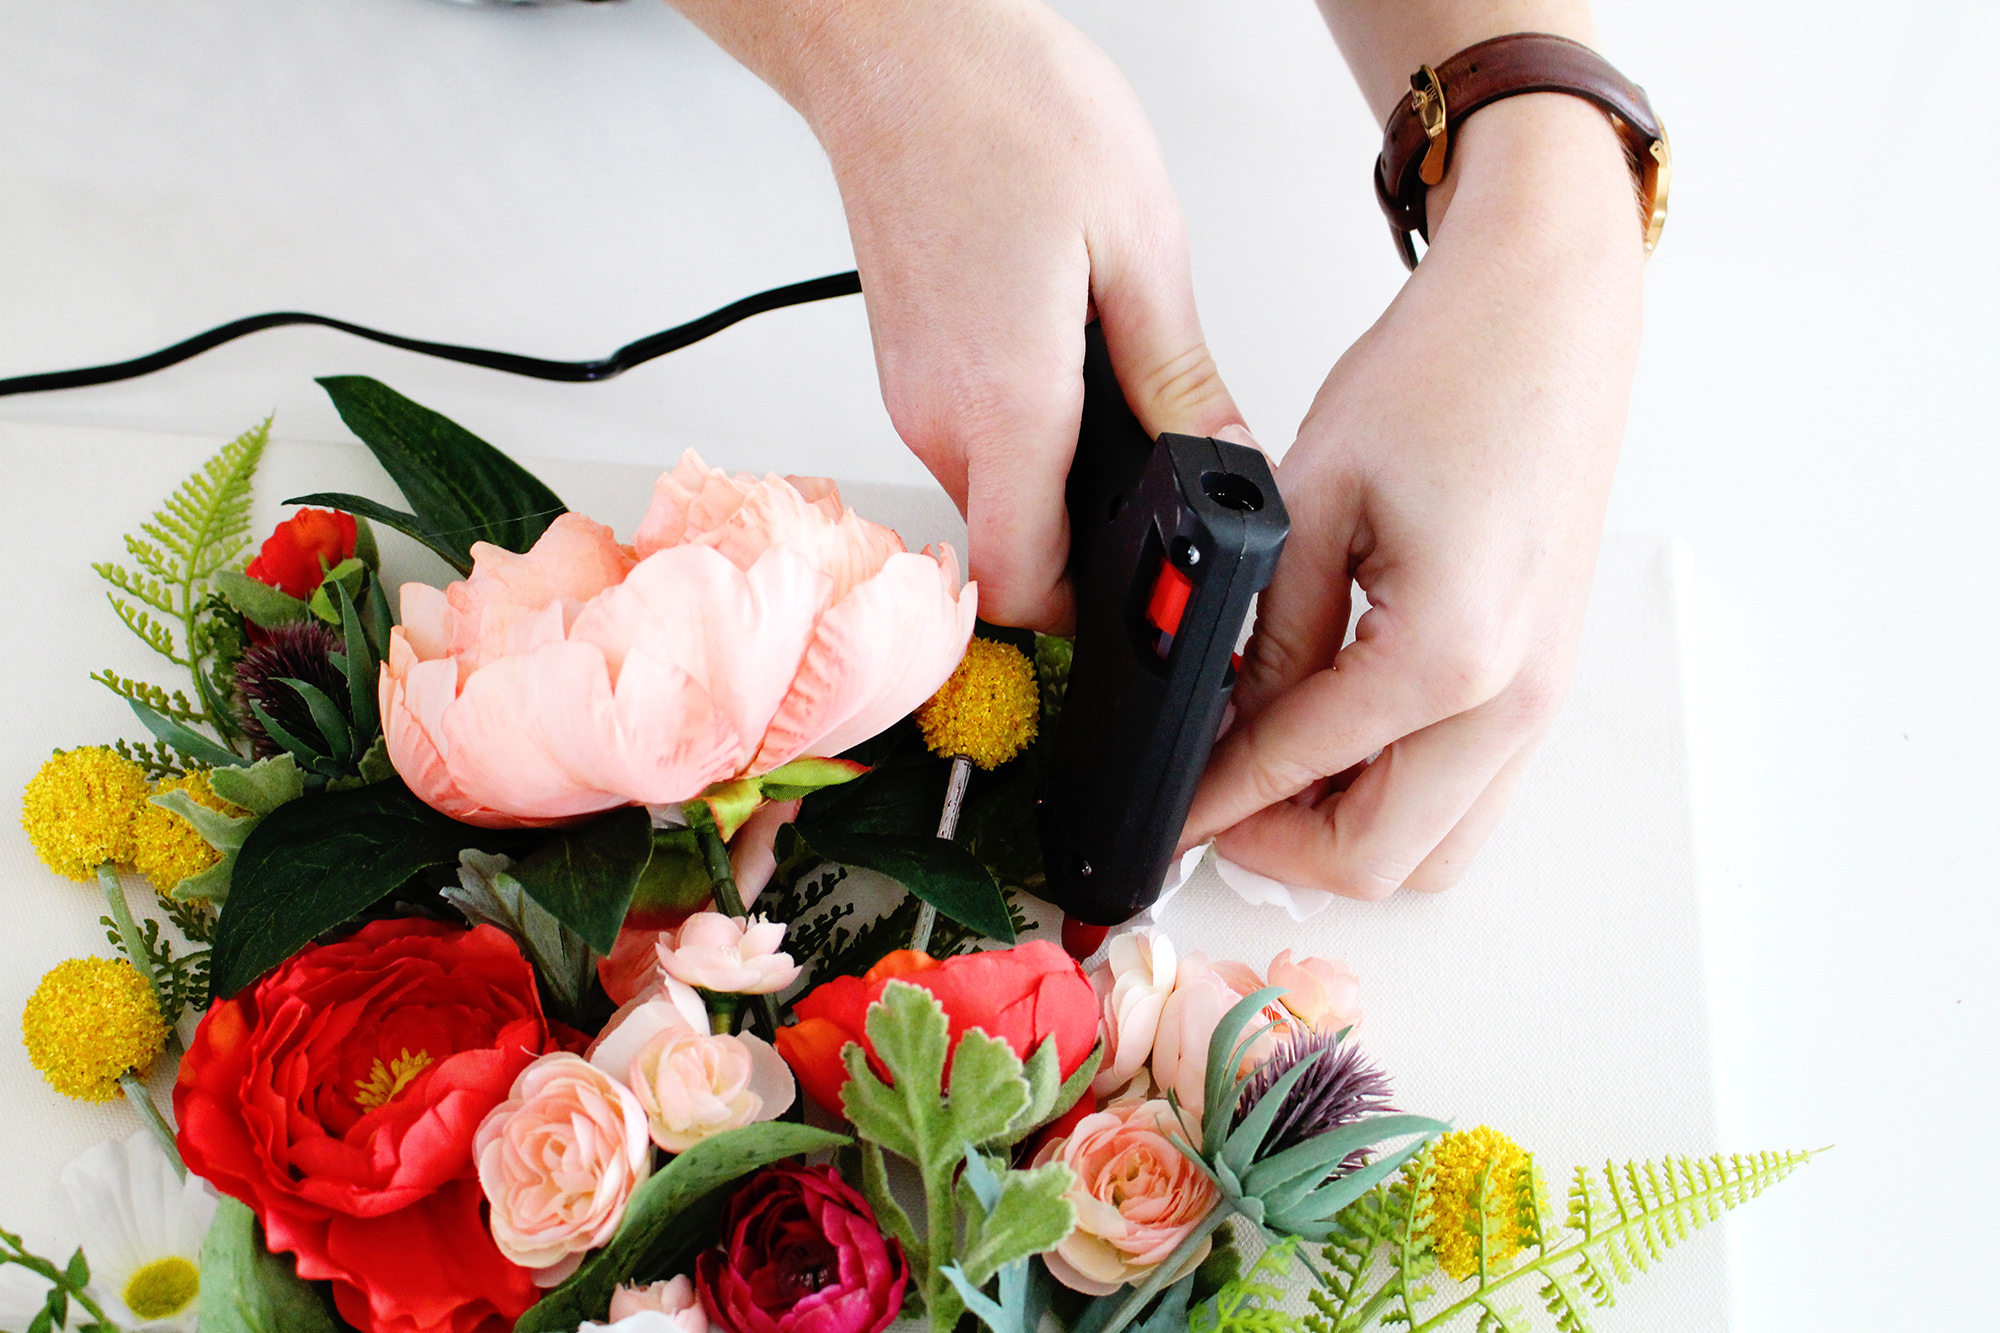
Next, place your larger, statement flowers first. Starting with the larger buds allows you to go back with the smaller buds to fill the white space and create balance. This is your opportunity to have fun floral arranging! It may be helpful to tape the blooms in place while you experiment with placement. Also, use your wire cutters to trim the stems as needed. Sometimes you may want the flower to have a stem, while other times you may want to remove the bloom from the stem altogether so that it lays flat.
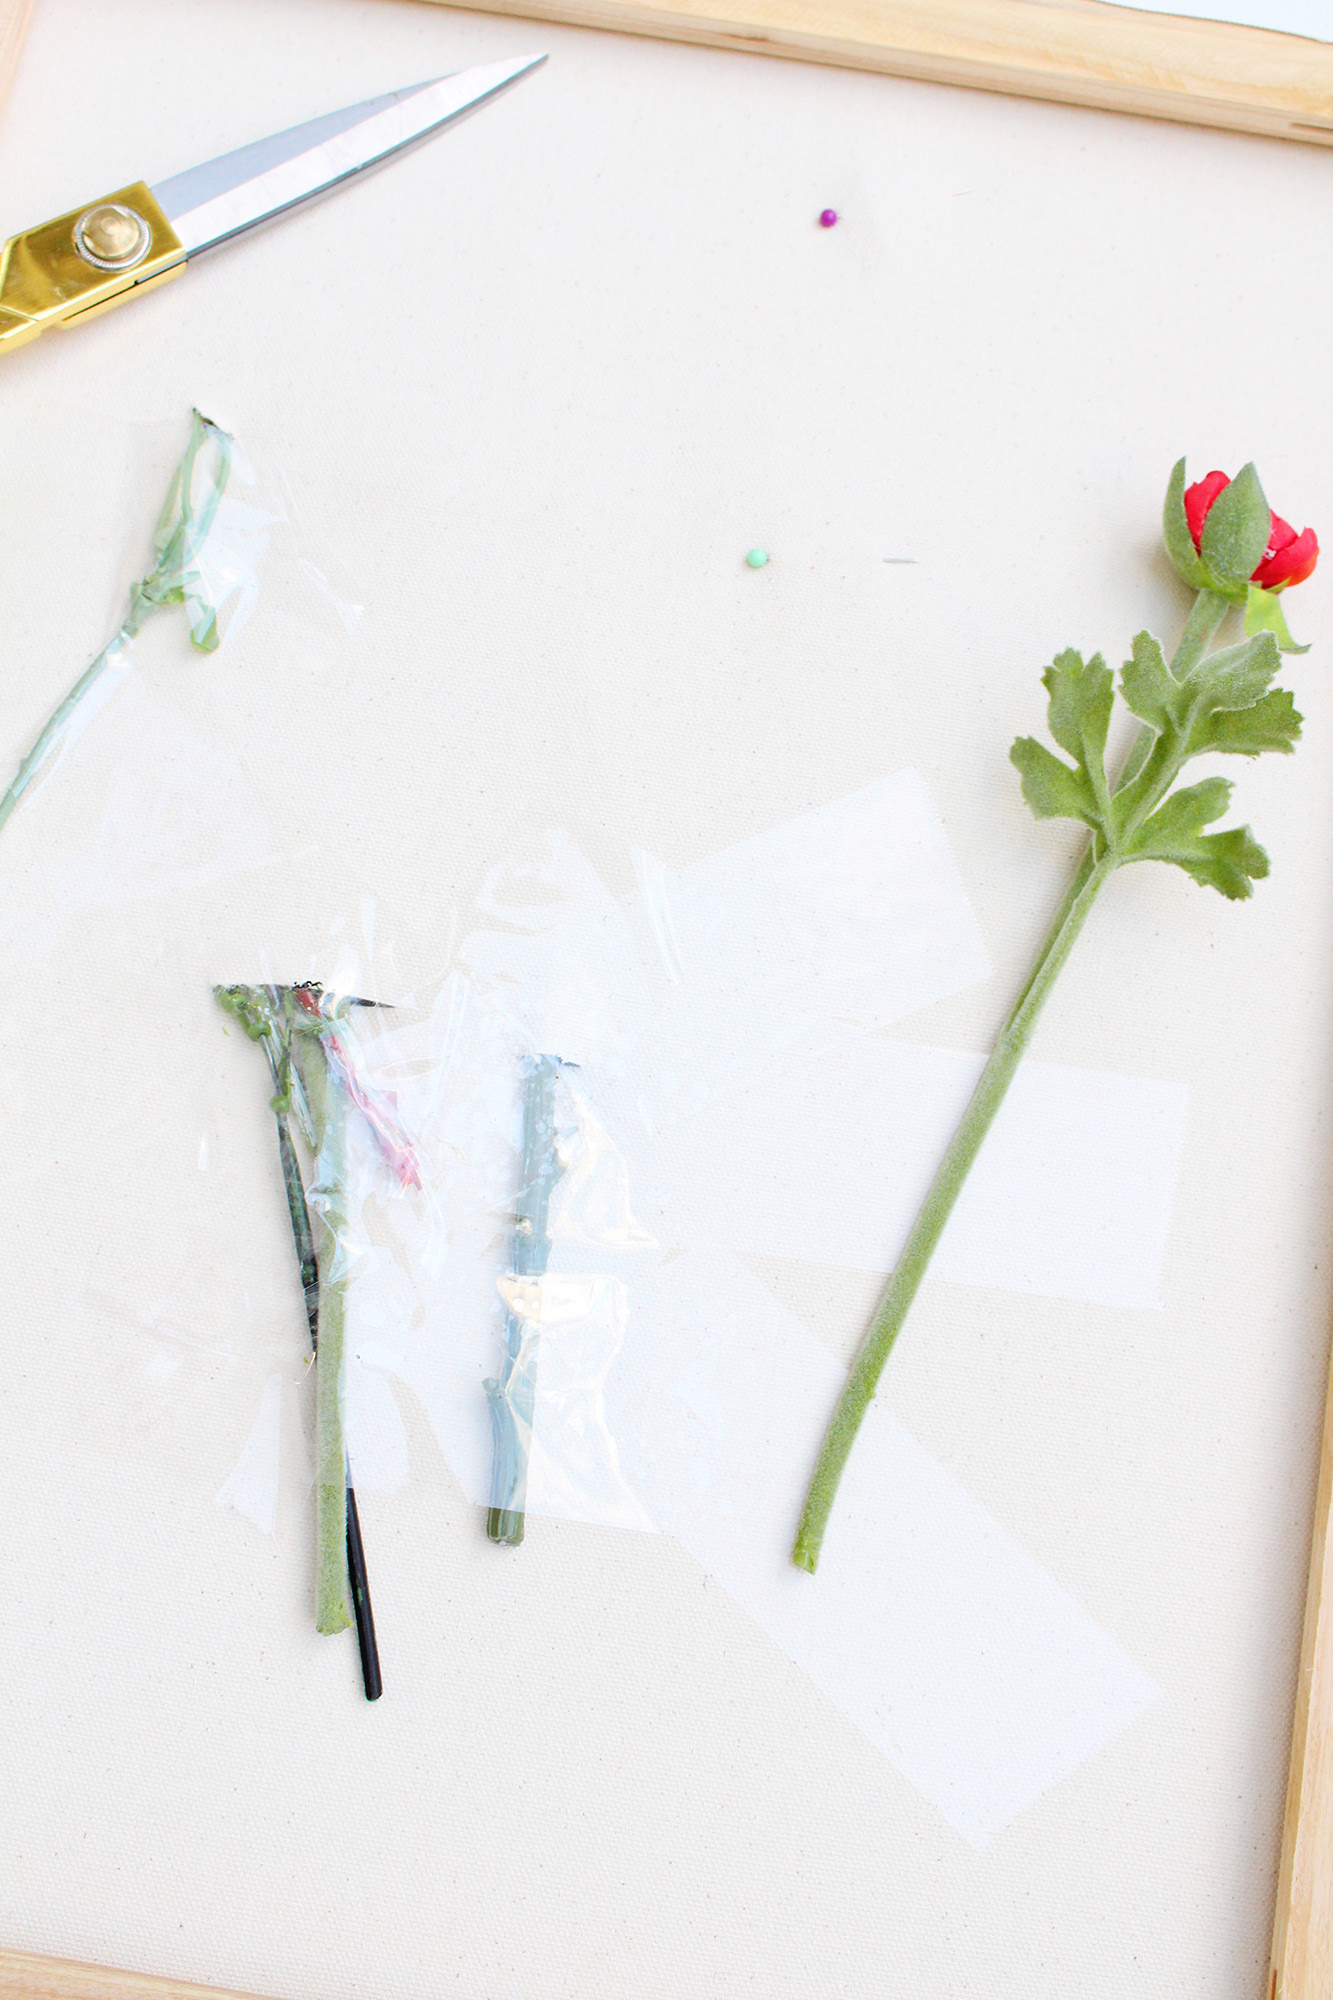
To attach the statement flowers, use an X-acto knife and scissors to cut a small slit in the canvas along the line of your sketched vase and slide the stem through so it looks like they are inside the vase.

Once the stems are slipped through the back, we taped them down so they wouldn’t shift. If we wanted the flower to lay a certain way or stay on the canvas, we would use a straight pin to pin some of the petals down.
Then, working little-by-little, add more layers of flowers and leaves to your arrangement. Use a hot glue gun when needed to affix the flowers or cut new slits in the canvas. You can make the slits large enough to hold two or three stems! I would recommend not gluing anything down until the very end so that you can keep re-arranging!

Once you have finalized the ‘bouquet’ remove buds off their stems and glue them face up wherever you have a blank space or need to cover a cut slit. Hot gluing a leaf to cover the slits is also a good idea. Filling the arrangement like this just makes it look lush and put together!
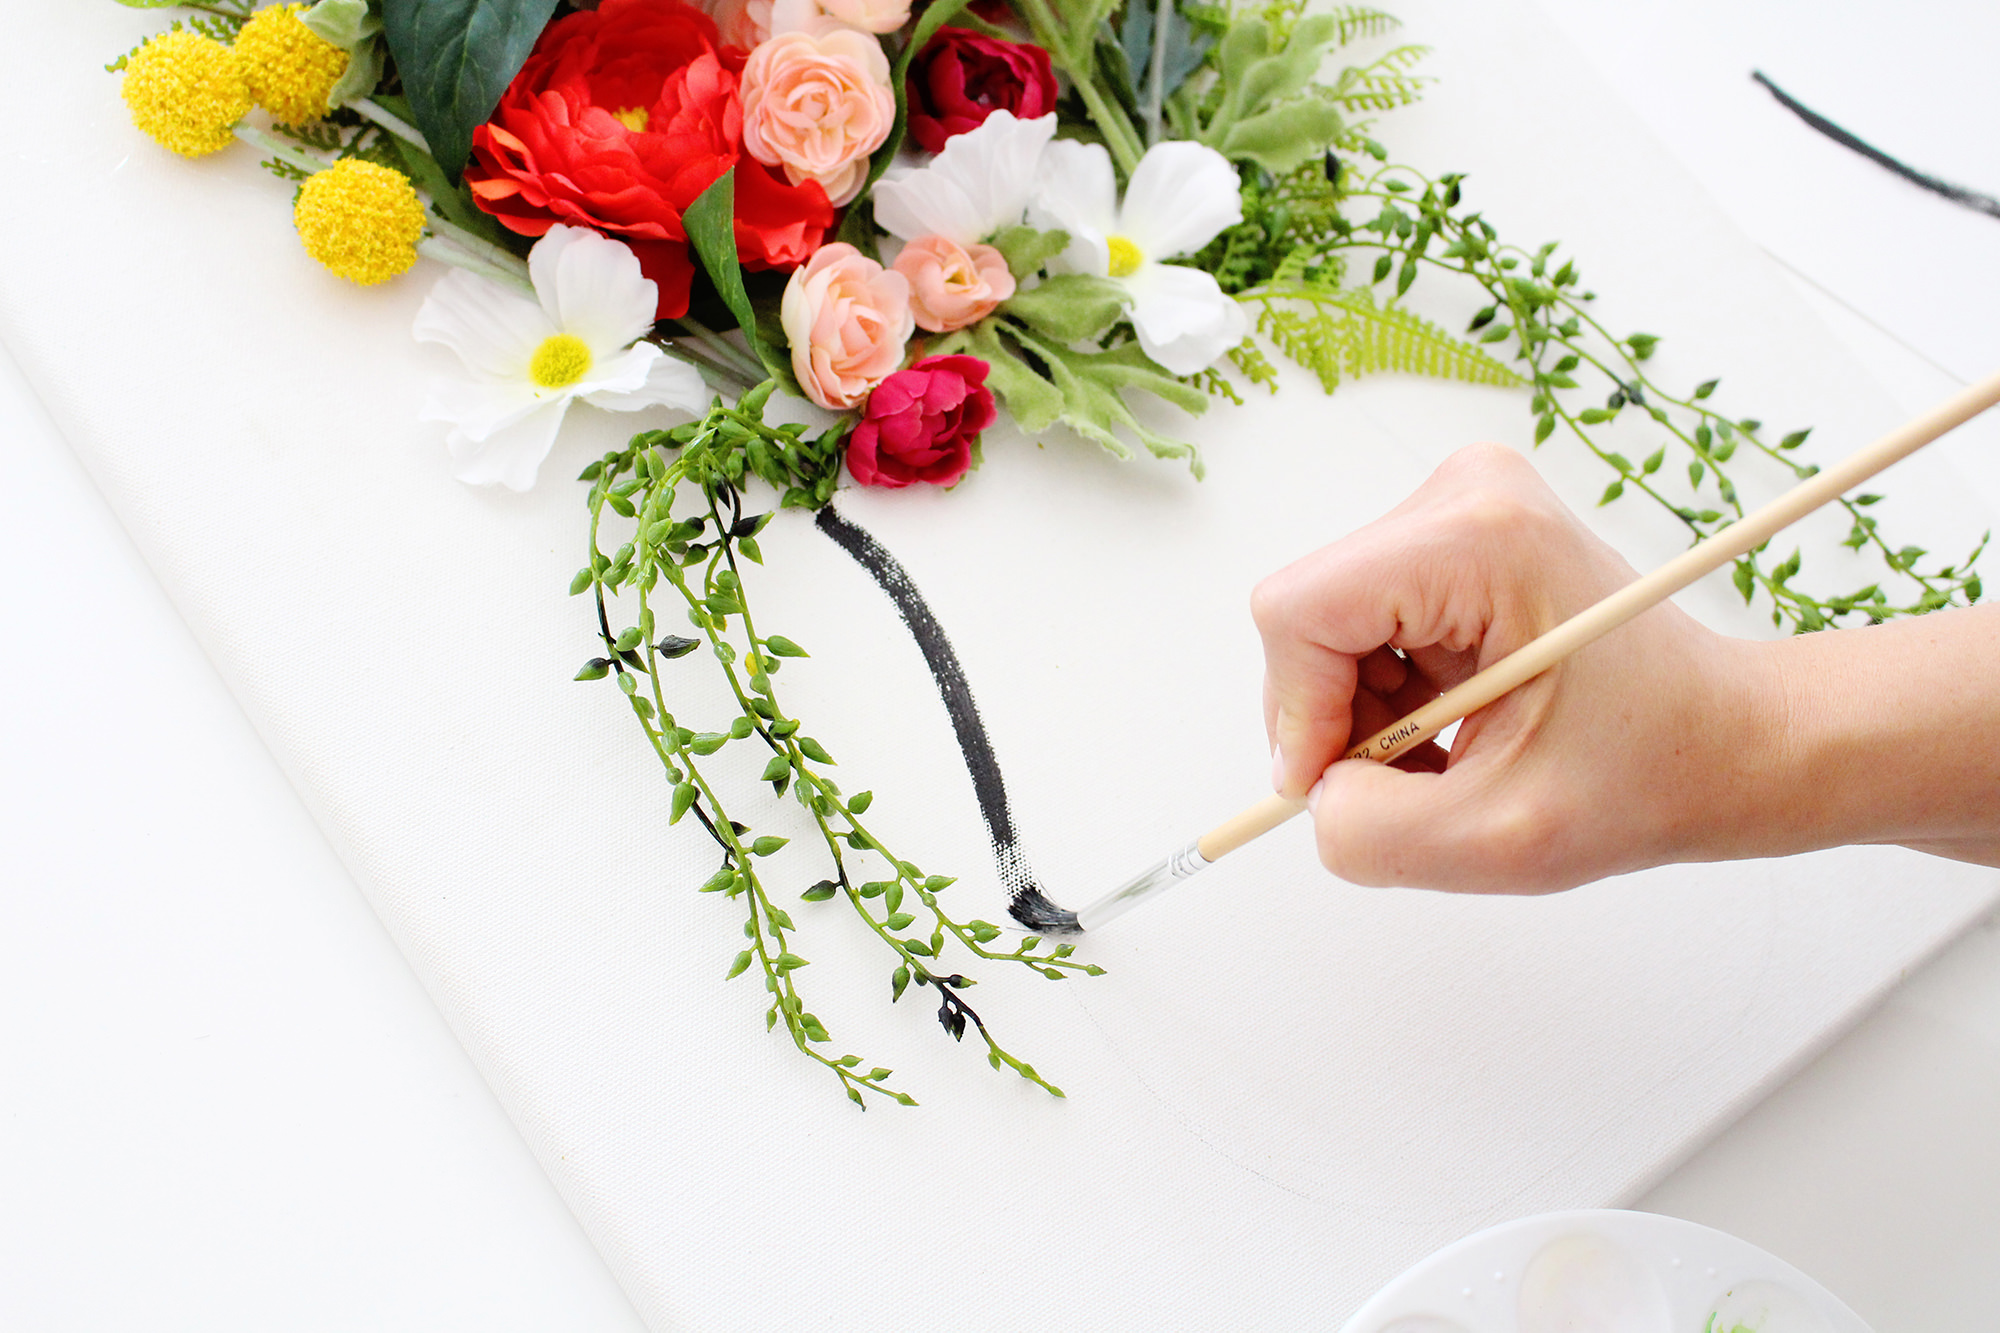
After gluing and securing all the flowers and leaves, it’s time to paint your vase! We went with a minimal, black, ‘sketchy’ look, to keep it simple and artsy.
Once the paint is dry- hang your floral work of art! We absolutely love the way this DIY turned out and hope you do too!
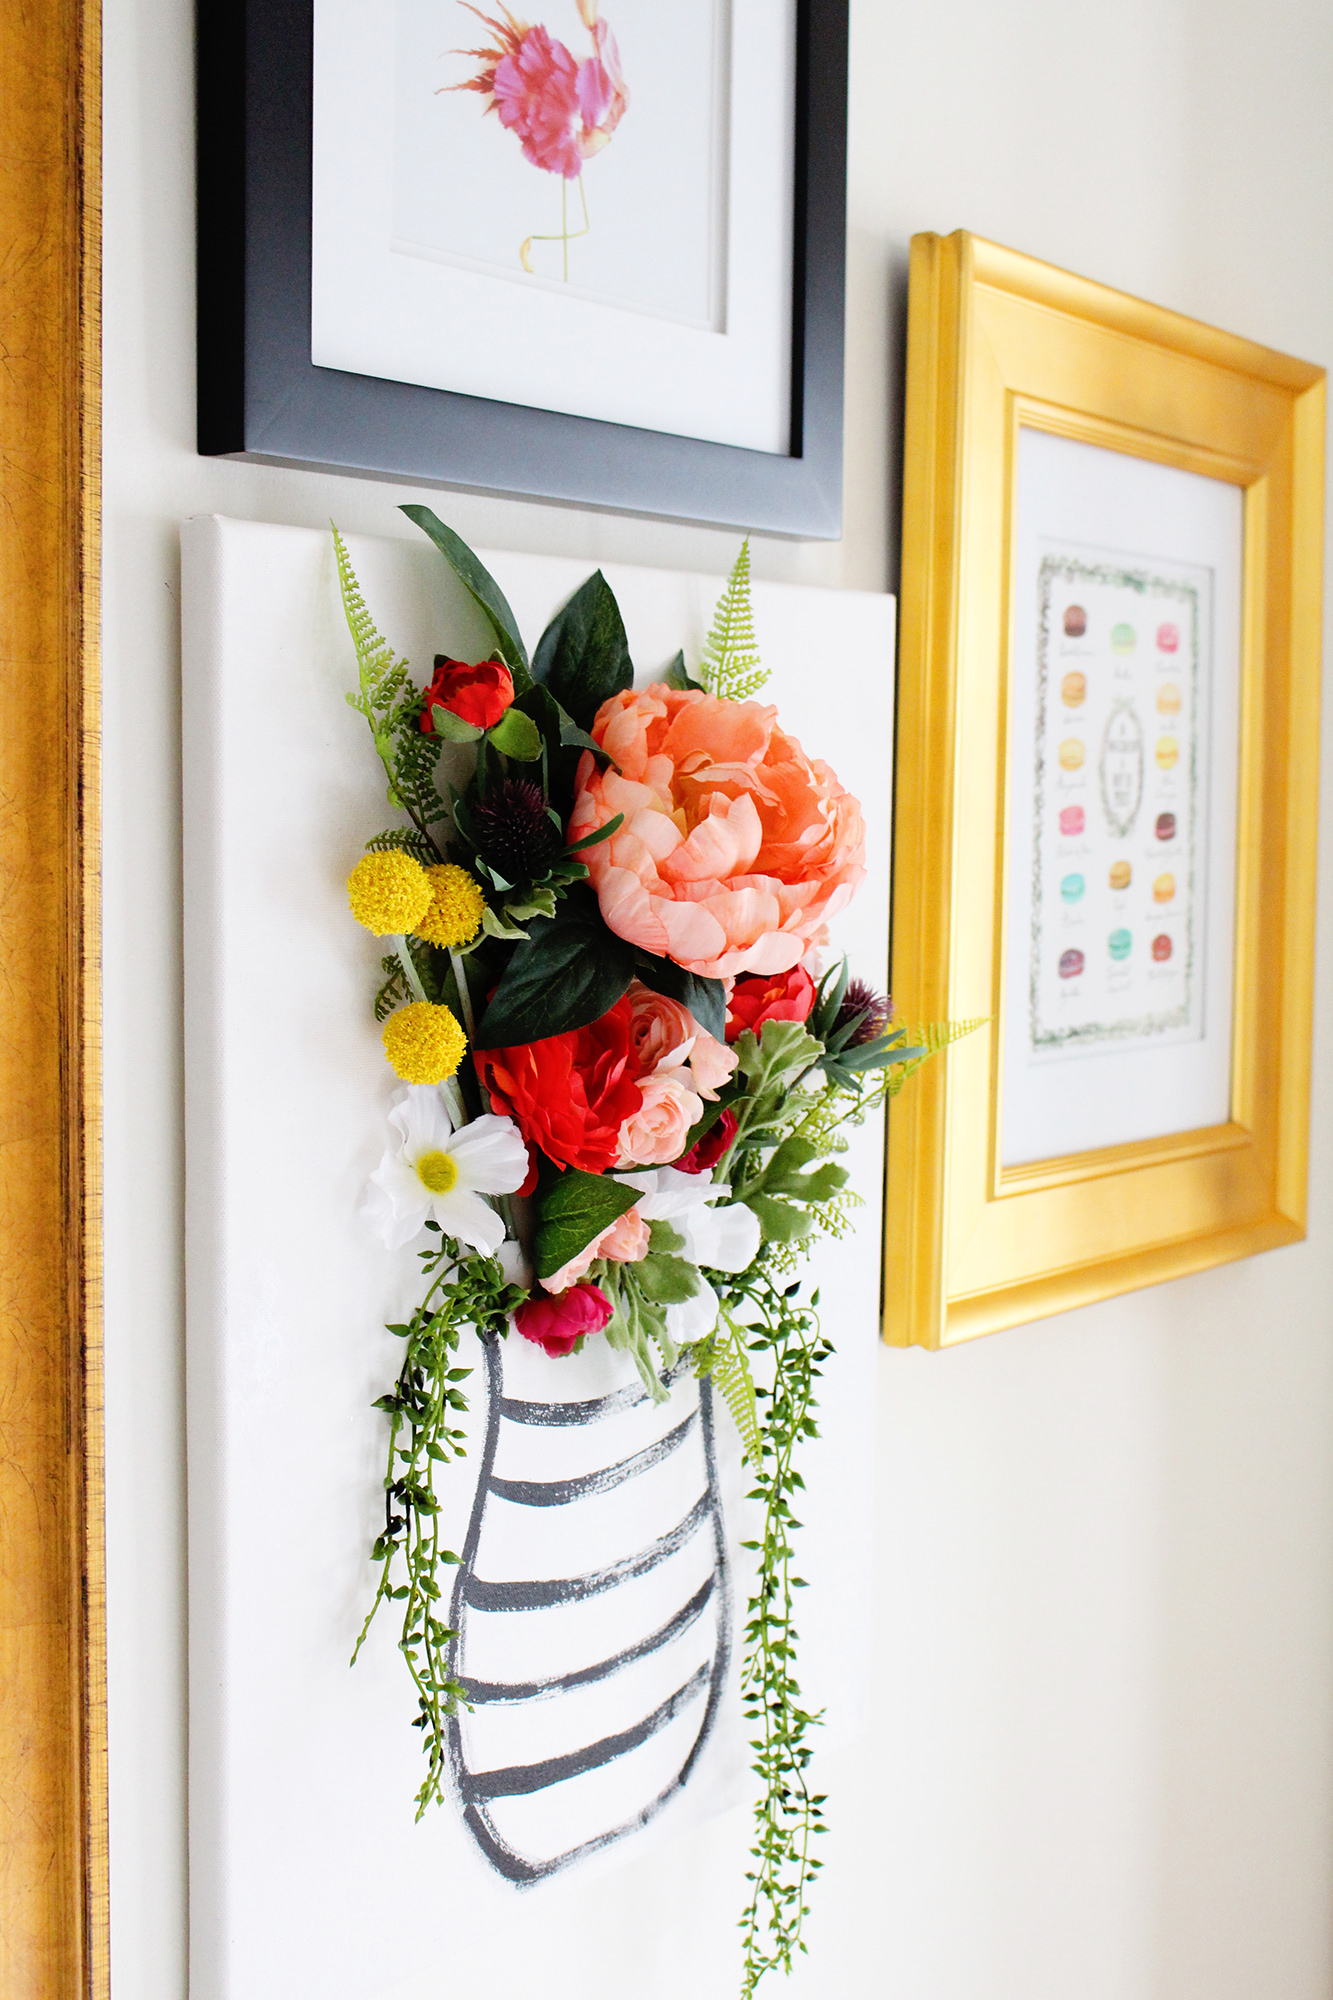
This canvas can stand out on its own or fit perfectly in a gallery wall to add some 3-d texture.


3 Comments
This is so clever and pretty! I can’t wait to make one! Thank you for sharing!
Beautiful… hope to try this soon
[…] DIY 3-D art canvas project side view ! So happy how this turned out. I originally was going to keep it a black and white striped vase but thought I’d change it up a bit. (I also tried out the chalk vase/flower 3-D canvas one. I shared a pic of that too and link on this Pinterest board) blog.lilyandval.c… […]