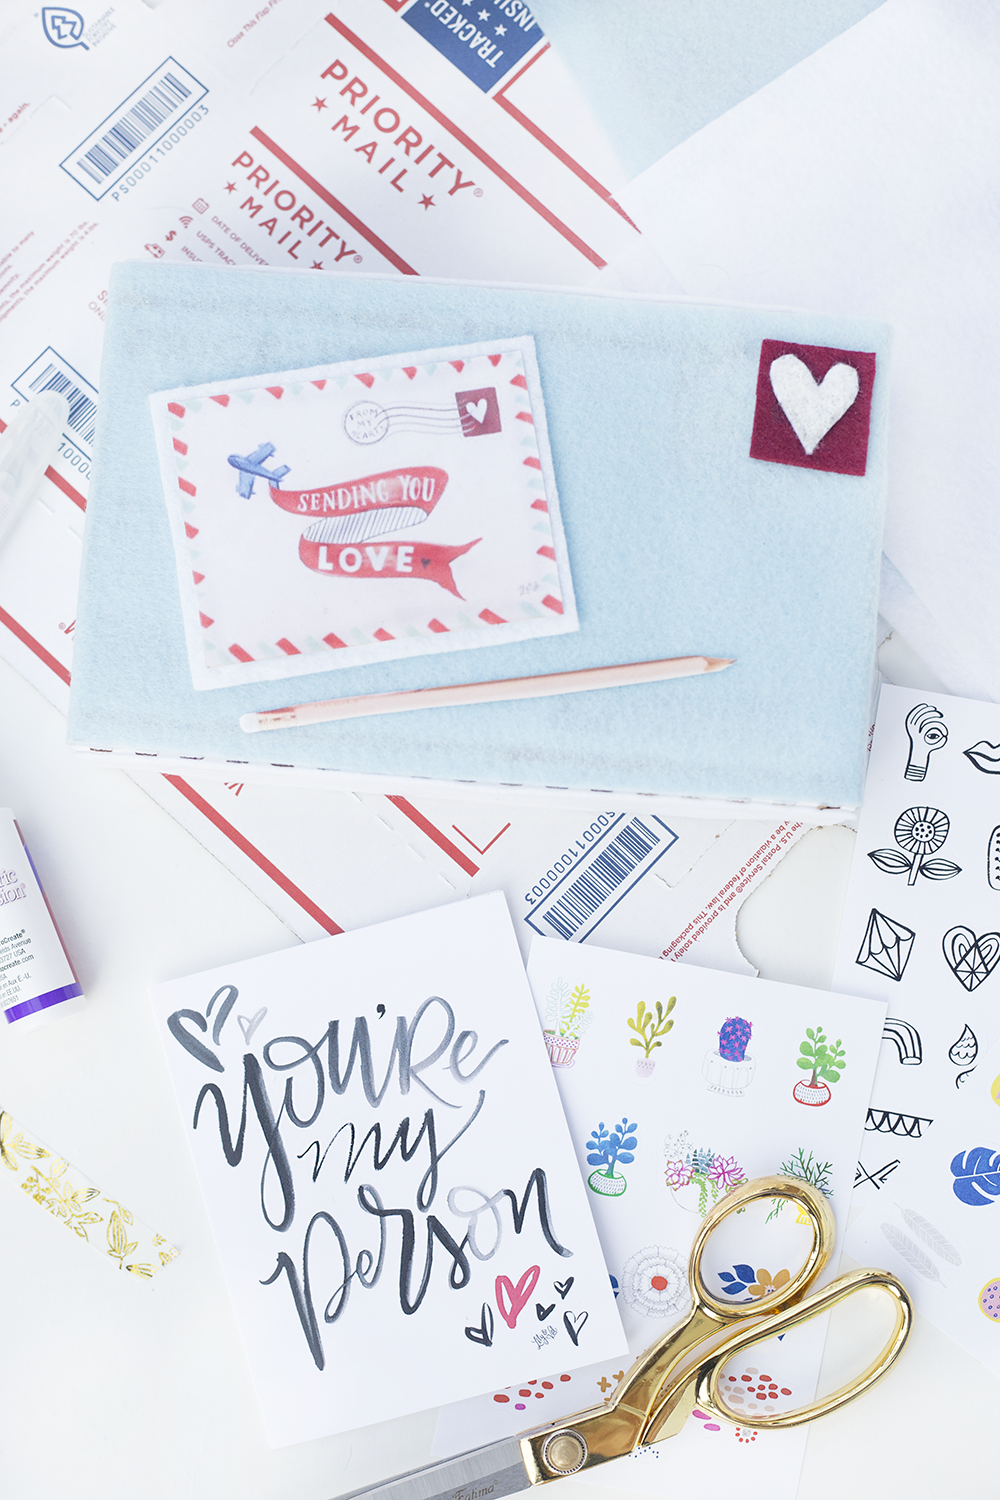
 Remember Valentines Day parties back in elementary school? How you’d make a little memory keeper box to keep all your valentines cards in? I loved Valentines Day even back then, mostly for the free candy and the mandatory recognition from the cute boys in class whose mothers told them they had to pass out valentines to everyone.
Flash forward to now and I still have Valentine Day cards but no dedicated sit-down time to make my own box. So we at Lily & Val decided to change that with this adorable (and easy) DIY memory keeper box for adults. Perfect for your V-Day cards and everyday notes alike.
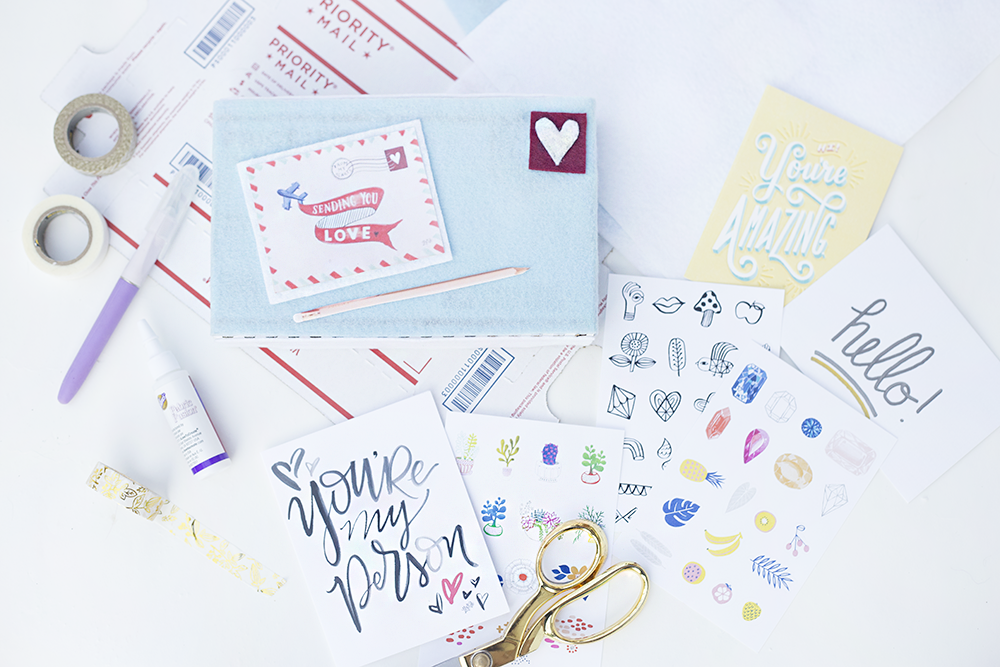
Supplies:
- 1 cardboard box (preferably small and easy to assemble – try a flat-rate box)
- Felt in assorted colors
- Scissors
- Fabric glue
- X-Acto knife
- Stickers and washi tape for decorating
 Step One – Fold and Cut Your Box
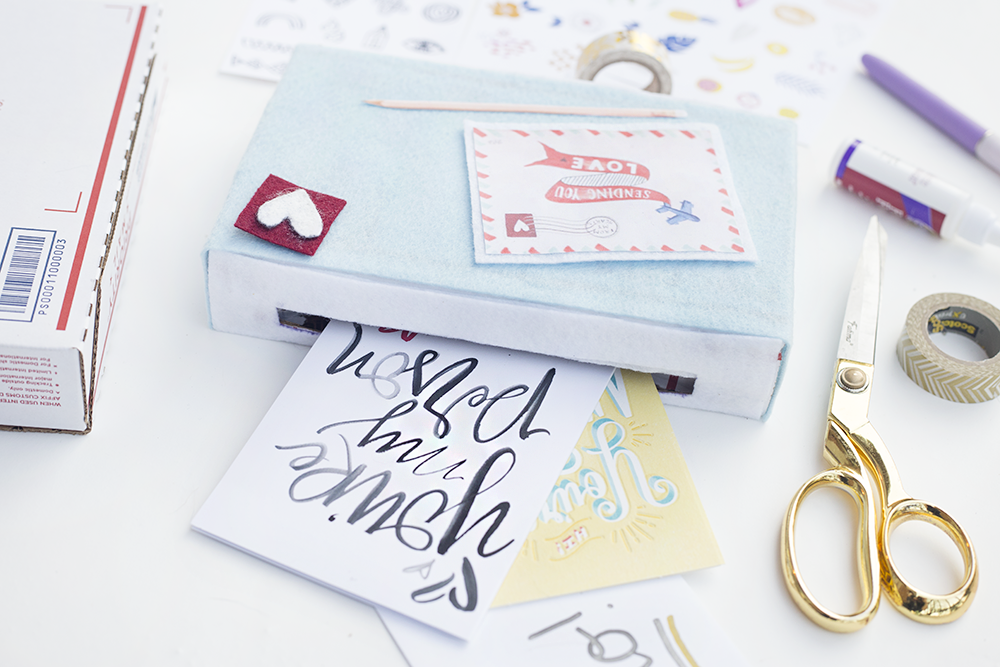
I was pretty proud of myself when I realized that the perfect cardboard box for this project was free and easily accessible at the post office. Grab one of the smaller flat-rate shipping boxes (it comes pre-scored for easy folding) and you’re good to go!
Before you fold the box, it’s important to cut out the card opening. Determine which end you’d like the slot to be and measure the length of your biggest card. Use an X-Acto knife to cut the slot to that length and 1” wide.
I used the bar code on my flat-rate box as a guide for the width of the slot and adjusted the length to fit most cards.
Once you’ve cut out the slot, fold your box according to the box’s design. The flat-rate box makes this really easy.
 Step Two – Cover the Box in Felt
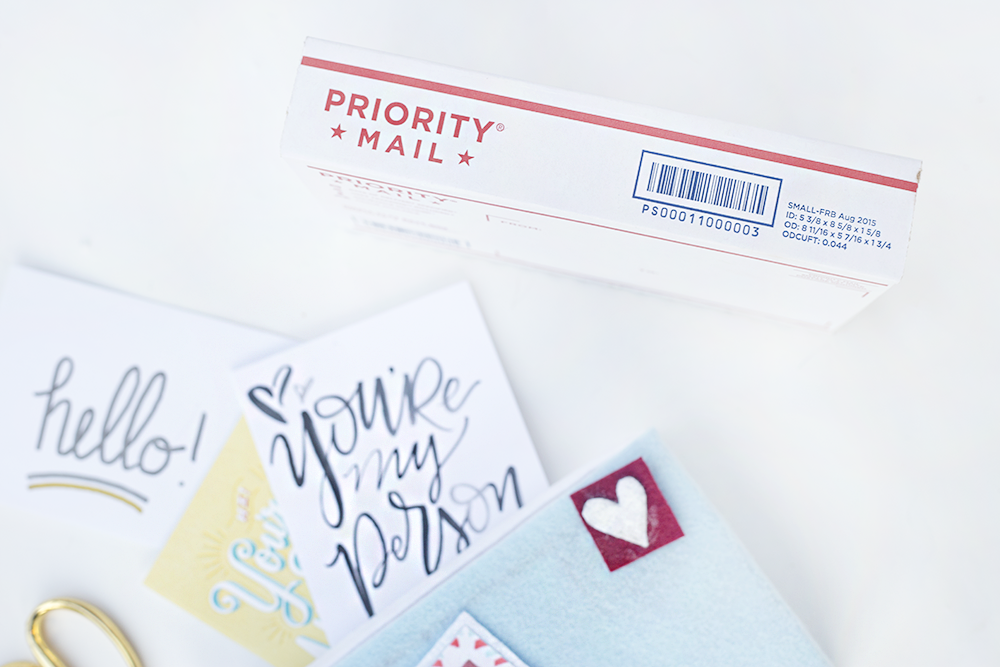
For my memory keeper, I decided to go with white and baby blue as it matches our L&V Valentines Day accent colors. I measured my box front and cut the baby blue felt to cover the front as well as the left and ride sides.
Next, I measured the top, bottom and back of the box and cut these out of white felt. For the card slot, I measured the white felt to cover the entire top side and then used my X-Acto knife to cut out the slot once the white felt was already glued down.
I recommend using fabric glue to secure your felt to the box as felt doesn’t like to stick to surfaces unless you beat it into submission. I found that regular tacky or Elmer’s glue wouldn’t do the trick.
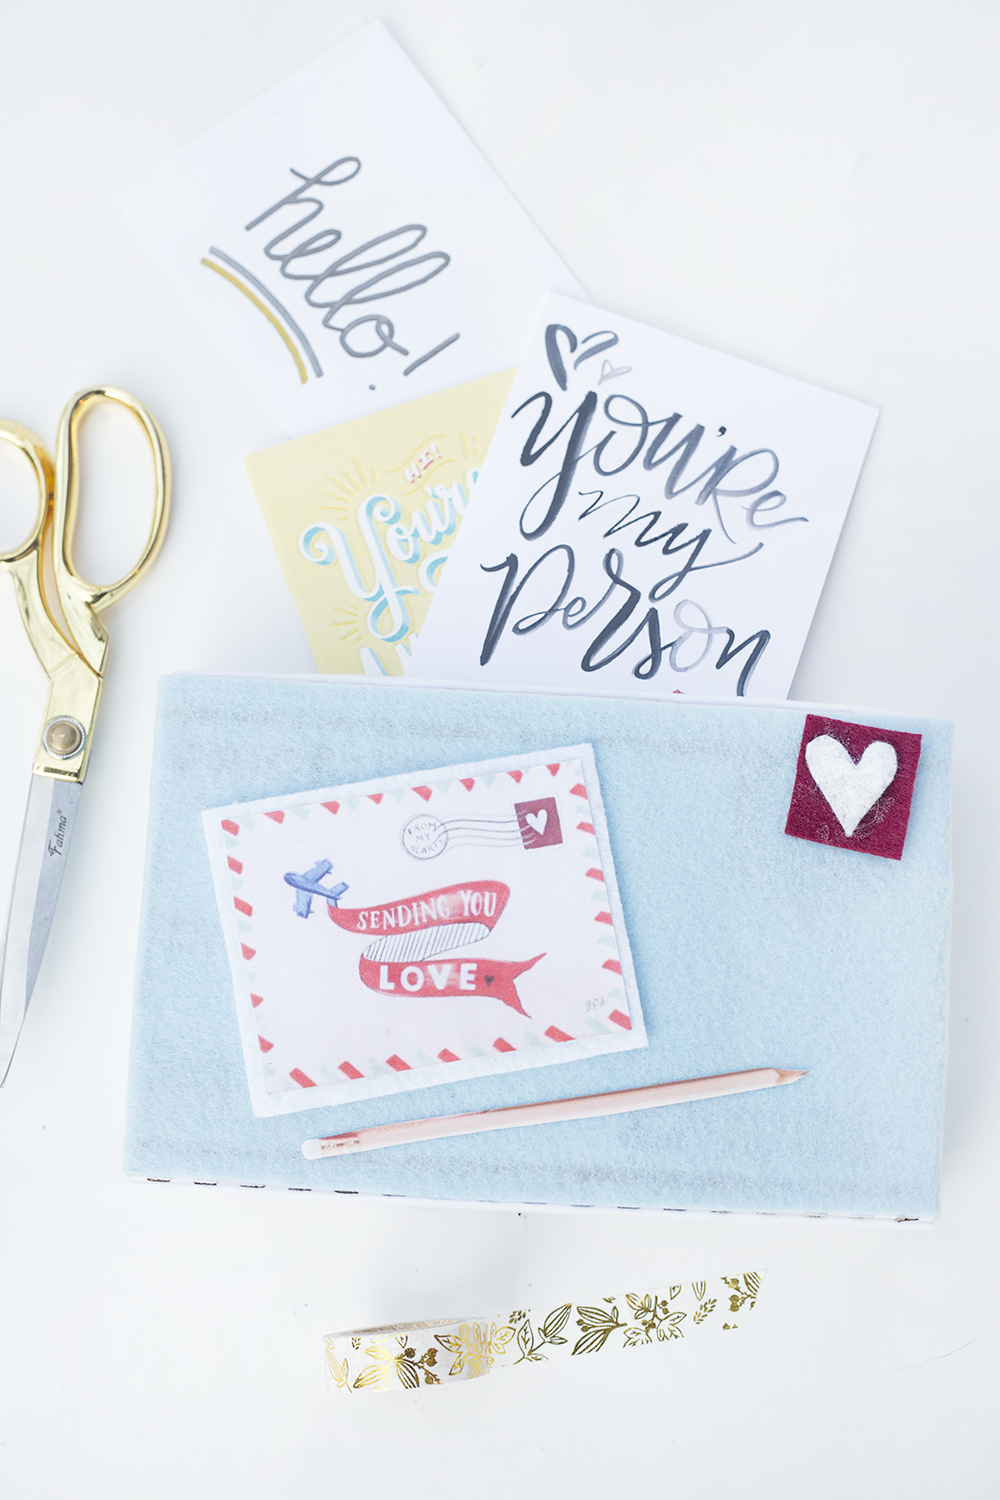 Step Three – Decorate your new Memory Keeper!
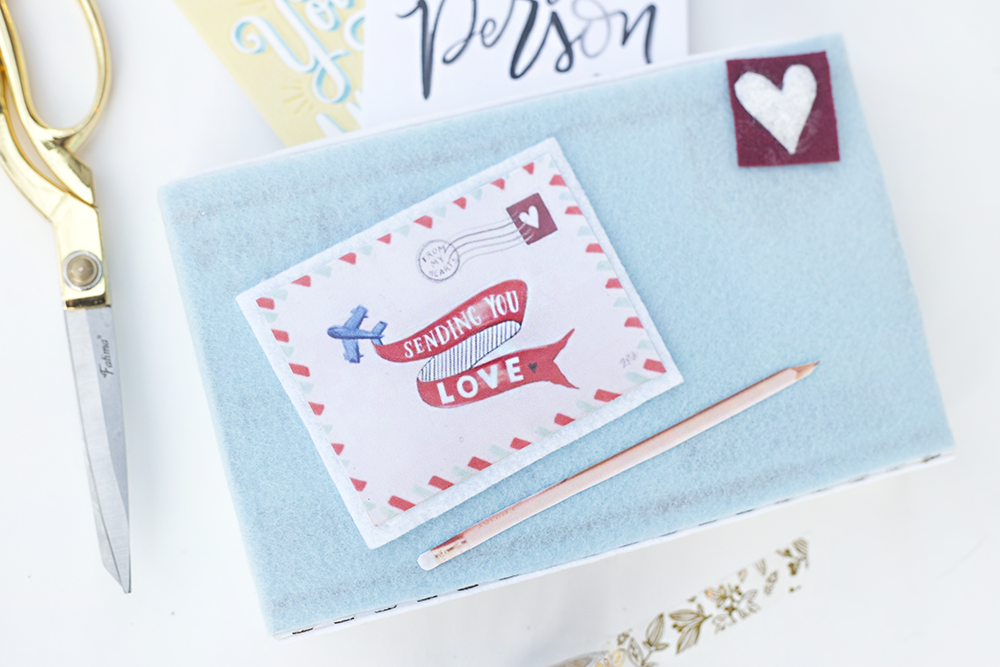
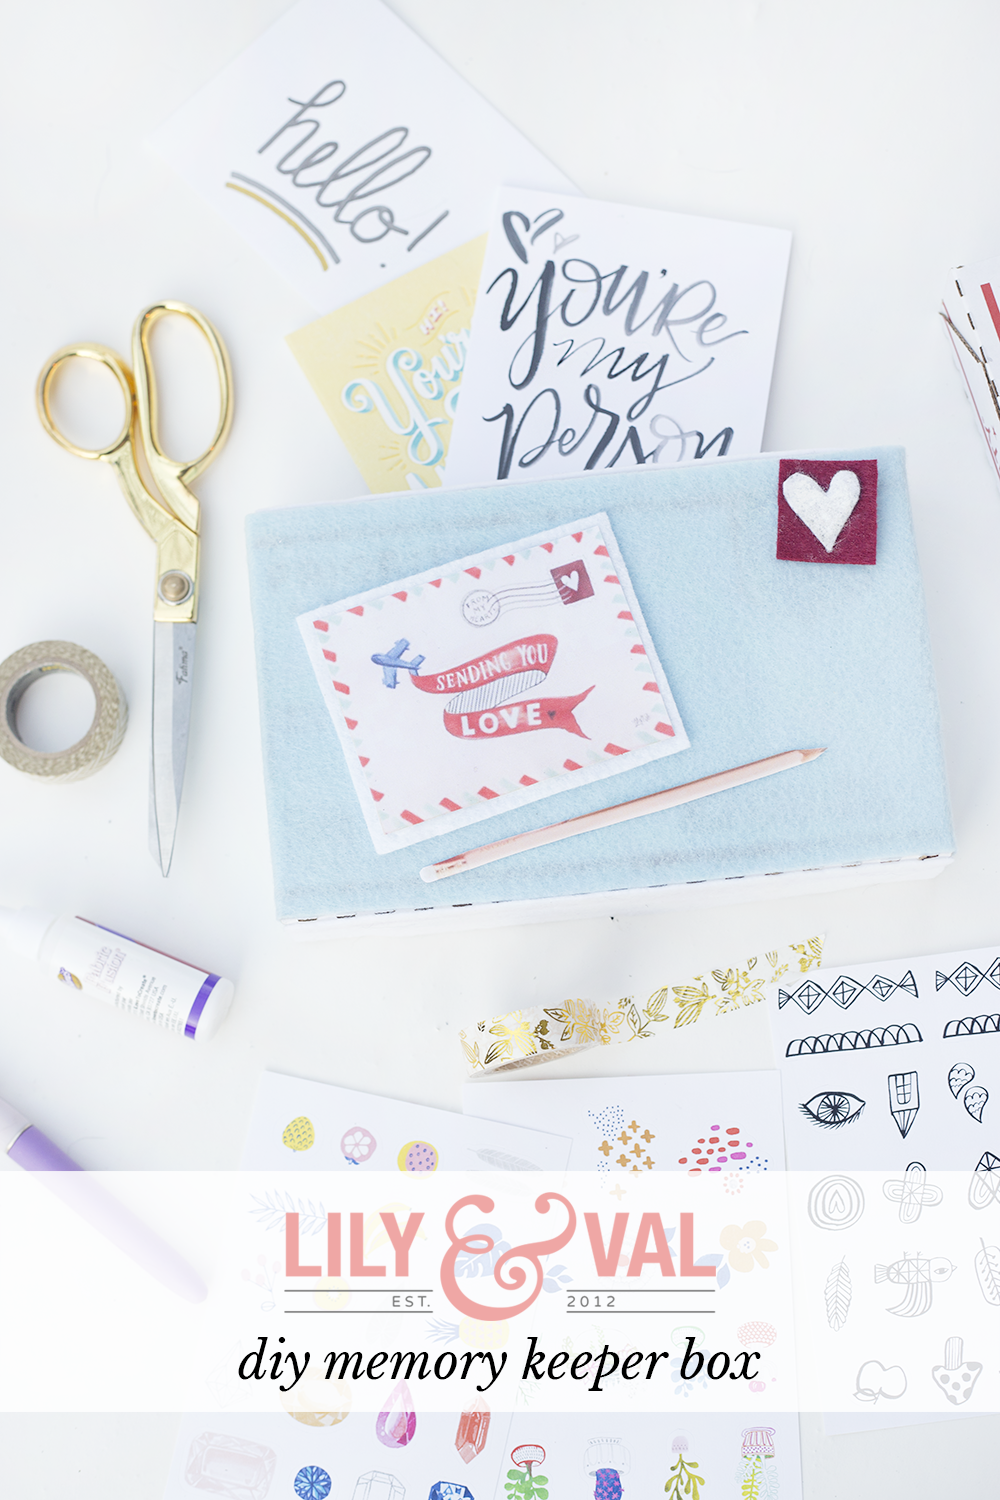
The best part! I took inspiration for my DIY memory keeper from our “Sending You Love” greeting card. In fact, I took so much inspiration from it that I glued it to the front of my box, along with a pink pencil image I printed out on cardstock.
The possibilities are endless! I went with a simple design that hinted at Valentines Day but could be used all year round for the many cards I plan to collect.
The best part about receiving cards and letters? Sending one back! I love a good handwritten note – and we even show you how to write a great thank-you card here. Need to organize your supplies? Try our DIY snail mail organizer kit here! Heck, we even have an entire Happy Mail category to provide endless inspiration for your notecard needs.
As you can see, we love everything handwritten around here. And we would love to see your DIY memory keeper box! Post a photo to Instagram and tag us with #lilyandvalliving, and if you liked this post, feel free to pin it with the image above!
What did you think? Does this bring back nostalgic vibes from elementary school? It did for me – I’m still just as bad with scissors.




No Comments