 It’s March and that means spring! Ignore the fact that it’s technically still winter – it’s been in the fifties in Pittsburgh recently and to me, that means spring. If you’re the type of person who still has their Christmas wreath on their front door (cough, Dad) – then you have to try our faux wreath DIY!
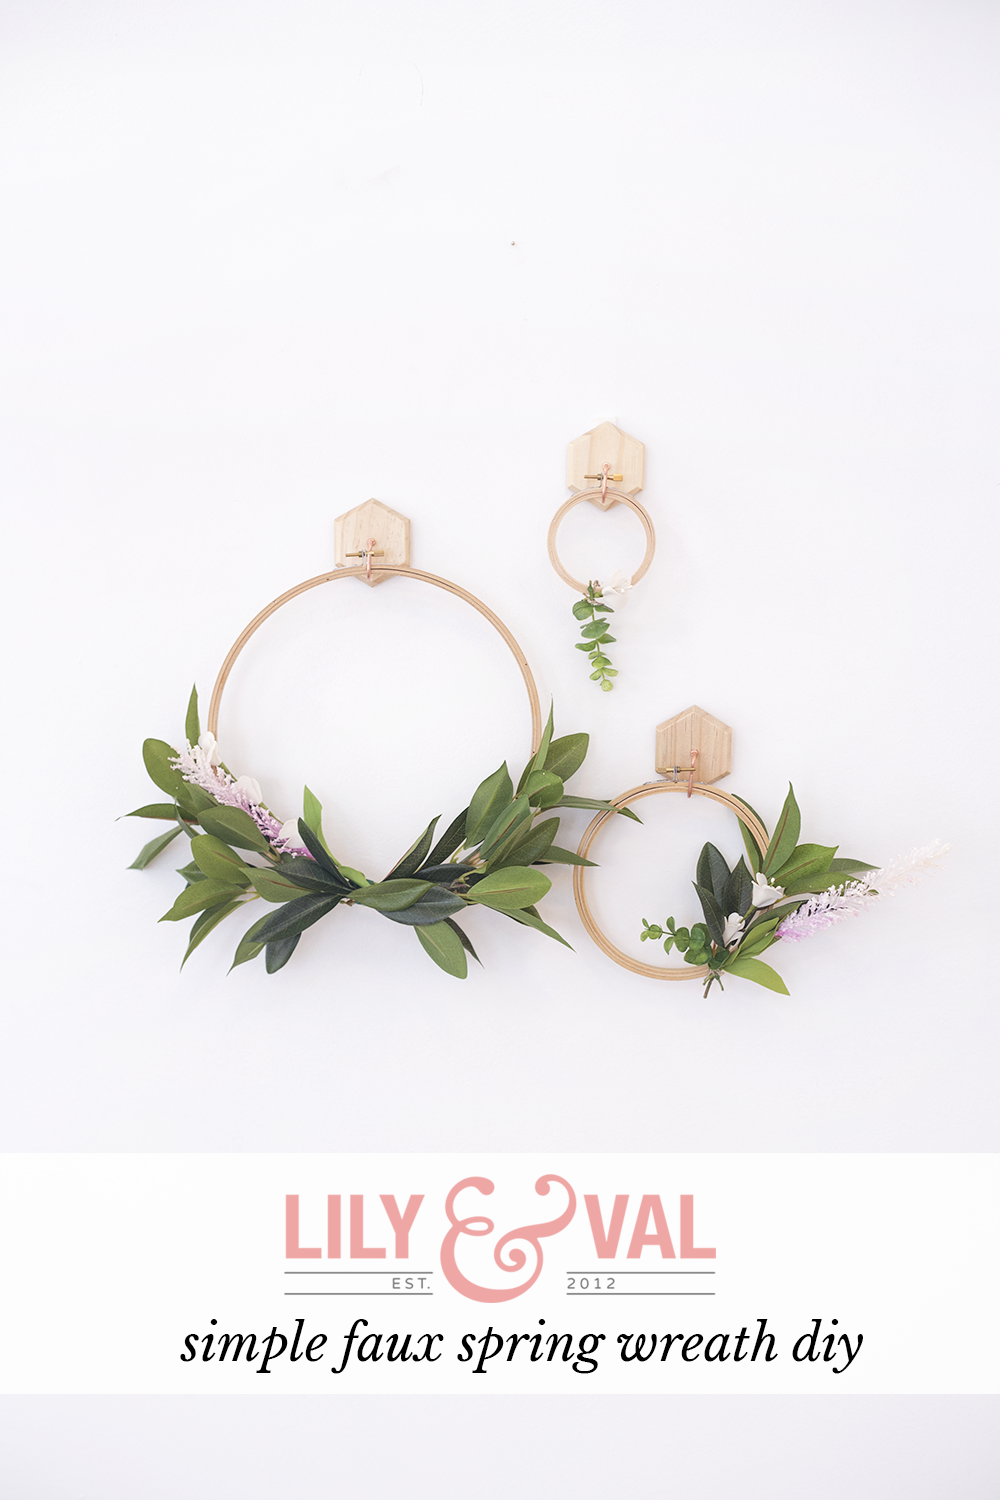
Nothing brightens up your space and and shouts spring like clean, minimal florals. These faux wreath ideas are variants of each other and all use the same four types of foliage so you can make one or all three depending on how much brightening you need (or how many doors you have).
Faux Wreath Supplies
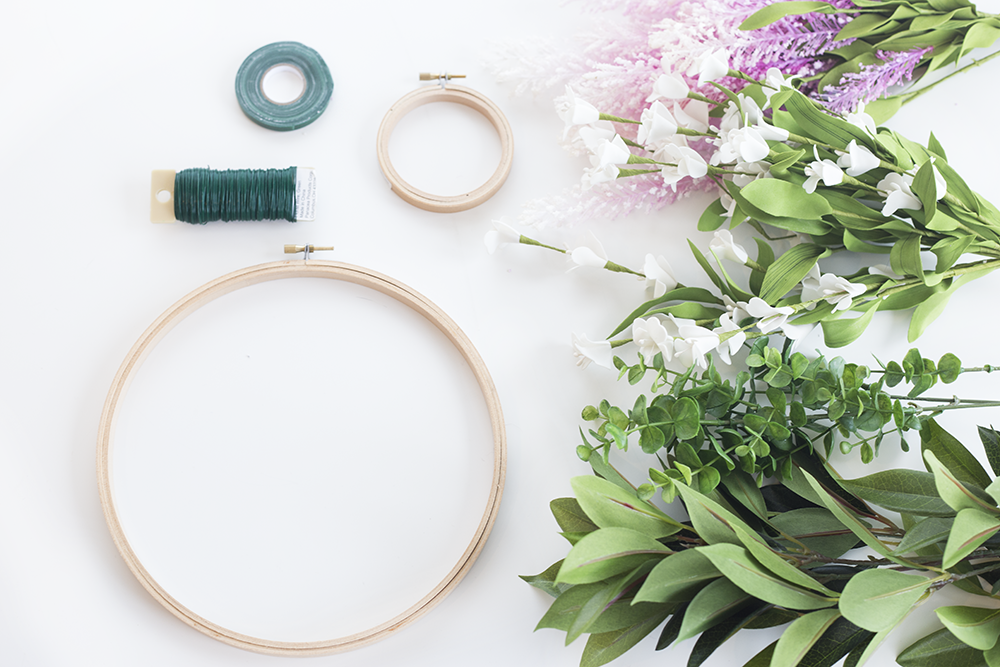
I bought all of my supplies for this project at Joann Fabrics for $30. Not bad, considering faux florals tend to be expensive. I did have the embroidery hoops at home though, and I recommend getting these from a local independent craft store (like Artist and Craftsman Supply) rather than a larger chain as they tend to up-charge these quite a bit.
You’ll need:
- Wooden embroidery hoops (in various sizes)
- Floral tape
- Floral wire
- Assorted foliage (specific types listed below)
- Wire cutters or heavy duty scissors
- Hot glue (optional)
I chose this color scheme because I love greenery for its modern simplicity and because we couldn’t make a floral wreath without a pop of L&V pink!

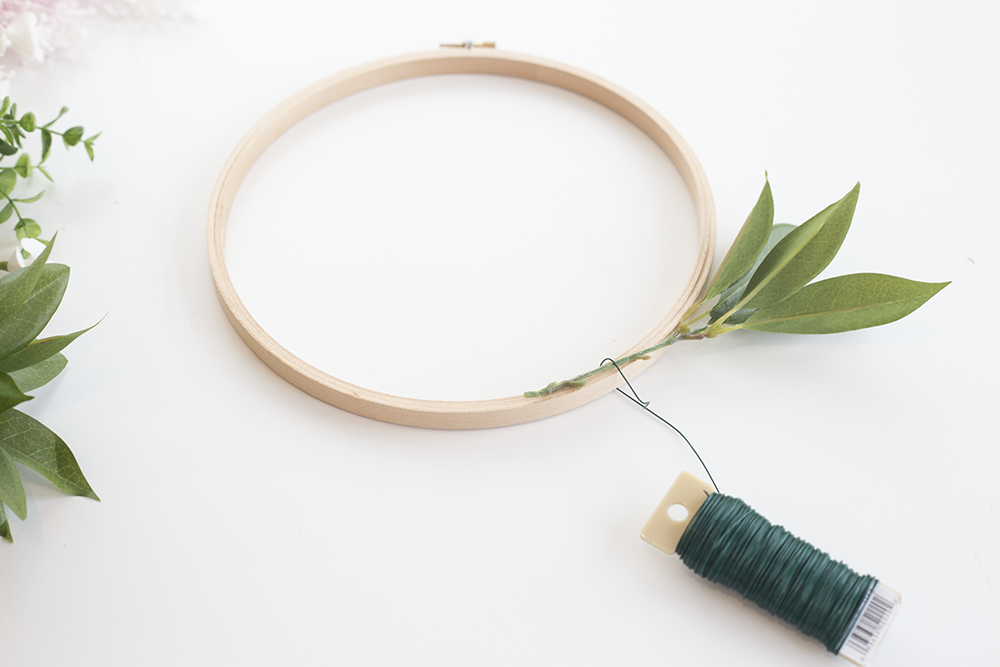
Step One – Wrap Your Base Greenery
I’m by no means a professional floral arranger (I guess those are called florists), but this quick-and-dirty method makes a pretty wreath regardless.
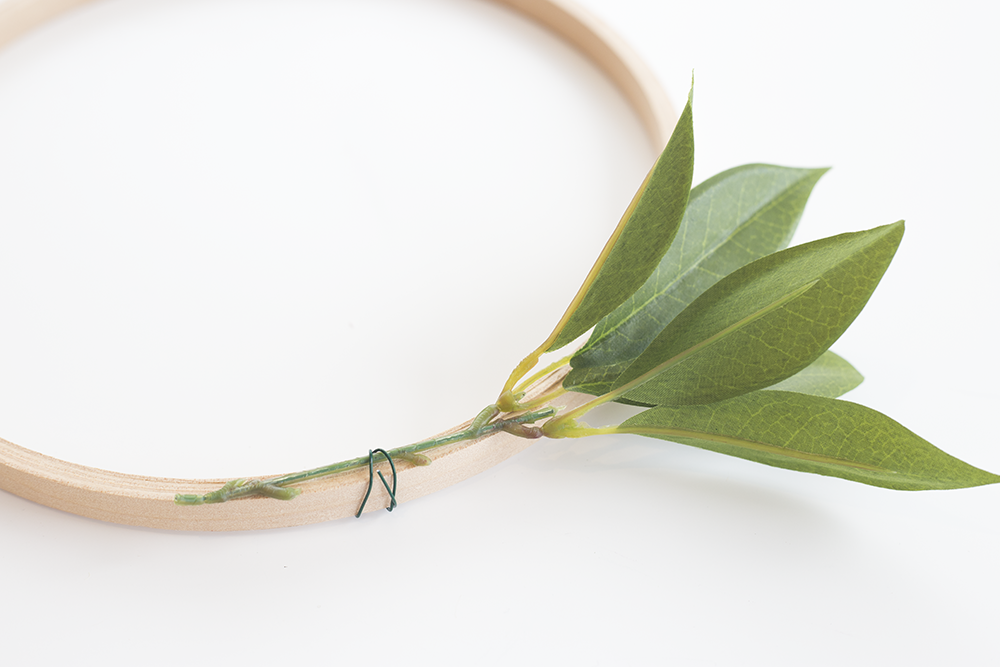
Start by cutting a manageable section of your base greenery (mine was the Sweet Bay) and attaching it to your embroidery hoop with a piece of floral wire. I wrapped around the middle of my stem so the wire felt secure but wouldn’t stand out to the eye.
Continue to tightly wrap floral wire around the stem until it holds steady – for me, this was twice around or so. If you’d really like to secure your foliage, use a hot glue gun! I didn’t use one, but it would certainly help – as long as you keep the glue lines thin and narrow.
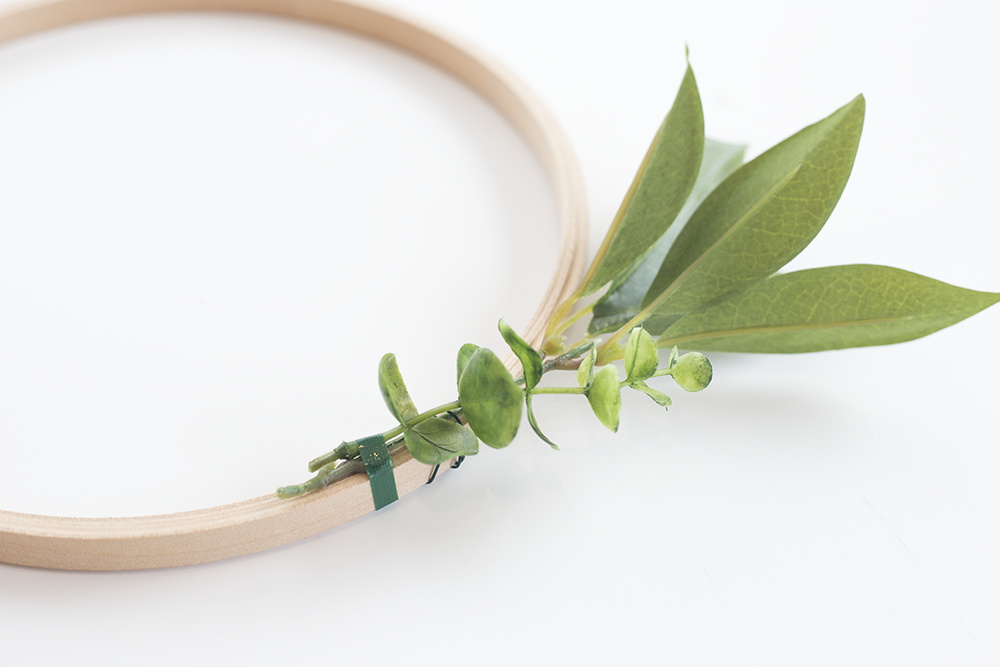
Step Two – Cover with a Second Layer of Greenery
Once you have your base greenery – and fill as much of the hoop as you’d like with this – attach your contrasting greenery so that the leaves of this new layer hide the floral wire of the below layer.
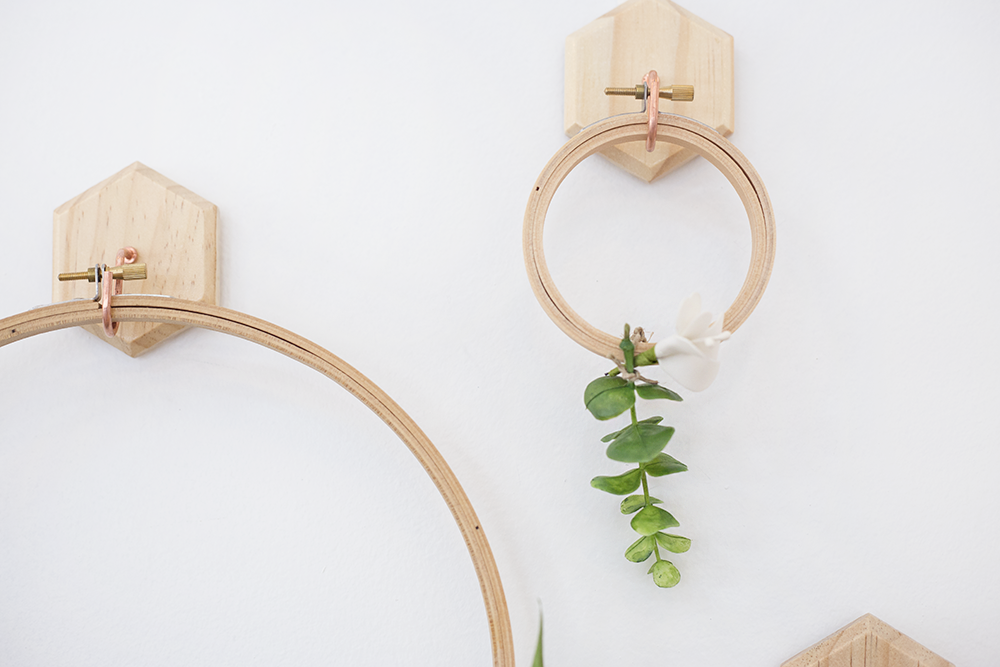
This will vary depending on what you want your wreath to look like. For my smallest wreath, I only used a sprig of Eucalyptus and no contrasting greenery.
For my medium and large wreaths I used the leaves of the Eucalyptus to hide the floral wire tying down the Sweet Bay stem. I secured the end of the Eucalyptus stem with floral tape to make sure it stuck securely to the Sweet Bay stem and hoop.
Keep filling your hoop with base greenery and contrasting greenery until it’s as full as you’d like, making sure that the top layer covers the floral wire/tape of the below layer. If you need to, cut off a single leaf and put floral tape on the back so you can stick it on an exposed area.
 Step Three – Add a Pop of Color
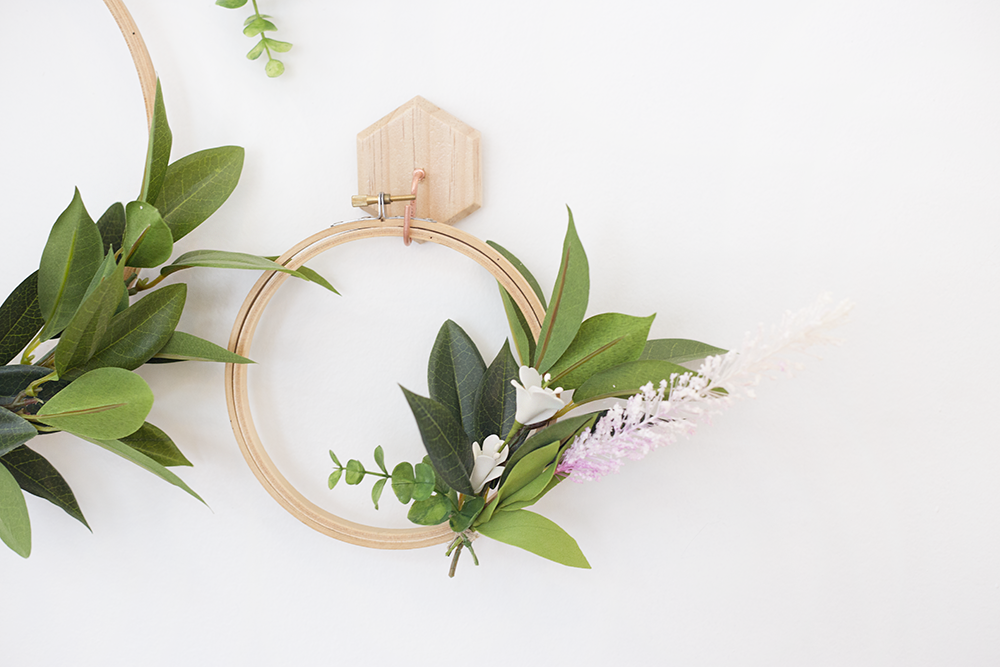
For a pop of color, I cut a small sprig of pink thistle and white mini flowers to tuck between my two layers of greenery.
I attached these by slipping the stems inside existing floral wire loops and by taping the stems down on the back of the hoop. You can also add doubled-up tape to the back of a petal and stick it directly to the hoop.
Step Four – Hang Your Faux Wreath!
You’re done with your wreath! Now it’s time to display it proudly. A great way to hang your wreath on the front door is with a decorative hook and command strips (as seen below – my hooks are from the Target dollar section). You can also hang with twine for a more rustic look.
I hung my smallest wreath by my desk and – since it’s faux – I never have to worry about it drying up!
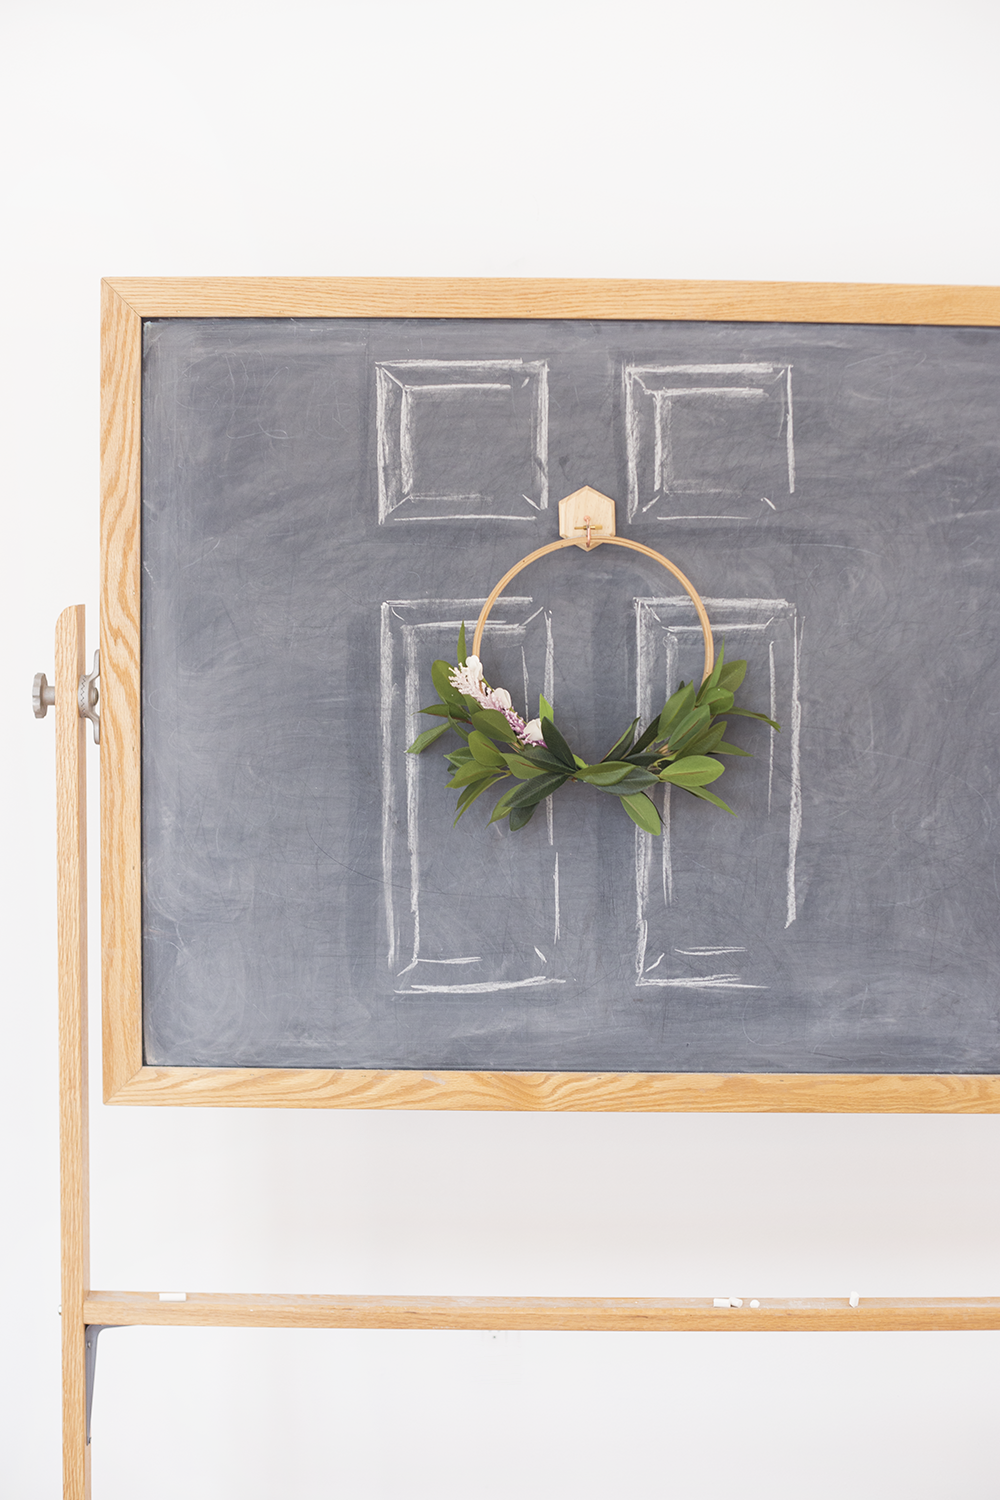

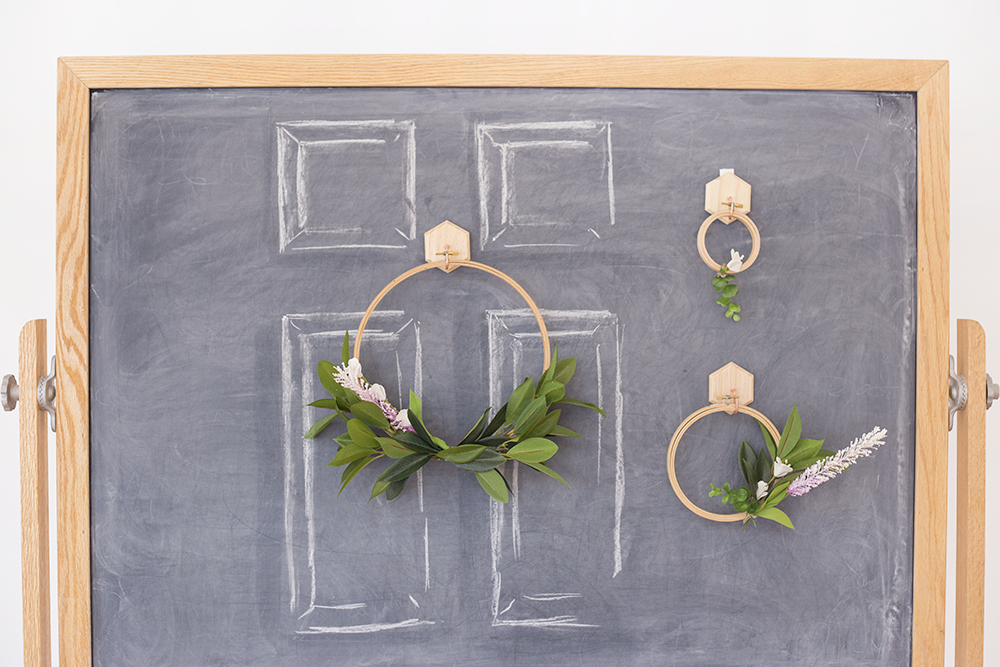 As you can see, I played around with symmetry when making this project. I like the look of a fuller wreath for outside but for inside I am partial to the asymmetrical look. The great part about these wreaths is that you can play around and try out as many looks as you want!

 What do you like to do to prepare your house for spring? Do you think you’d try this project? If you have a hankering for more florals after this (faux or otherwise), check out a few of our other posts:
DIY Raw Cotton Wreath | Faux Floral Design | Floral Pumpkin Arrangements | DIY 3D Flower Canvas Art
As always, pin the above image if you liked this post and show us what you make by tagging us on Instagram with #lilyandvalliving. We can’t wait to see your faux wreaths!
Happy faux spring!


3 Comments
[…] Kristin će vam pokazati kako izraditi ove jednostavne vjenčiće. […]
[…] Kristin će vam pokazati kako izraditi ove jednostavne vjenčiće. […]
[…] Download Image More @ blog.lilyandval.com […]