When it comes to pumpkins, I’m less of a carver and more of a decorator. Decorating requires less time and opens up tons of creative options! The fun ideas in this post can be used outside your front door or in your home for tablescape decor.
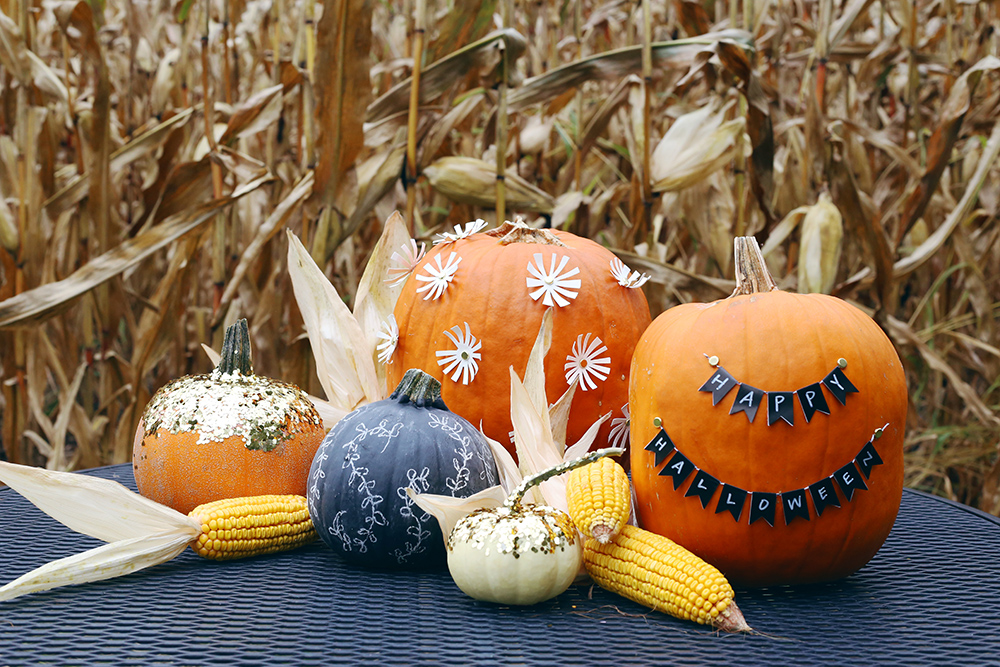
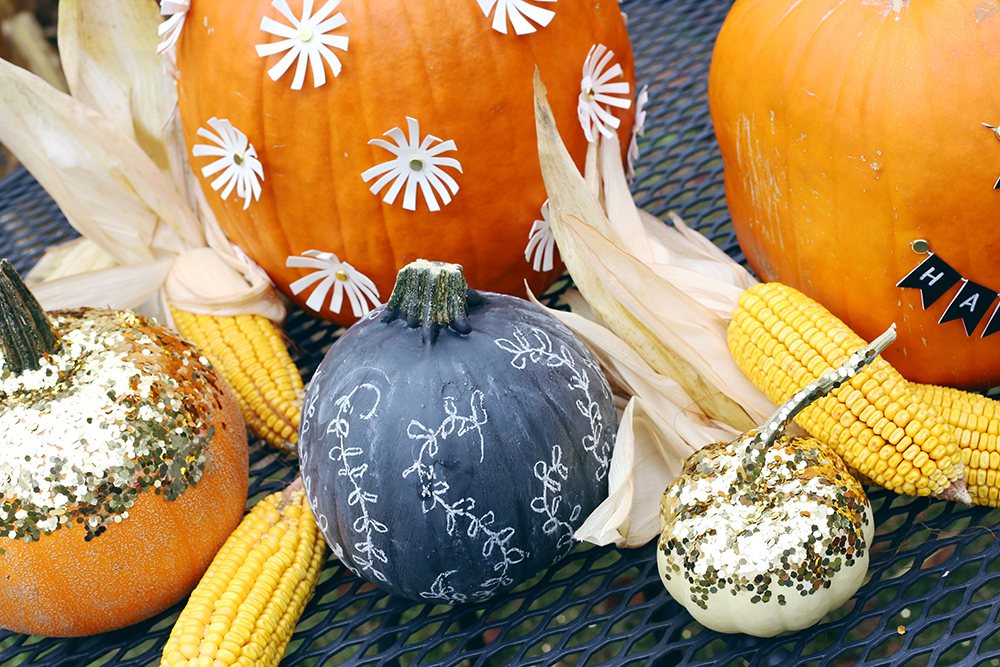
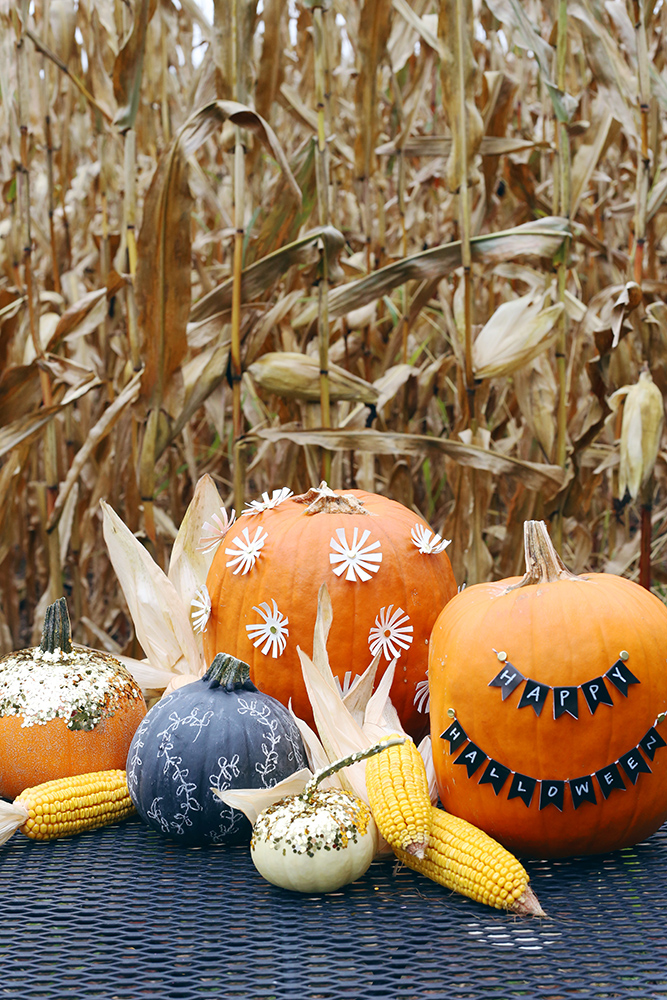
I love mixing and matching pumpkin designs. Although they are different, when put together they create a cohesive and interesting look! A black, white and gold color scheme keeps it sophisticated, while nicely complementing the orange. It’s hard for me to choose a favorite!
Chalkboard Pumpkin
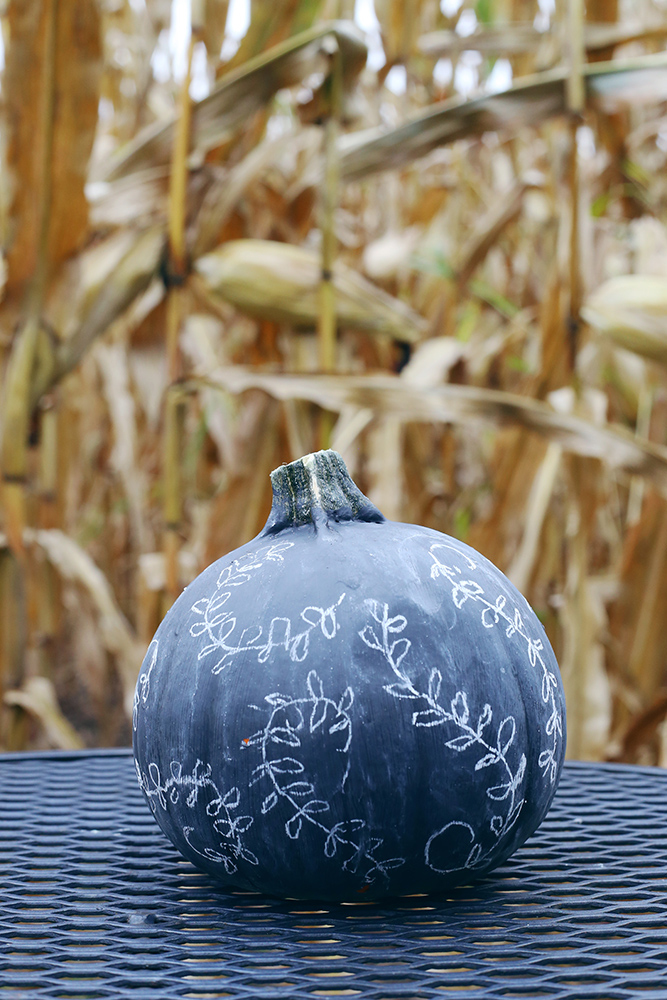
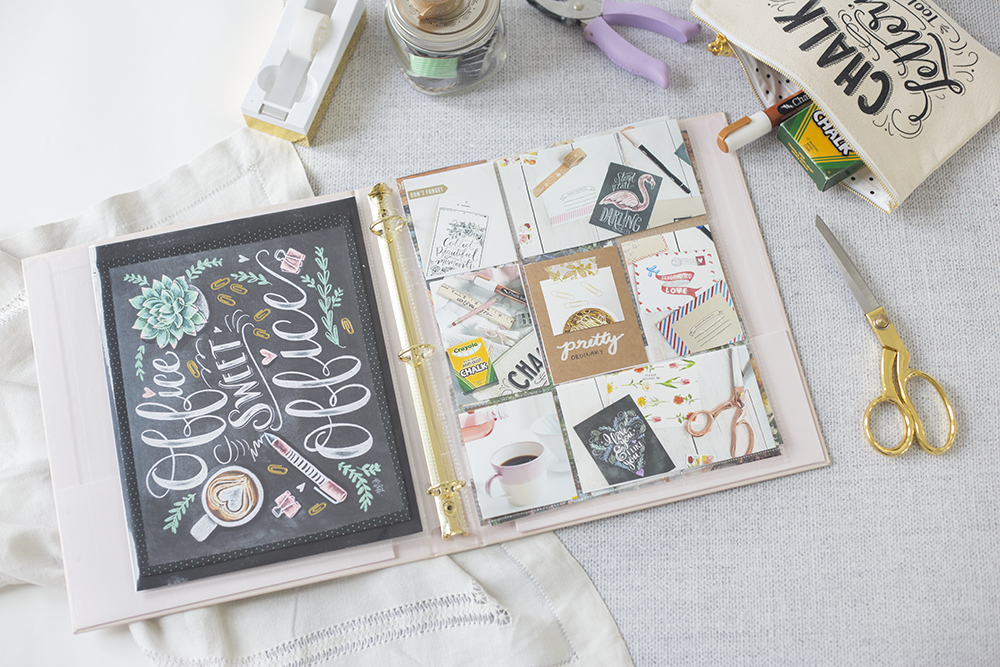
It’s no surprise that I just had to try a chalkboard pumpkin! Since Val’s book “The Complete Book of Chalk Lettering” just released, I was inspired to celebrate with this idea. Using the book as a reference for inspiration, I drew laurels all over the pumpkin. It was so simple and I love the black matte of the chalkboard paint. A collection of all chalkboard pumpkins could be fun to try with a different chalk art design on each one! 
Chunky Glitter Pumpkins
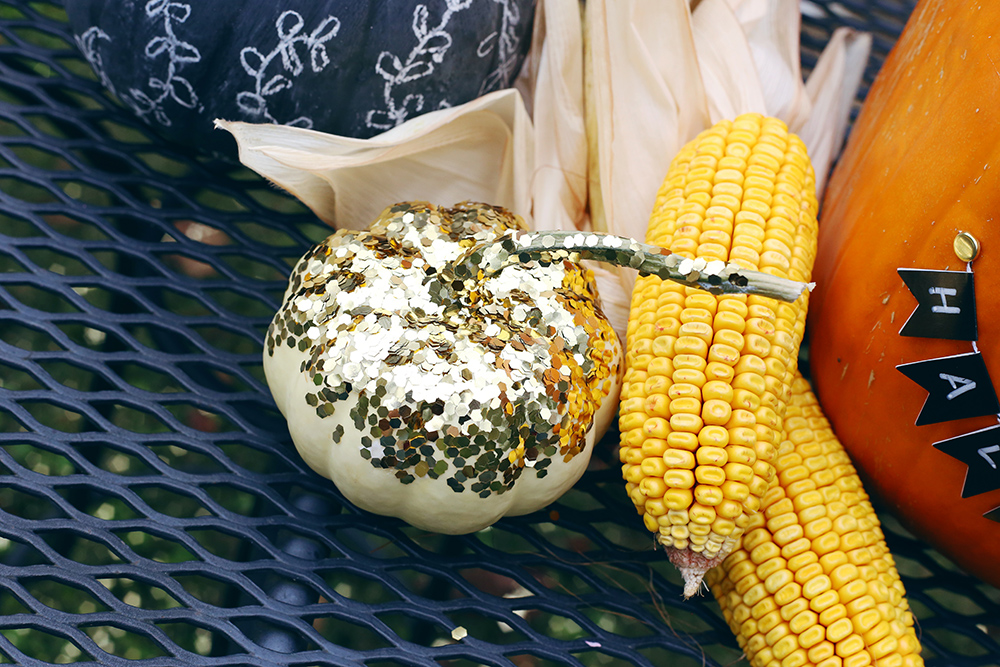
I loved how Val used glitter on her pumpkins to add some sheen to her fall centerpiece! Taking a cue from that centerpiece post, I wanted to get a little more glittery with my own pumpkins! This awesome chunky gold glitter (found at Michael’s) was just want I wanted!
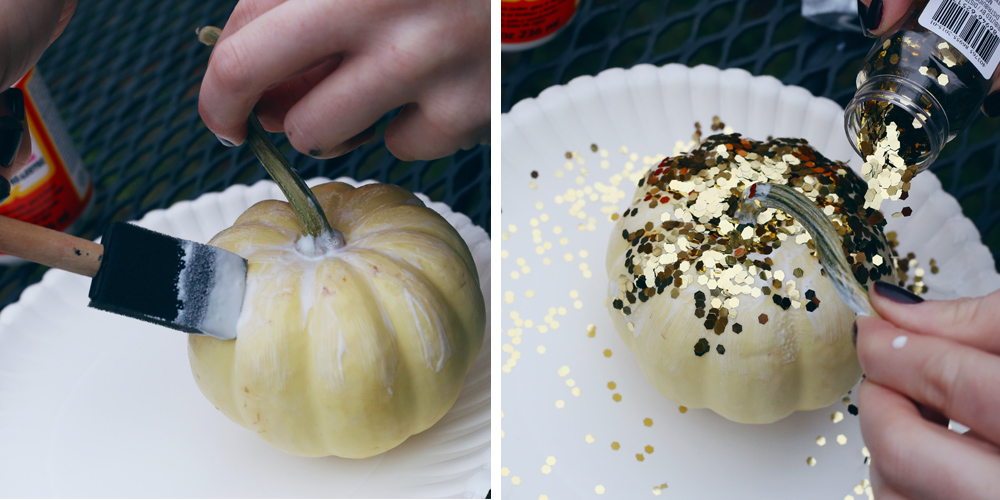
I covered the top half of the pumpkin first with Modge Podge, then doused it in glitter! After I felt like the glued area was covered, I shook off the excess. Using the paper plate underneath allowed me to use a lot of glitter but then funnel it back into the jar so that I could use it on another pumpkin. I can’t resist glitter on anything and these really sparkle!
Sunburst Pumpkin
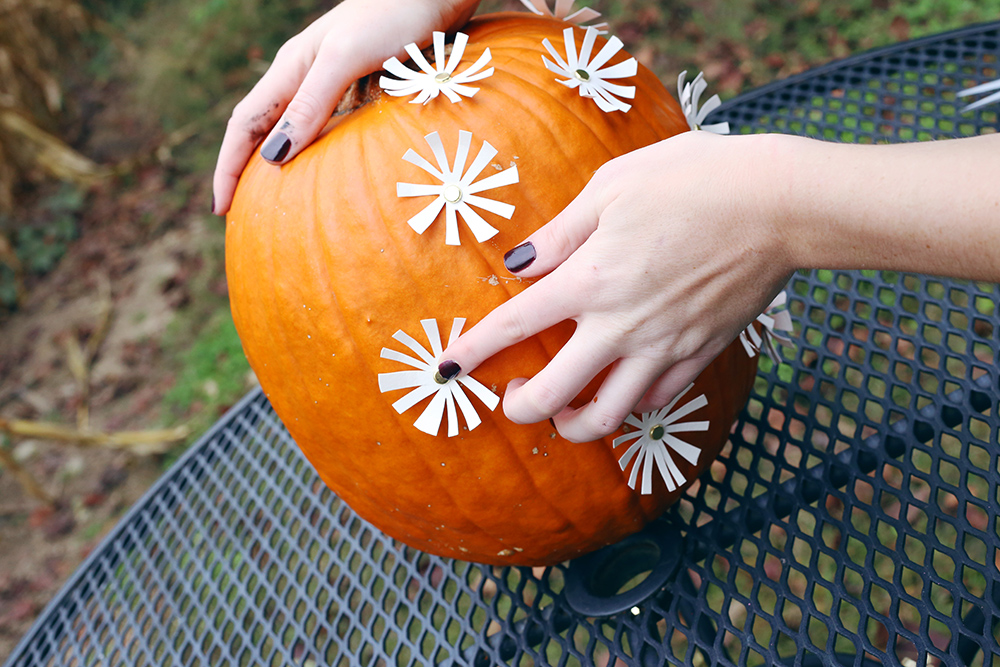
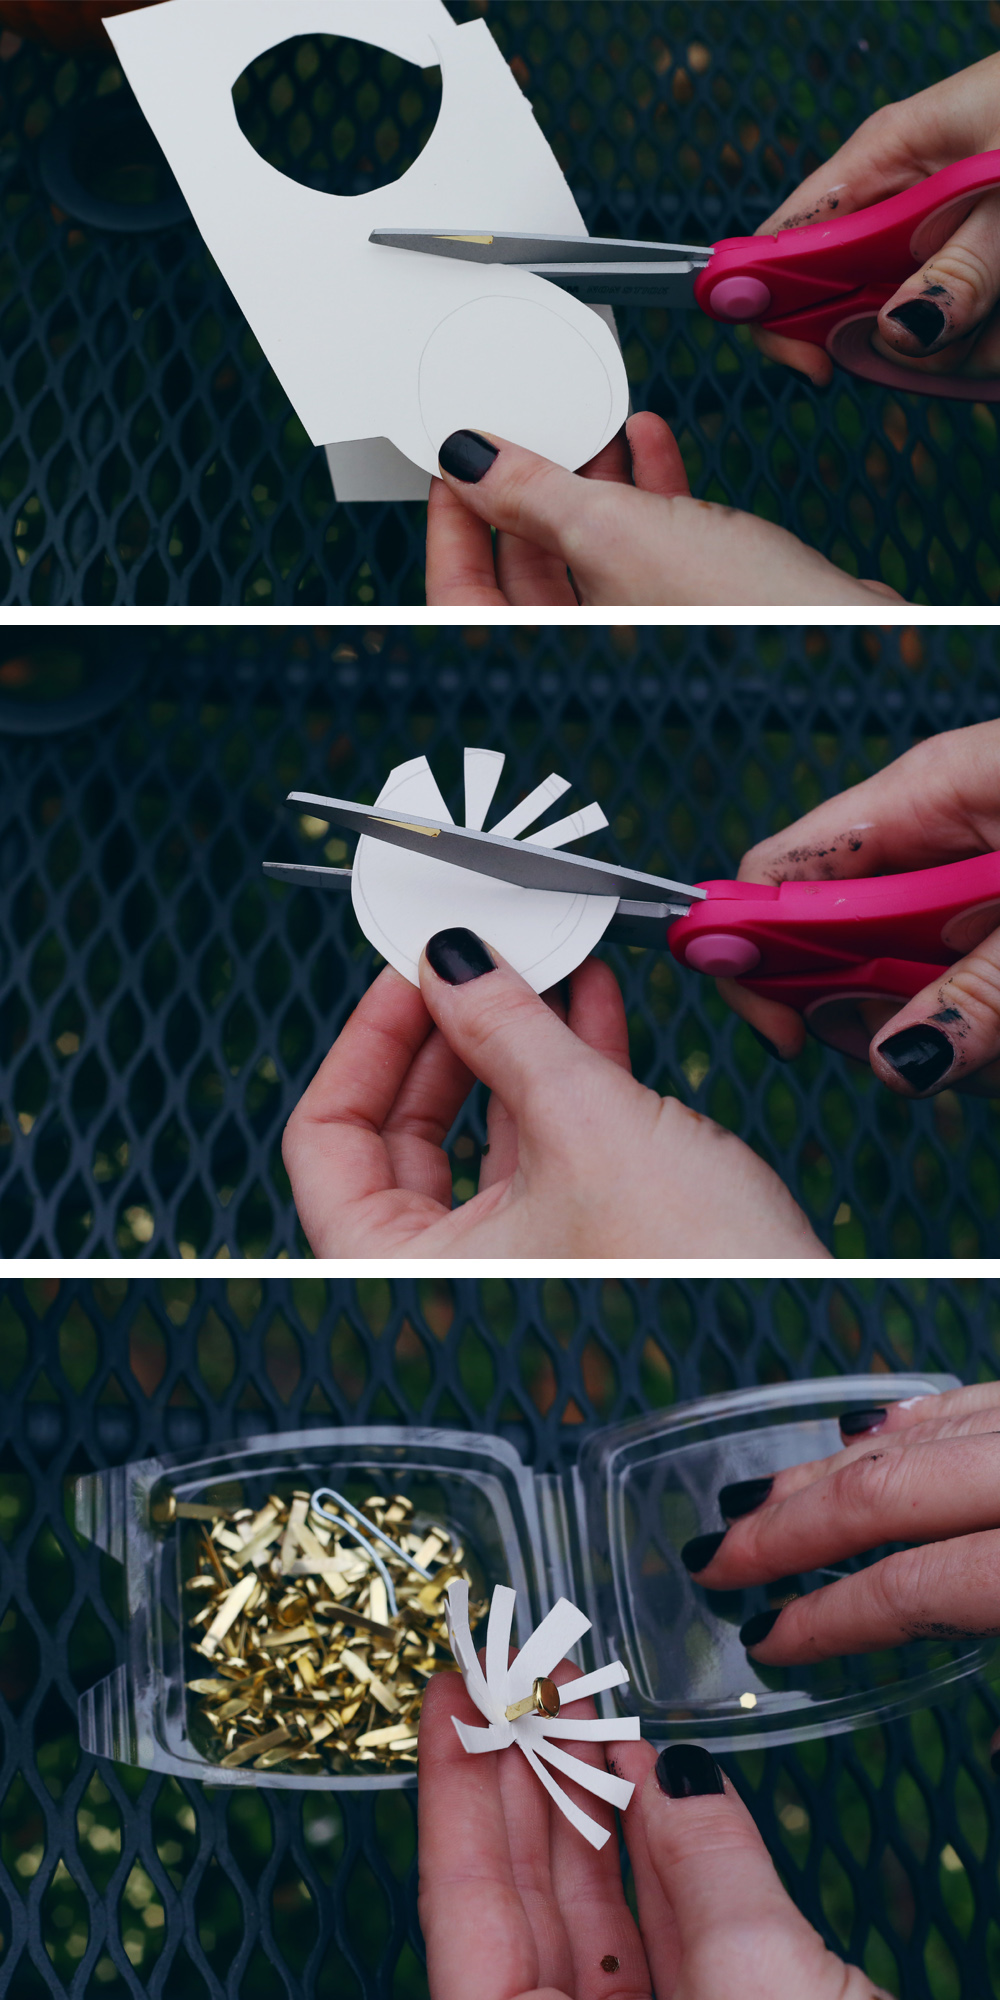
This style works well for adding dimension to a pumpkin. I cut a bunch of 2″ circles out of heavy cardstock and then cut small triangles out of the circles to create the sunbursts- I also think they could pass as flowers! Then I poked a hole through the centers with a nail and placed a brass fastener through the hole. The fasteners add another touch of gold to the whole tablescape!
After all the sunbursts were pushed into the pumpkin, I curled the edges with a pencil so they would stick out more.
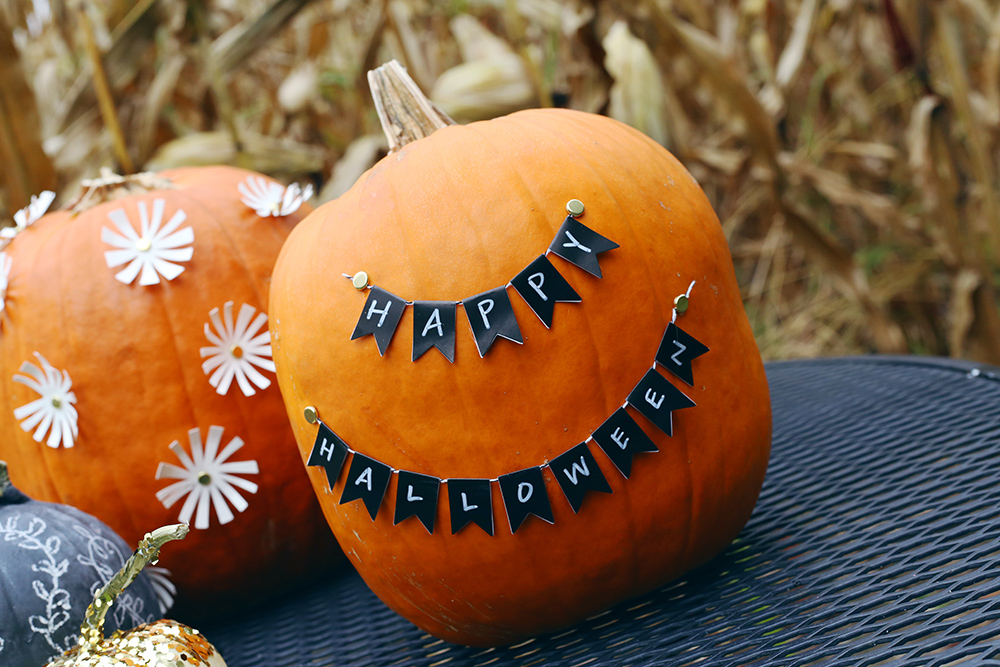
Halloween Bunting Pumpkin
This one is by far the easiest and might just be my favorite! I found this cute bunting at Michael’s and used a white paint marker to write “Happy Halloween.” Brass fasteners worked perfectly to hold the strings in place on the pumpkin. You could write anything on the bunting and make a cute display! Writing “Welcome” is a great idea for your front door. The white on black also ties in with our chalkboard pumpkin.
Decorating these pumpkins was so much fun and I hope they inspire you to think outside the Jack-O-Lantern when you’re decorating your home for Halloween!
Which idea was your favorite? Tell us in the comments below!
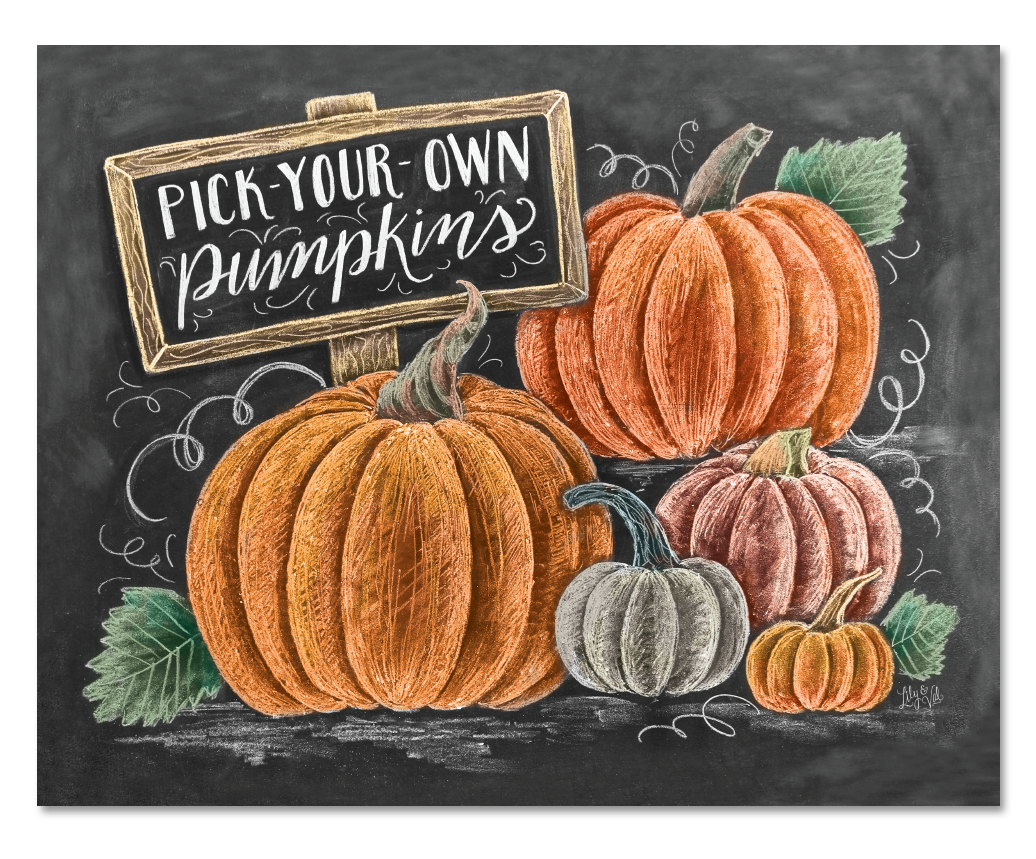
Pair your creations with our “Pumpkin Patch” print for a beautiful Fall display!
Photos courtesy of Jenny Poe

No Comments