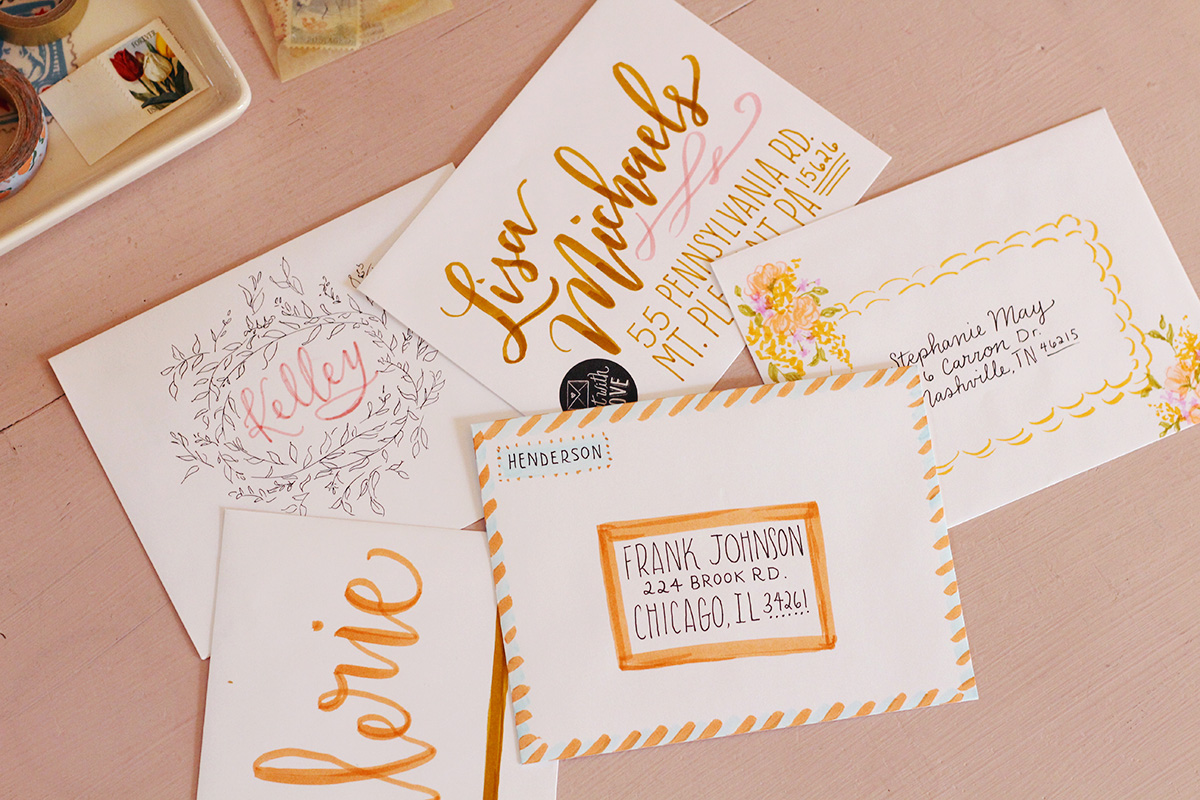
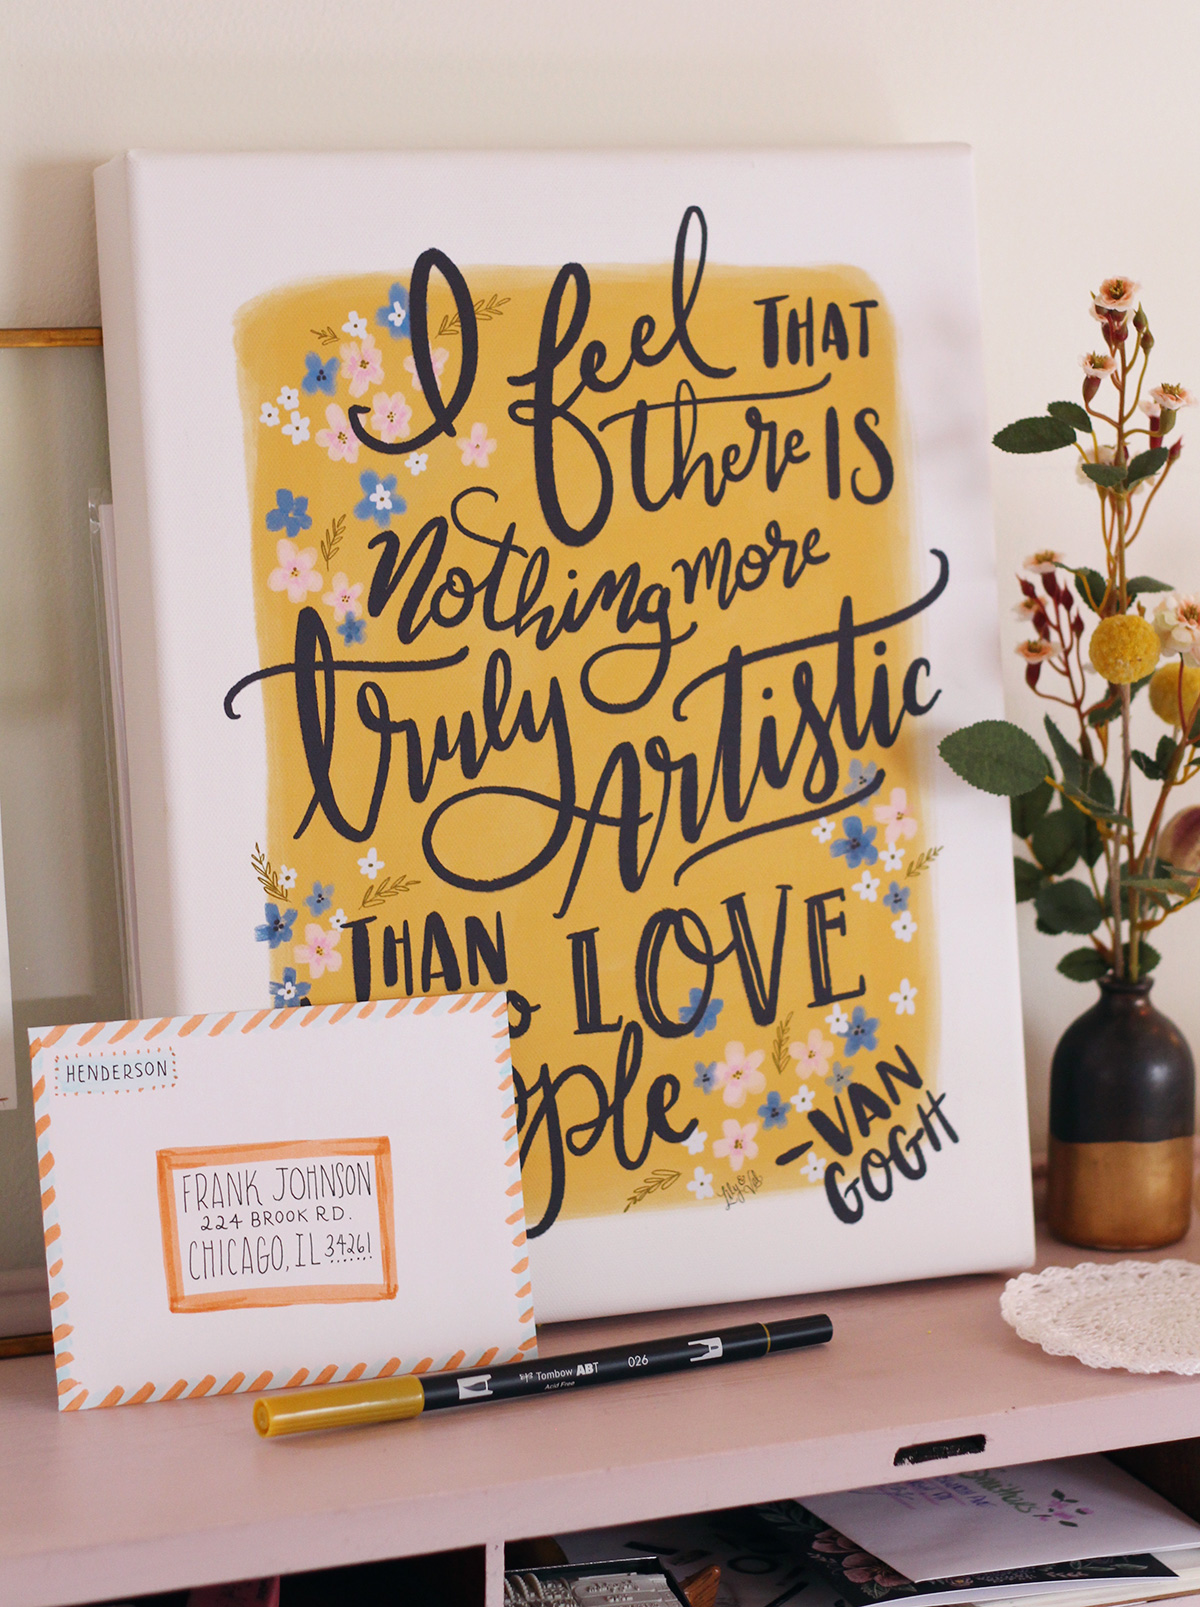
Friends, we are coming up on the last week of National Letter Writing Month and still so many ideas to share with you! Decorating envelopes is especially one of our favorite things about letter writing so I wanted to share even more envelope addressing and decorating inspiration using Tombow dual brush pens and their mono drawing pen! If you missed the first round of ideas, be sure to check them out too!
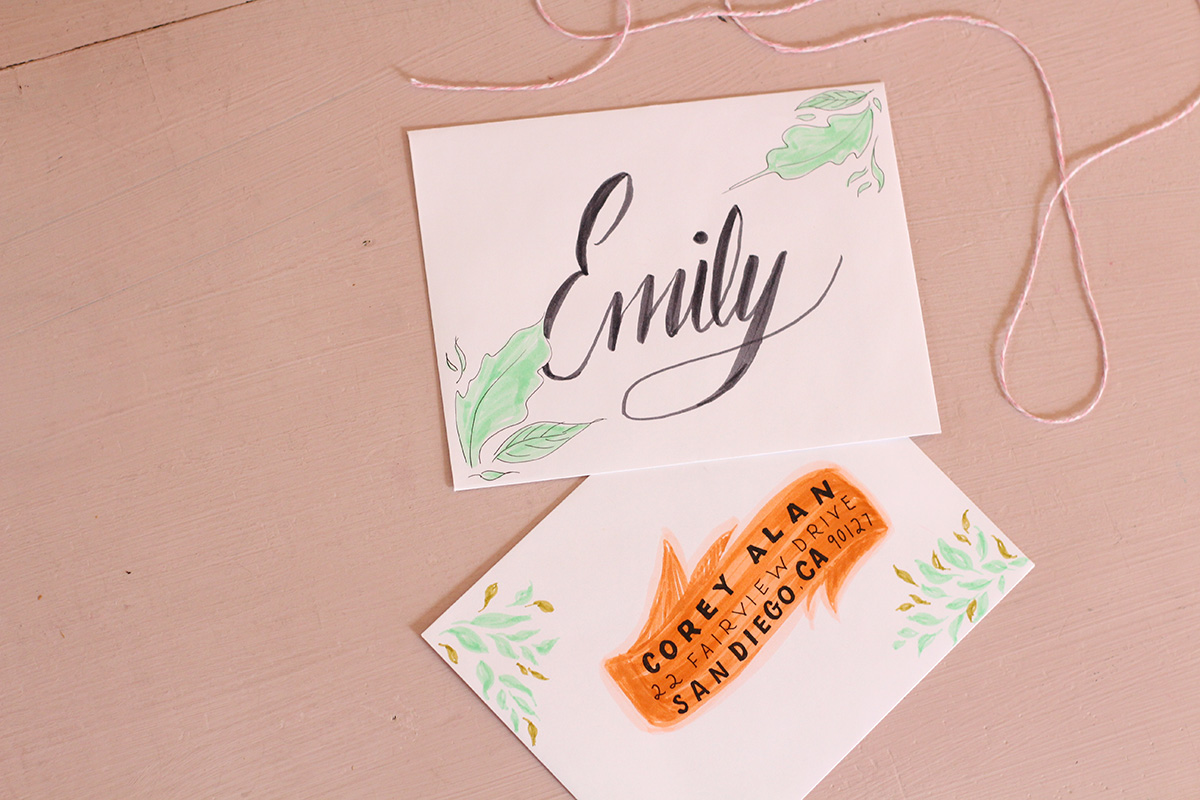
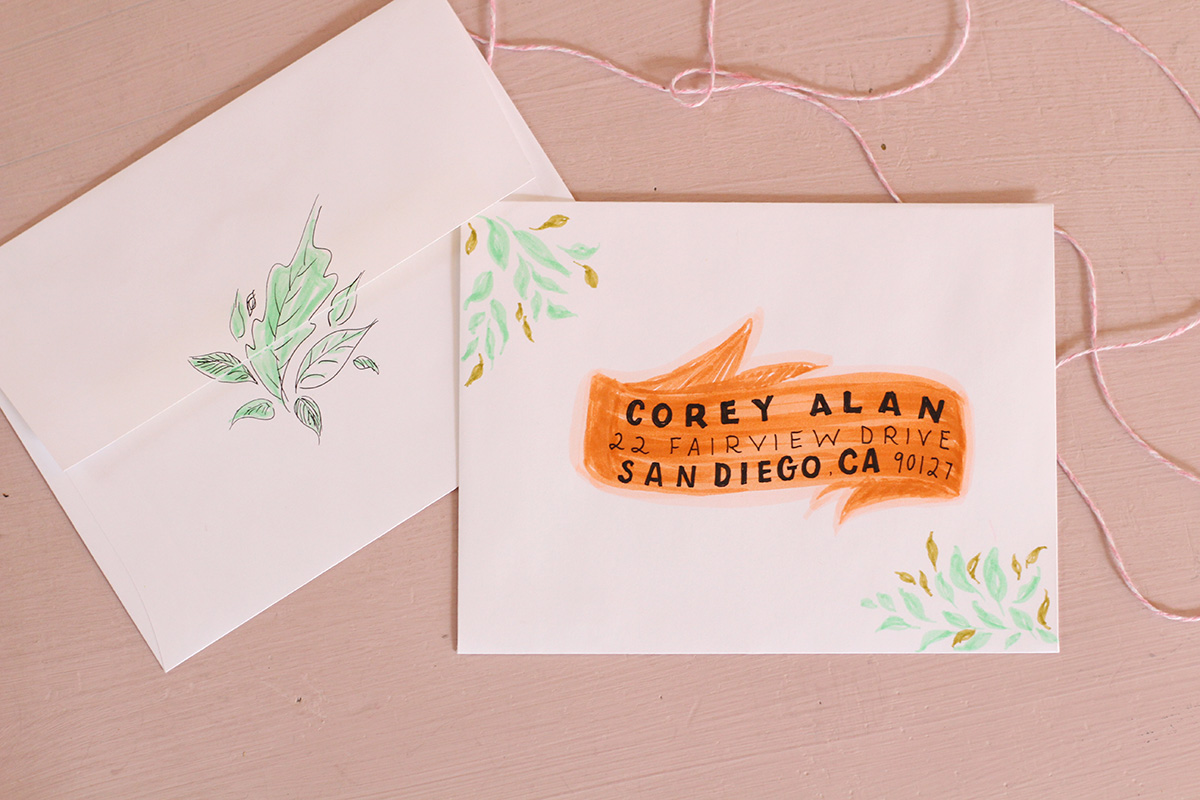
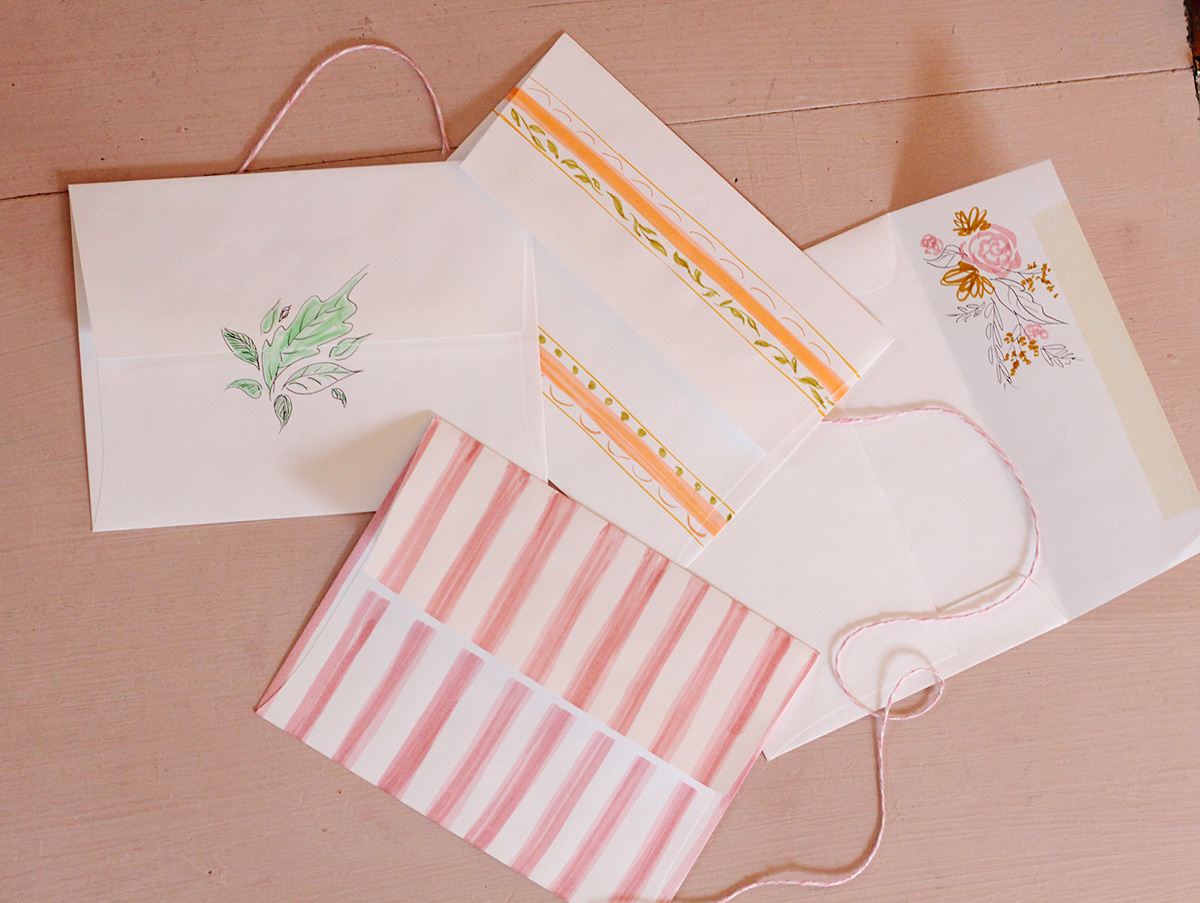
Envelope 1:
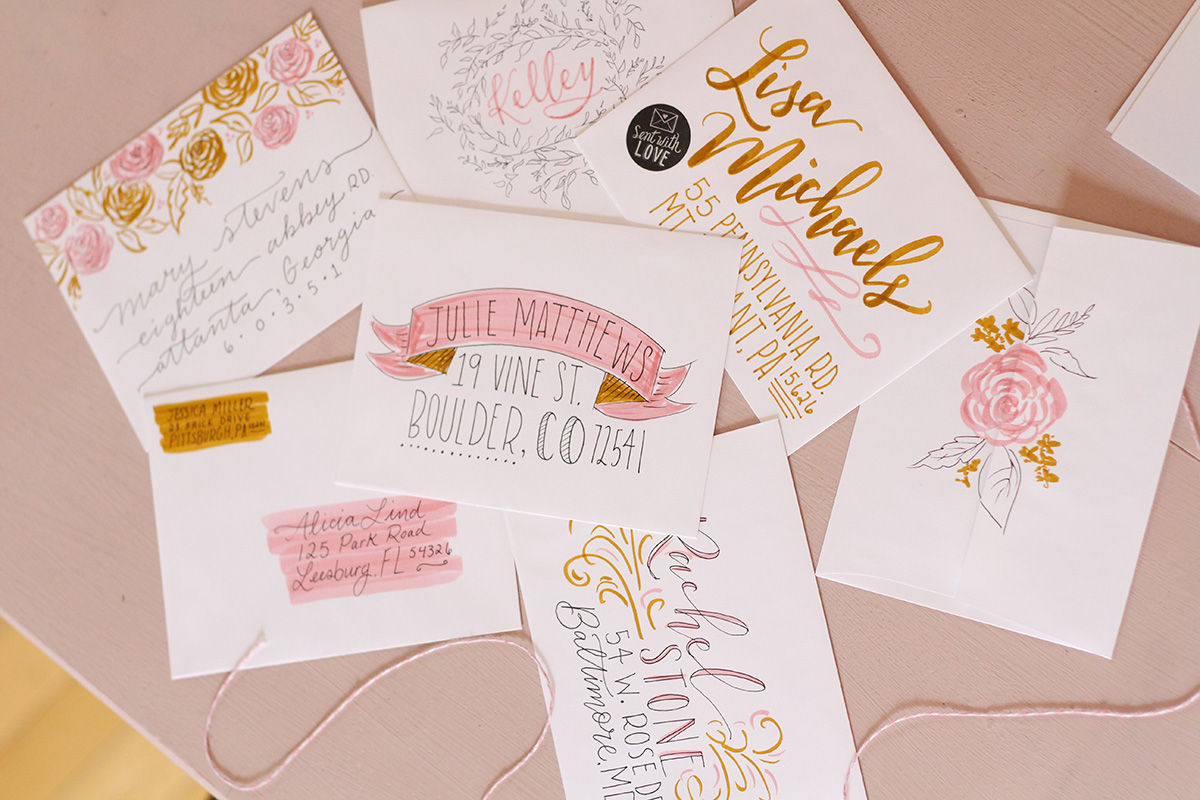
Corner Embellishments
Opposing corners of your envelopes are perfect opportunities for some pretty embellishing! Green leaves work well or you could also try swirls or flower groupings! This will really frame in the recipient’s name and address!
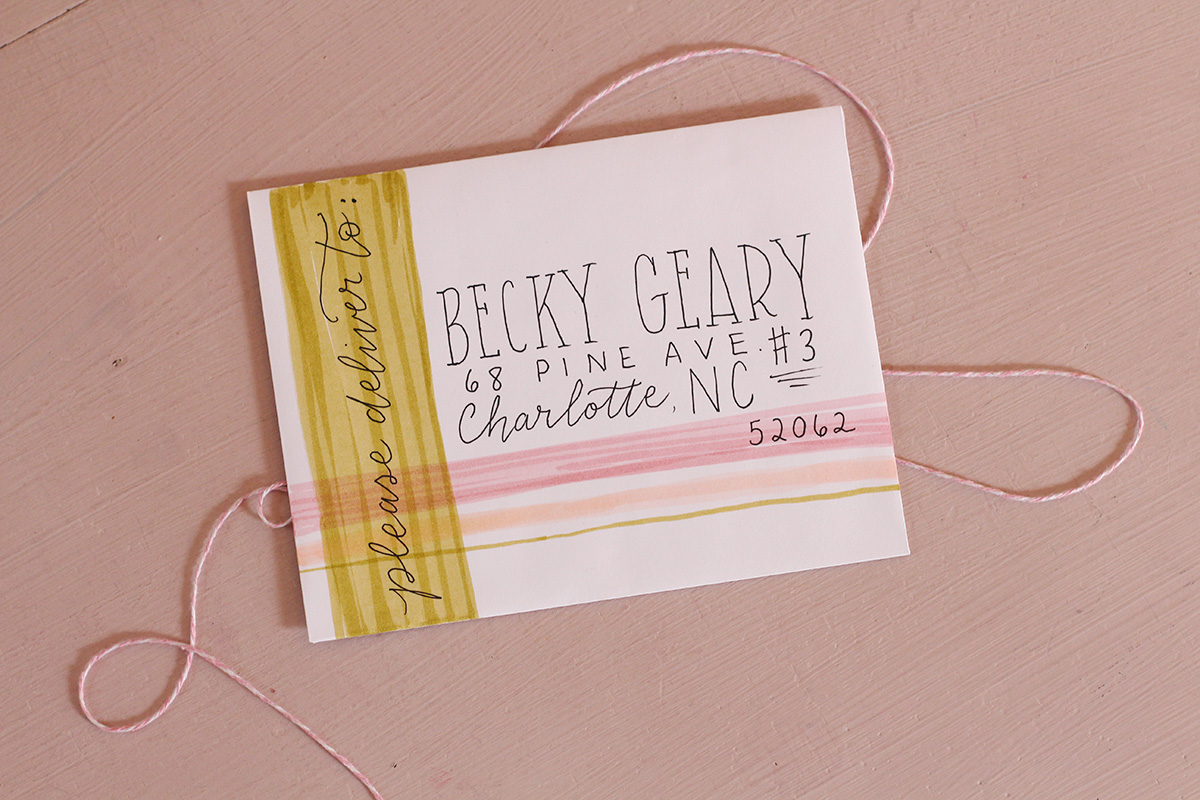
Envelope 2:
Hand-Drawn Plaid
The way Tombow Dual Brush Pens layer on each other makes them perfect for this technique! Start with a thick stripe vertically down the side. Then, add three horizontal stripes in varying thickness and colors across the bottom. I decided to add “please deliver to” in simple handwriting across the thick stripe. This is so simple, but I love the effect!

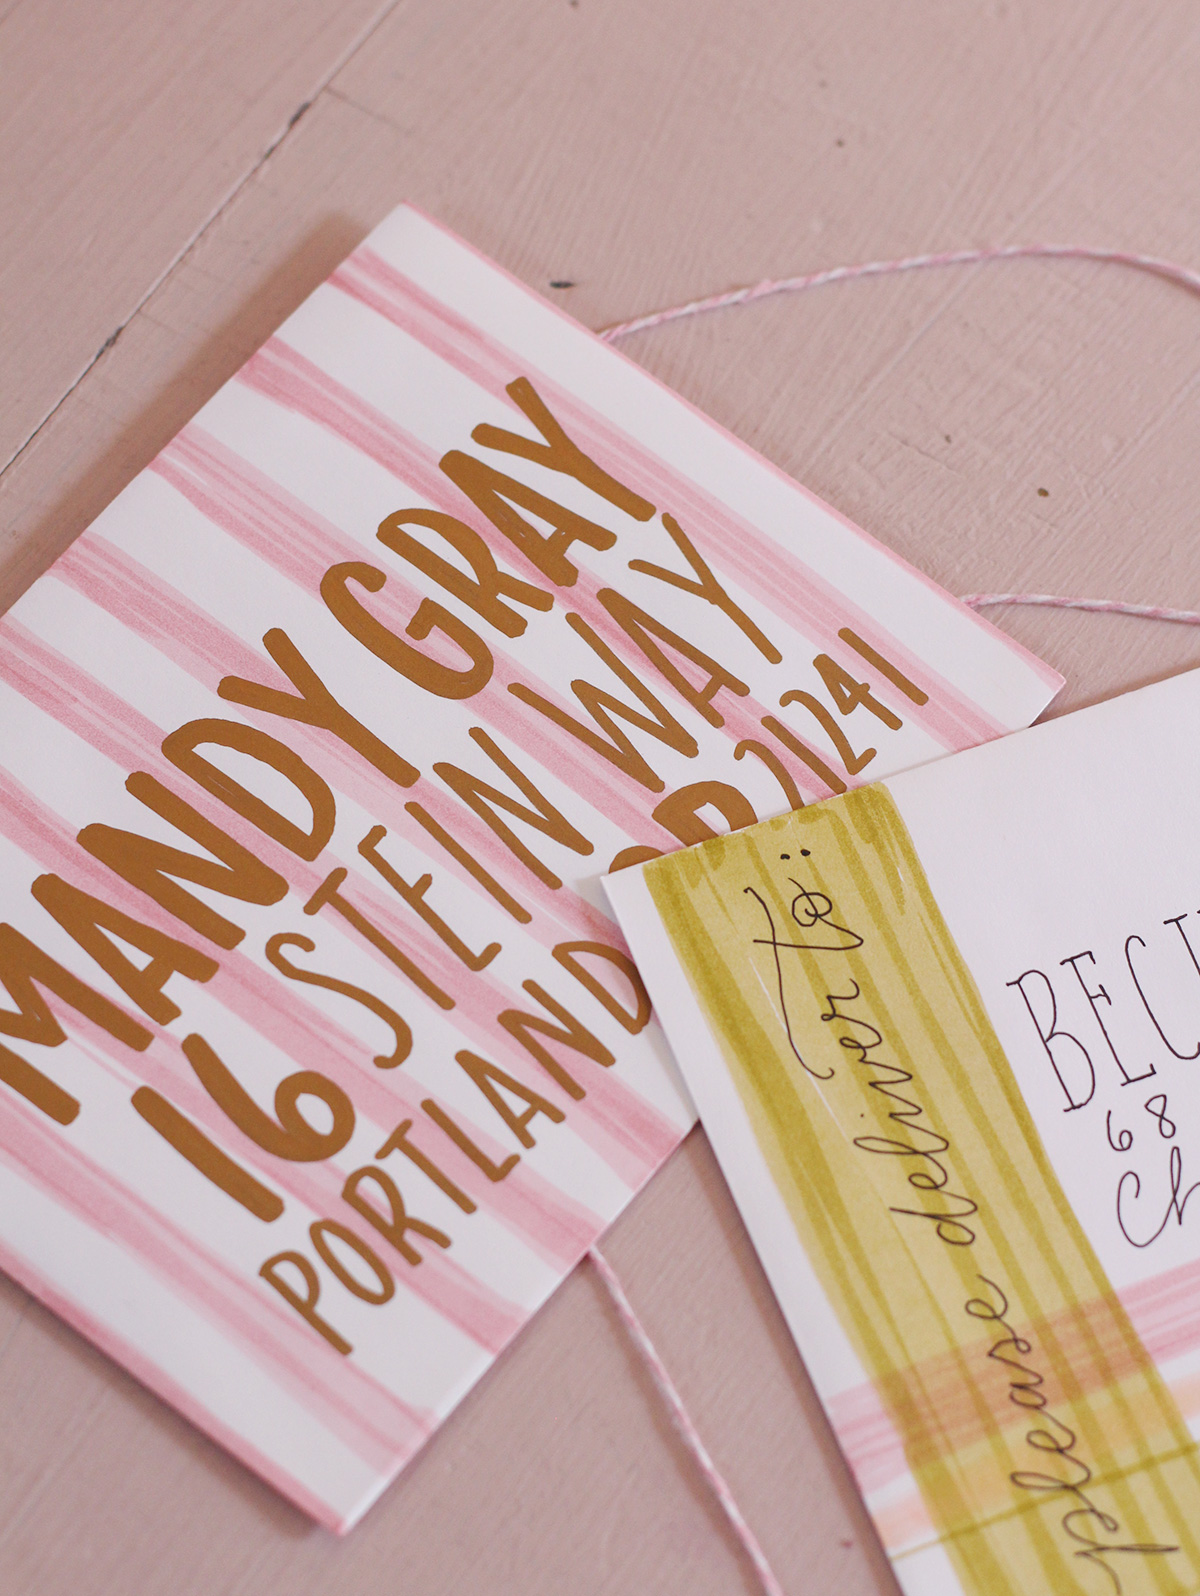
Envelope 3:
Stripes
Instead of plaid, use the brush-side of the Tombow marker to create evenly spaced stripes. (You will want to use a lighter colored marker.) I used a copper sharpie to add the address boldly on top of the stripes so it would stand out.
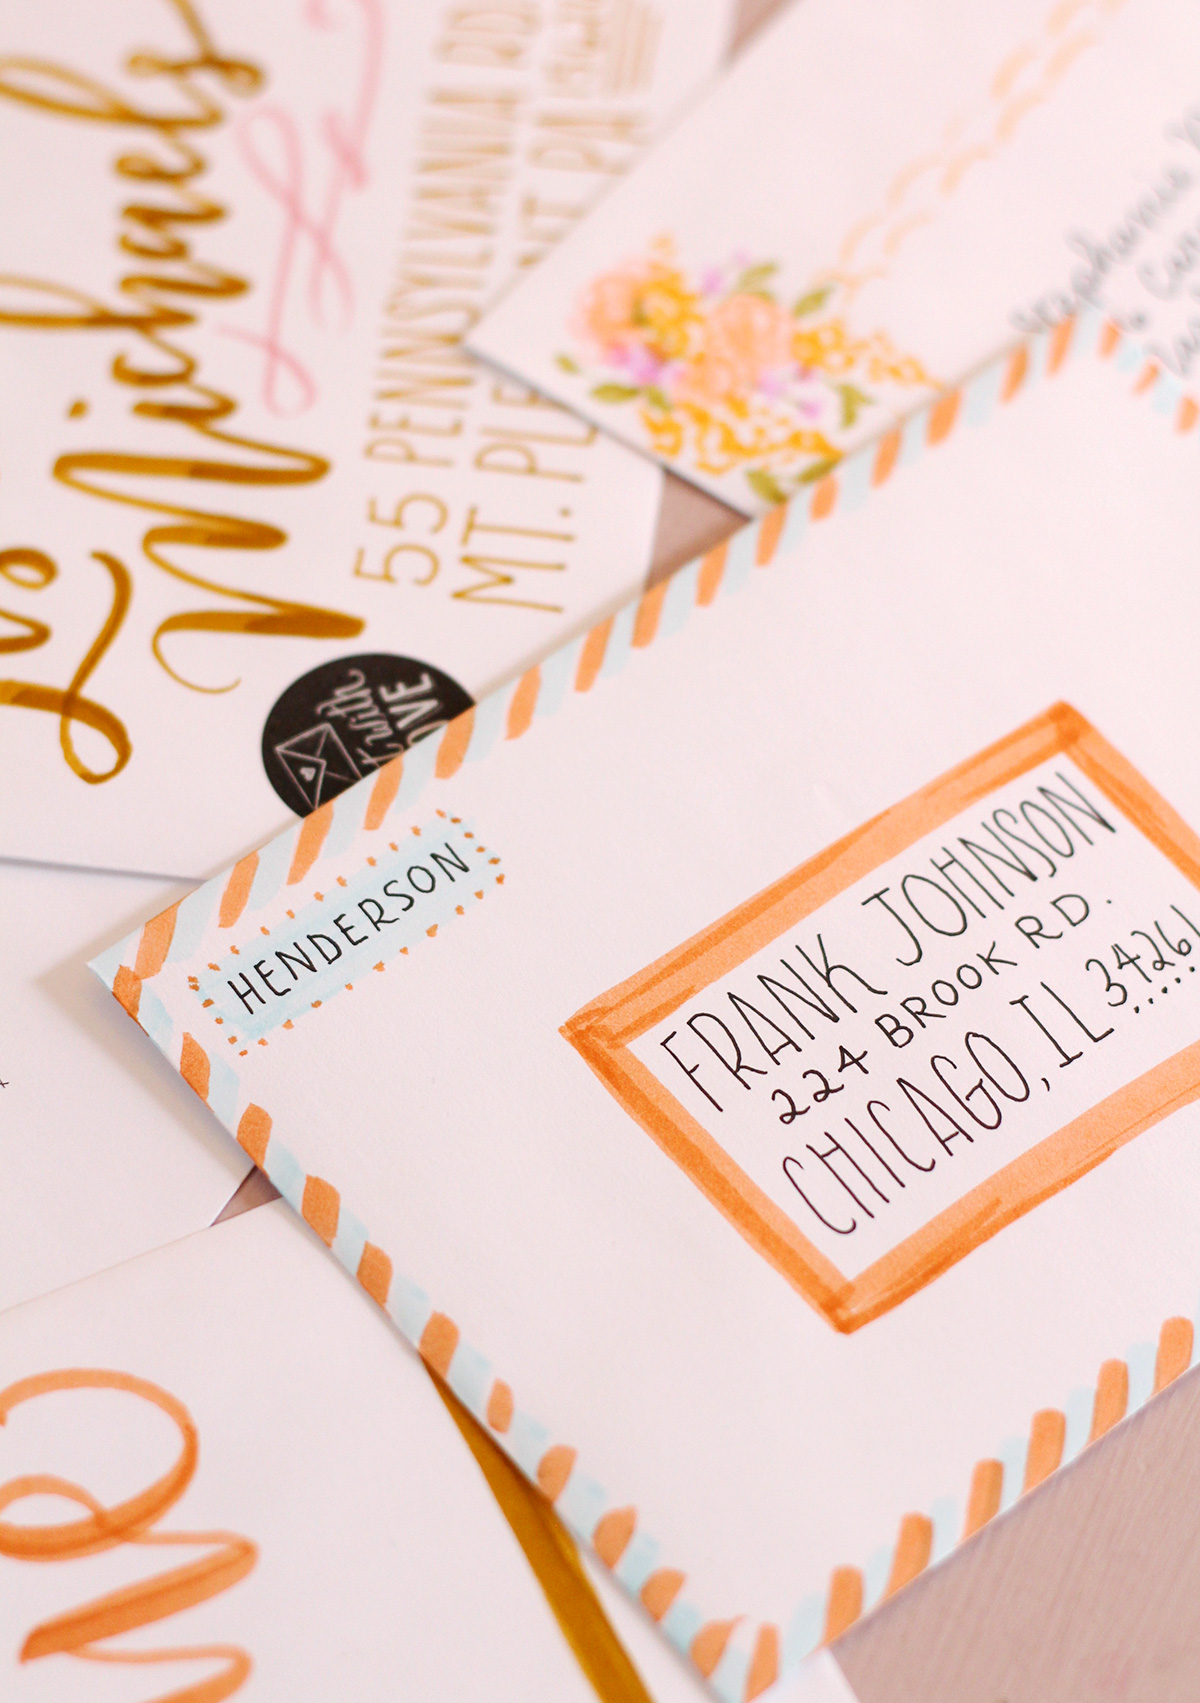
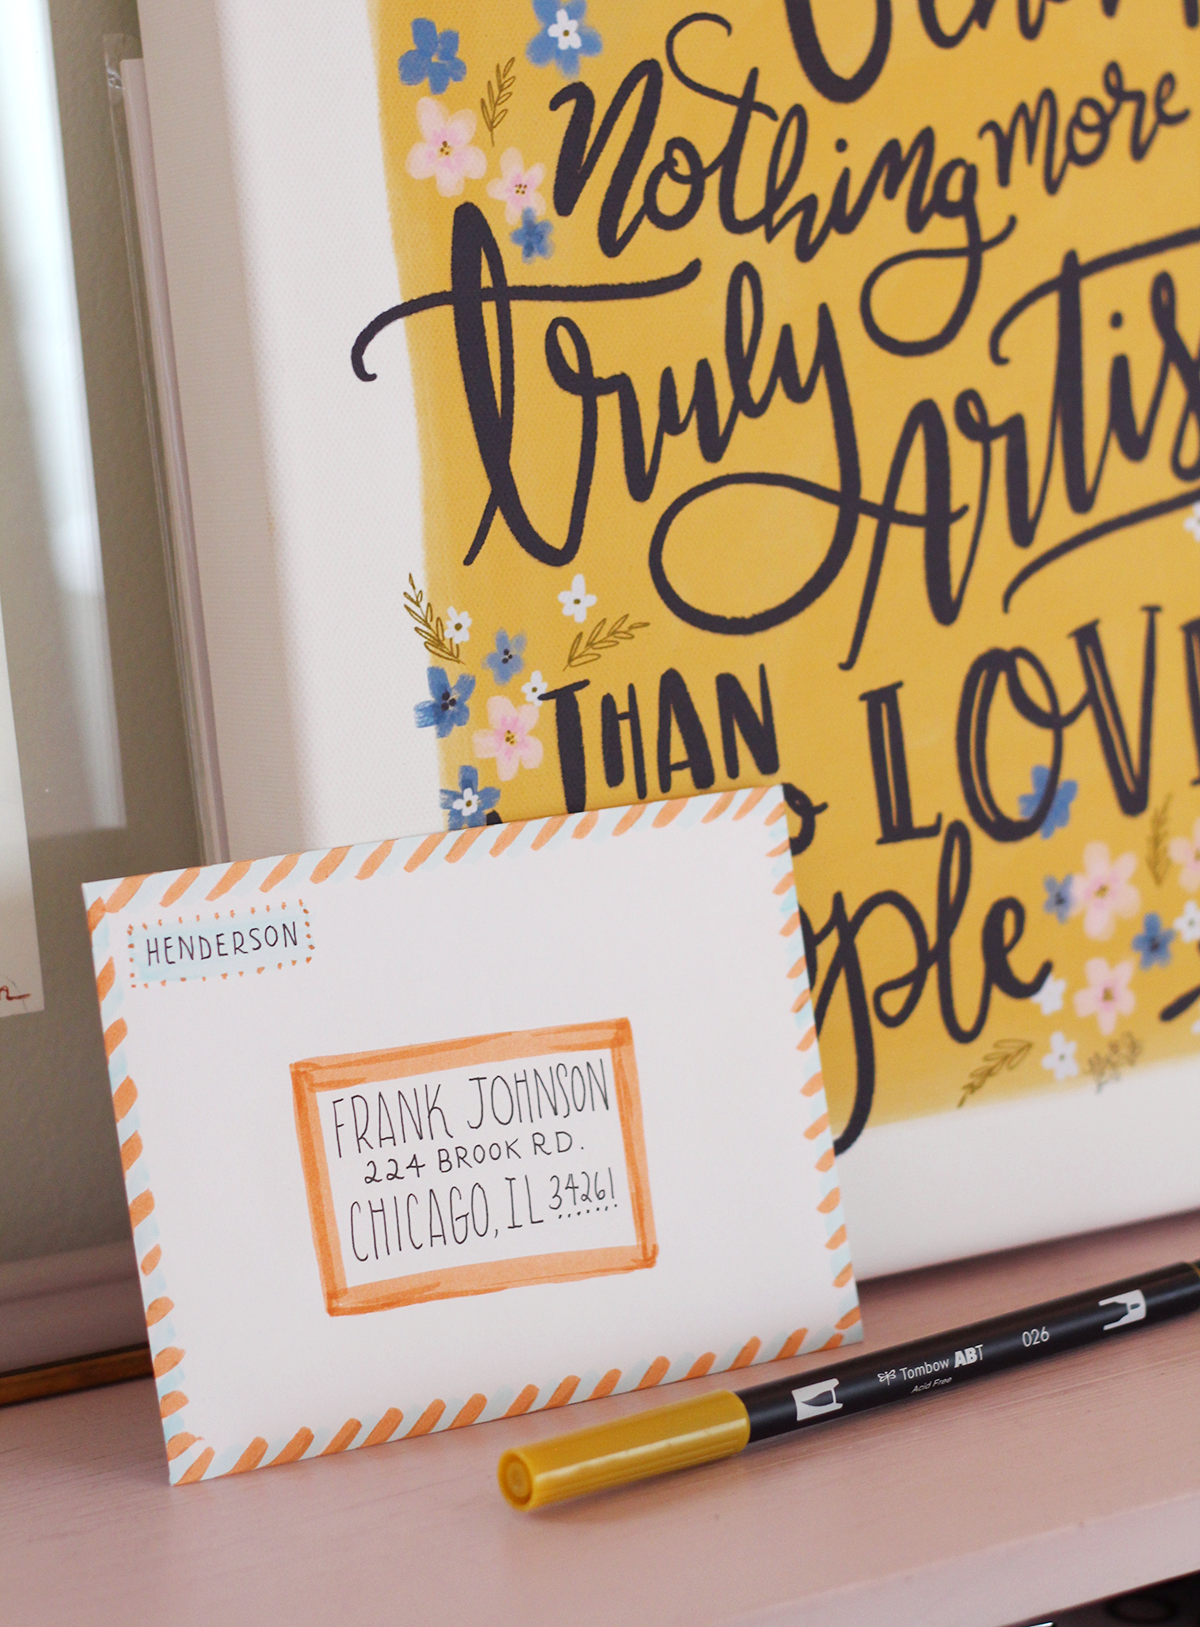
Envelope 4:
Airmail Stripe
Place your envelope on a piece of scrap paper so you can add an airmail stripe that will bleed off the edge. Alternate diagonal strokes using the brush side of your pen across the entire border of the envelope. Red and blue are traditional for an airmail stripe, but try different combinations like light blue and orange!
Use the same colors to add a border for the address and a little rectangle spot for the return address.
A few more tips…
Don’t forget the backs! Decorating the backs of your envelopes to coordinate with the front will really tie your snail mail together and give the recipient a fun experience when they open it up!
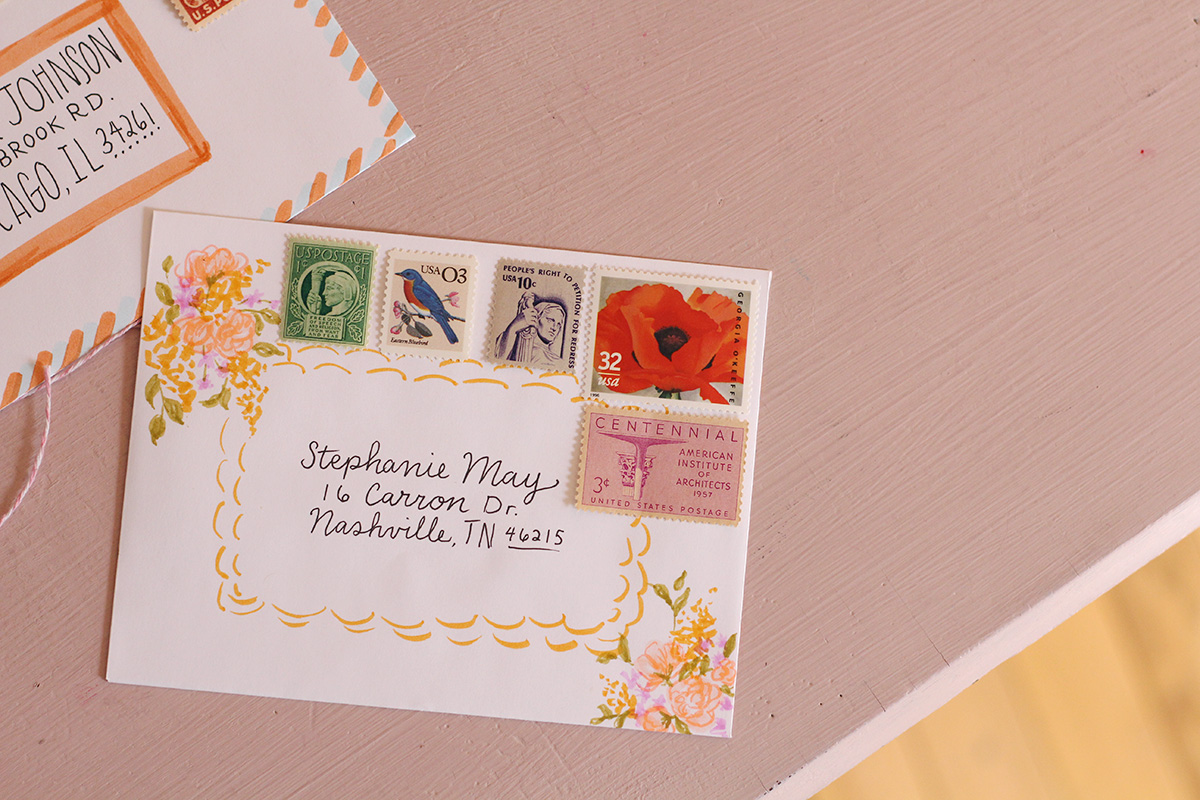
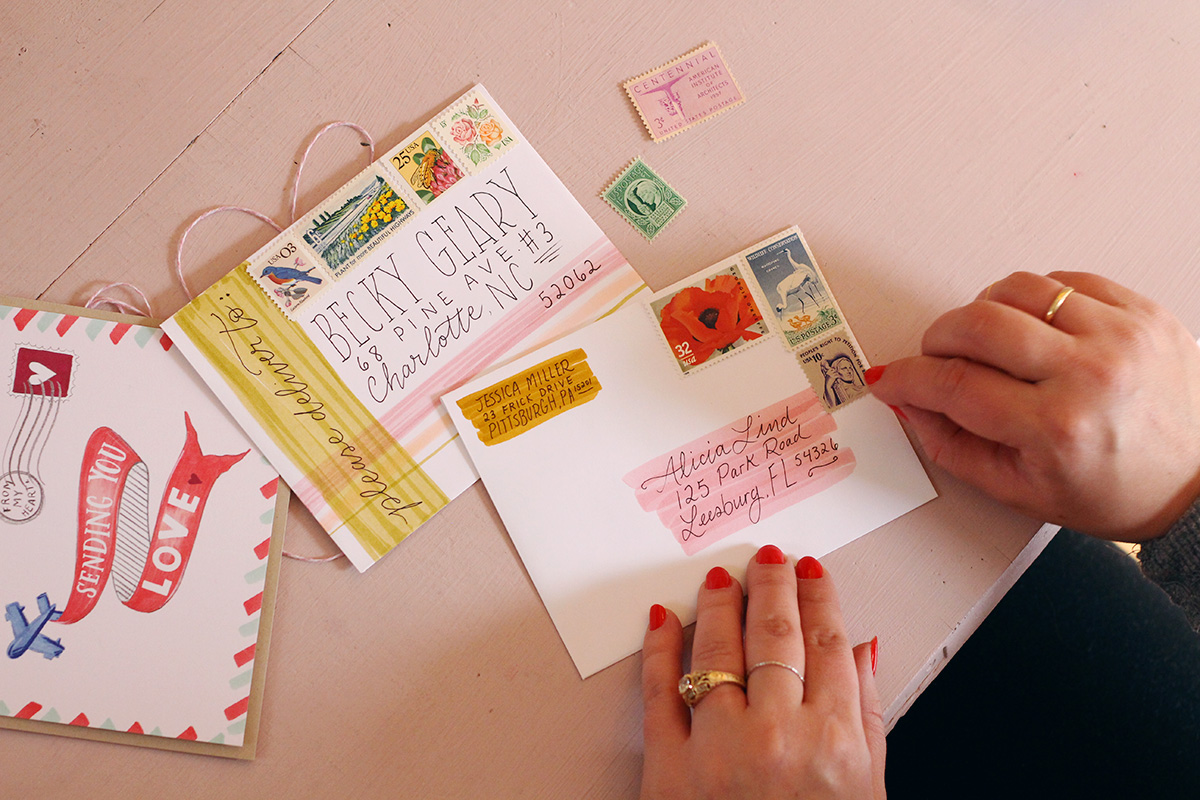
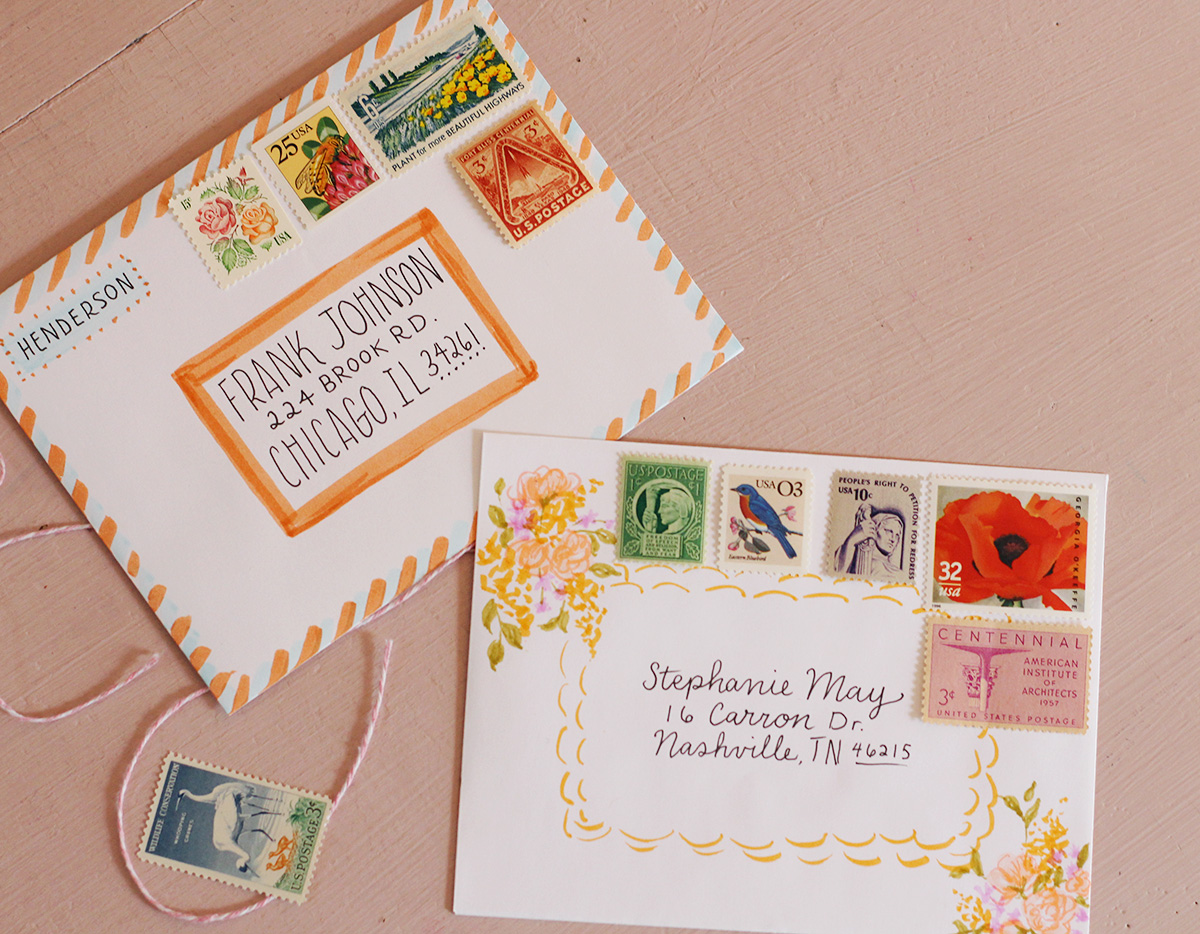
If you really want to make it special…
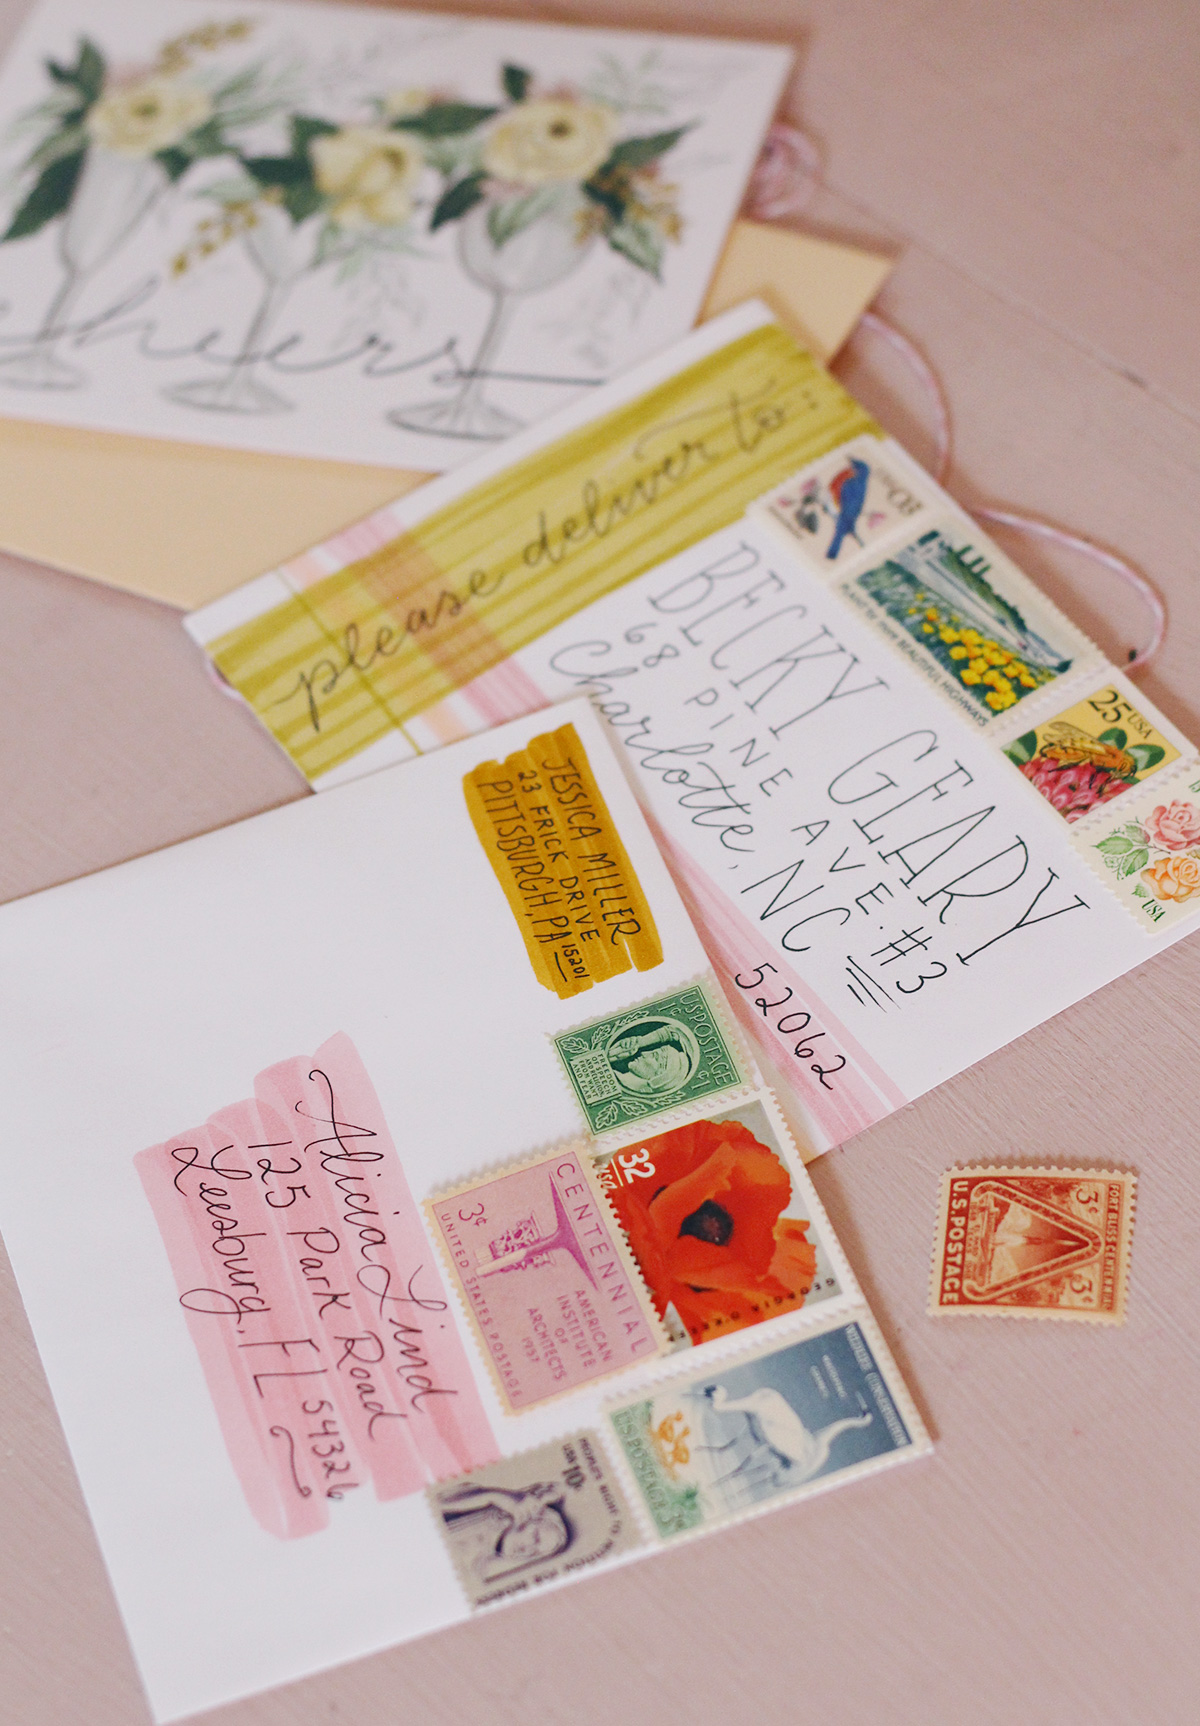
Vintage stamps never cease to impress! We especially love the stamps from our friends at Verde Studio on Etsy. We were lucky to have a custom stamp arrangement in our Snail Mail Surprise Boxes, but she has SO many lovely combinations of stamps to choose from.
Who could throw away an envelope that looks this pretty?!
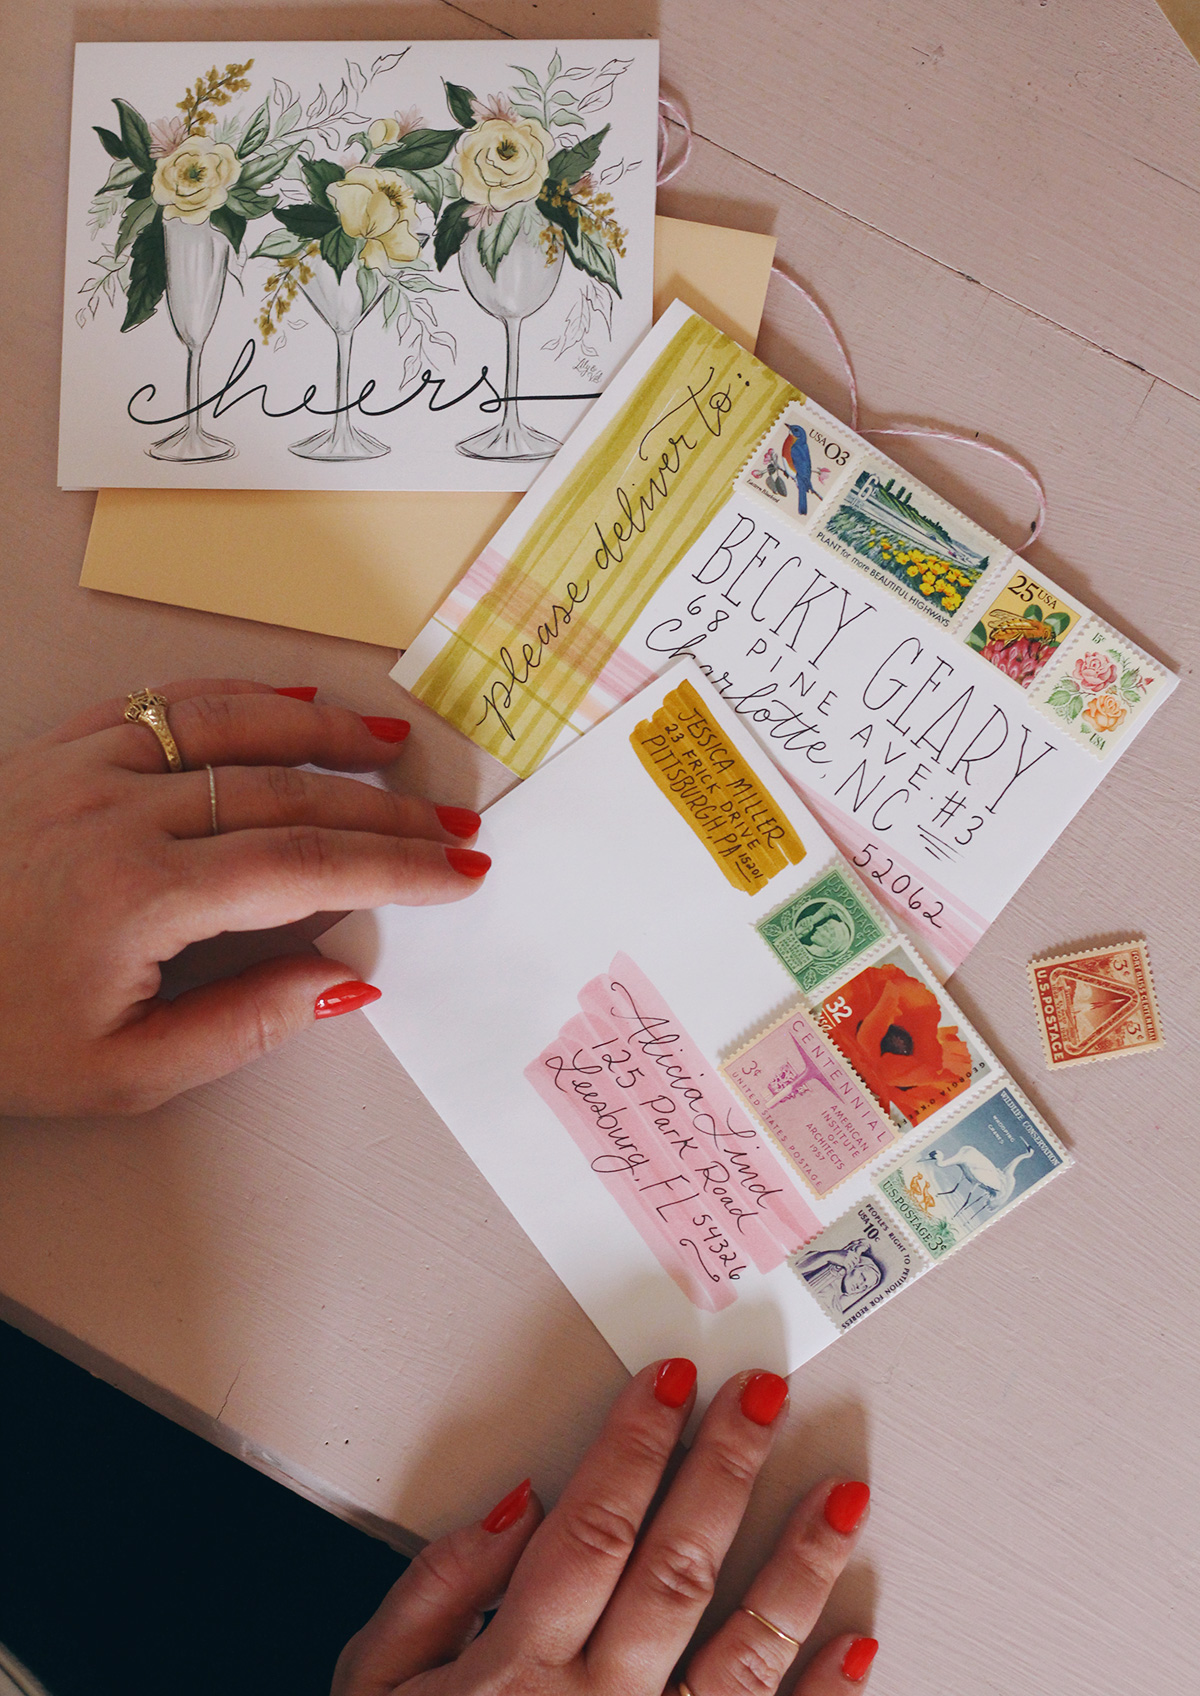
Find the cheers card as part of our 2018 Spring Flora Collection!
I hope you’ve enjoyed these ideas! I’d love to see your snail mail! Be sure to tag us on instagram @lilyandval!

2 Comments
Hi, I love the different stamps you use, instead of just one. Where do get them? From the post office? Thanks!
Thanks so much! These beautiful vintage stamps are from Verde Studio on Etsy! 🙂 https://www.etsy.com/shop/VerdeStudio?ref=shop_sugg