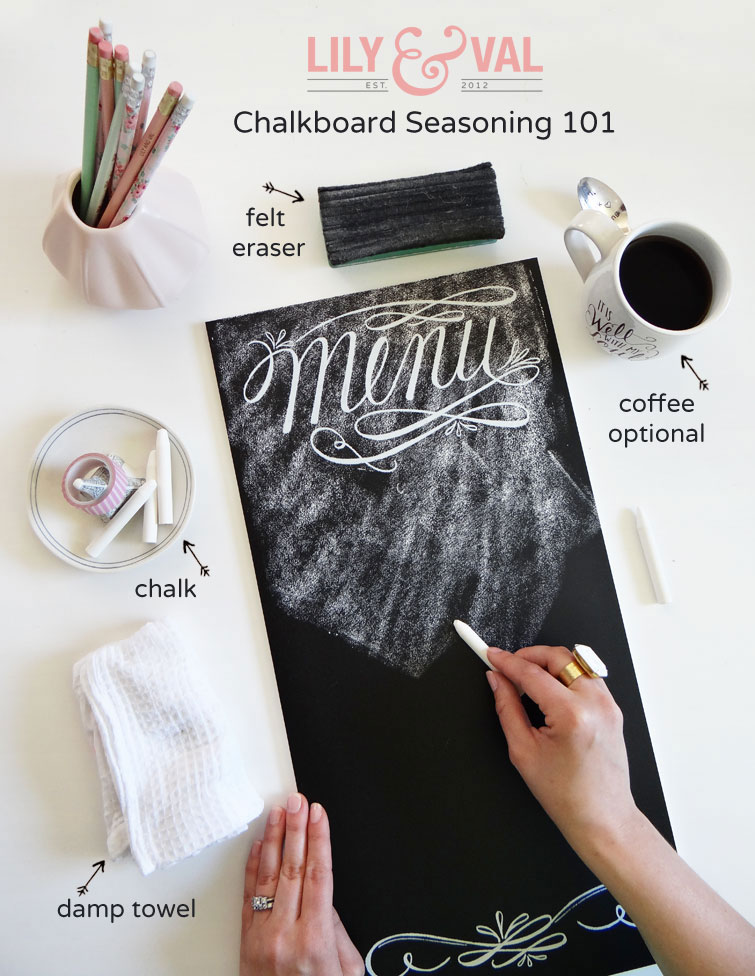
Friends, I’m so pleased to bring you the Lily & Val chalkboard collection! These pieces have been lovingly hand lettered in chalk, digitally converted, and then printed on a real chalkboard! This method provides permanent lettering with the look of chalk. Before using your chalkboard it will need to be prepared or “seasoned.” This blog post will show you exactly how to do that! Why do chalkboards need to be seasoned? Seasoning gives your sign that dusty, rustic appearance instead of a flat black look. It also prevents the chalk from “burning” into the surface when it is used. The beauty of chalkboards is that they can be used, erased, and used again! You don’t want your board to ruin the first time you write on it. (The printed lettering on L&V chalkboards will not be disturbed through this process.) The photo below shows how your L&V chalkboard will look upon arrival – flat black. Time to get a bit dusty… You will need: * A felt eraser (or a soft, dry cloth) I’ve found that a felt eraser works best though! * A damp cloth or towel * A piece of chalk 
Step One: Using the side of your piece of chalk, rub the entire surface of your chalkboard until it is completely covered like so… 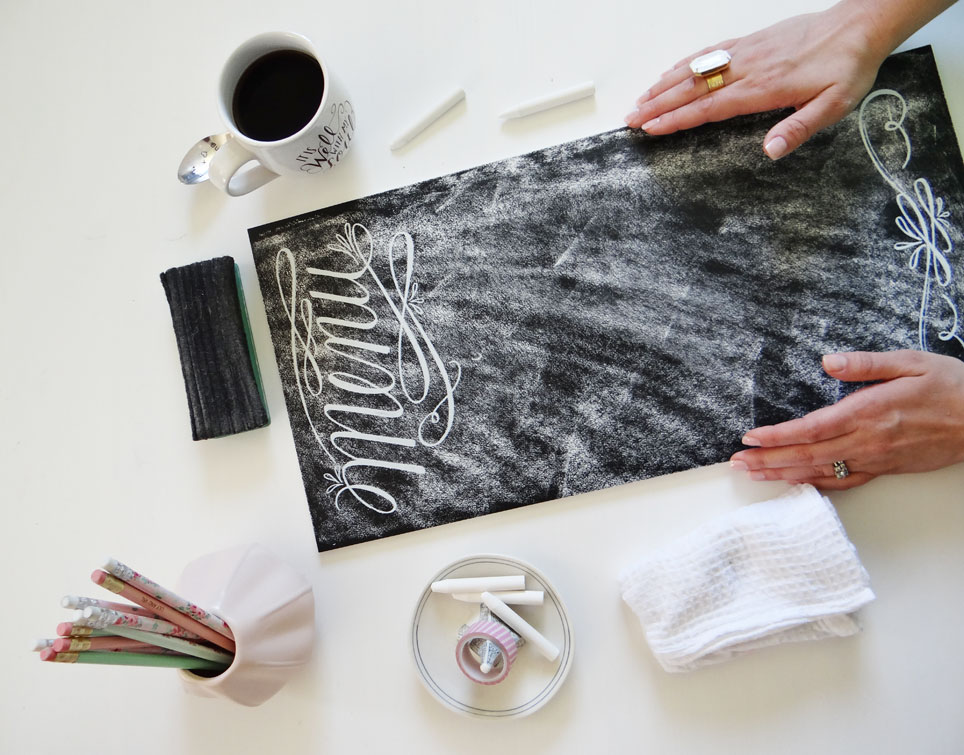
Step Two: Reach for that felt eraser and erase the entire surface. Now it’s looking more like a chalkboard! 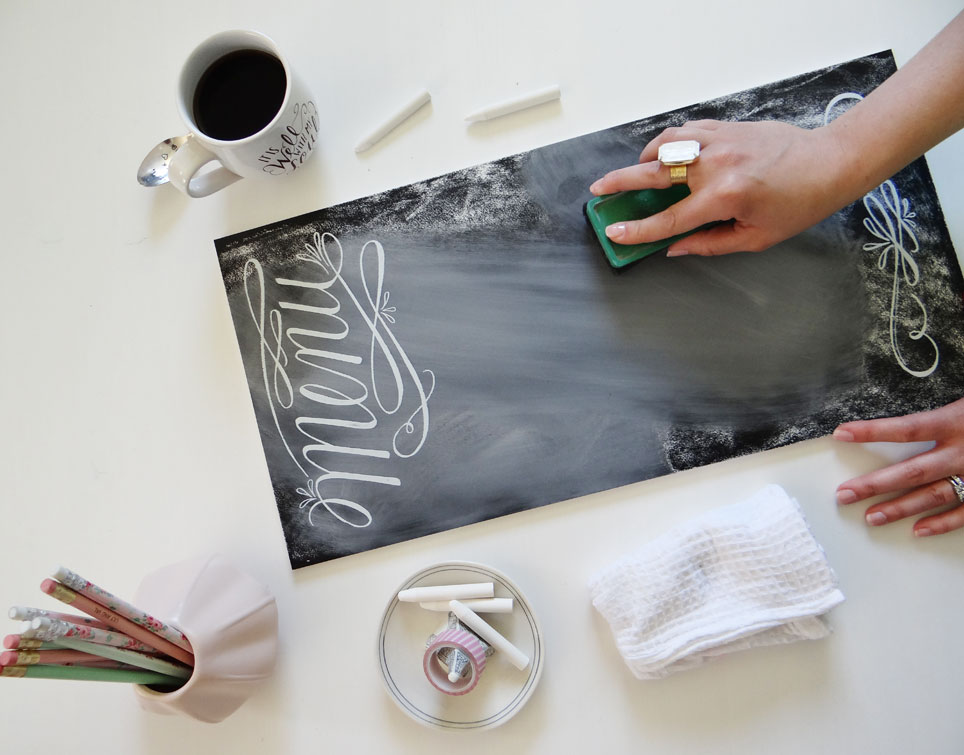
Step Three: Wipe down the remaining dust with your damp cloth and let the chalkboard dry. 
Step Four: Once the surface is dry, go back over the entire chalkboard again with your felt eraser. This will remove any water streaks left behind by the cloth and add a nice amount of dust. 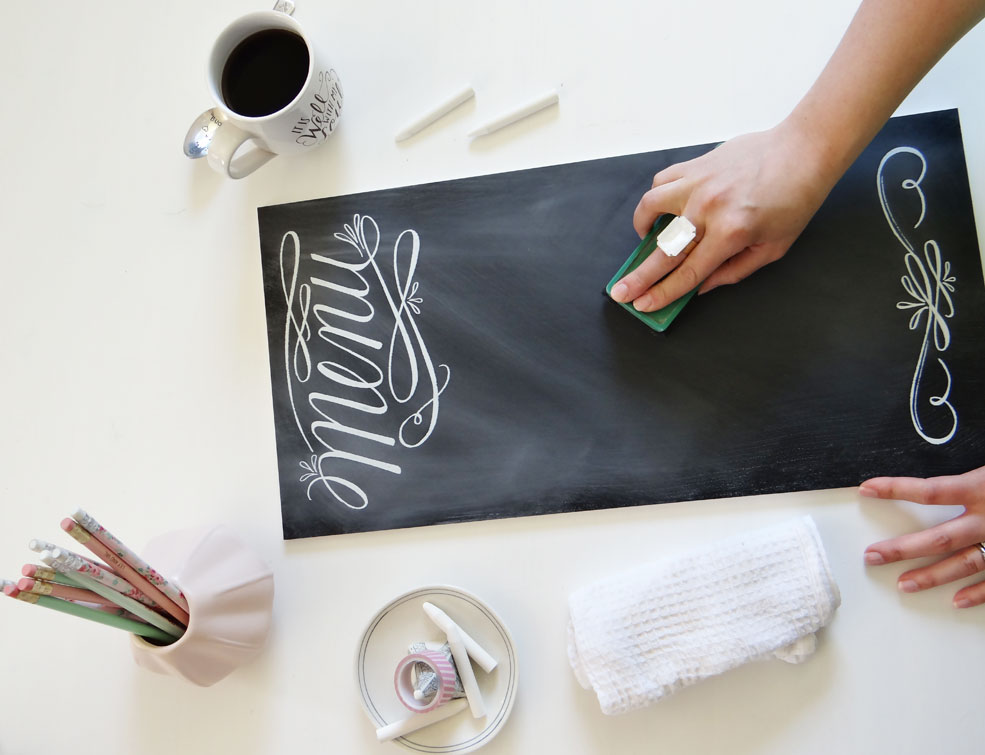
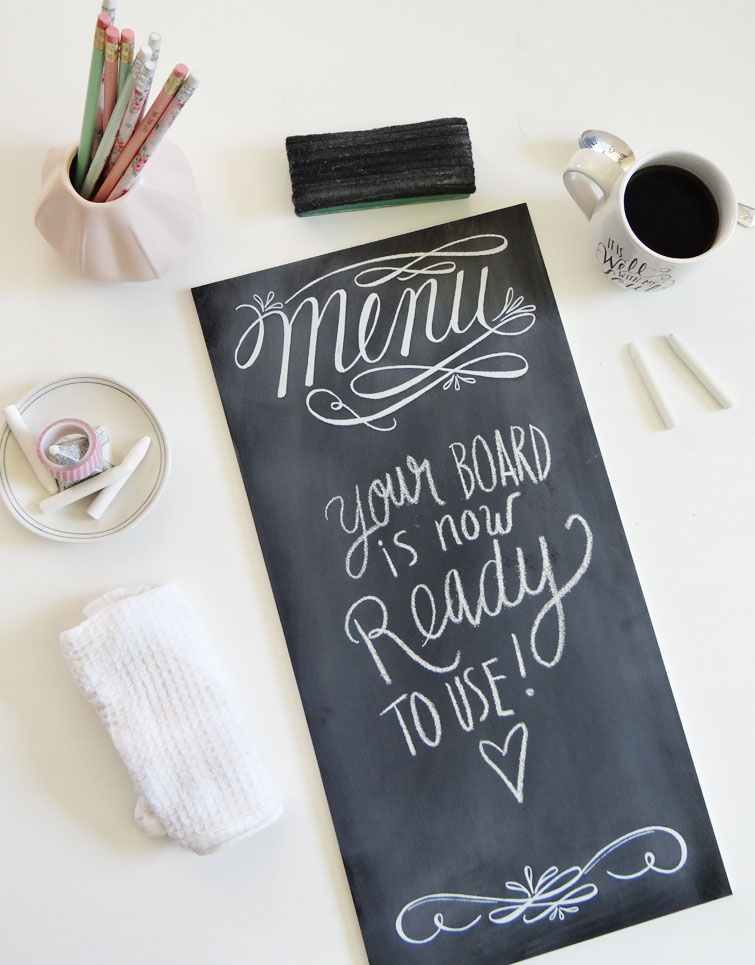
Step Five: Give the board a whirl! The permanent hand lettering and illustrations on the L&V chalkboard signs were created to look great with your own customization. Use it again and again after your wedding or event! 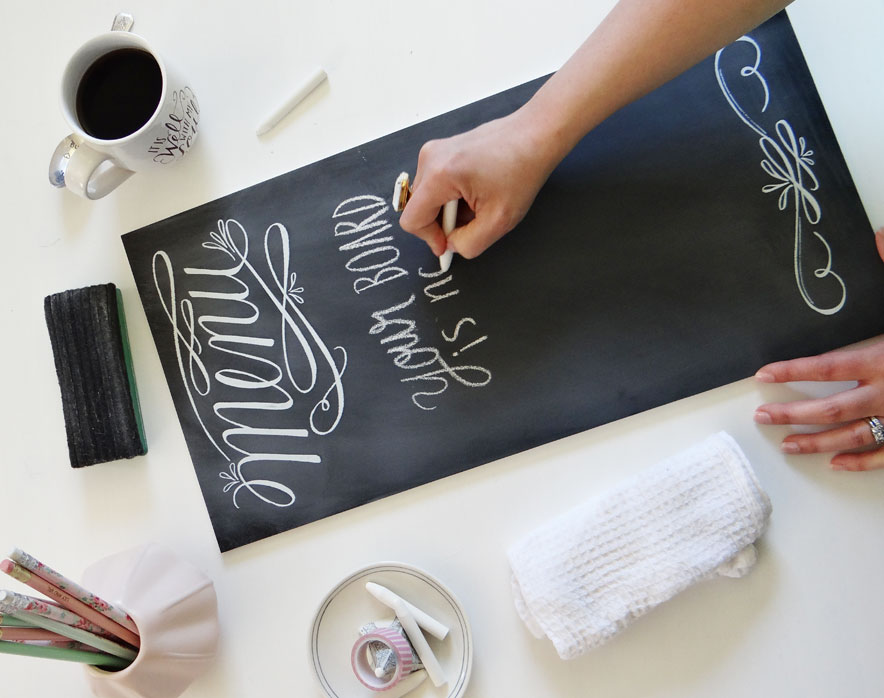
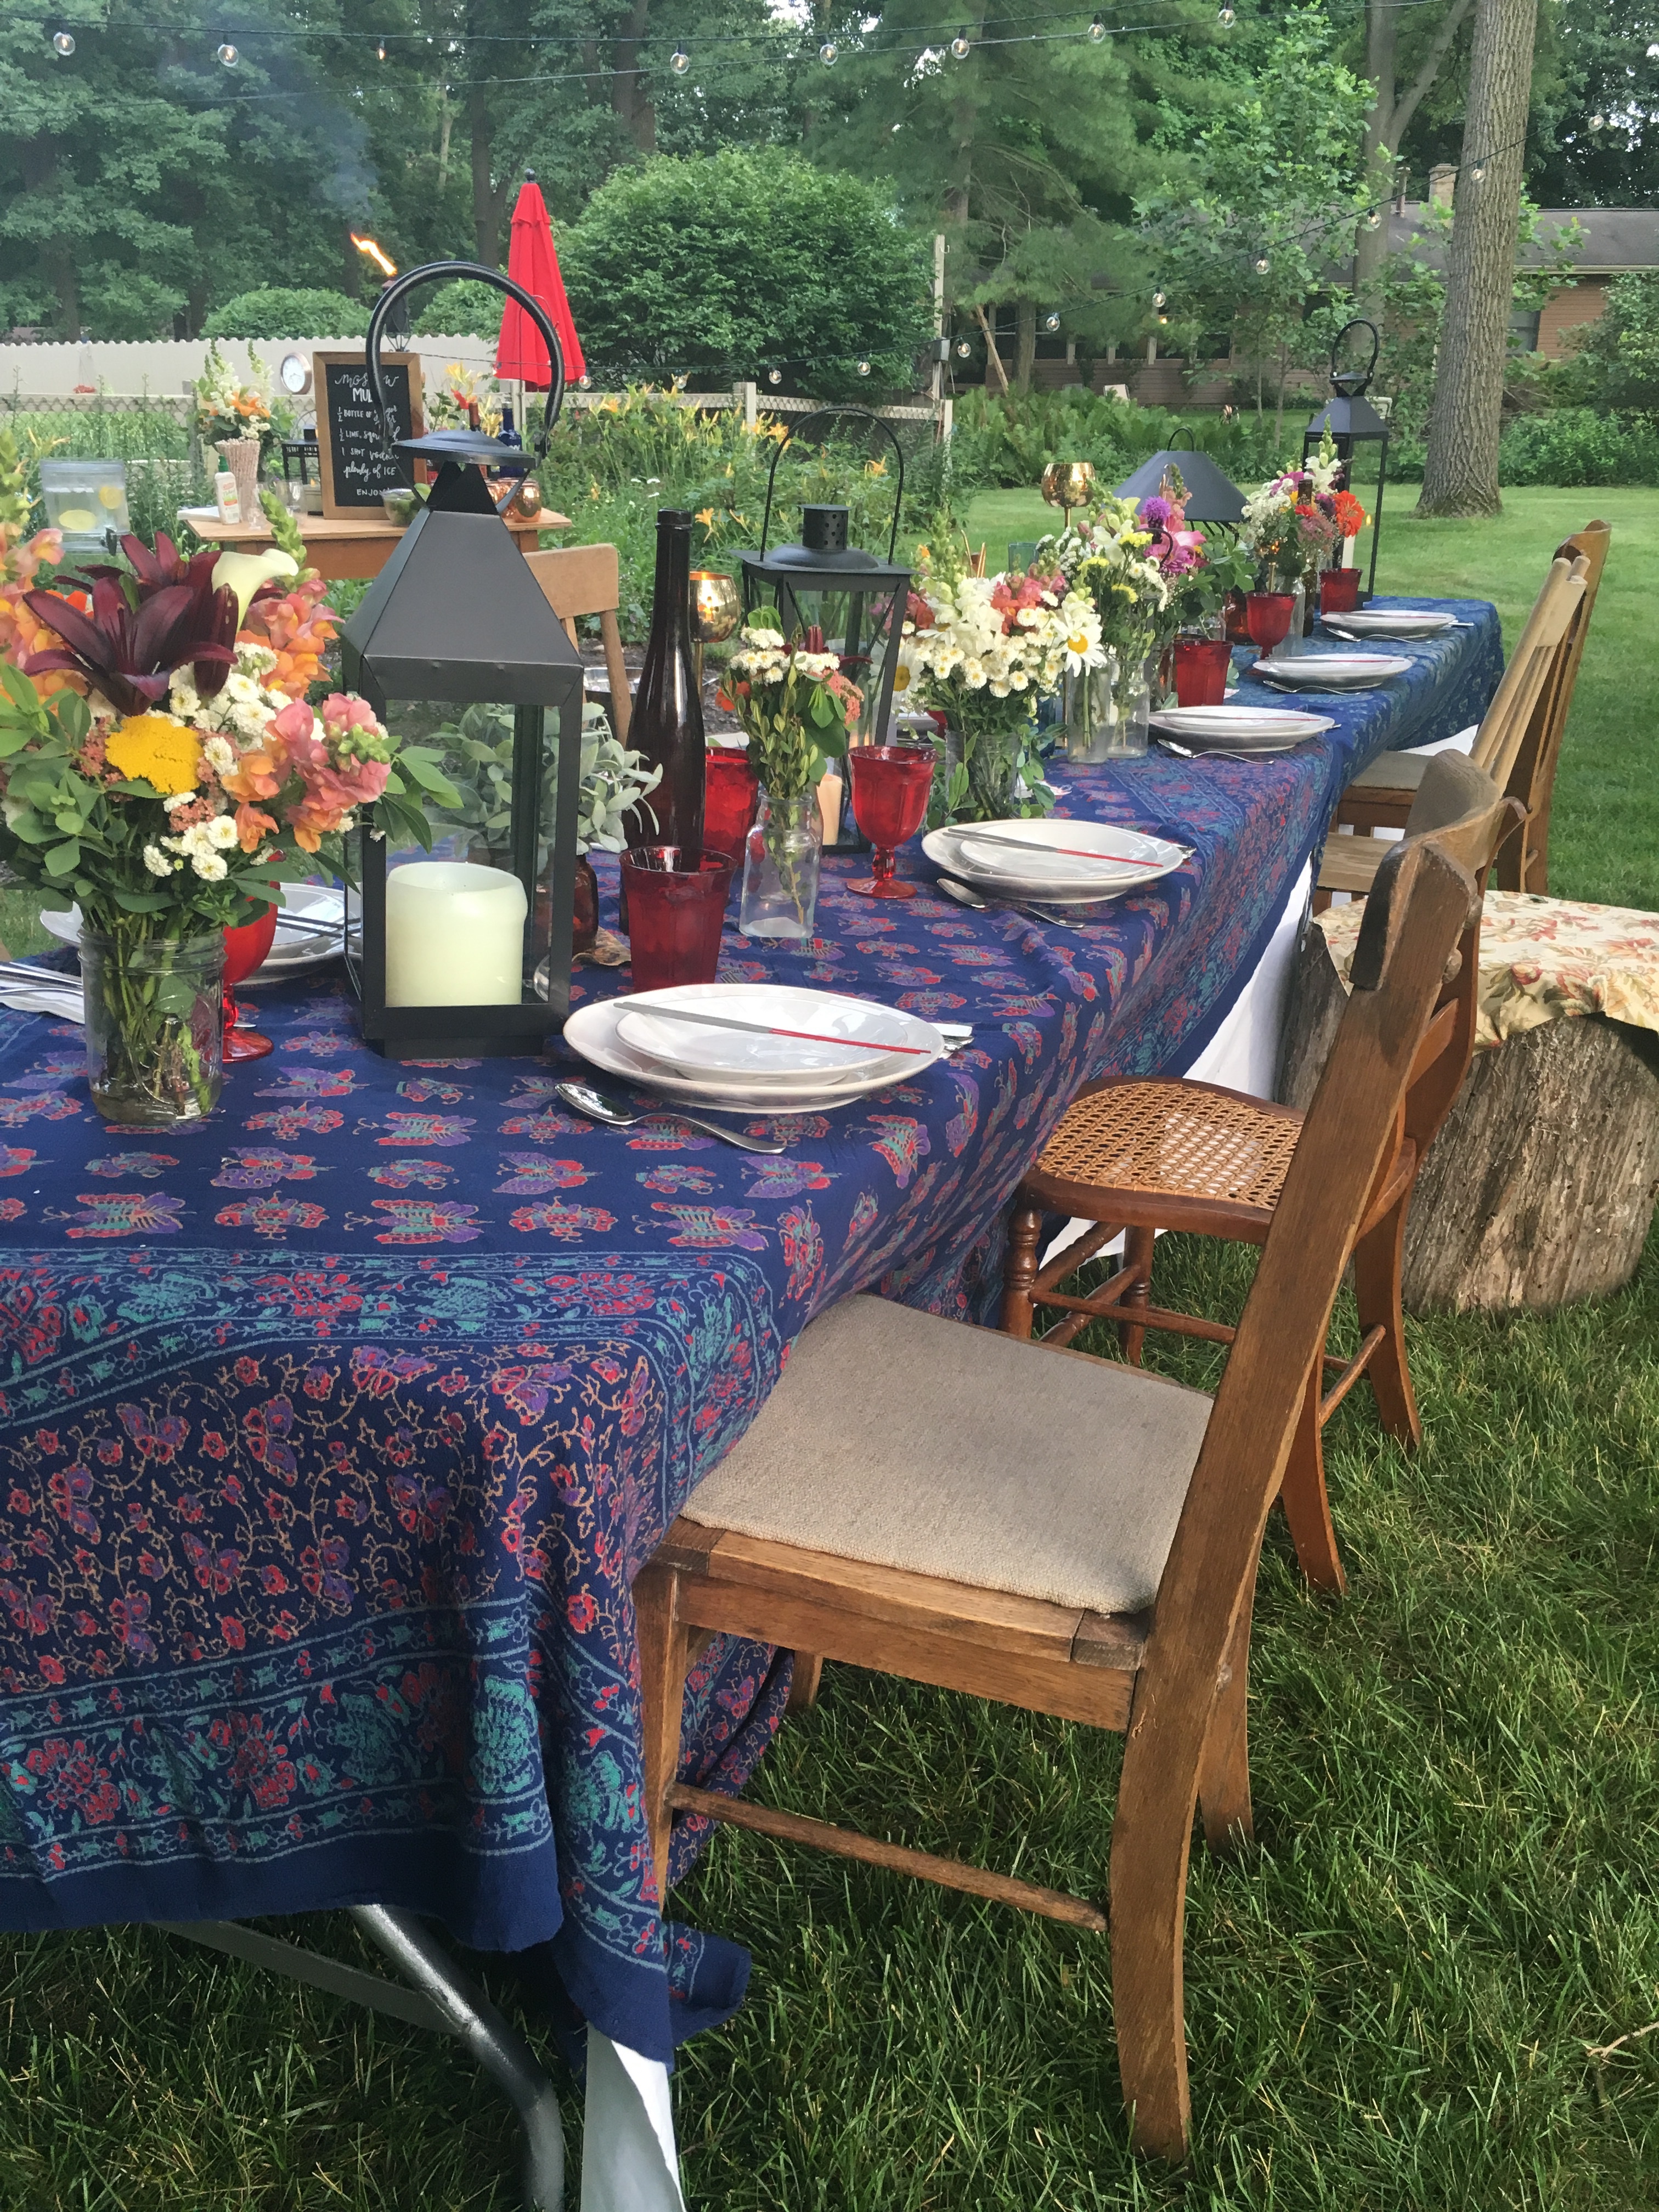
Behind the Scenes

No Comments