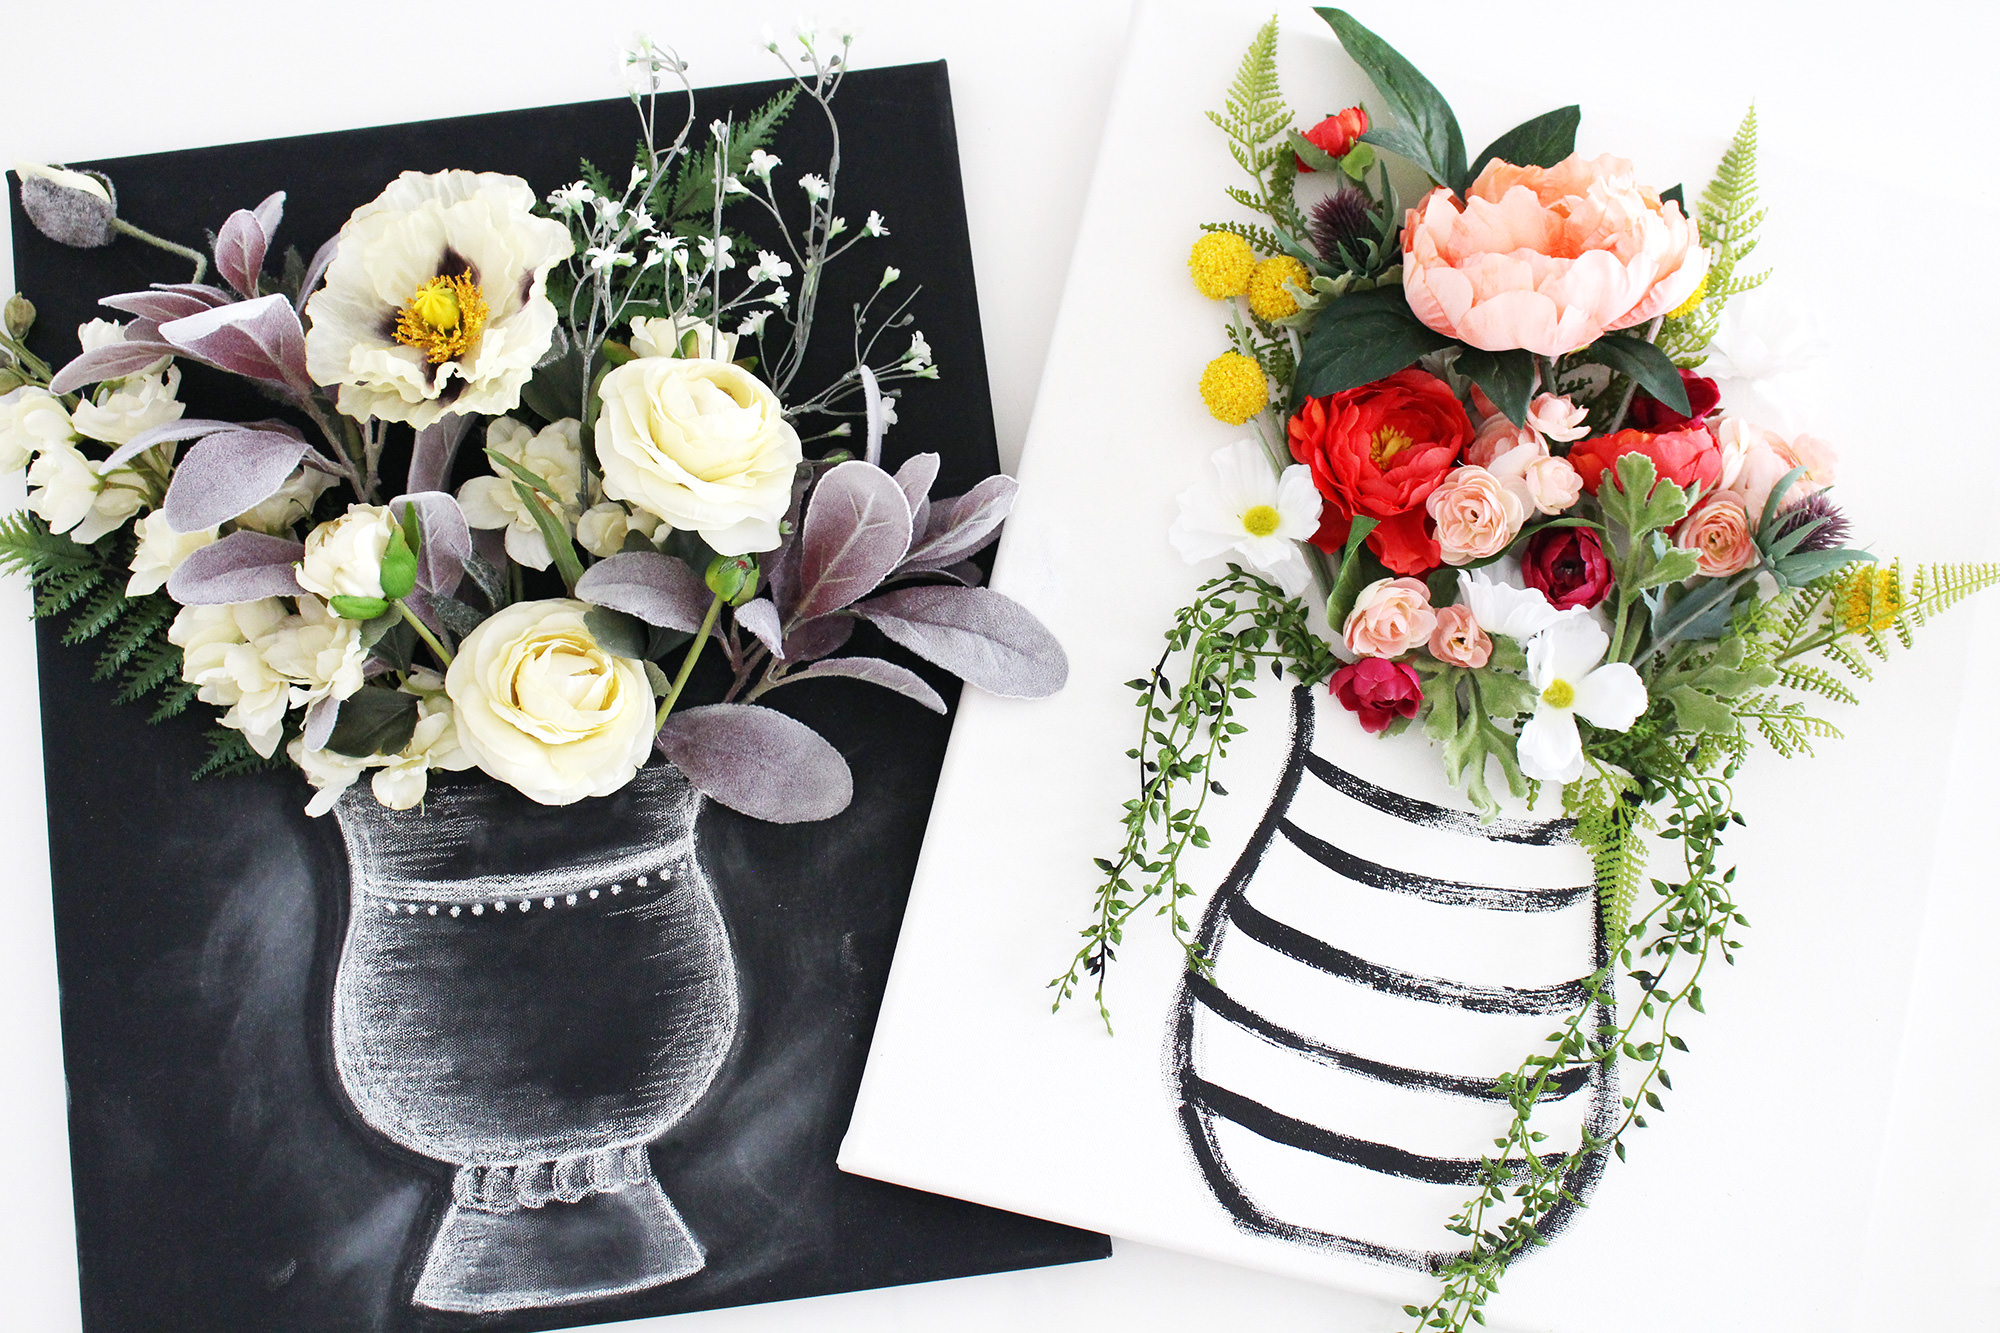
I’m so happy to share Part 2 of our DIY 3-D Flower Canvas Wall art! Be sure to catch Part 1 here. One of our favorite things about this idea is that you can customize it to fit any color scheme, home decor style, or even use it as non-traditional wedding decor. In Part 1, we shared a flower arrangement on a white canvas, but this time, we wanted to change it up with a black canvas and a rustic-chic, chalk art style. This idea combines my love of flowers with my love of chalk art! I’m smitten!
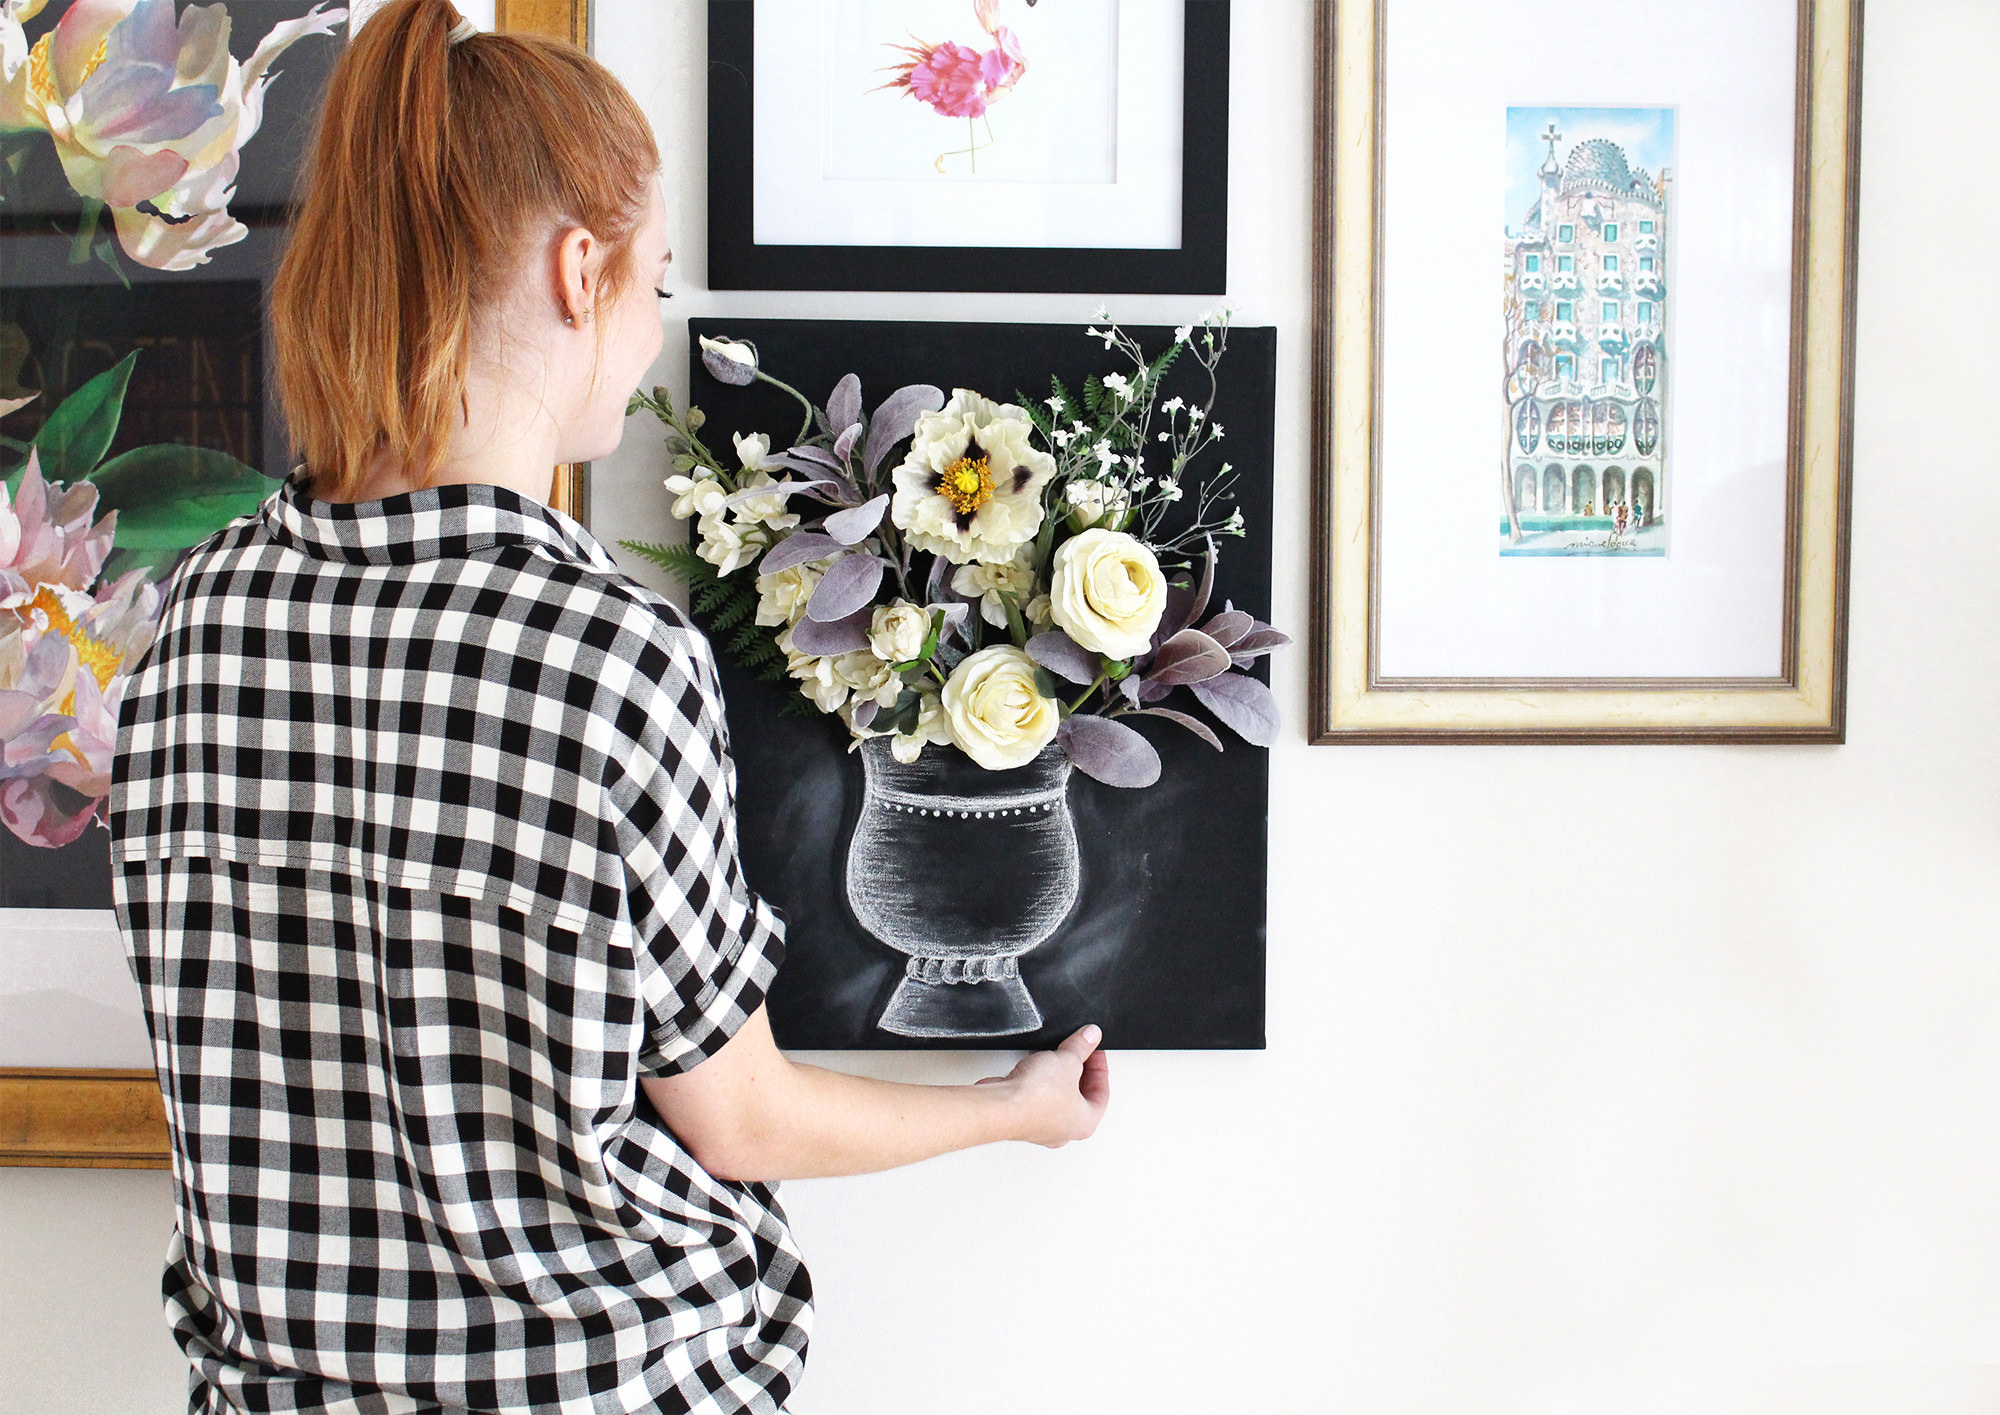 DIY 3-D Flower Canvas Art – Chalk Art Style
You will need:
1 black canvas (ours is a 16″ x 20″)
An assortment of coordinated faux flowers and leaves of your choice in varying sizes (for tips on shopping for faux flowers, read our post here.)
An X-acto Knife
Scissors
Wire cutters
1 roll of clear packaging tape or duct tape
A hot glue gun
Small push pins (optional)
Chalk (we prefer Crayola Nontoxic Anti-Dust Chalk)
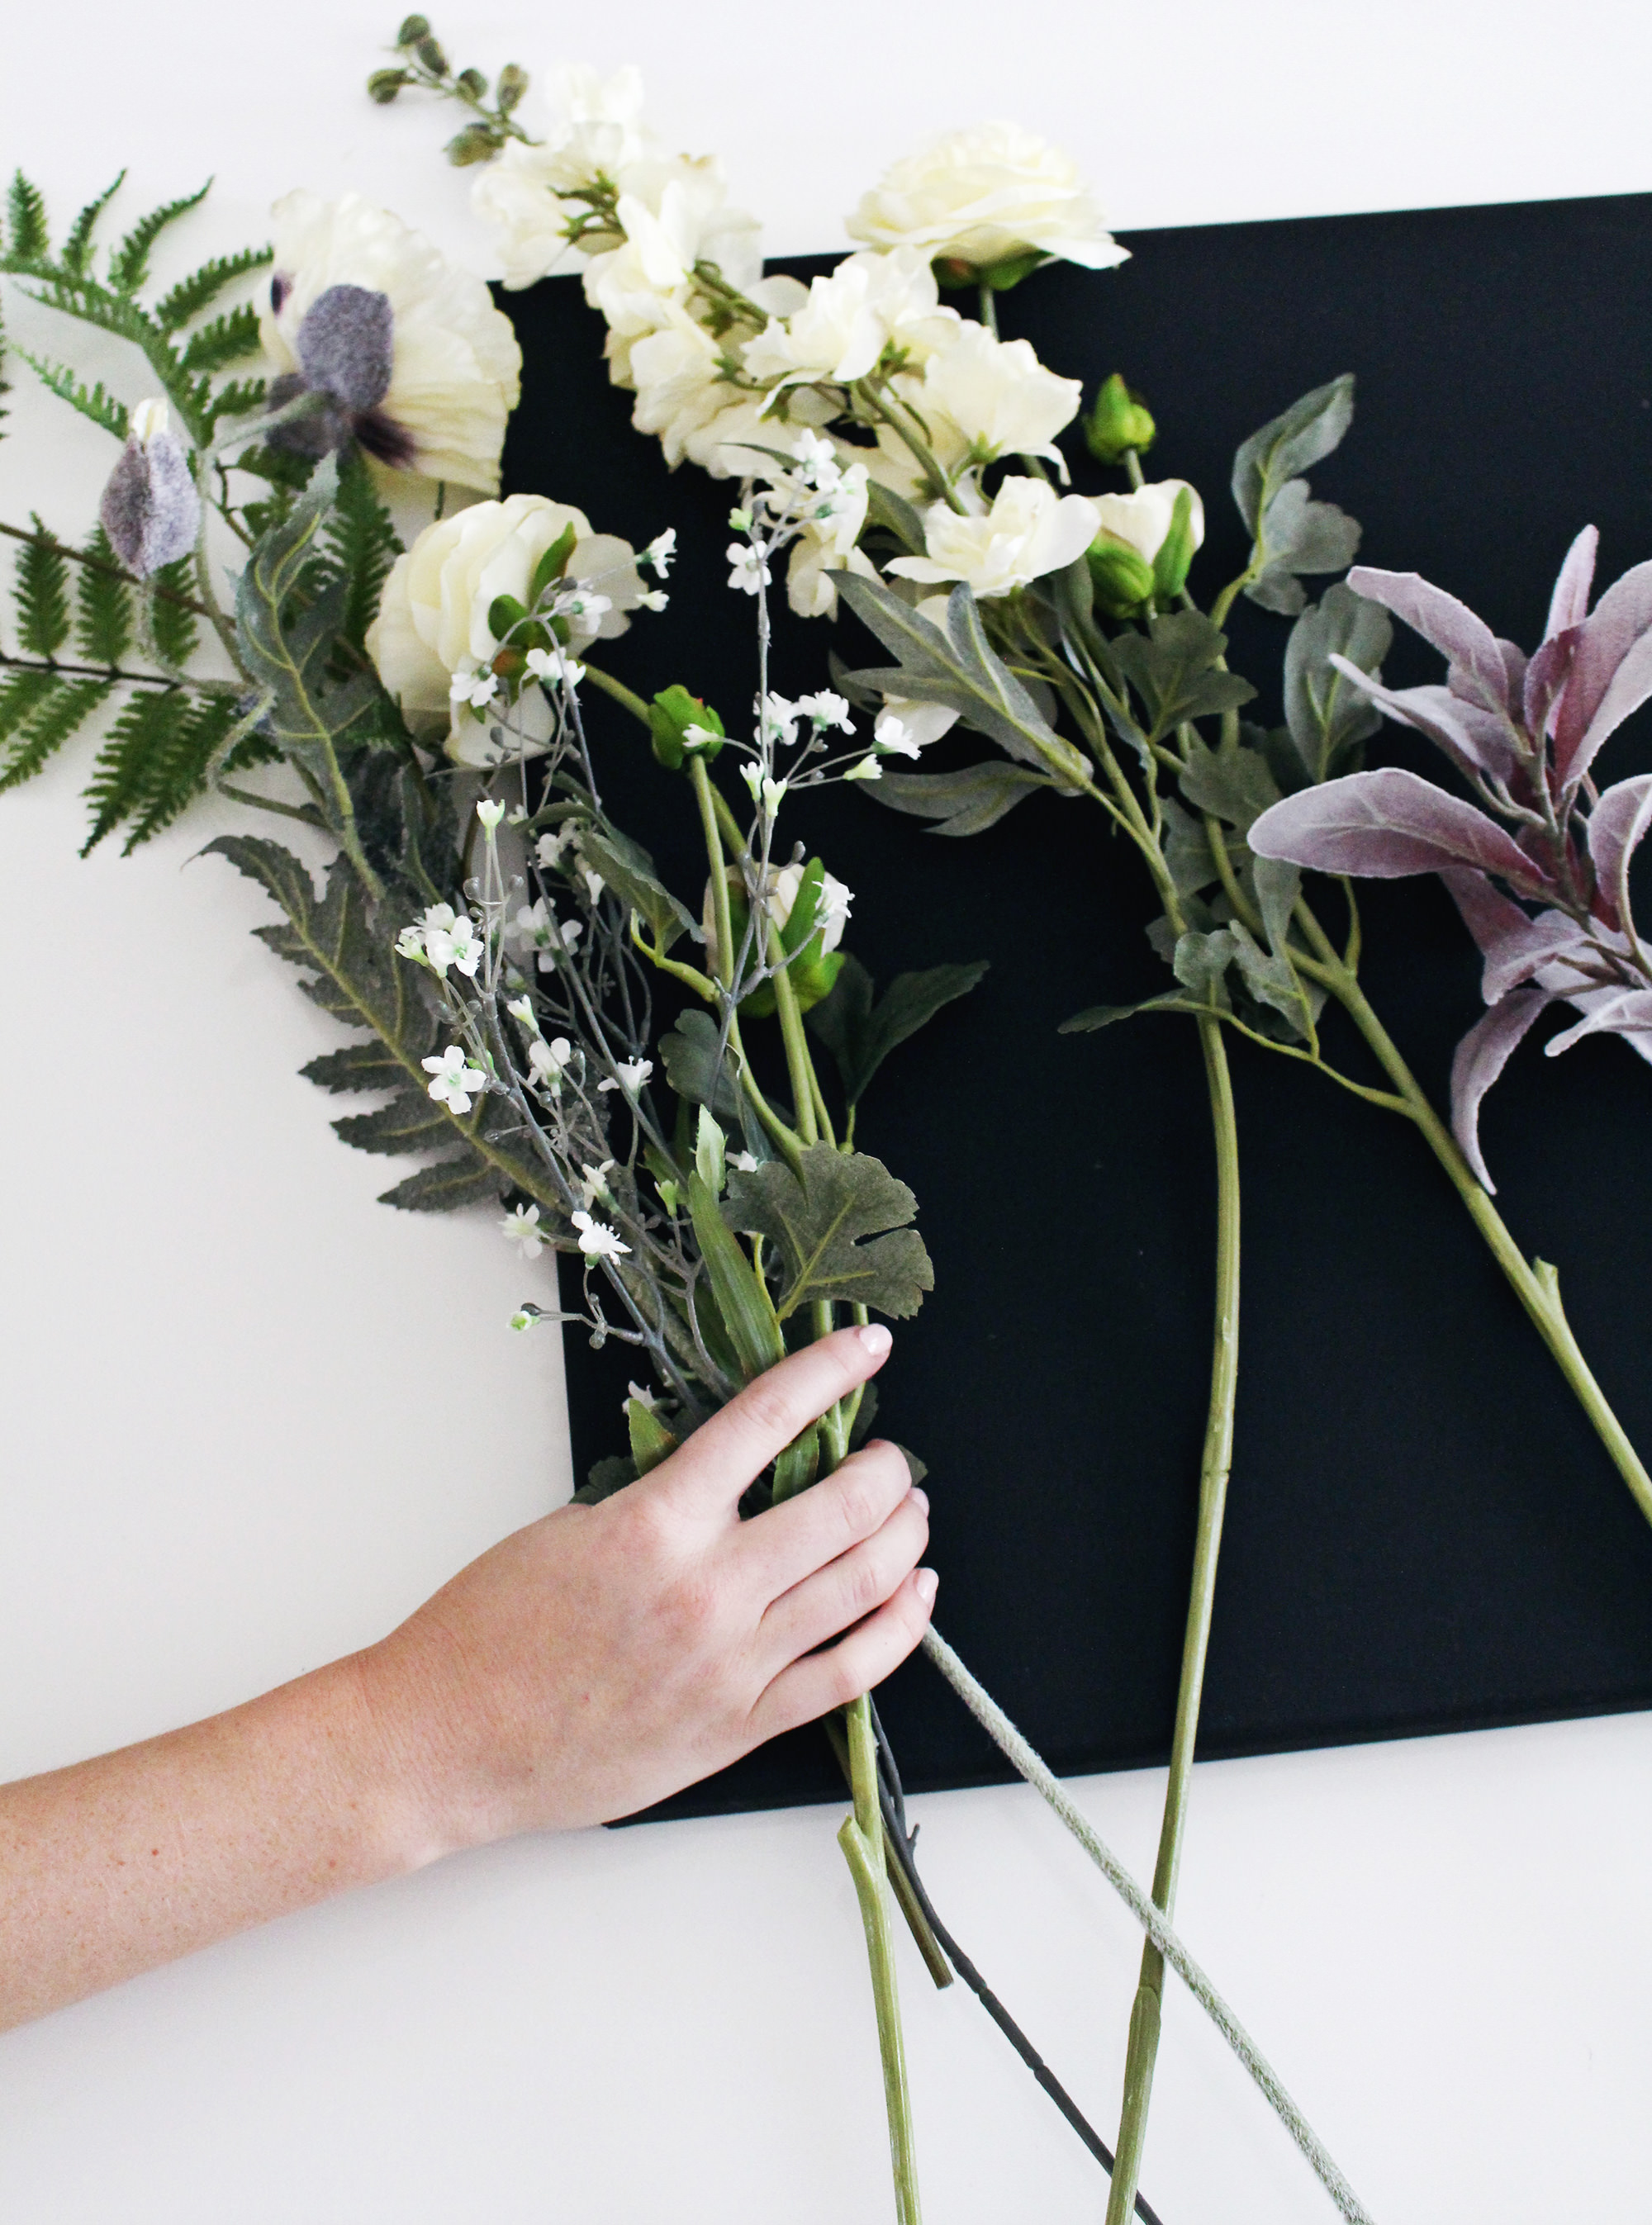 Directions:
First, decide on your color scheme and types of blooms. Since we are using a black canvas, we thought it would be striking to contrast with white and off-white flowers in various sizes and textures. It may be helpful to start by choosing a few statement flowers and then building a complementary arrangement around them.
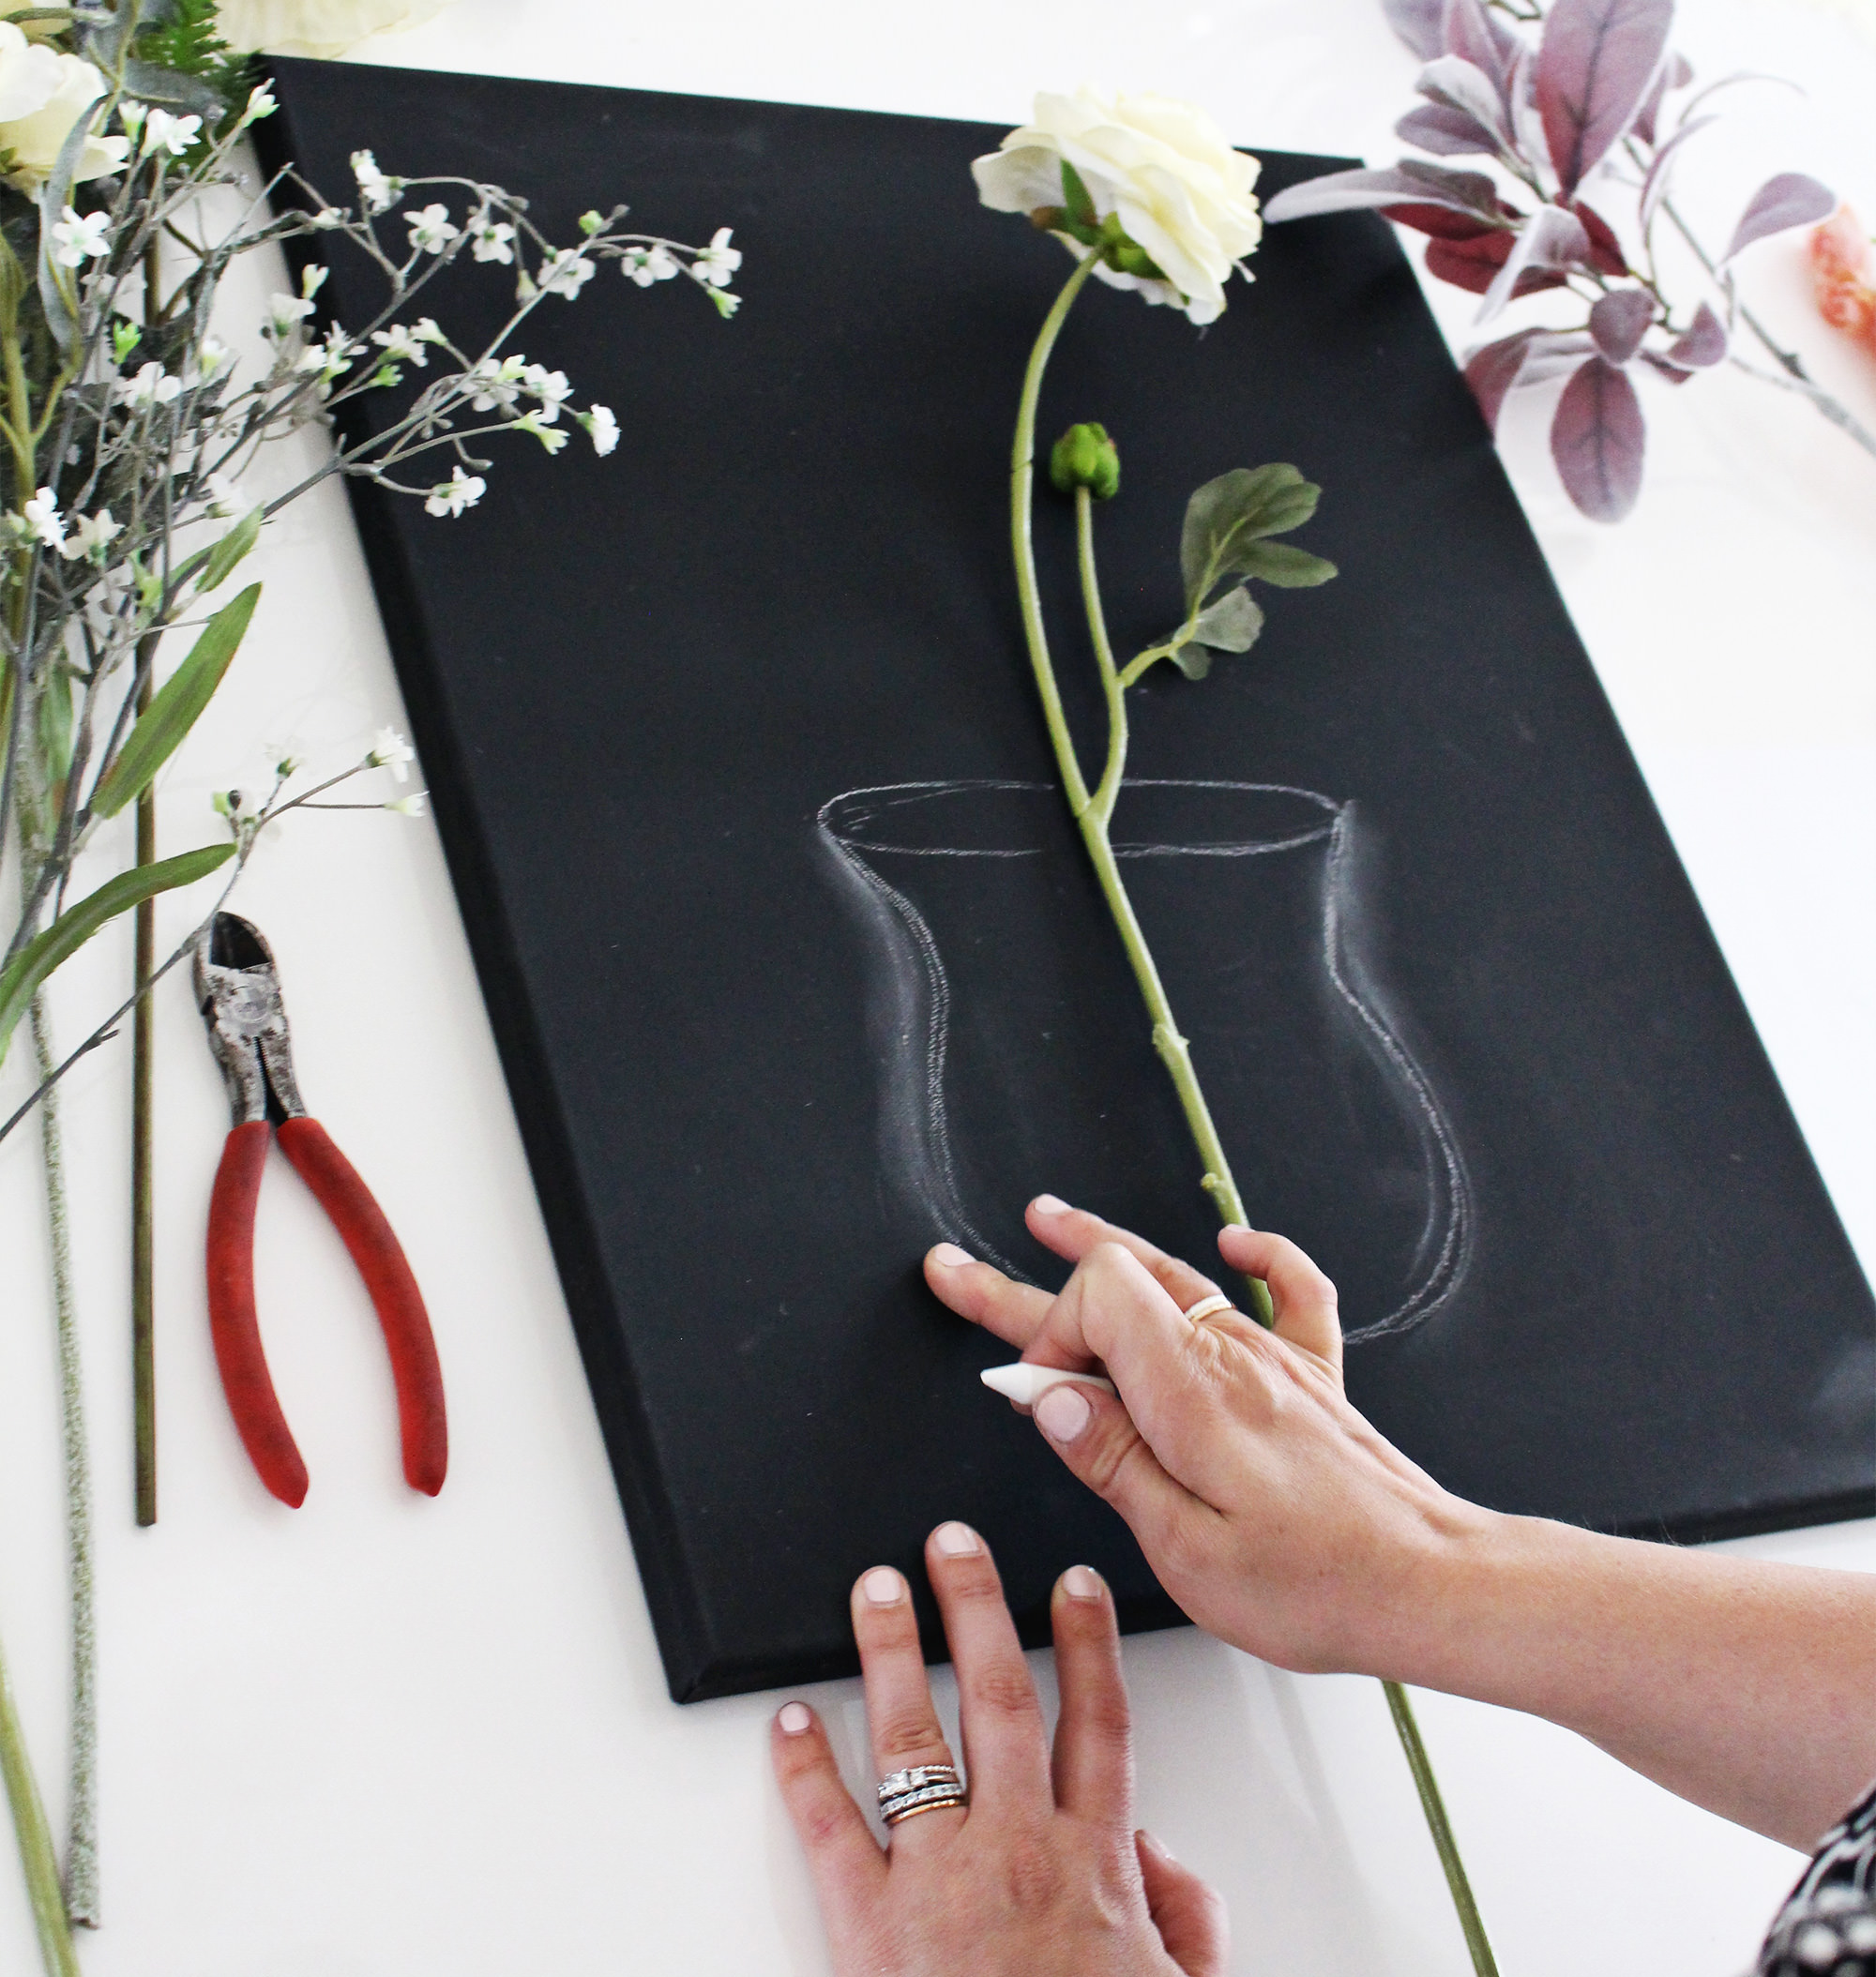 Black canvas is a great alternative to using a chalkboard! You can draw on it with chalk and achieve an authentic chalkboard look! You can create shading and texture just as you would on a chalkboard, plus, the chalk won’t rub off as easily! Using a piece of sharpened chalk, sketch out where you want your vase to go on the canvas. Keep proportion in mind based on your flowers.
 There are a few ways to attach the blooms to the canvas and they are: (1) pushing it through the canvas using an X-acto knife, (2) pinning them to the canvas, or (3) hot gluing. You will use a combination of these three methods in order to create your arrangement. Visit Part 1 for detailed photos & descriptions of these techniques. Also, use your wire cutters to trim the stems as needed. Sometimes you may want the flower to have a stem, while other times you may want to remove the bloom from the stem altogether so that it lays flat.
Be sure to start with your larger, statement flowers first. To attach the statement flowers, use an X-acto knife and scissors to cut a small slit in the canvas along the line of your sketched vase and slide the stem through so it looks like they are inside the vase. Tape the stems down in the back using packaging or duct tape.
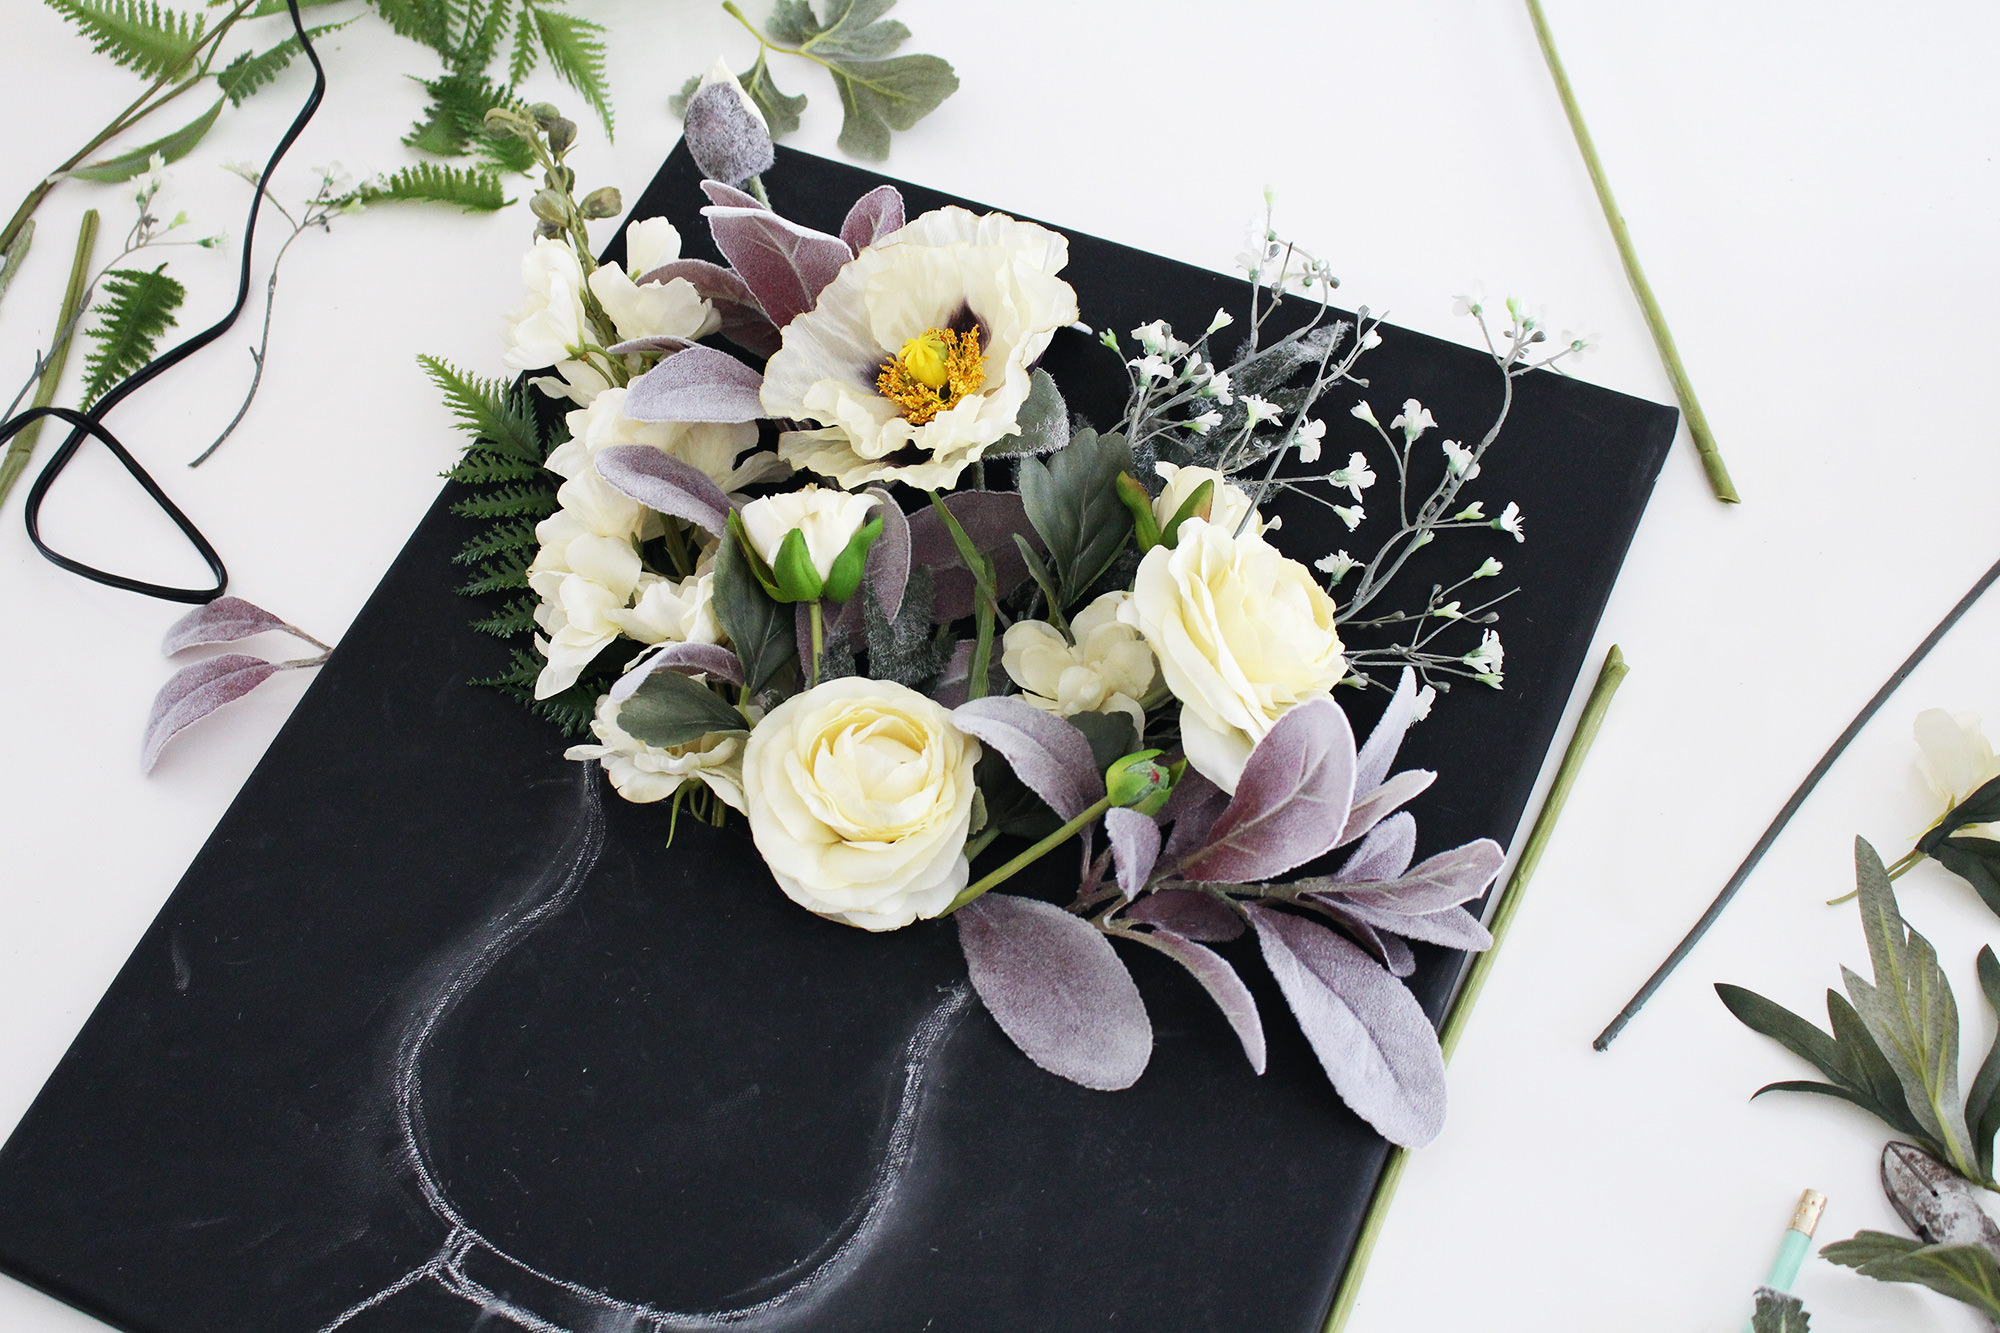 Then, working little-by-little, add more layers of flowers and leaves to your arrangement. Use a hot glue gun or straight pins when needed to affix the flowers or cut new slits in the canvas. You can make the slits large enough to hold two or three stems.
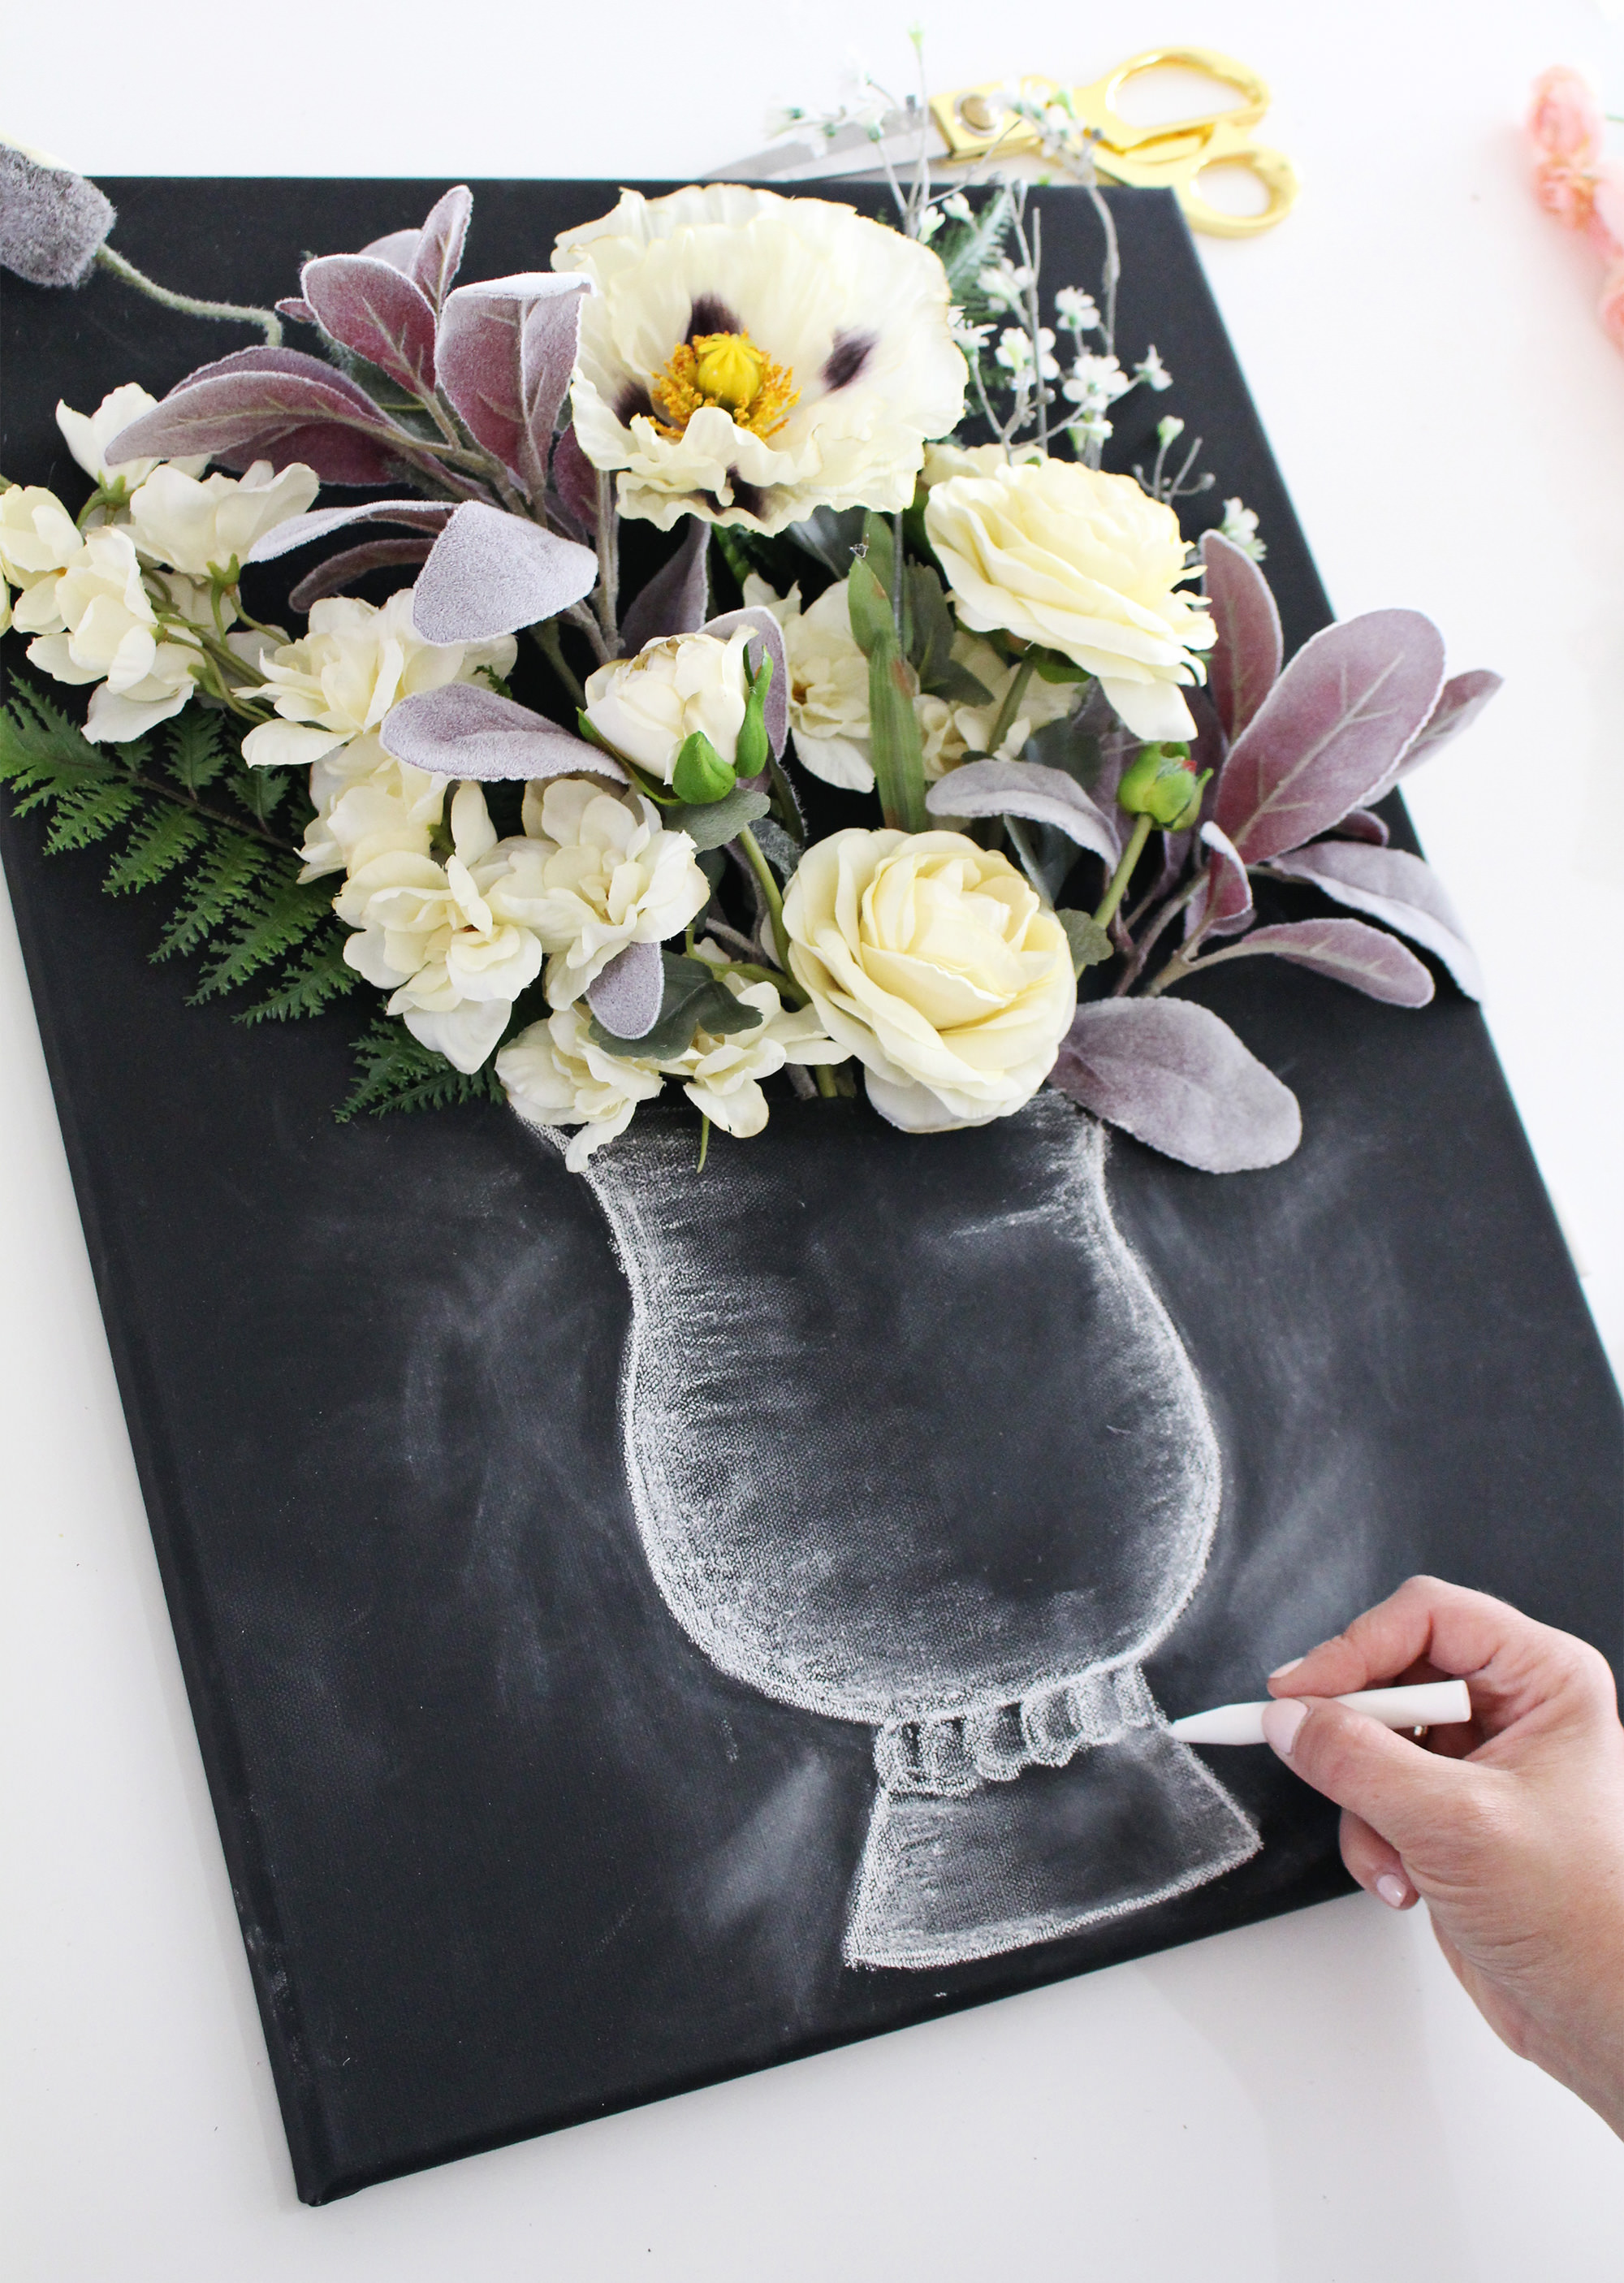 Once you are happy with your arrangement and everything is affixed in place, it’s time to add your chalk art!
Your vase can be as minimalist or as detailed as you wish. I chose a pretty, footed vase style with some simple embellishments and shading. If you make a mistake on the canvas, you can easily wipe it away with a damp cotton swab or cloth. I also added some extra chalk dust on the sides of the vase to further the authentic, rustic, chalkboard look. That allowed me to erase a dark shadow on the side of the vase for dimension. For more chalk art illustrating tips, pick up a copy of my book, The Complete Book of Chalk Lettering!
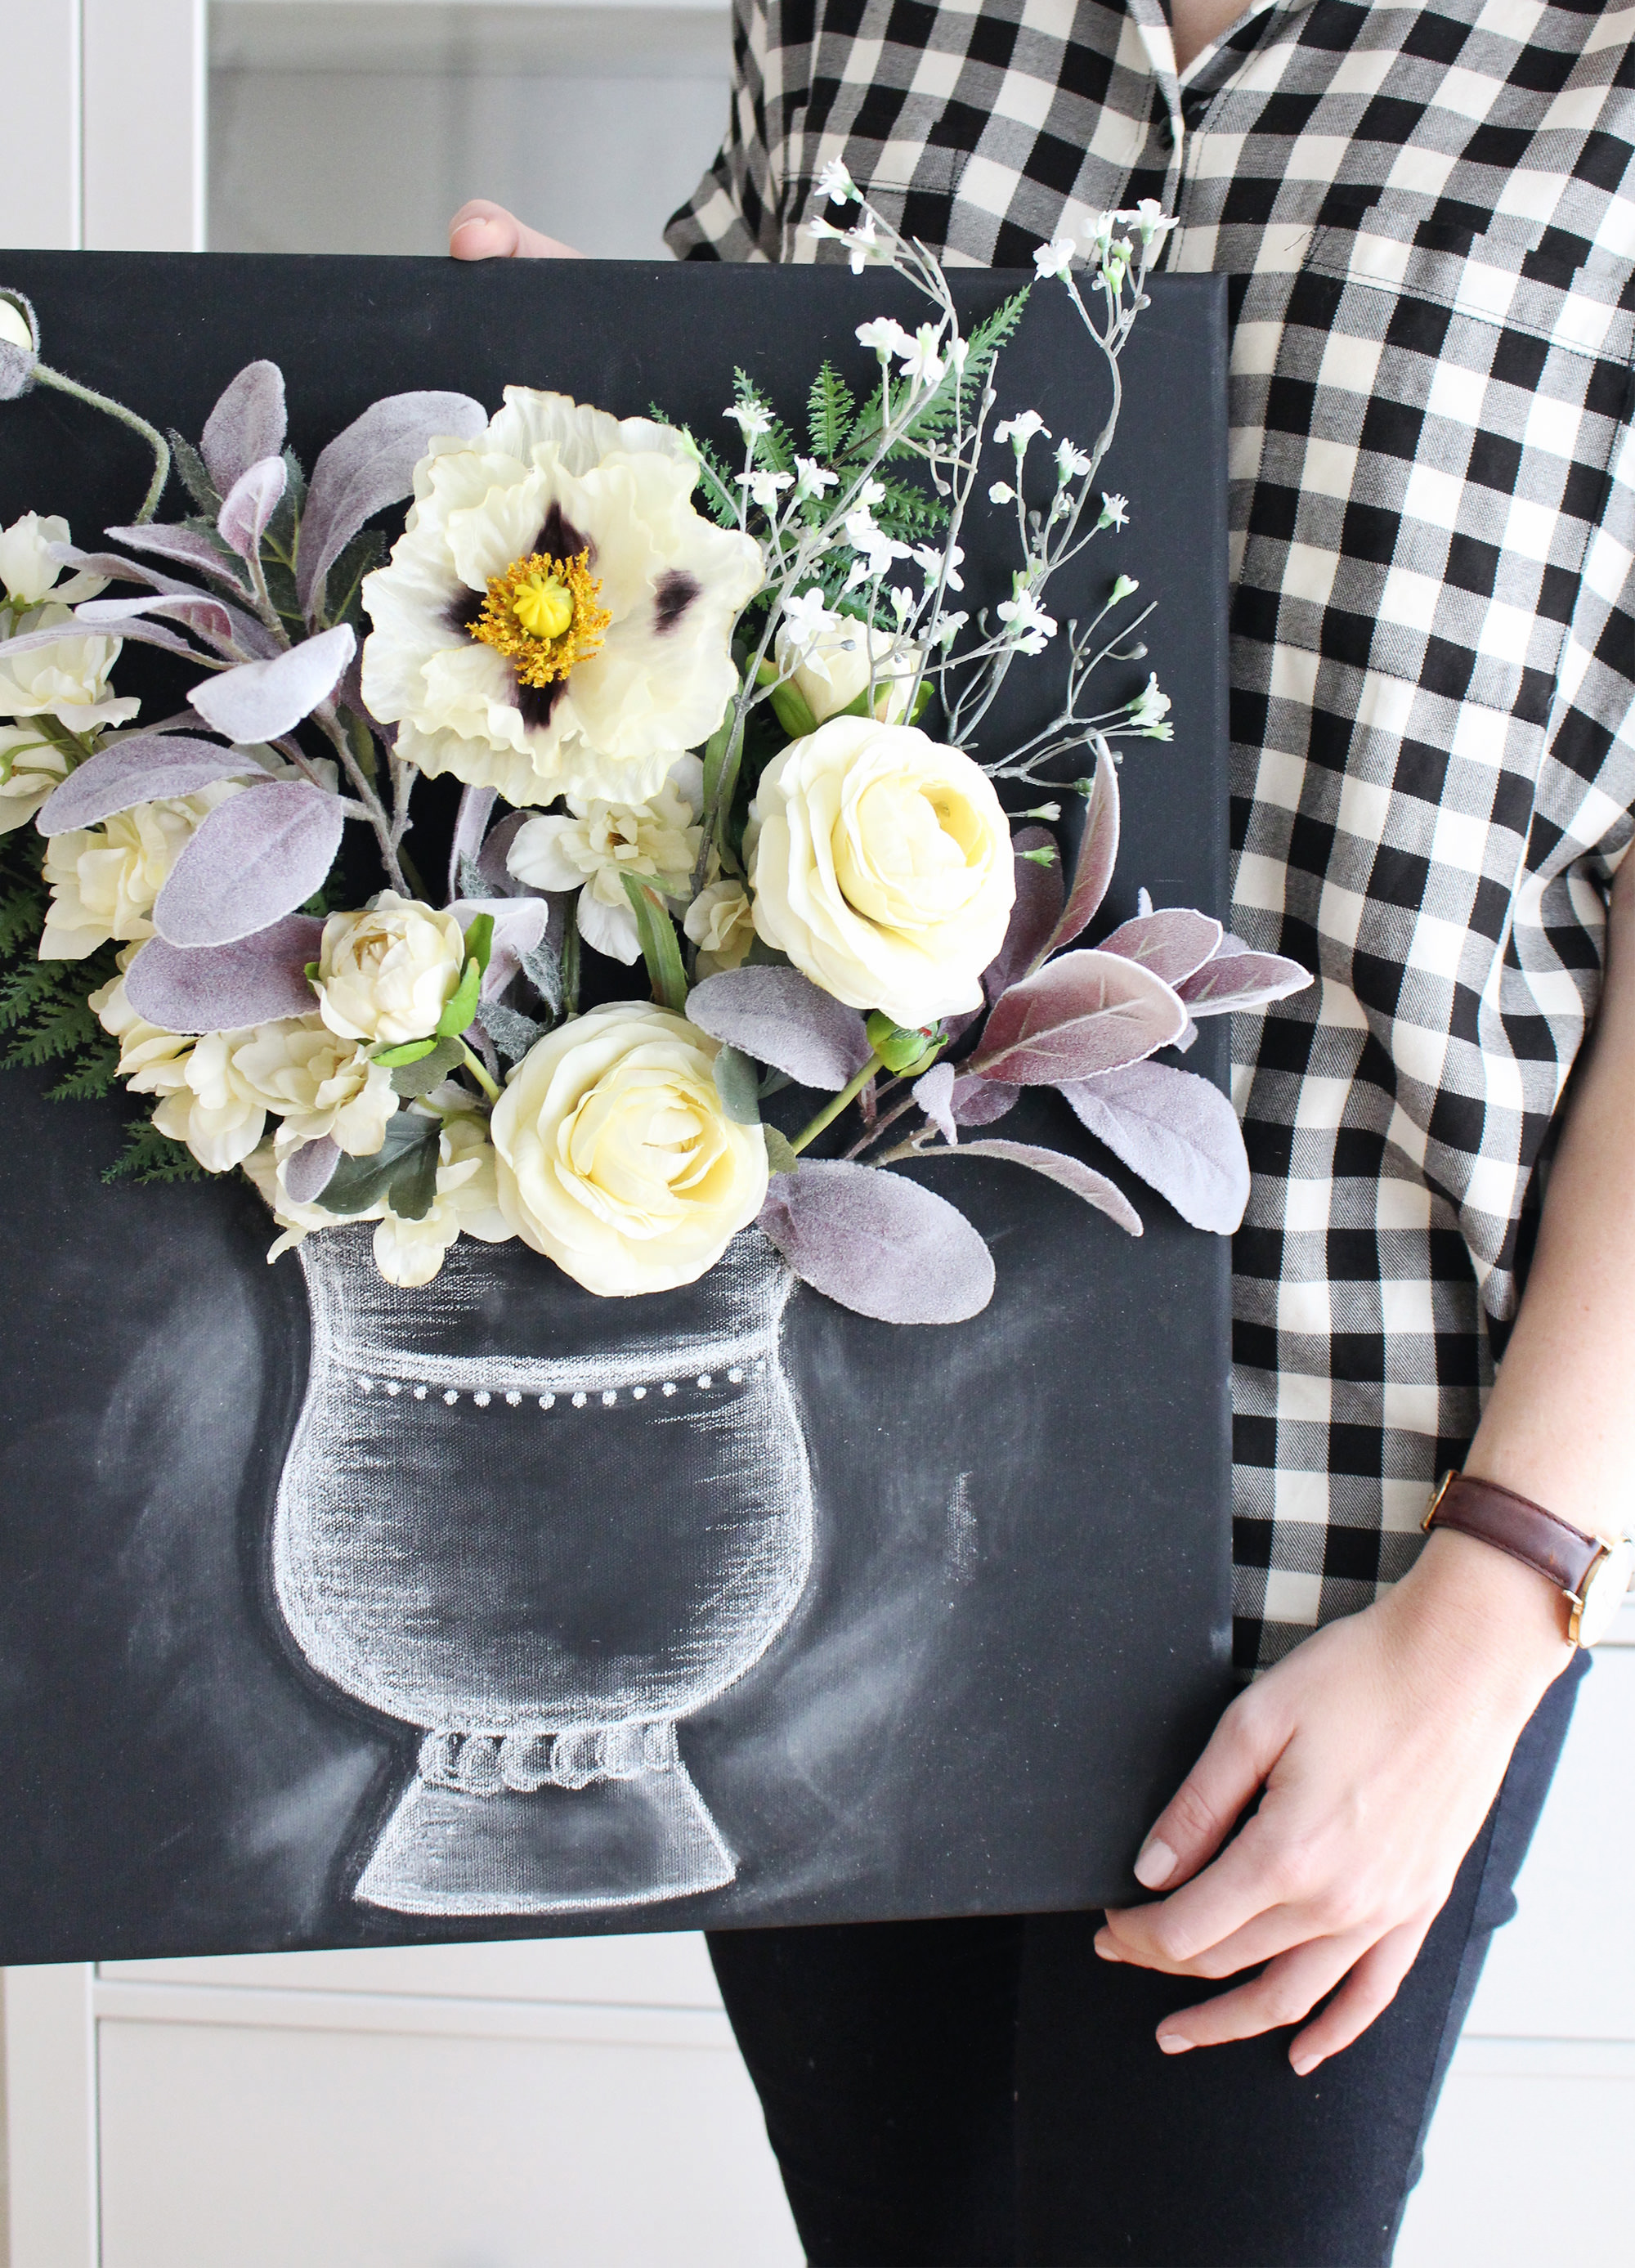
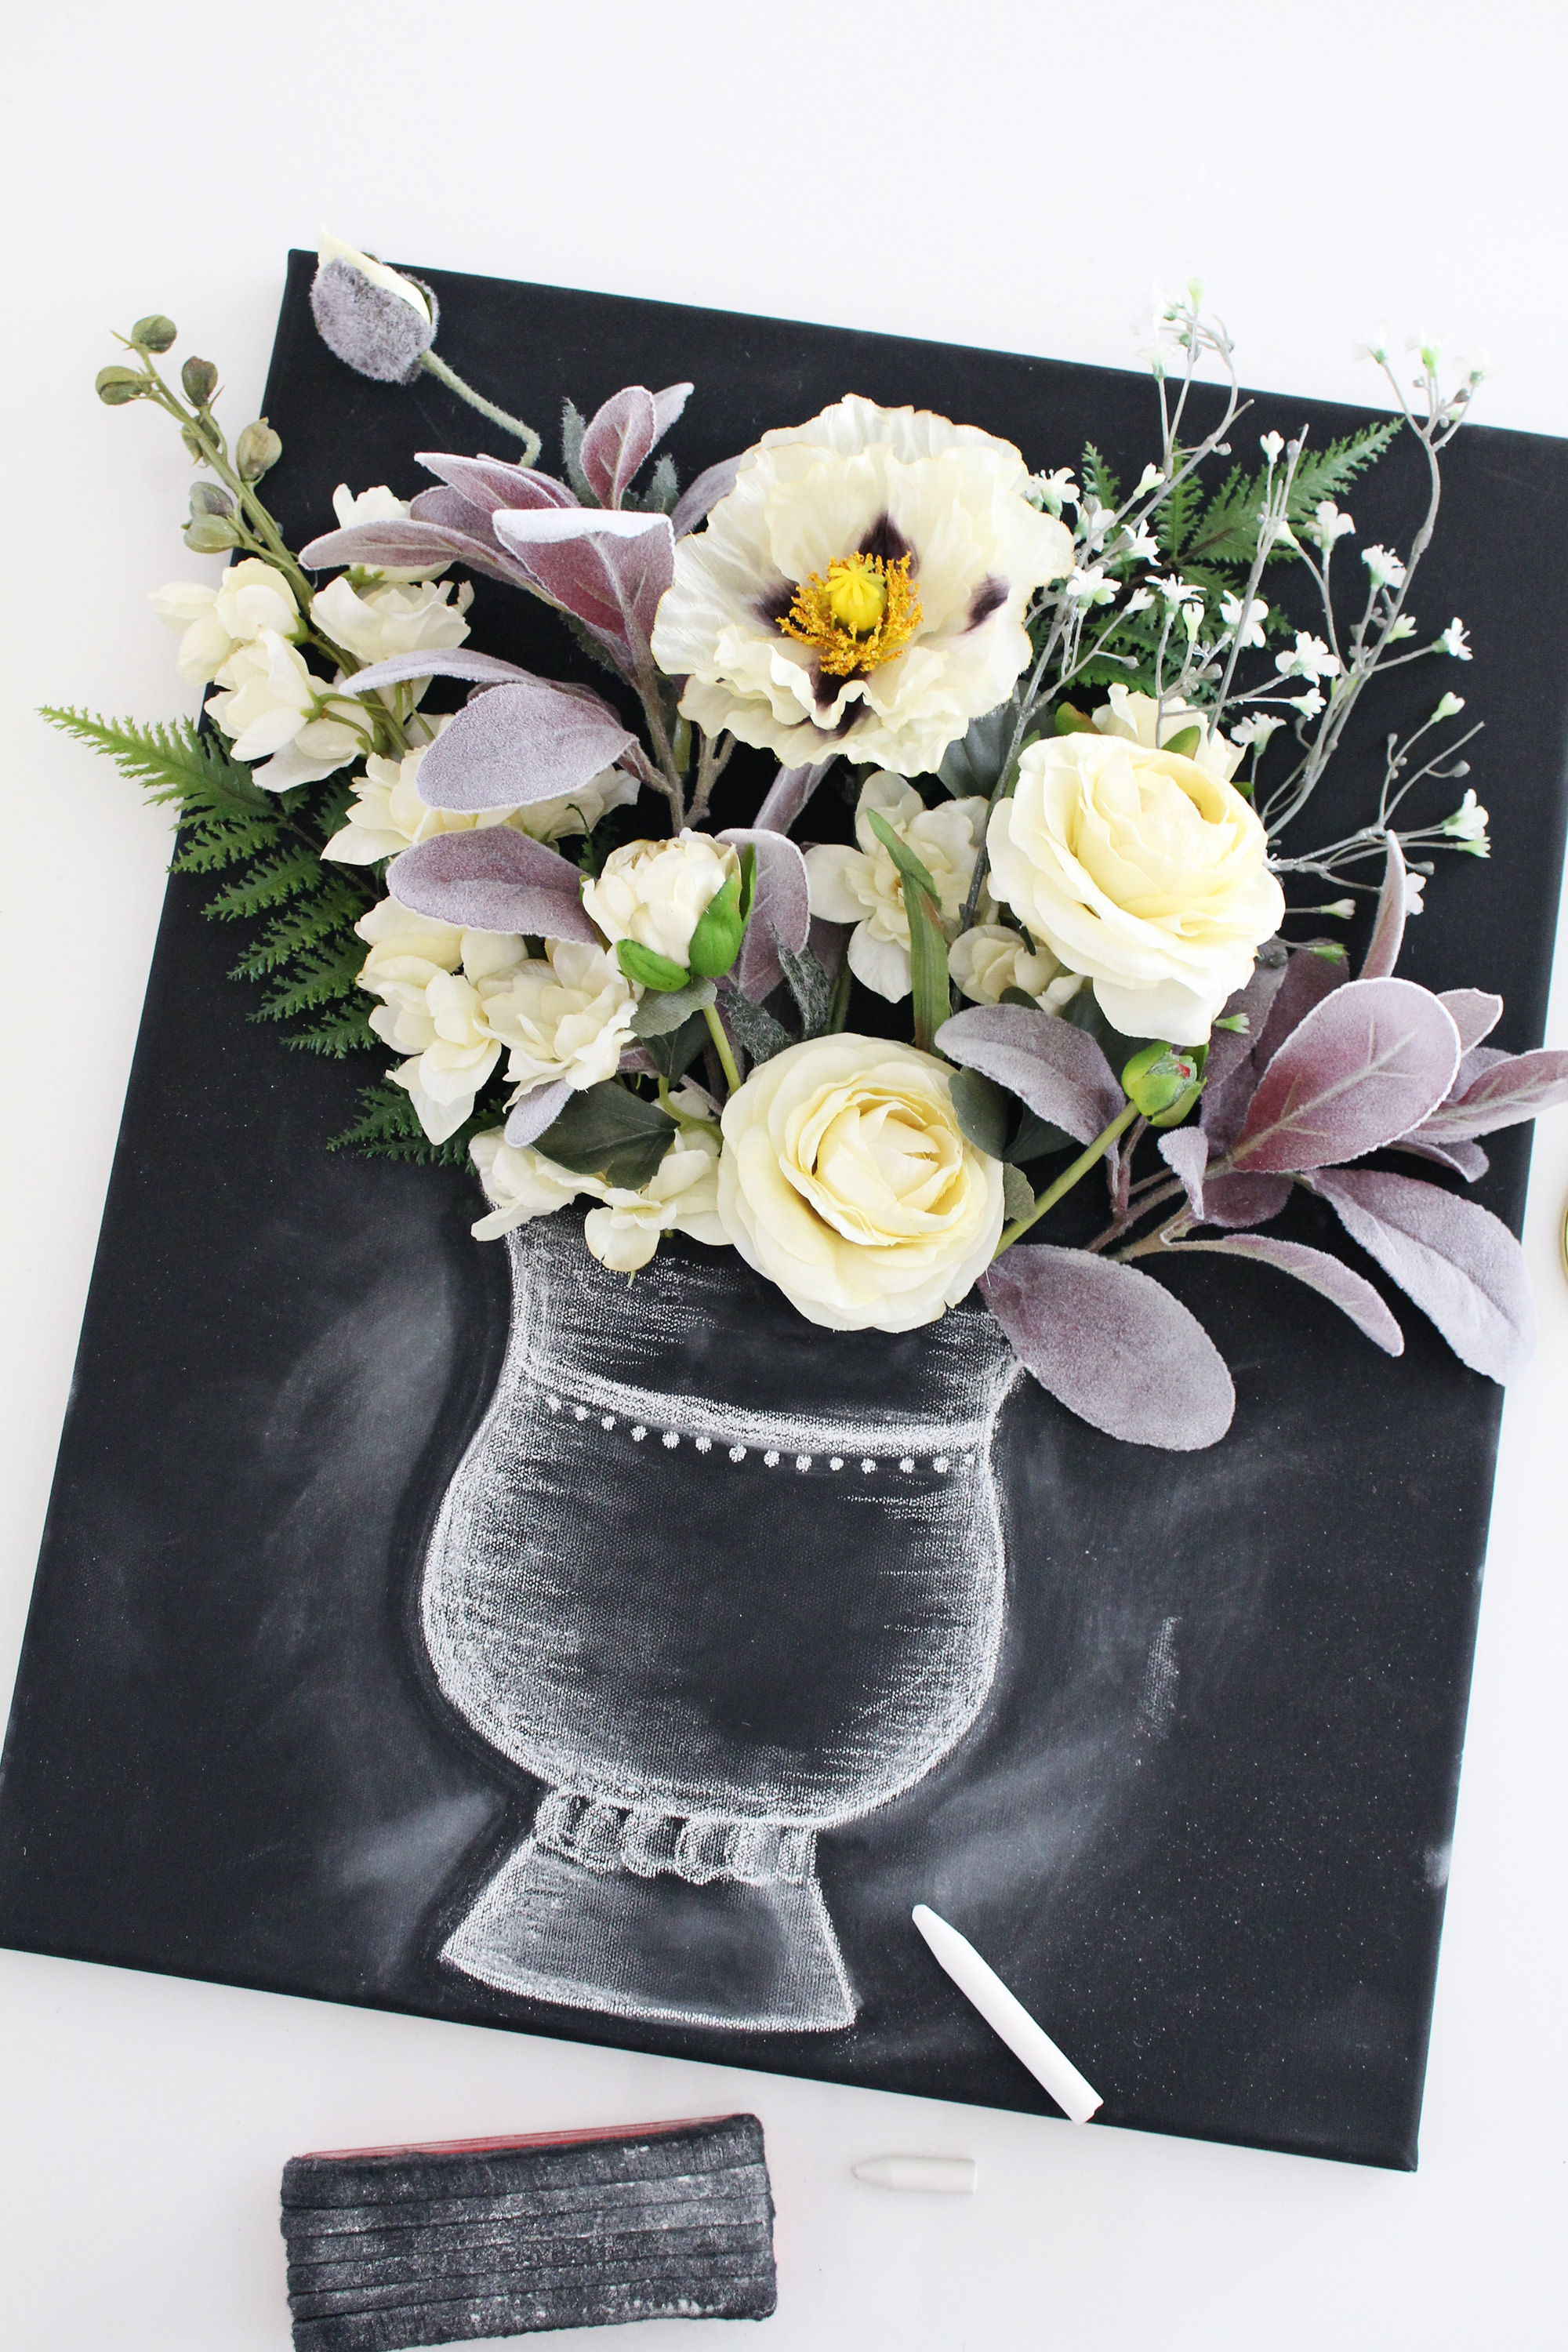 Now the artwork is ready to hang on the wall! We absolutely love this unique and unexpected chalk art twist on our original 3-D floral canvas idea!


1 Comment
That is so beautiful and creative I want to do this for my next art project thank you for the inspiration