Welcome to: how to make your own candle, the simplest way possible! Honestly, it doesn’t take a professional to do this DIY – and most noteworthy, it’s one of those fun, satisfying crafts that (pun alert!) melts away the stress. So grab your favorite empty glass containers and let’s get going! After all, life without candles is just – well, it’s not very hygge.
Bonus: We’re also going to show you how to salvage those candles that didn’t quite burn all the way to the bottom, or didn’t burn right at all!
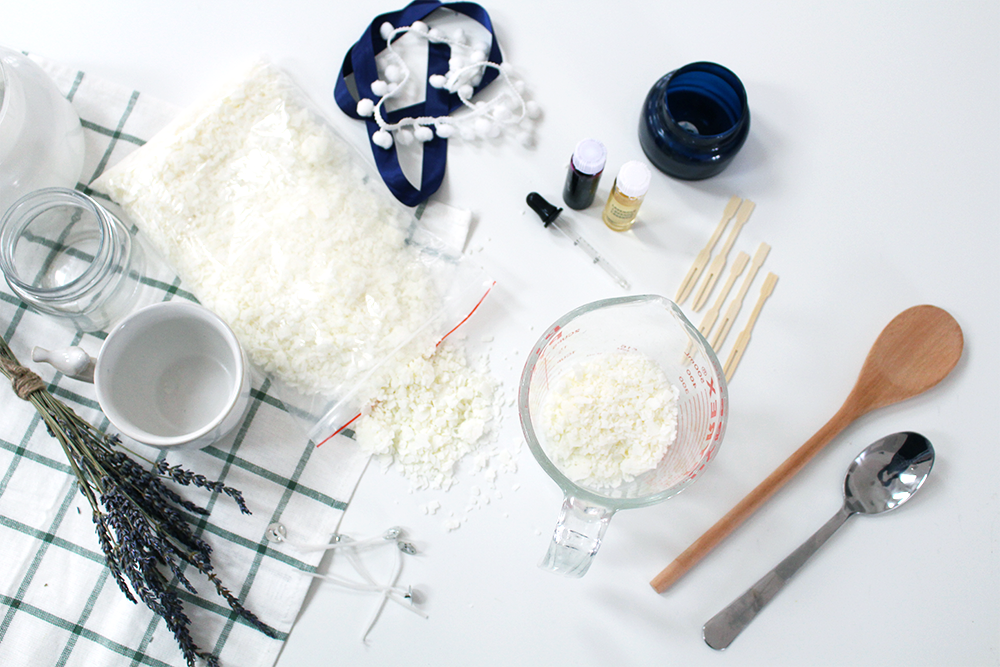
What You’ll Need:
- – A microwave
- – A glass container for melting the wax, preferably with a pouring spout (we used a 16-ounce Pyrex)
- – Bamboo Forks (I used this brand and found it at my local grocery store)
- – Soy candle wax flakes (ArtMinds makes a great version)
- – Candle wicks (9 inches long)
- – Essential oils in the scent of your choosing (or the pre-made scents from a craft store)
- – Your favorite liquid color dye
- – A pot holder or tea towel
- – A metal spoon
- – Lastly, grab a few fun glass containers to pour your candle wax into! Re-use washed out jam jars or teacups – anything glass that grabs your fancy! If you need some inspiration, check out the containers we recycled into planters (the wide-brimmed ones would work!).

Melting the Wax
Out of the vast varieties of wax out there, we chose soy for a number of reasons. Soy wax has a low melting point so you can use a microwave instead of a stove. Soy also tends to hold scent better and burns longer than other waxes that are available.
Let’s dive in! Grab your Pyrex or glass container and pour in the wax flakes. There’s no exact science to how much wax you may need, as it all depends on the size of your candle container. About 1.5 cups of wax was just enough to fill up the teacup shown below, as the wax melts down in the microwave. We recommend being generous with your wax flakes when starting out.
Stick your Pyrex in the microwave and check on it at 20-second intervals. Be sure to stir it well, as you don’t want the wax to overheat (we’ll get to that later). Heat and stir until the mixture ceases to have any solid pieces remaining. This is honestly my favorite part about candle-making – watching the wax melt and mixing it puts me in a soothing state. Plus, it already smells good!

Watch Me Wick
Grab your wick and dip the metal end into the melted wax. At this point, you will realize if your wax is too hot, as it can actually melt a good portion of the wick away. The hot wax can also burn the oil scents you add later. If this happens, simply wait for the wax to cool down a tad. I will not disclose how many wicks were discarded in the making of these candles.
 Place your just-waxed wick in the center of your glass candle container. Use your bamboo toothpicks as anchors across the mouth of your glass, as pictured above. Make two of the sticks “hug”, interlocking to hold the wick upright:

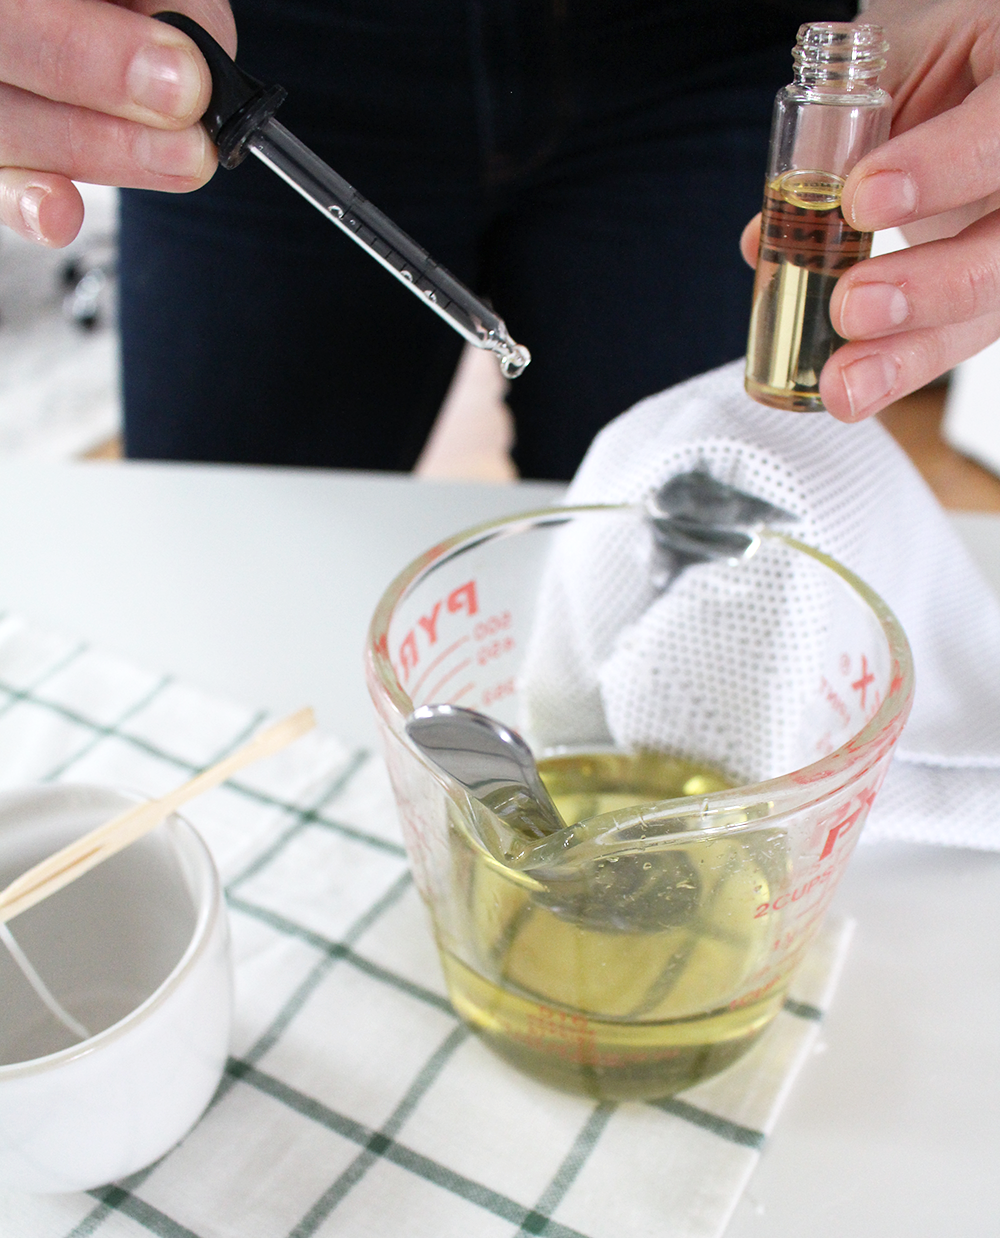
Use Your Nose! Scenting with Essential Oils
The amount of essentials oils you use depends on the size of the candle! Trust your nose, everyone. Once you put 5 drops in, close the top of the oil jar and take a whiff. I like my candles strong, so I put in around 10 drops in my teacup-sized container. You can use just one type of essential oil if you want to keep it simple, or mix them up in your own concoction. Really feel the freedom to create what you like best!
Caution: adding dried herbs (like lavender) in or on top of the wax might look cute. However, it might also catch fire and ruin your blog post. I mean candle. Do. Not. Add. Dried. Herbs.
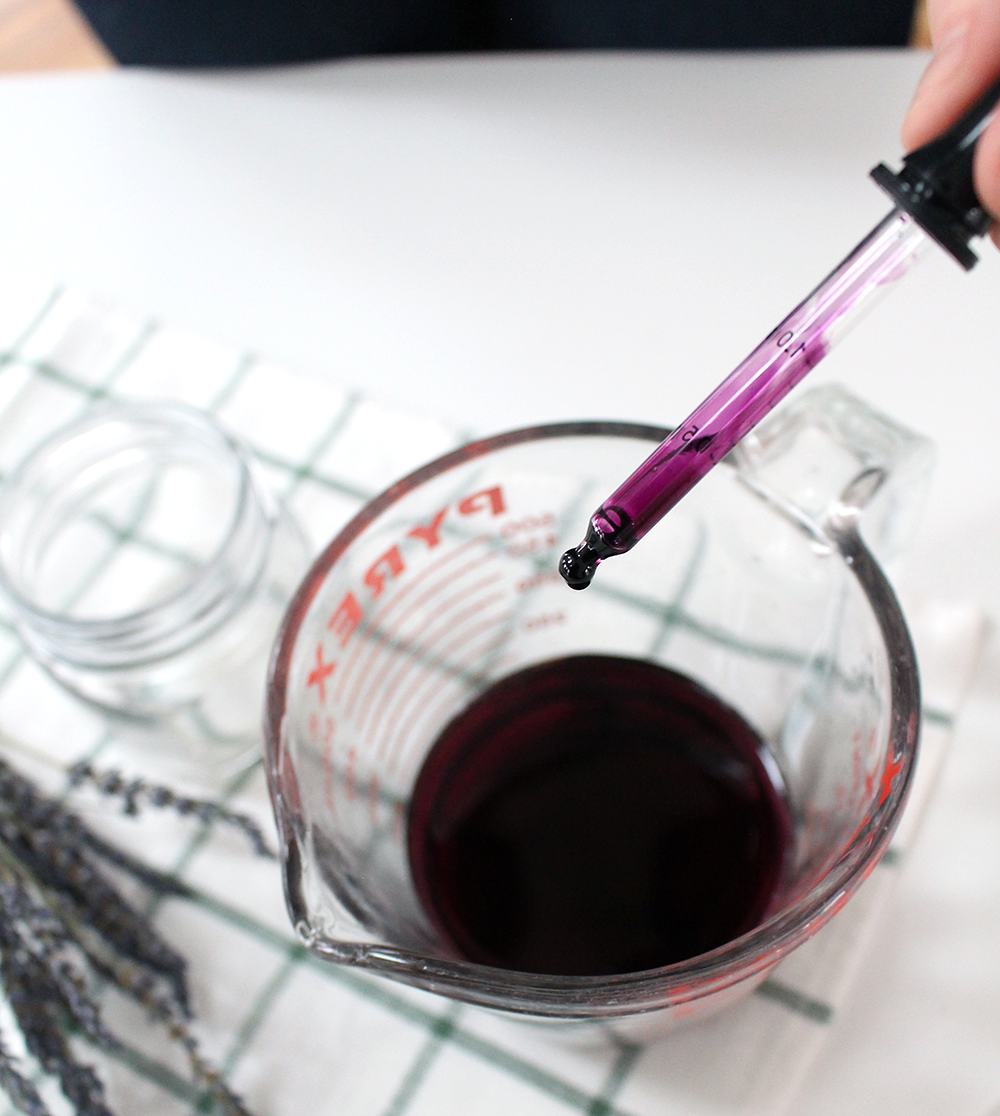
 Colors!
If you’d like to add dye, now is the time. I didn’t use dye for my teacup candle, but I did for another. When using liquid dyes, soy wax tends to yield a pastel color no matter how much dye you use for saturation. Save your money and efforts by putting in about 10-20 drops. Stir using a metal spoon. (Wooden spoons tend to soak up the wax and are more difficult to clean).
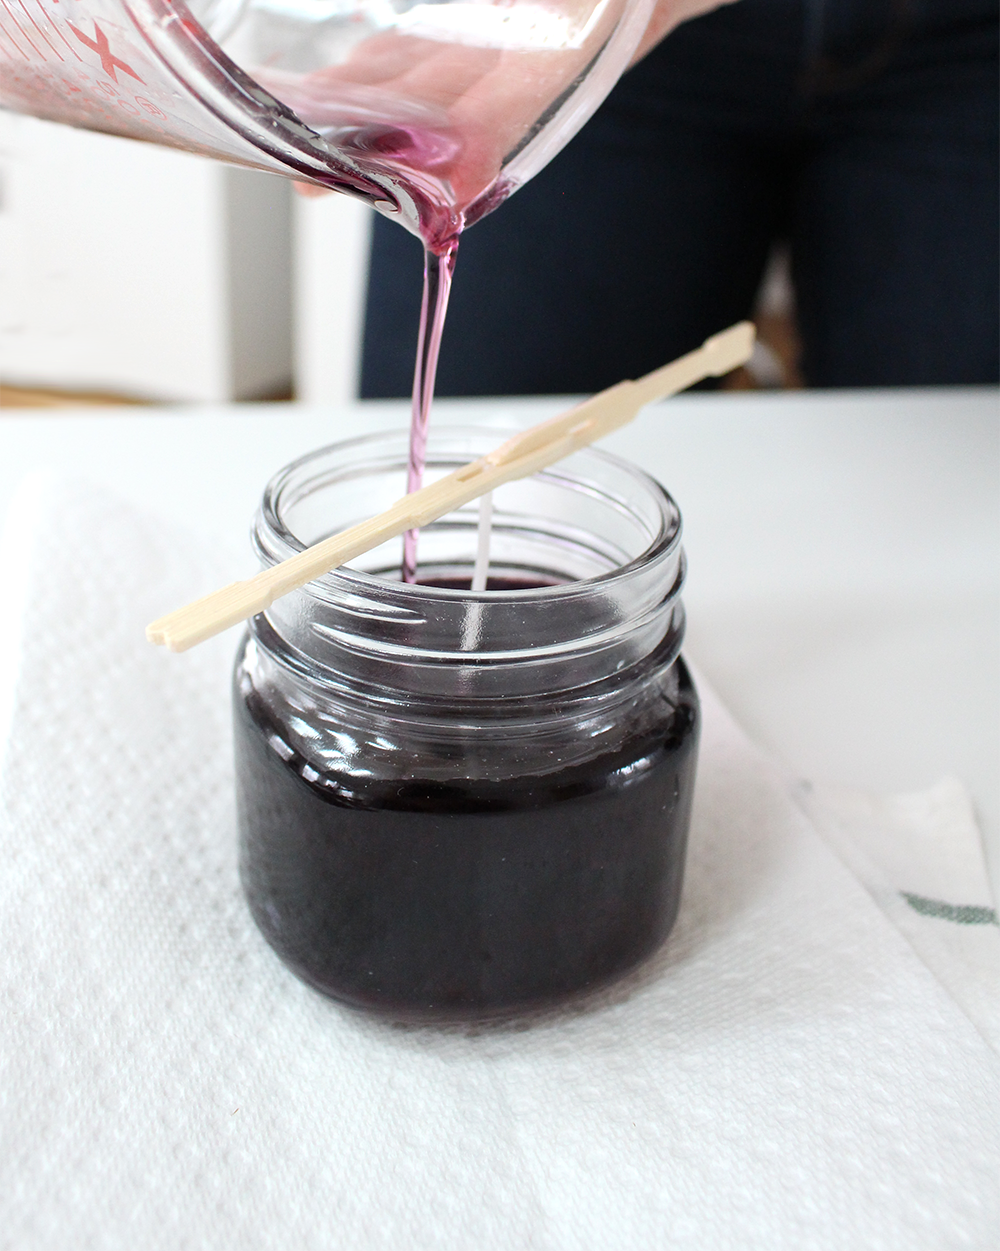
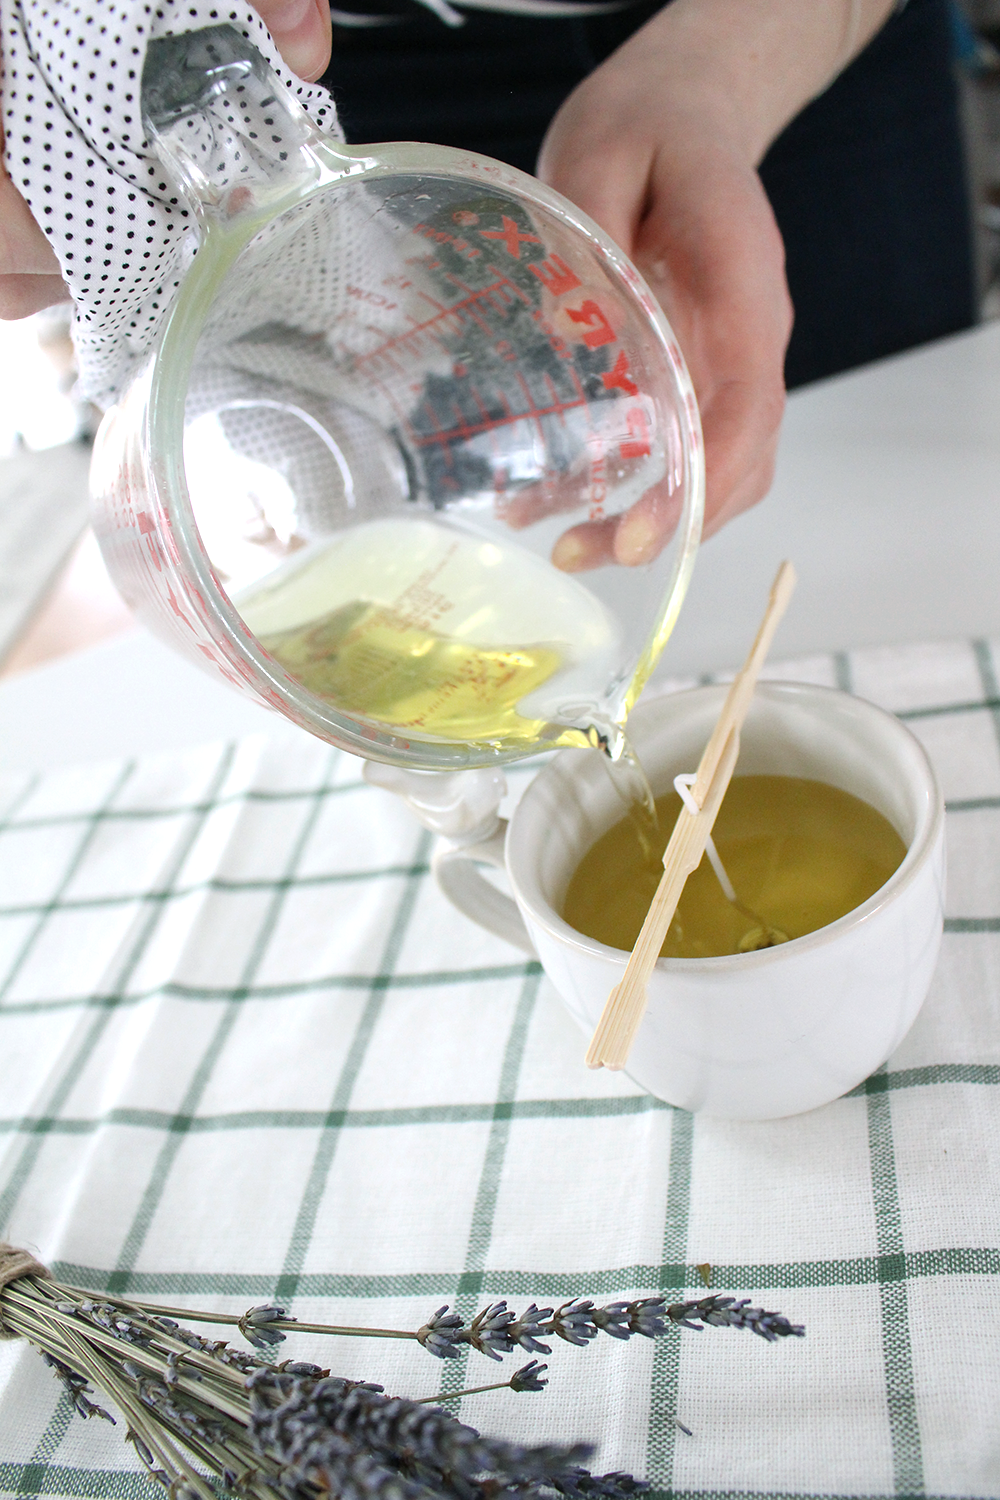
Pour Slowly!
Slowly pour your mixture to prevent air bubbles and to keep your wick in place. (Guess what? The cute little container shown below used to be a mustard jar! We recommend exploring your home to repurpose and reimagine a favorite piece into a brand new candle. Get funky or stay simple with it, the choice is all yours!)
 Let Dry 3-4 hours. Be sure the candle is on a flat surface and try not to relocate.
 Voila! Now you have learned how to make a candle the easy way!

BONUS: Reusing your candle wax
Plain and simple, you just have to grab your metal spoon and dig that wax out with some good old-fashioned muscle power. If the container isn’t metal, you can soften it up in the microwave. Don’t be afraid to recycle your wax, but we recommend not mixing scents that are too different or unharmonious. After it’s all dug out, follow the steps we already explained above.
By the way, this gets M E S S Y! Enjoy the following photos of a fun struggle scraping wax out of an old candle that didn’t burn quite right. I’m one of those people that revel in the mess almost as much as I enjoy the project. Plus, your hands will get a nice spa-like softness to them from all the wax!
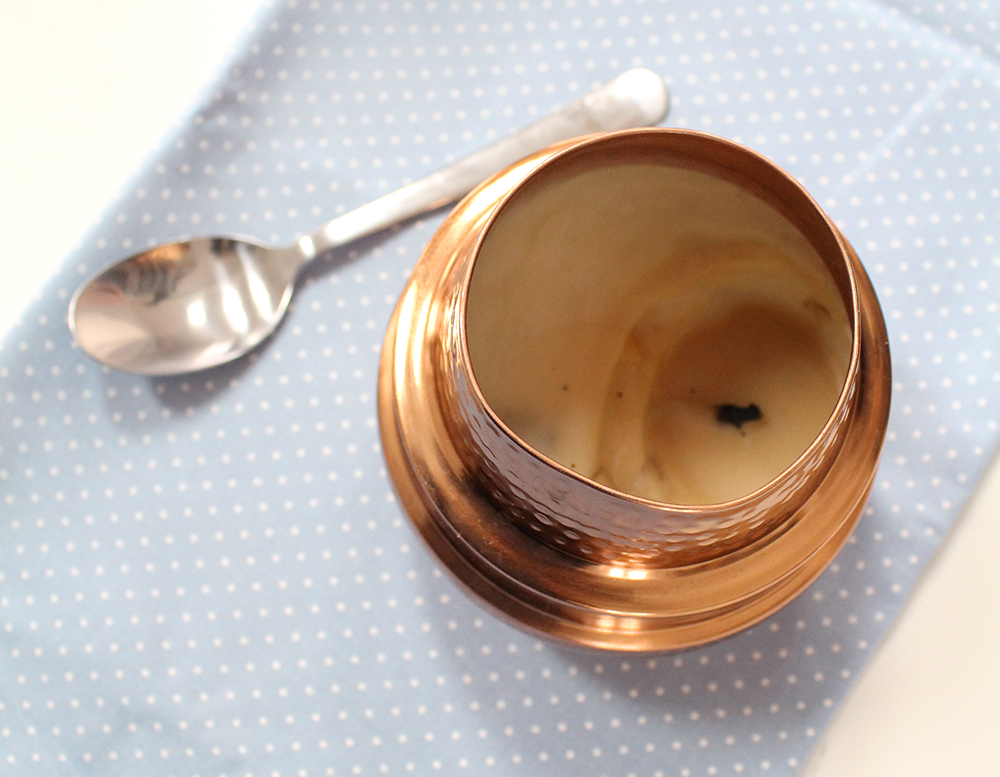
Don’t worry if you get a little burnt black residue in your mixture – just re-pour your candle wax into an opaque rather than translucent container for optimal aesthetic.

Length of Wicks
Below is our freshly-poured repurposed wax candle. You may notice the wicks don’t look the same as the others we have shown you. This is because the 3-inch wicks we originally had weren’t long enough for a bigger container (gasp)! Be sure to grab the longer, 9-inch wicks when using deep containers.


Double Bonus: Candles as a Gift
Remember how I recycled a mustard jar for my candle? I had my eye on it as a gift and decided to pair it with a Lily & Val tea towel that hints at its recycled origins in a fun way. I threw in the dried lavender bundle (that most certainly is not used in the actual candle), too.
 Tie a nice ribbon or pom pom string around the edge for extra gifting pizazz!
 Have you ever tried making your own candles before? Let us know how it went in the comments!


No Comments