Guys, I’m just having so much fun with essential oils! As I mentioned in a previous post, the beginning of my year has been focused on wellness and part of that has been learning about the many therapeutic benefits of oils. Recently, I feel like I have graduated to a new level and that is making my own rollers and sprays!
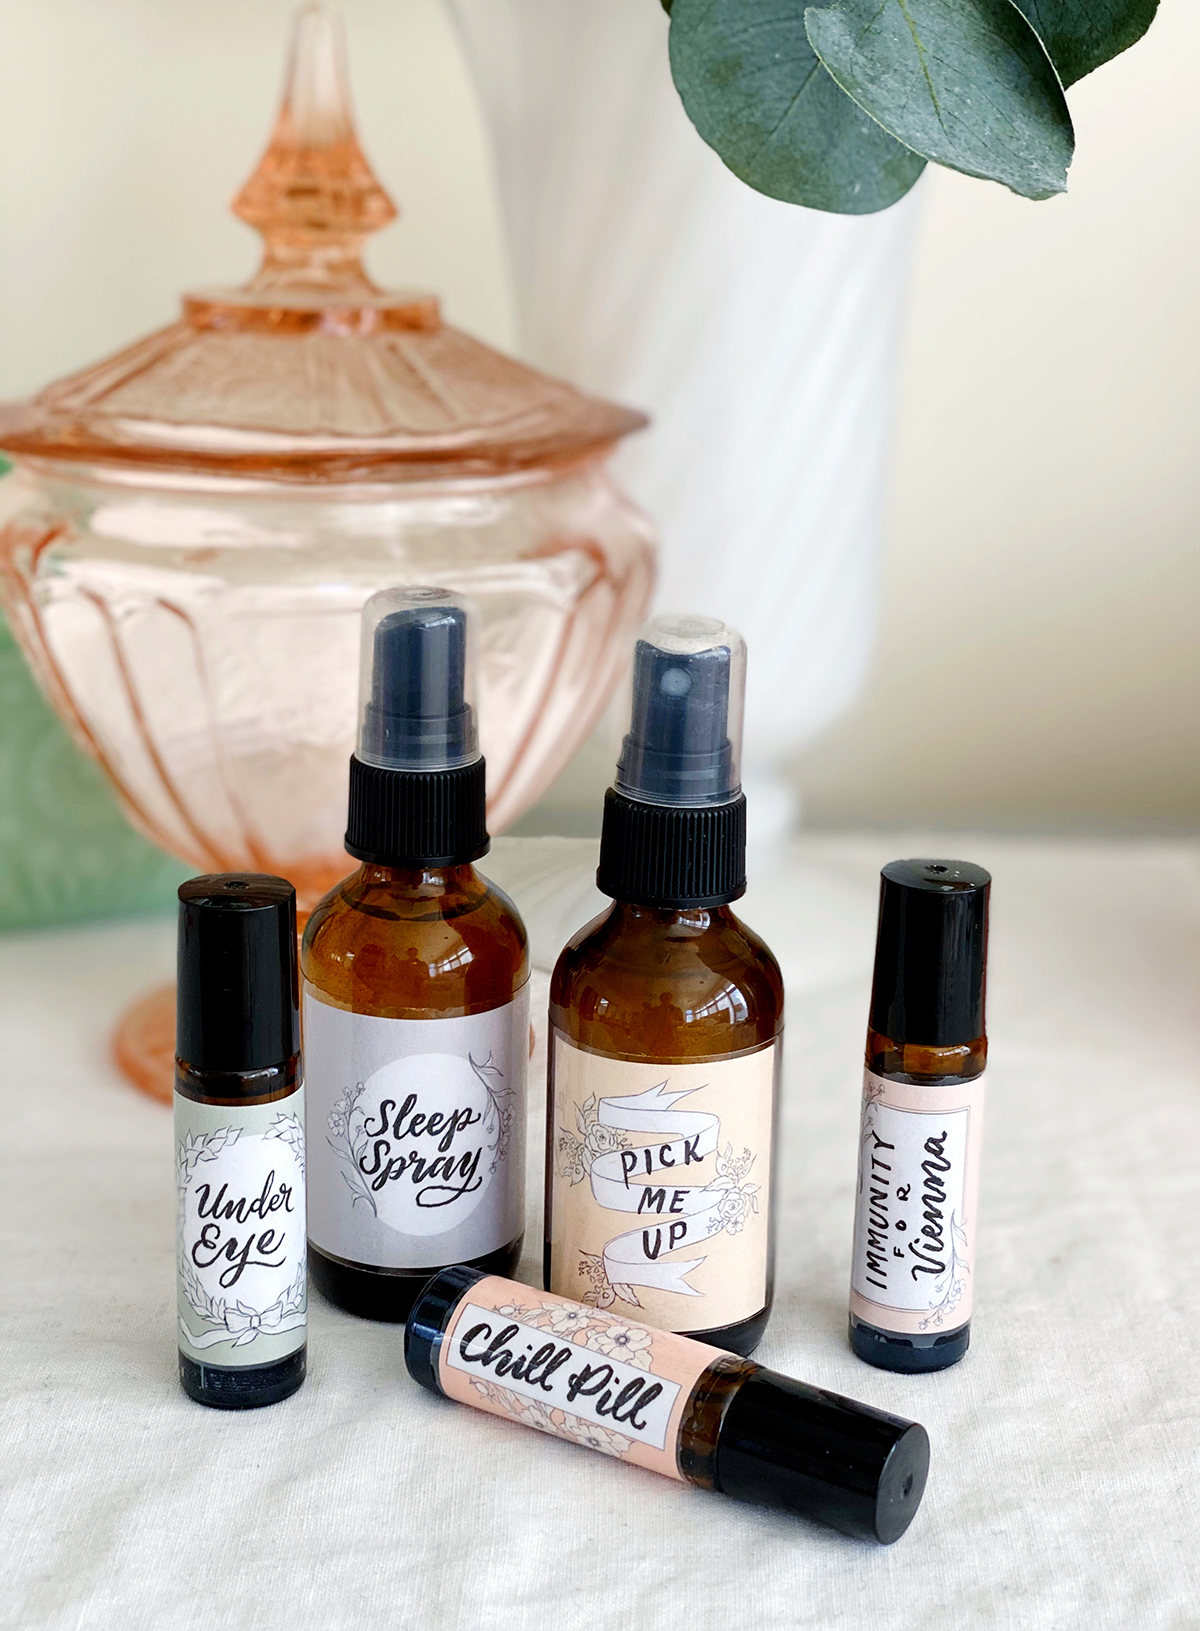
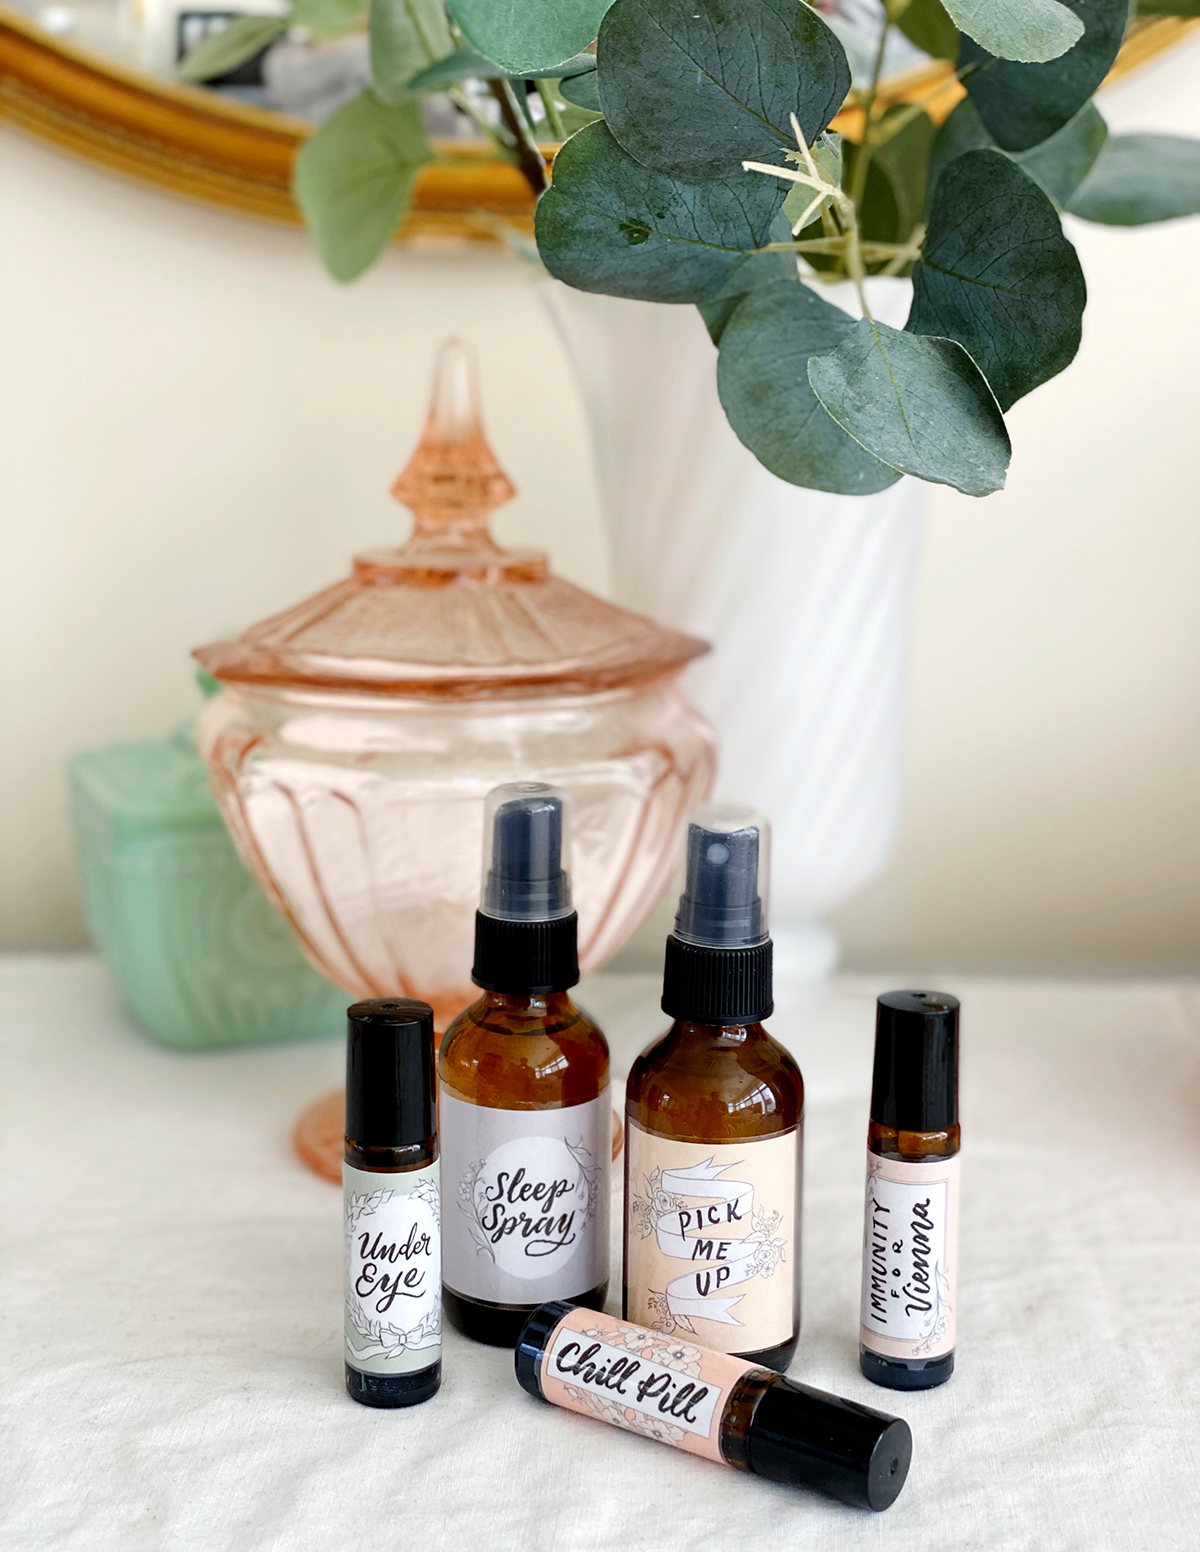
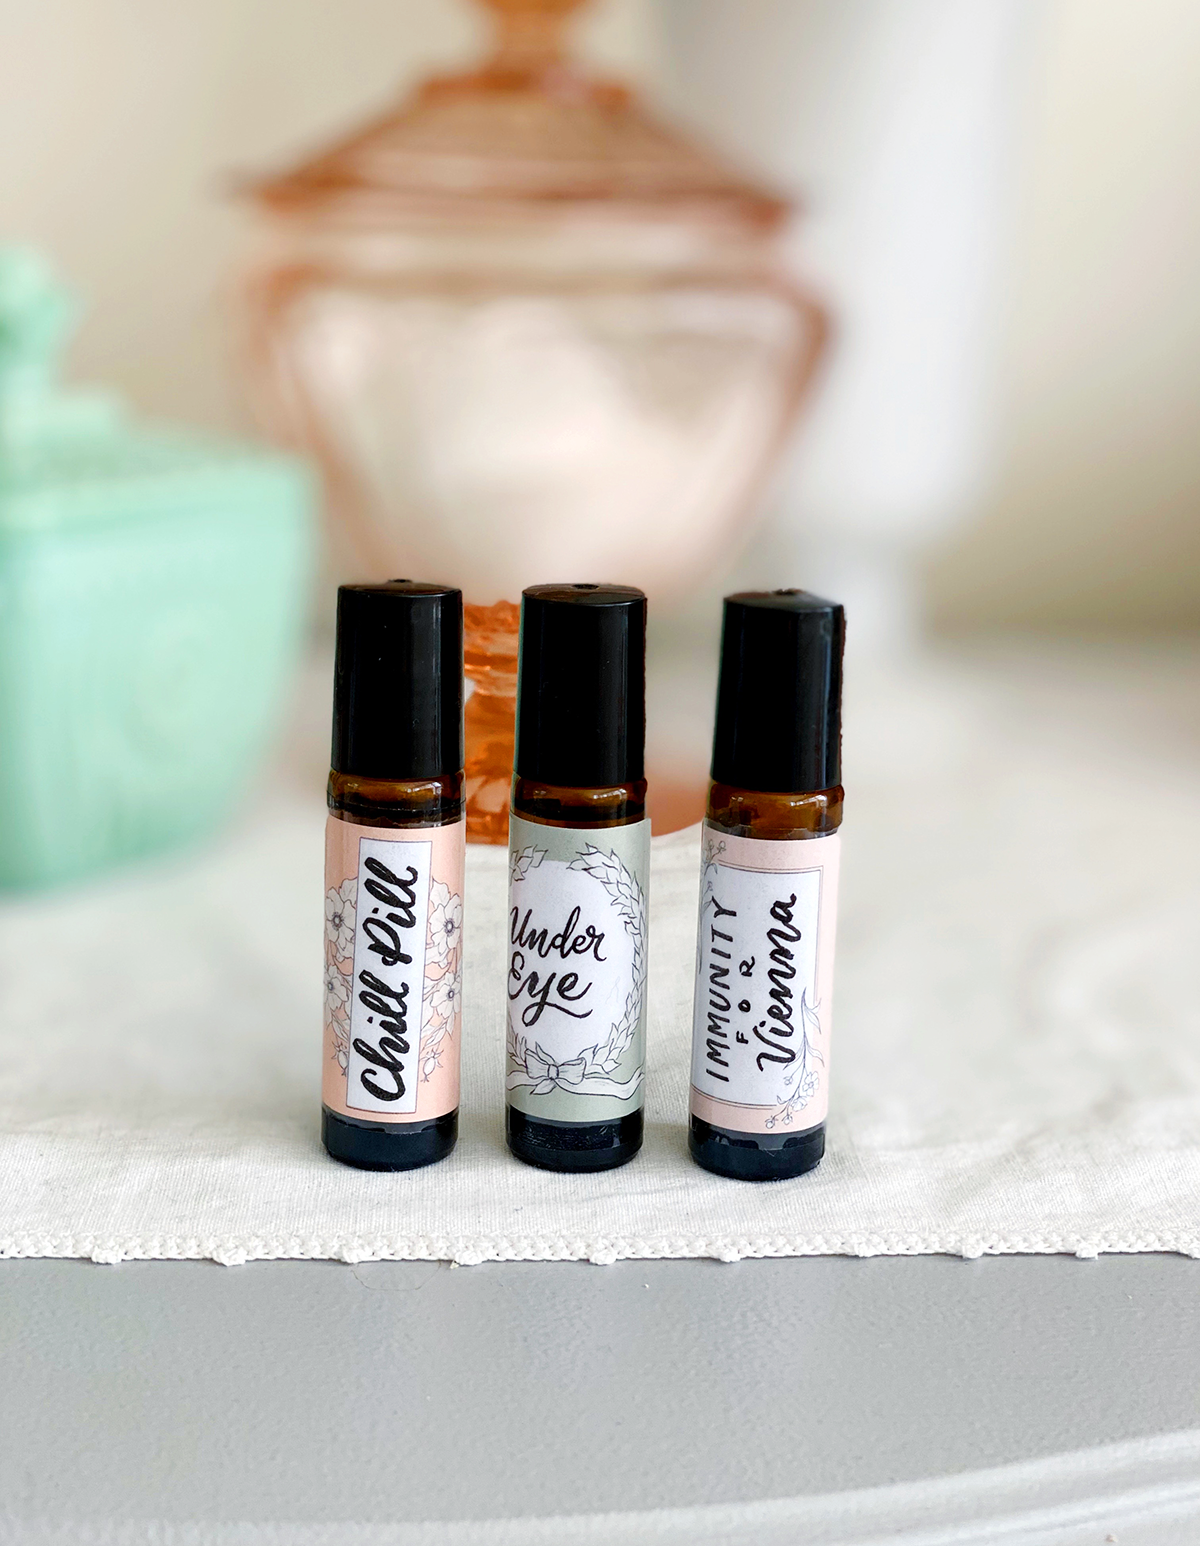
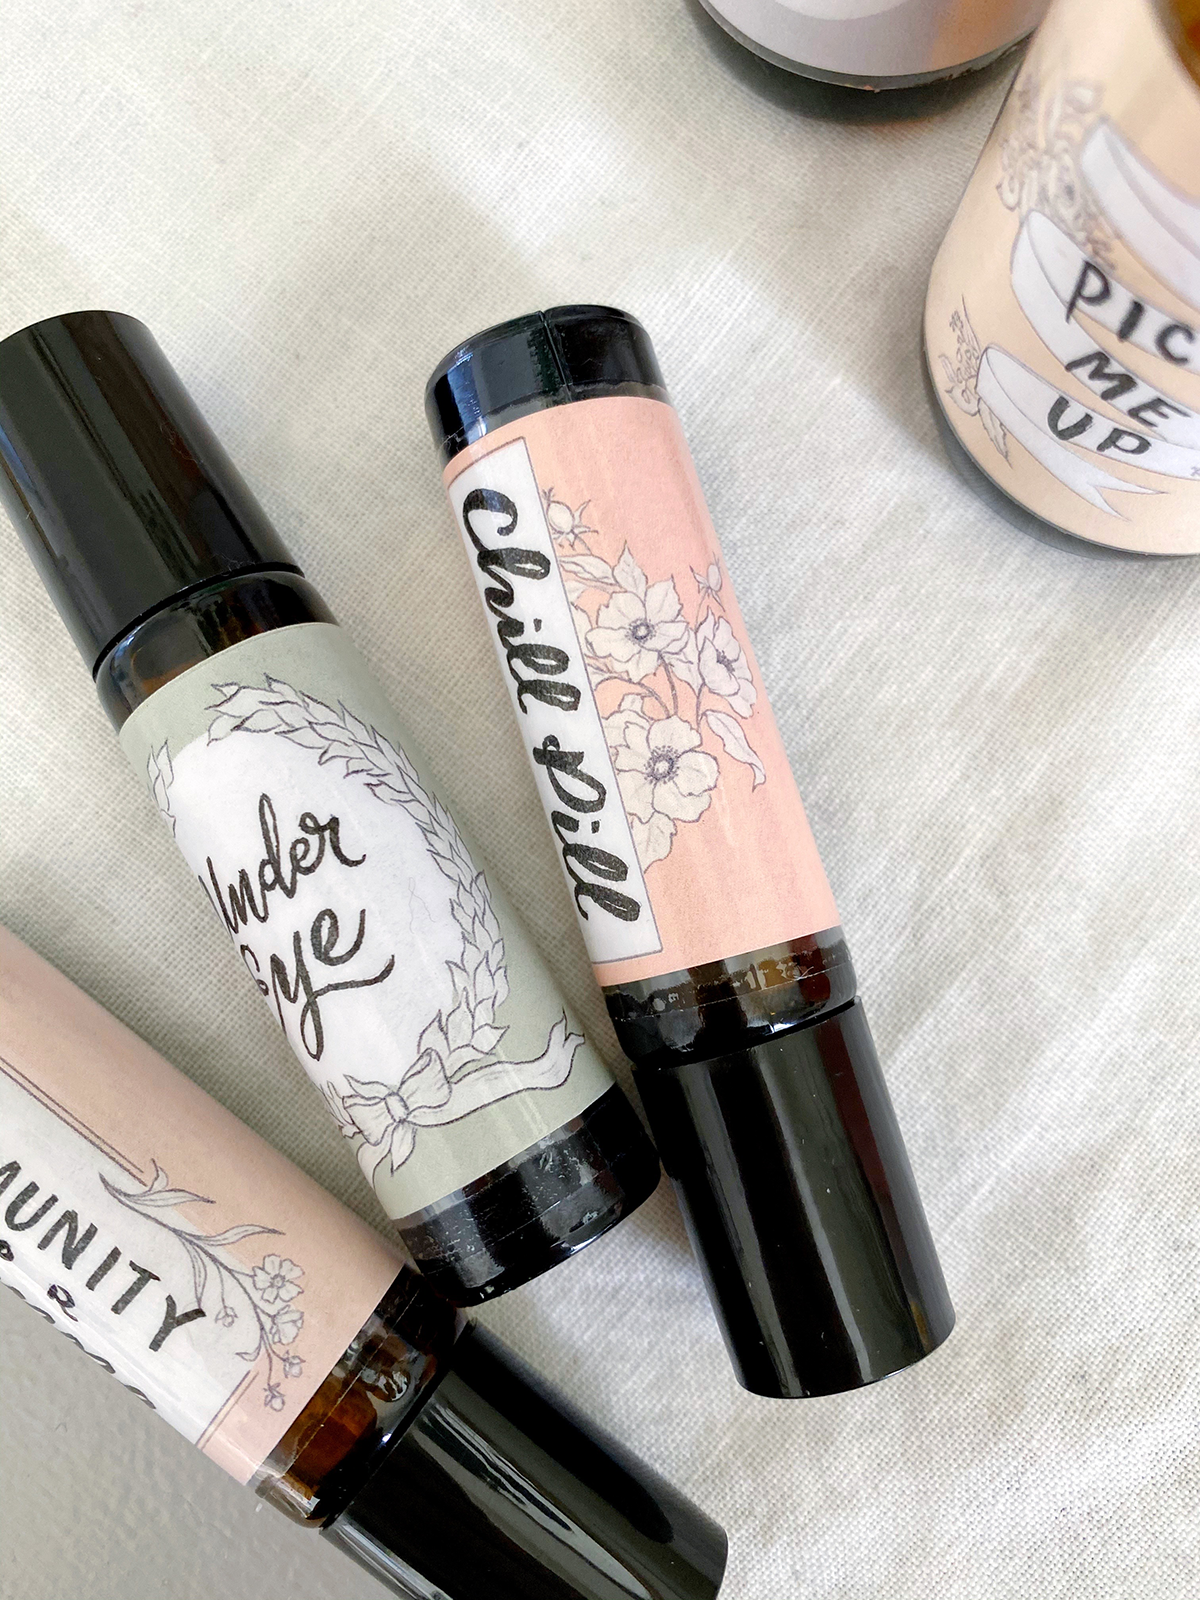
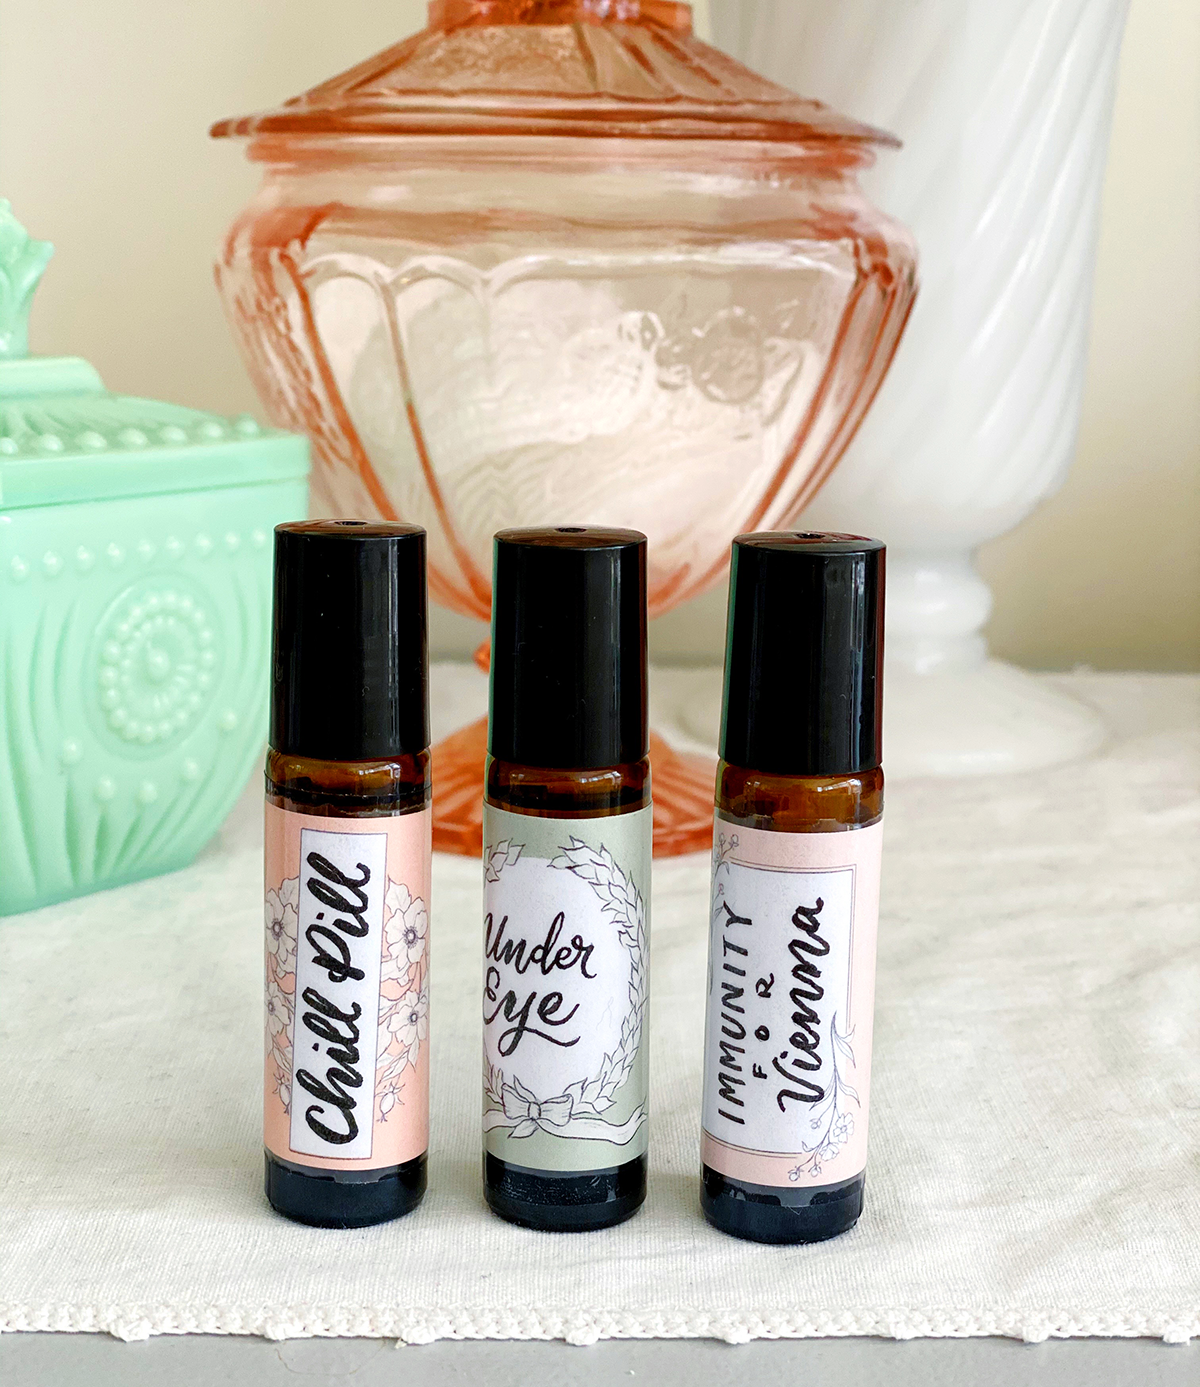
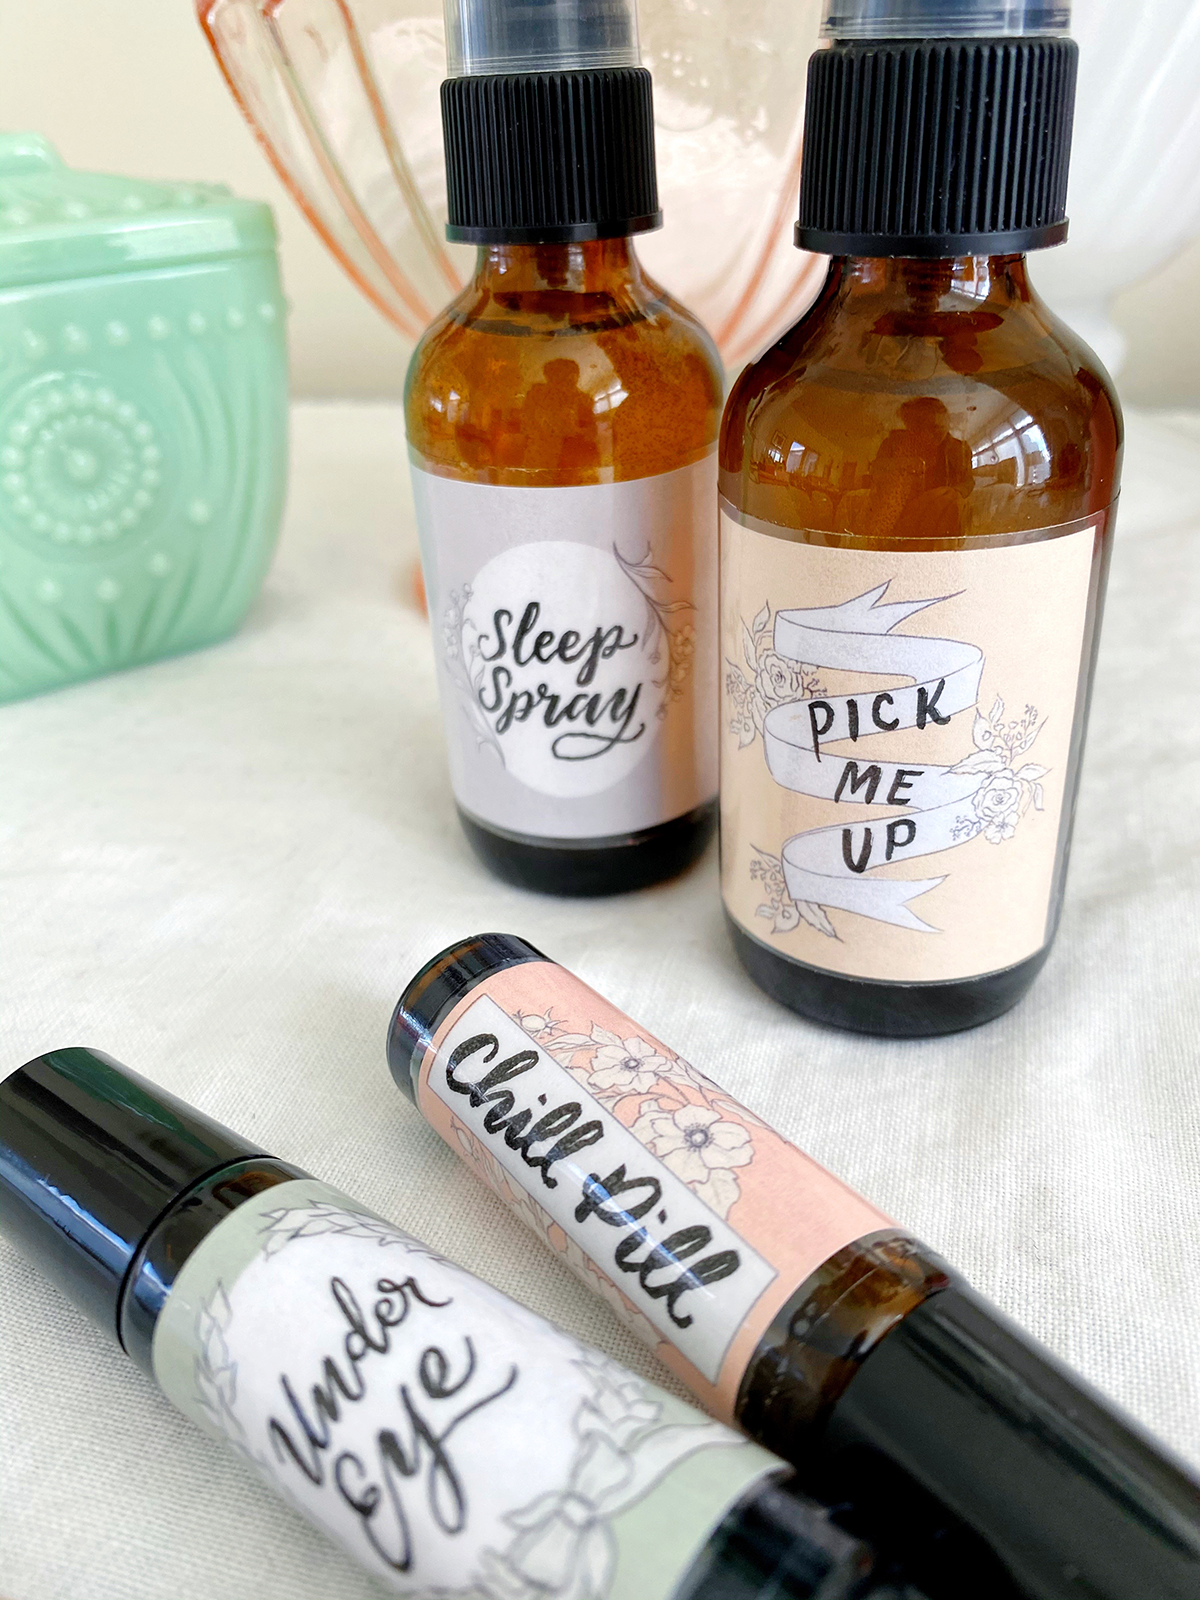
I purchased these roller bottles on Amazon, but I needed a way to mark them. And I figured why not make them pretty? So, I created these hand-drawn labels for myself and thought I would share them with you as a printable!
The labels are also the perfect size for 2 oz. spray bottles. I had bottles from Primally Pure complexion mists to re-use, but these bottles from Amazon would also work.
Recipes I’ve Been Using
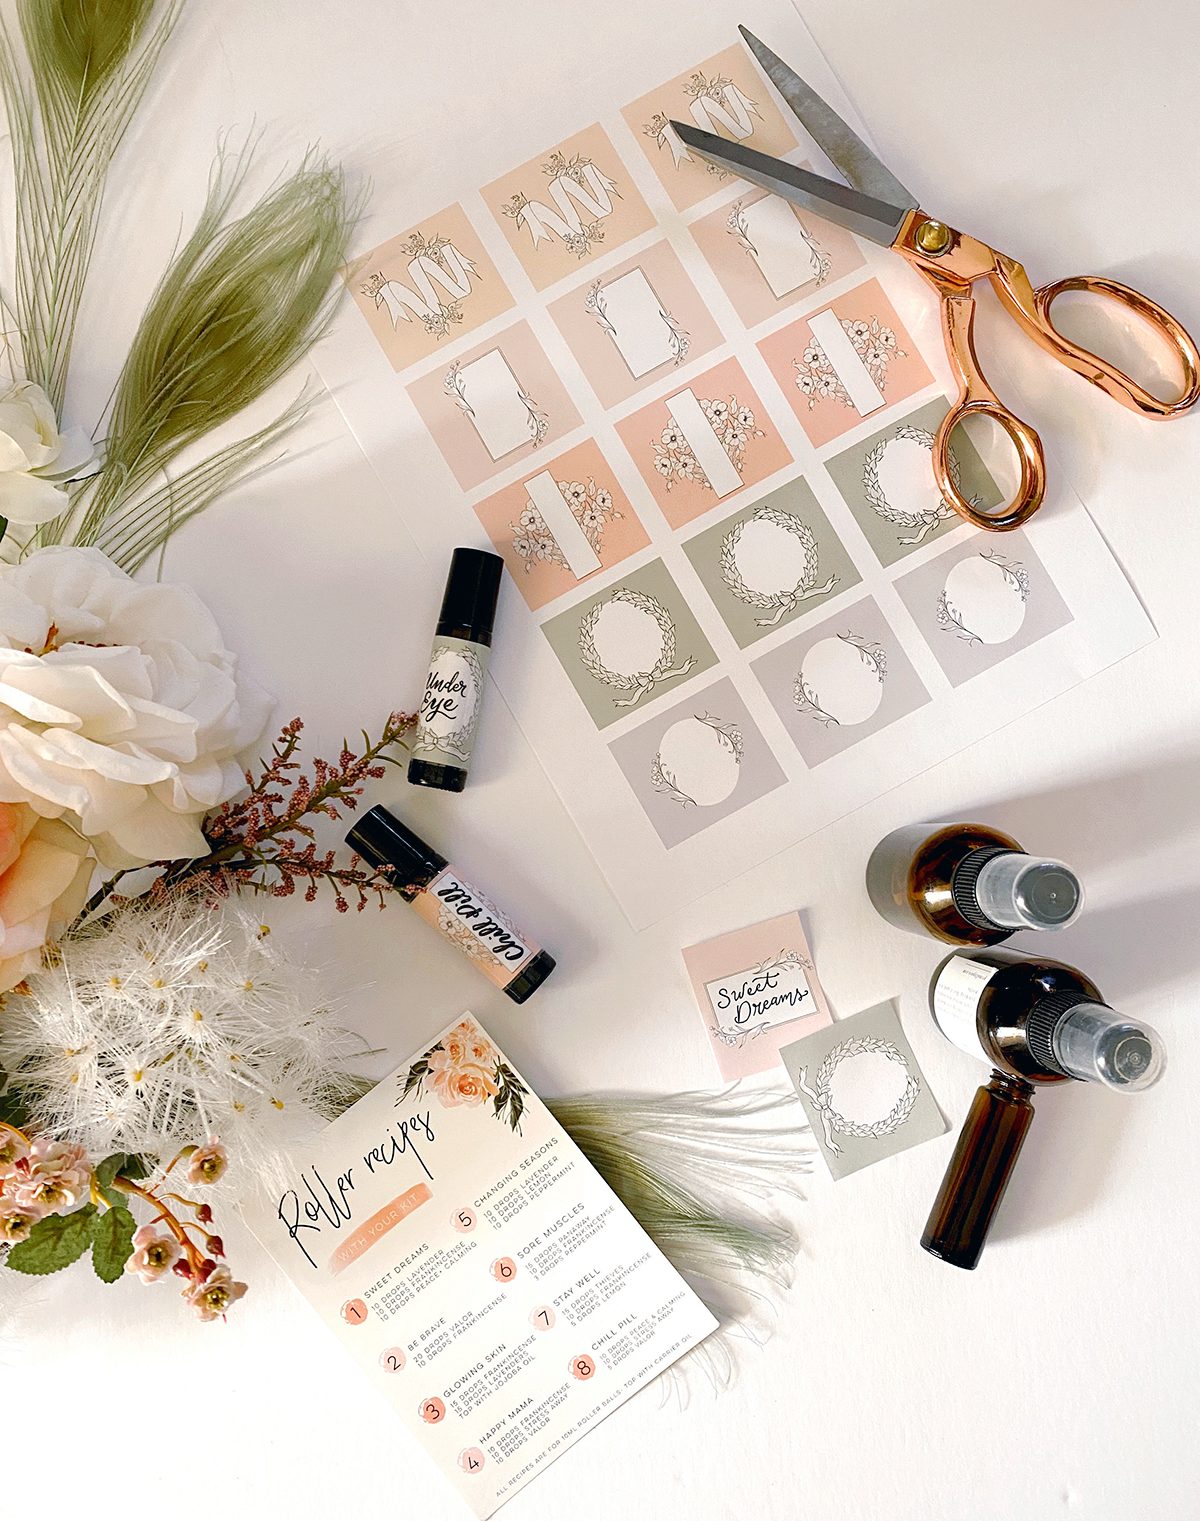
One of the resources my friend Jessica Numbers sent me was the roller recipes pictured above! “Chill Pill” is so good- 10 drops Peace & Calming, 10 drops Stress Away, and 5 drops Valor. I’ve been wearing it like a perfume! You add the oils to a 10ml roller bottle and top with a carrier oil. Sweet almond oil has been my carrier of choice.
When you use essentials oil, please be aware that all oils are not created equal. This was a harsh realization for me! I have been using Young Living essential oils. You can read more about that here.
I also found this recipe for an Under Eye serum using Copaiba and Frankincense.
Another roller I made is an immunity roller for Vienna – a highly diluted Thieves blend. I use this on the bottoms of her feet before bed.
How to use the labels
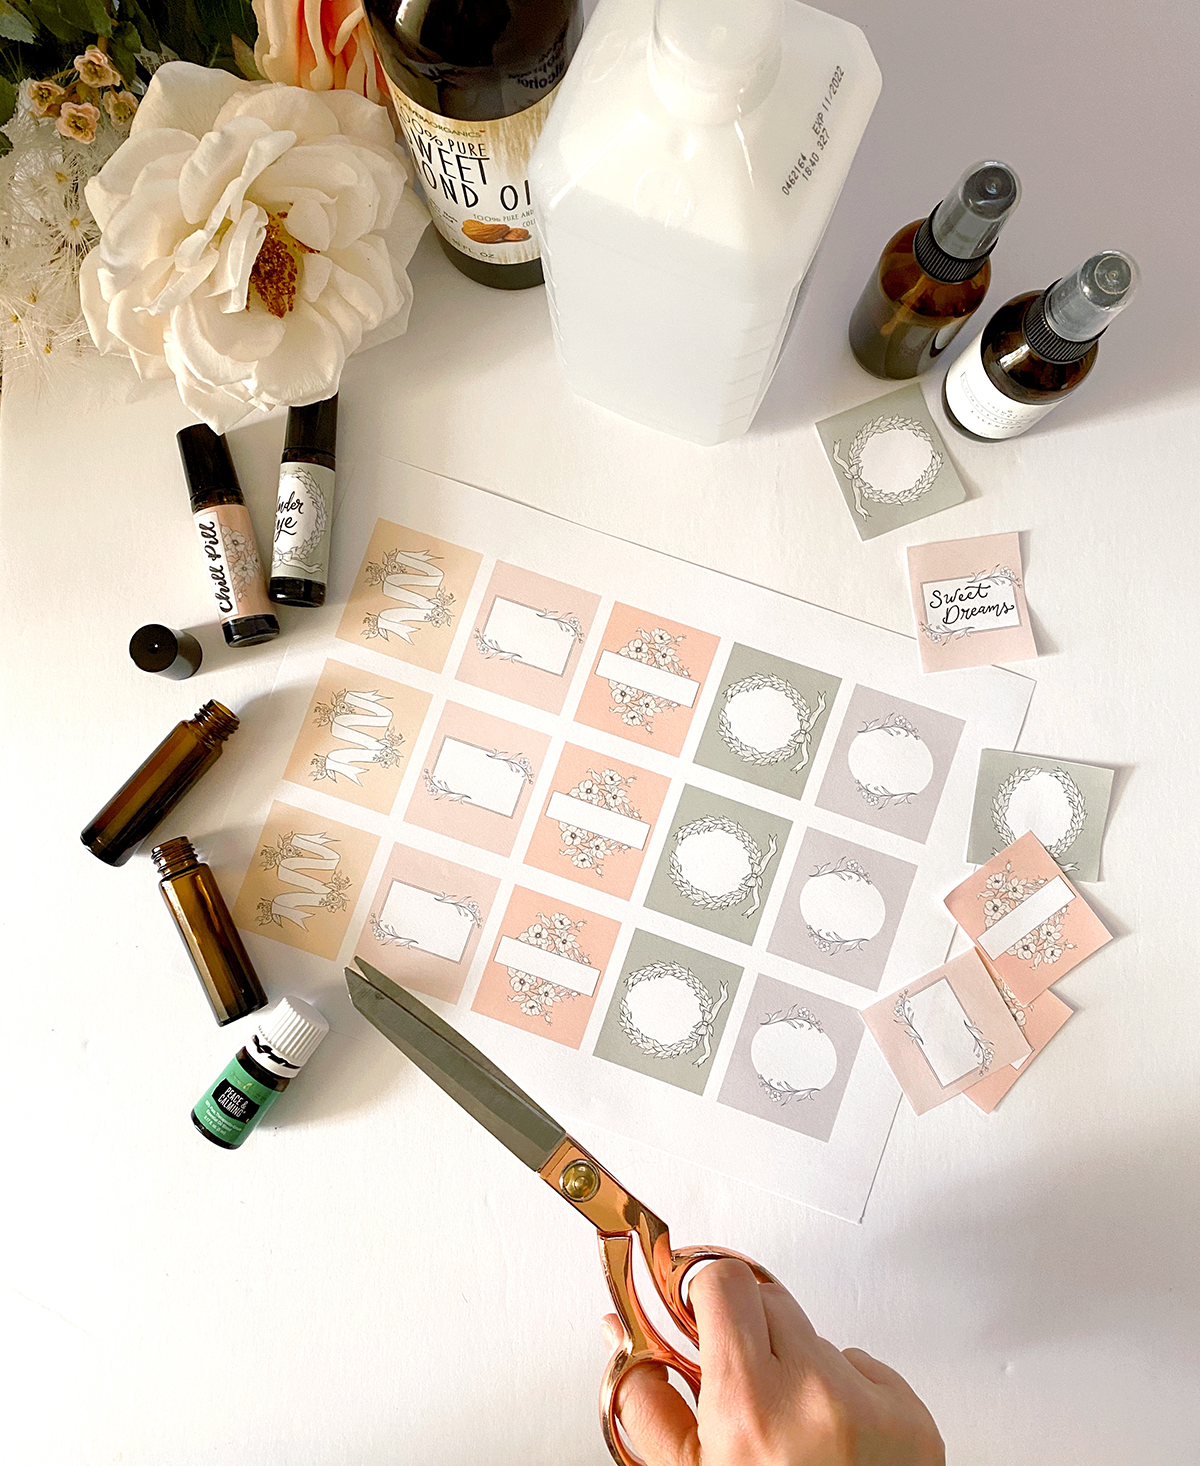
You will need:
- The label download
- Your bottles (links for those are above)
- Scissors
- 8.5 x 11 sheet of paper to print them on (not cardstock)
- Packing tape
- Rubbing alcohol & wipe (to clean the surface of the bottle before applying the label)
- Pen for writing on the label. This pen is great for small brush lettering!
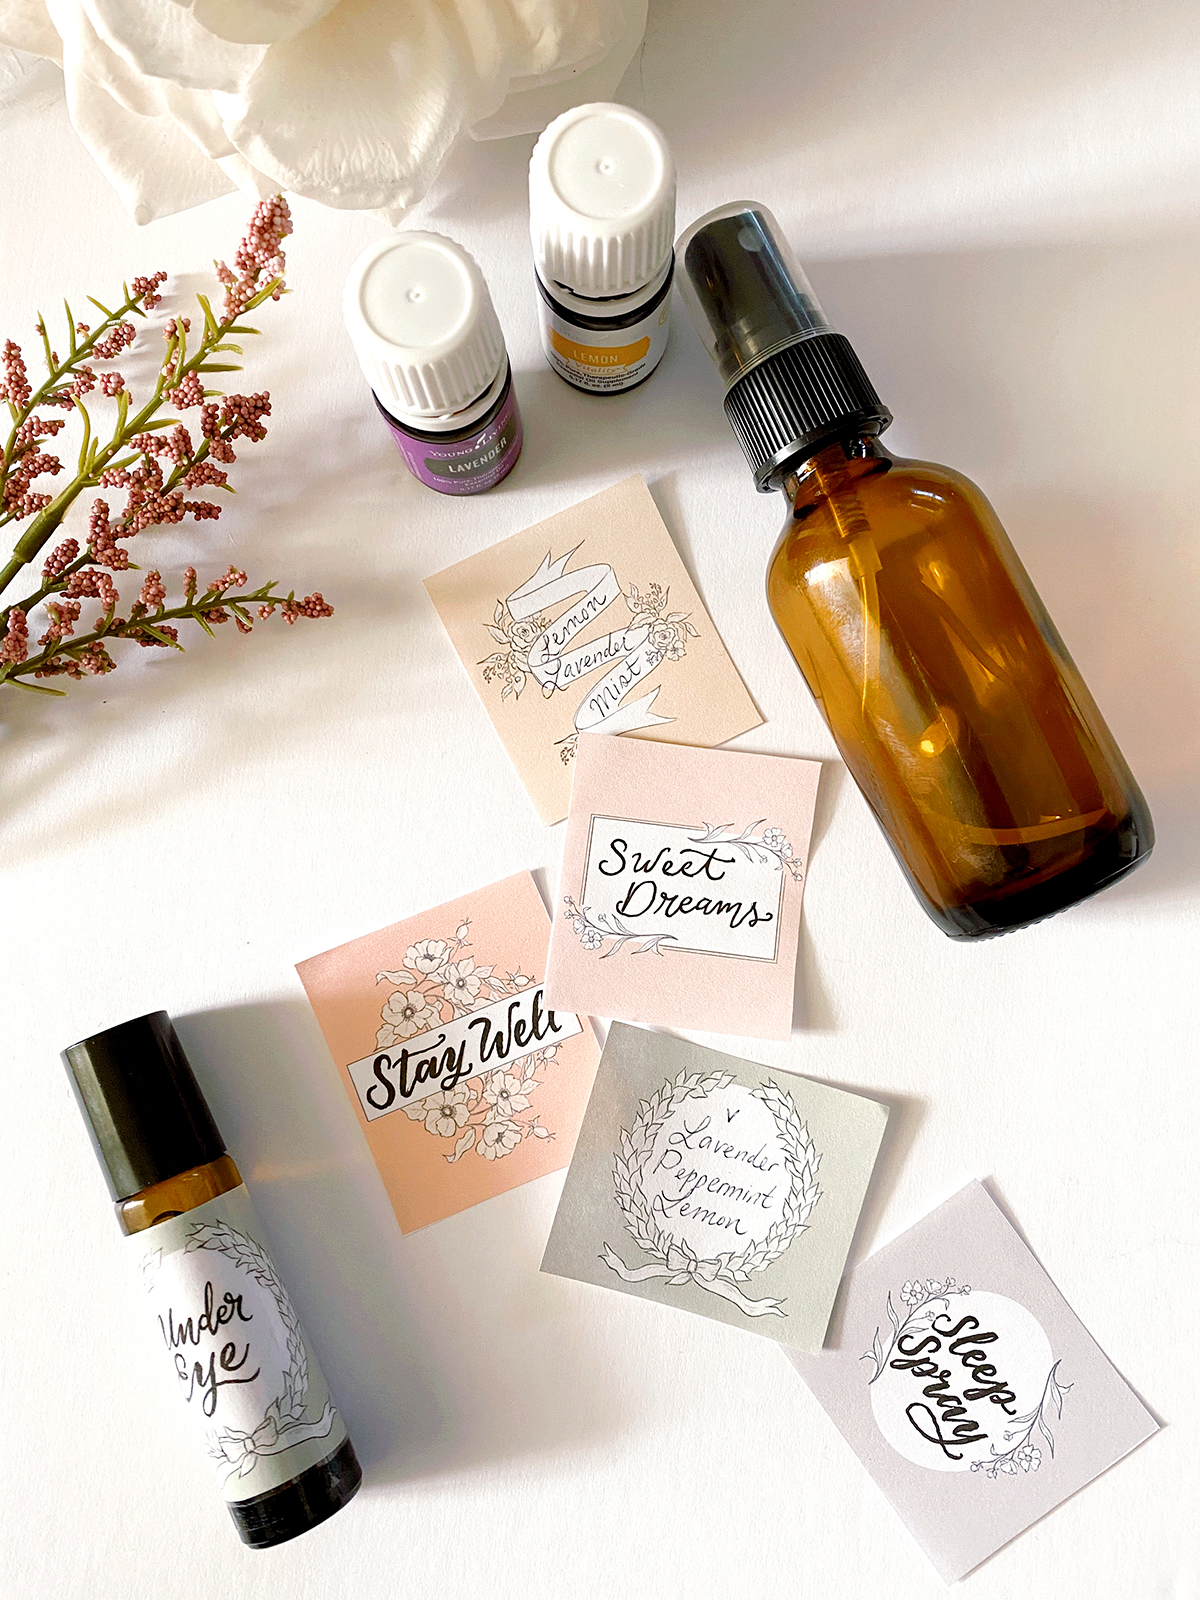
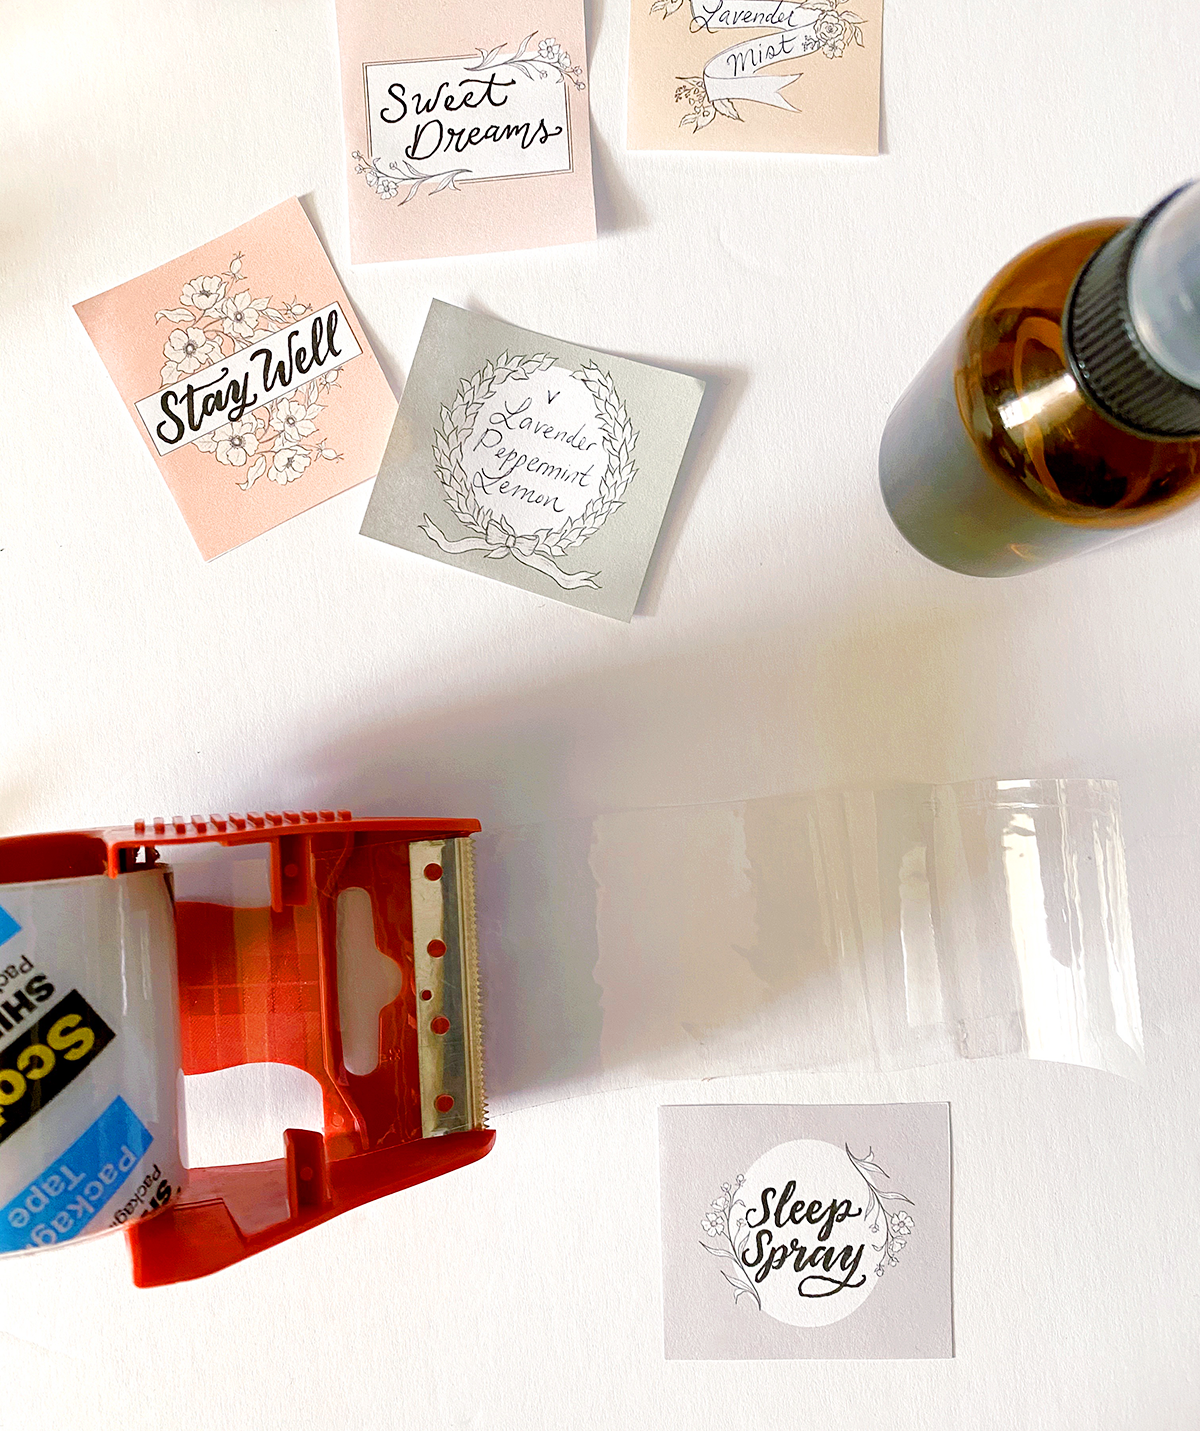
These labels are so simple to apply because they are a perfect size for packing tape! Print the download, and cut out your labels. You can choose to use them horizontally or vertically depending on if you are using a roller or a spray bottle. The designs are versatile. Then, add your hand lettering or writing! Of course, I love the look of the bold brush lettering on these, but handwriting with a regular pen will look nice, too. You can’t go wrong. Prep your cleaned bottles by rubbing a wipe of rubbing alcohol on the surface to remove an oil or residue.
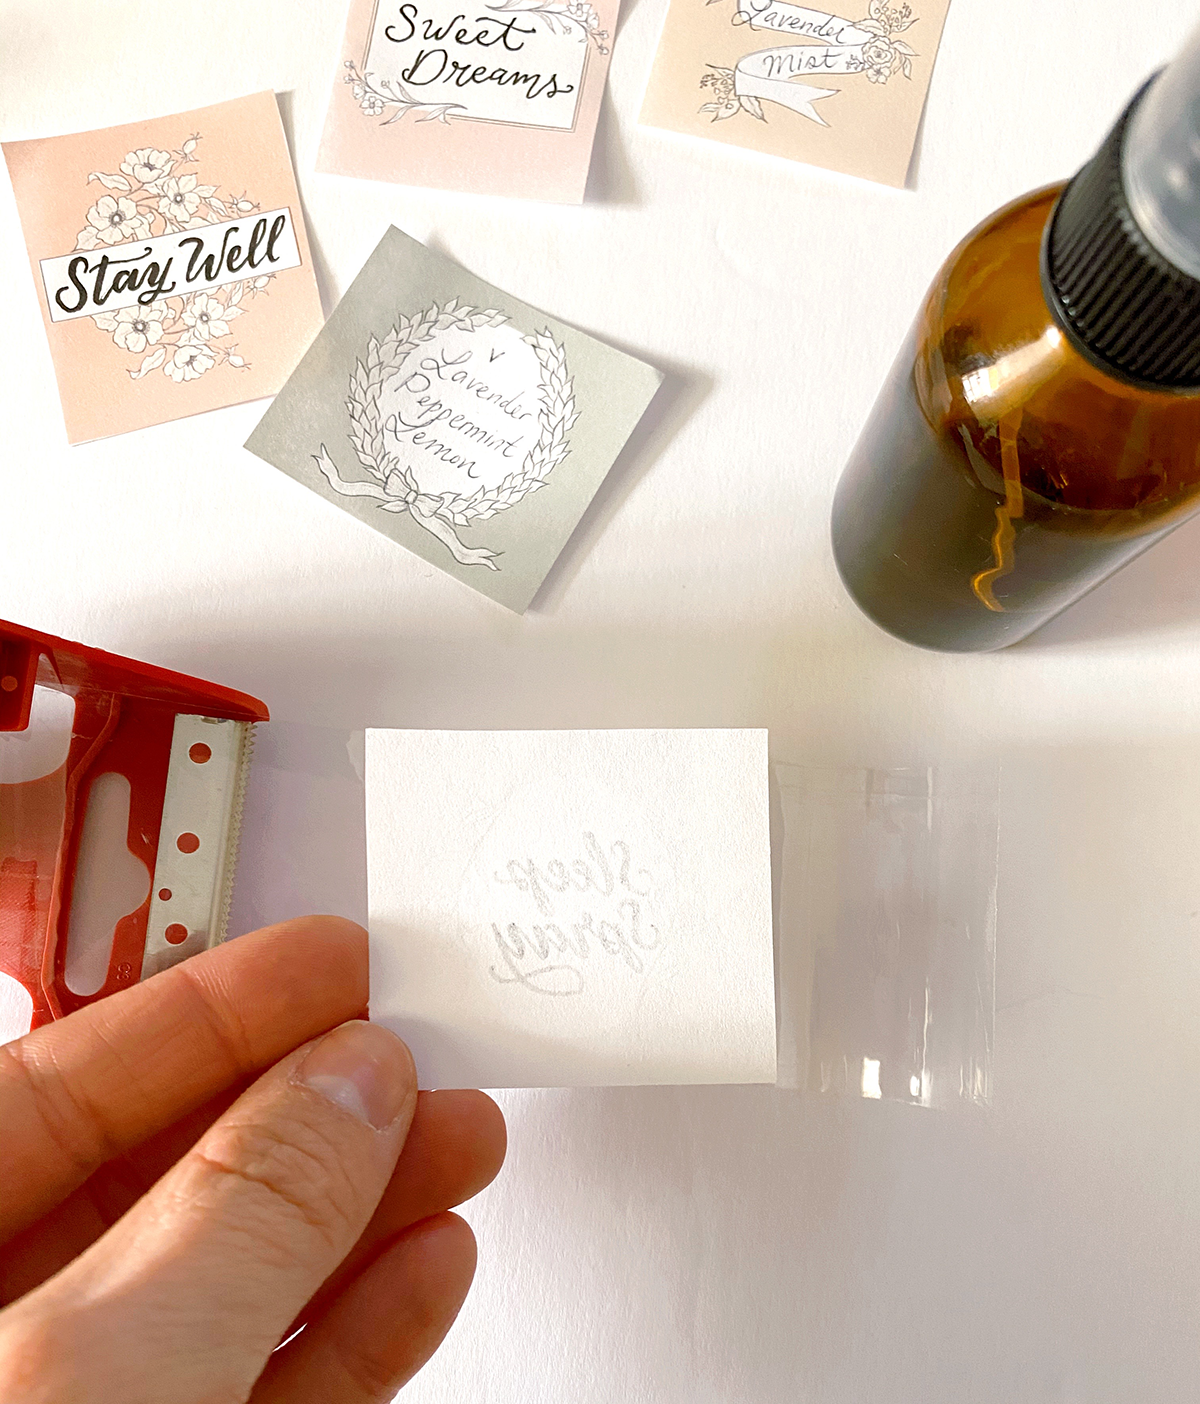
Next, lay out a piece of packing tape and place your label face down onto the tape. Cut off the tape leaving extra tape on either side of the label.
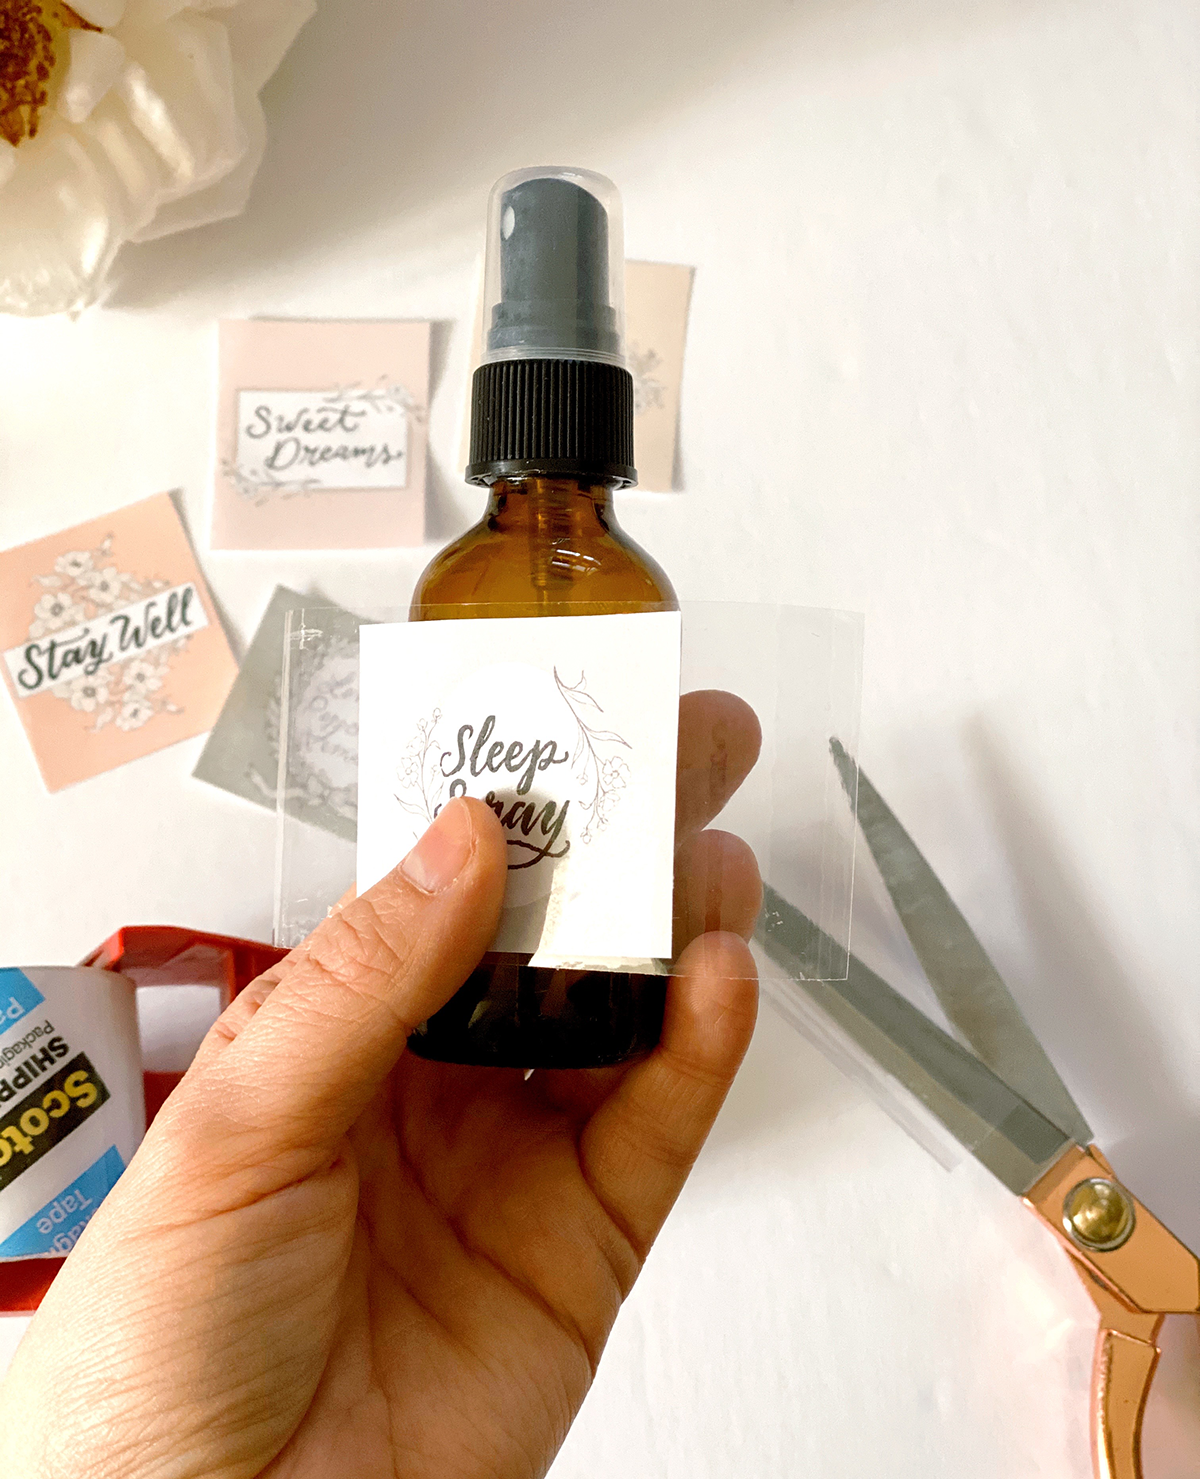
Carefully affix the tape to the bottle by holding the label down and then smoothing the tape edges around the bottles with your fingers.
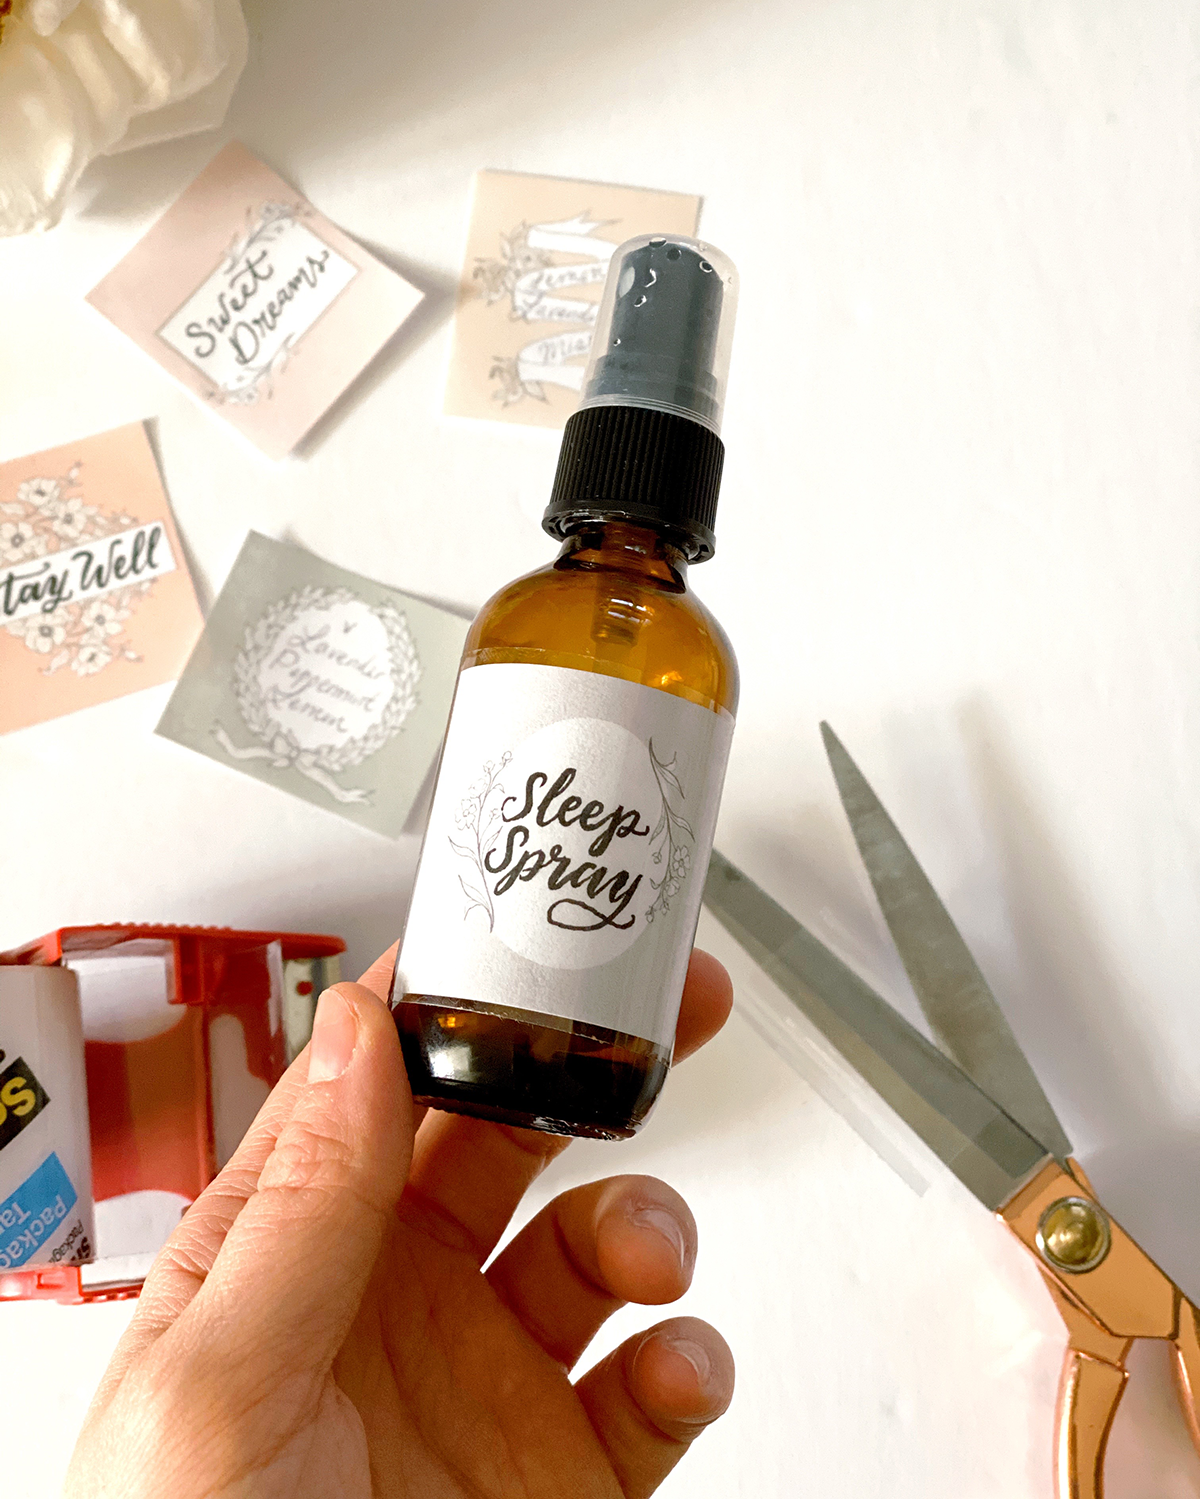
Voila! An easy, waterproofed label for your bottle! Using packing tape also makes it easier to switch labels if you decide to change them out.
I’m so pleased with how these turned out and how cute the bottles look on my dresser! I have a little essential oil diffuser station set up there and that’s where I”ll be storing my DIY rollers and sprays when they’re not in my purse! I just love how they look.
Let me know if you download the labels for your DIY essential oil recipes! I’d love to see on Instagram, too – @valeriemckeehan. Also, if you have a favorite roller or spray recipe, leave it in the comments. I’m excited to try more blends!


No Comments