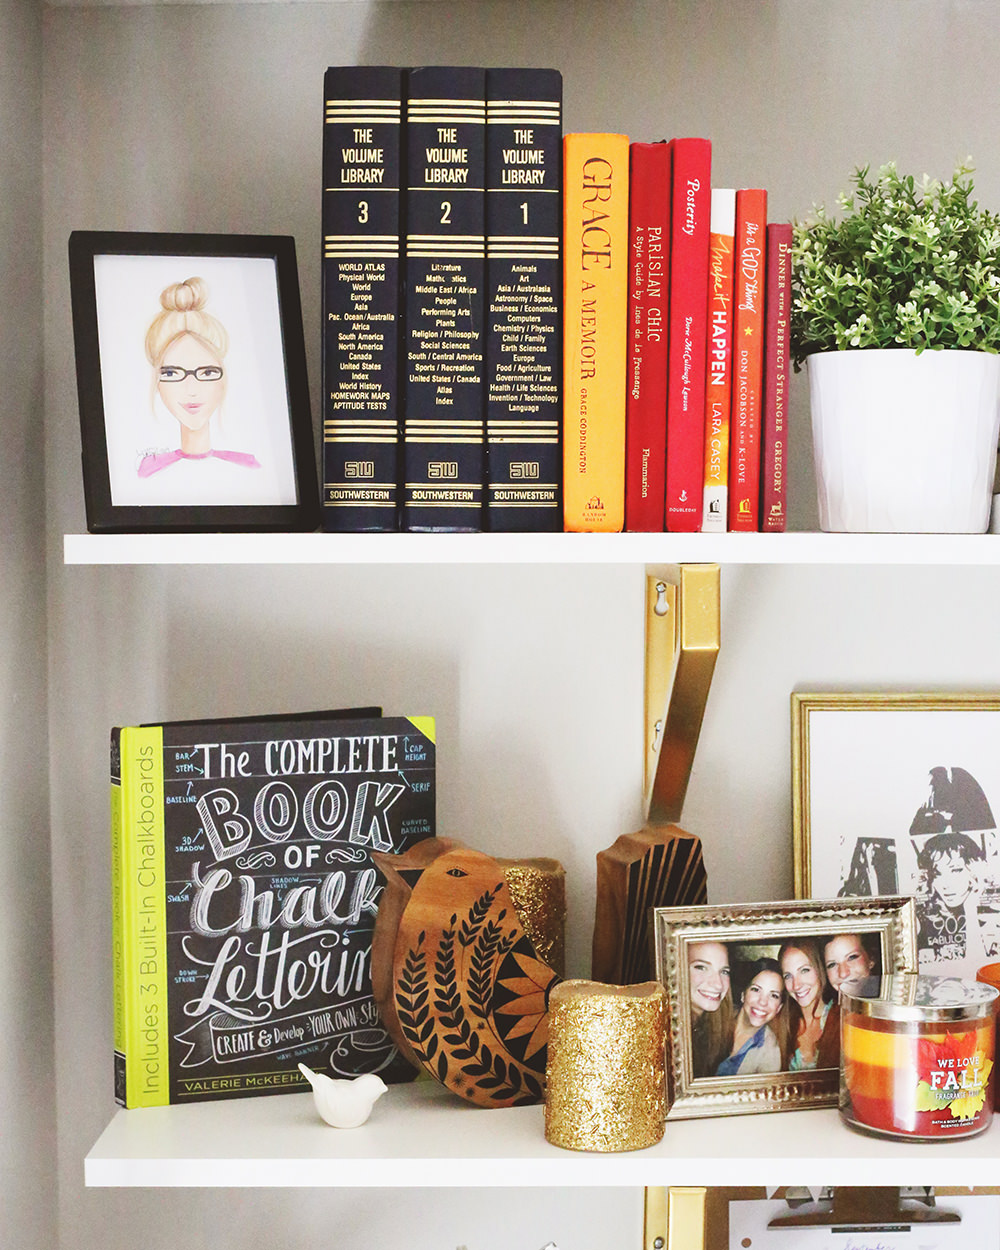
There is something about a well-styled bookshelf that makes a room feel more put together. For my own bookshelf, I have been color-blocking my favorite books alongside fun art, like our new book themed print (shown left)! The only downside to my well-styled shelves is that they aren’t always very practical for storing things! I discovered a fantastic solution on Pinterest by Shannon from Sewing Barefoot and I just had to give it a go for myself! Storage inside of a group of books- who knew?! Not only is it a great option for storing things in plain sight, it makes you feel a lot like Sherlock Holmes or Nancy Drew. Want to know how I did it? Read on…
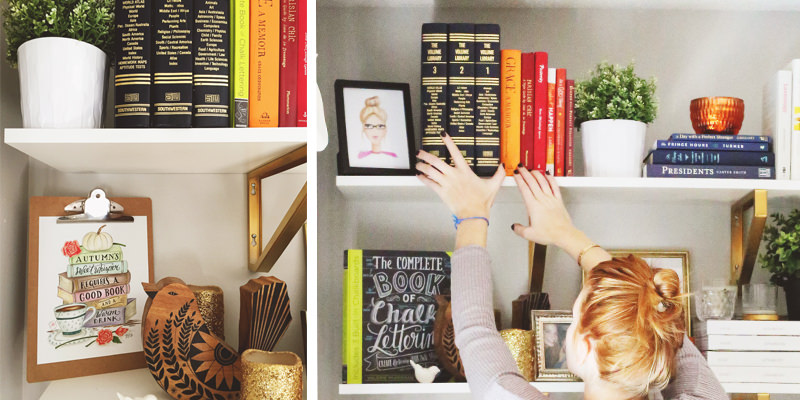
First, find the books you want to use! For this project, use whatever hardcover books you wish, just make sure they are in good shape. If the spine seems worn, it might not be as sturdy and runs the risk of fraying. I went to Goodwill and scored big time on this encyclopedia set! I also found a small wooden crate box to use for the inside there, but you could also look for a box at a craft store. 
Next, using an x-acto knife, cut the hard cover away from the stack of pages. I pulled the cover taught and that helped me easily find the seam to cut. Run the knife through slowly, checking the cut to make sure you aren’t going through the part you will use. I started cutting using a light hand to first create a cut, then I went back over it with more pressure.
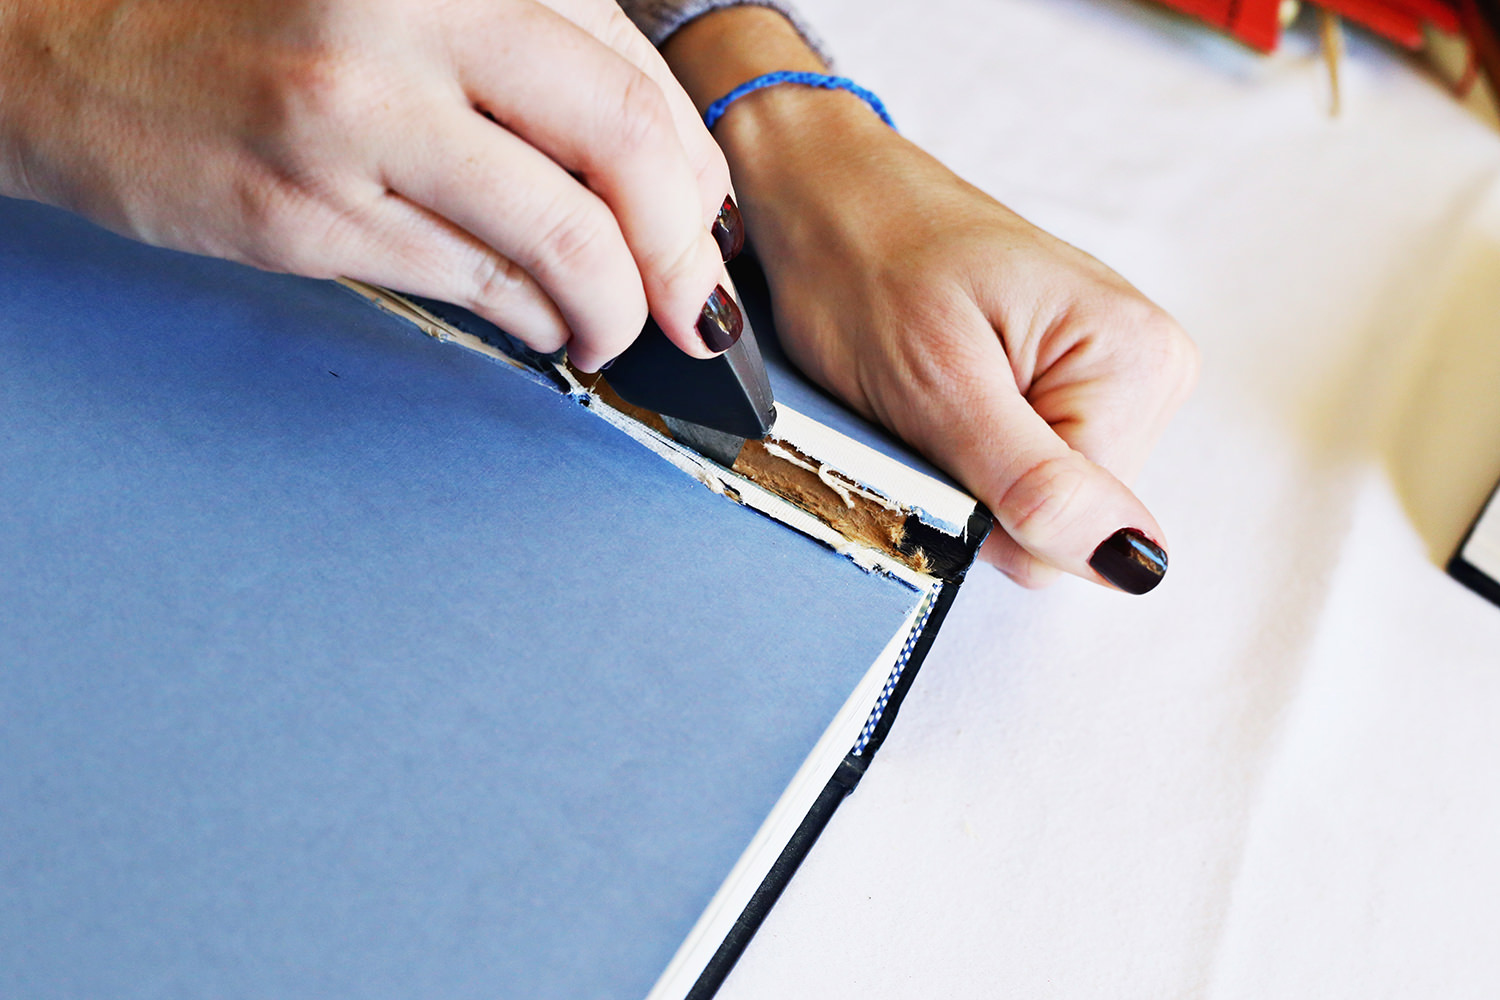
As you run the knife through, the pages will pull away from the cover, making it easy for you to separate. After you cut out all of the pages and are left with just the hardcover cases, decide the order in which you want to arrange your spines. The cases that will be on the outer edges need to keep a side panel so that it covers the box. You want it to still look like a book cover with two panels plus a few more spines added to it in between. Then I just matched the edges of the spines side-by-side and stapled them together!
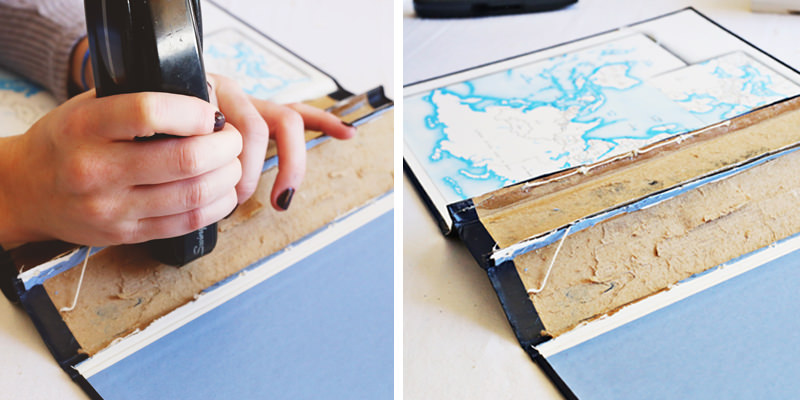
To make sure the book spines would seamlessly cover the box , I first attached a leftover hardcover panel to the front of the box before attaching the spines. The leftover panel was cut to the width of the box and I hot glued it. Then, I wrapped the book spines and side panels around the box and glued them in place as well. Since the book covers are larger than the box, it completely hides what’s inside!
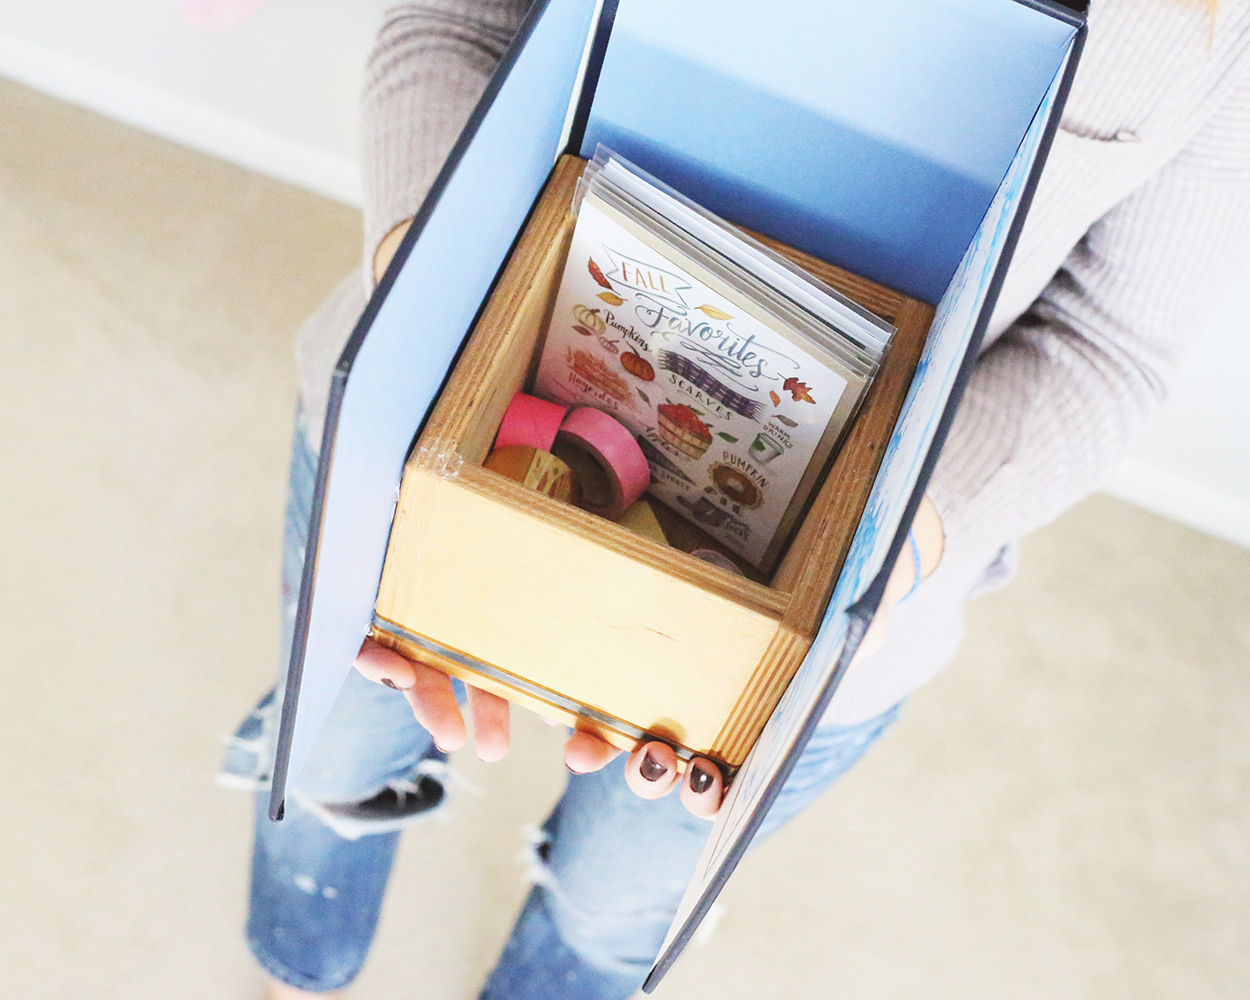
After your box has been fully “camouflaged,” fill it with whatever bits and pieces you like! I am going to use my box for washi tape and note card overflow- my love for paper goods makes it hard for me to keep everything in one place, so this works out perfectly!
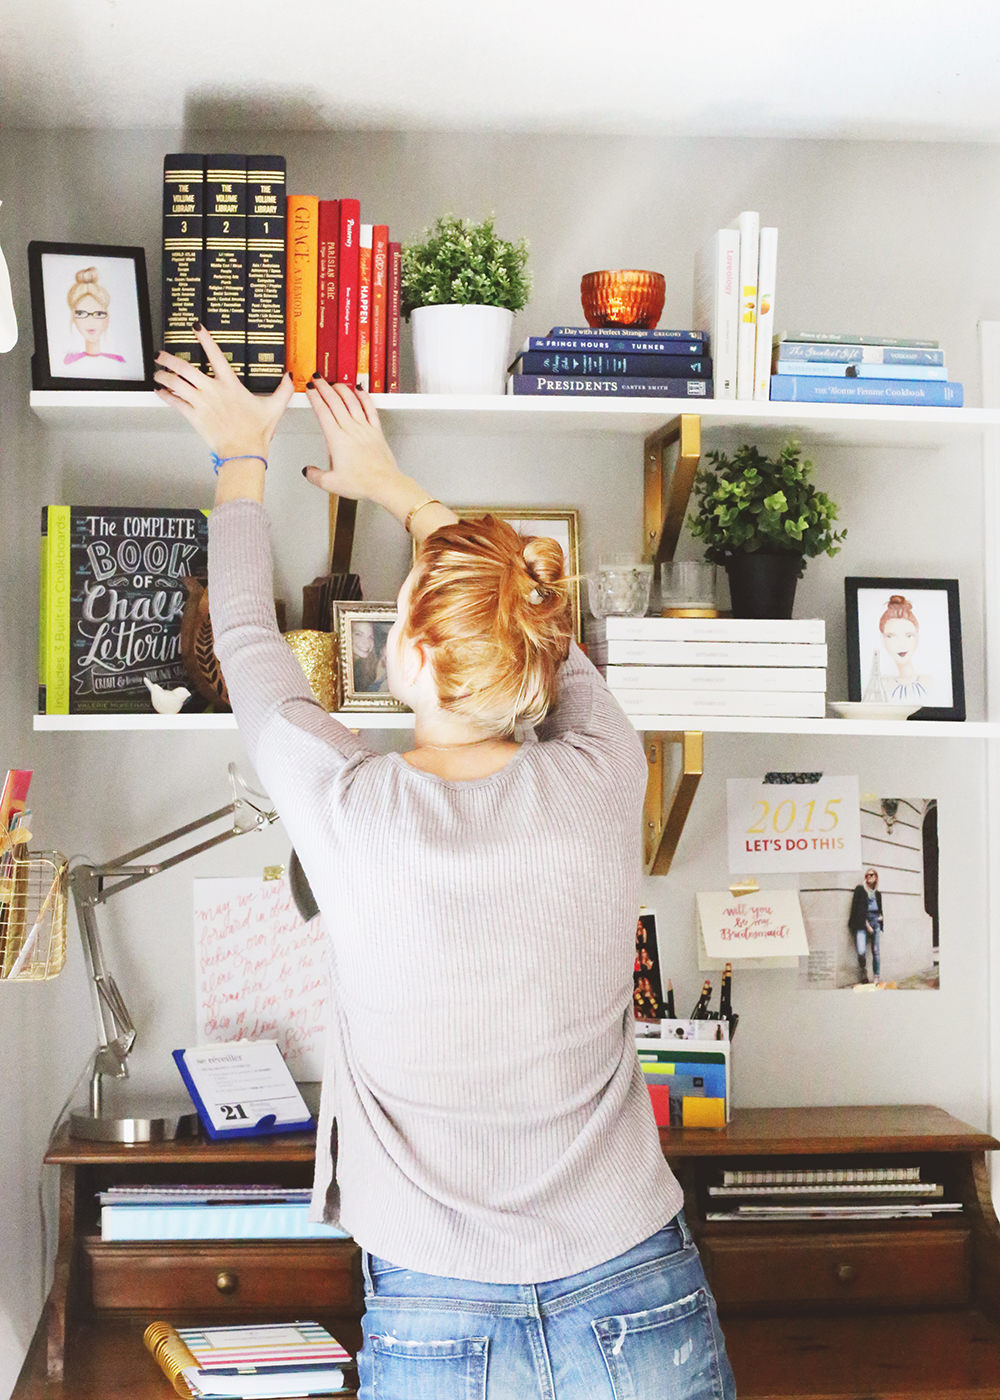
Would you ever think I had a lovely secret compartment on my bookshelf? It fits into my arrangement so seamlessly- I love it!
What would you put in your secret bookshelf storage? Candy? Computer cords? Let us know in the comments!


1 Comment
First I would have to get the guts to actually cut up a book…and find room for one…then prob candy…but it is prob something that a friend would have to gift me because yeah…I love book crafts but find it hard to do things like this to books…though they are adorable…