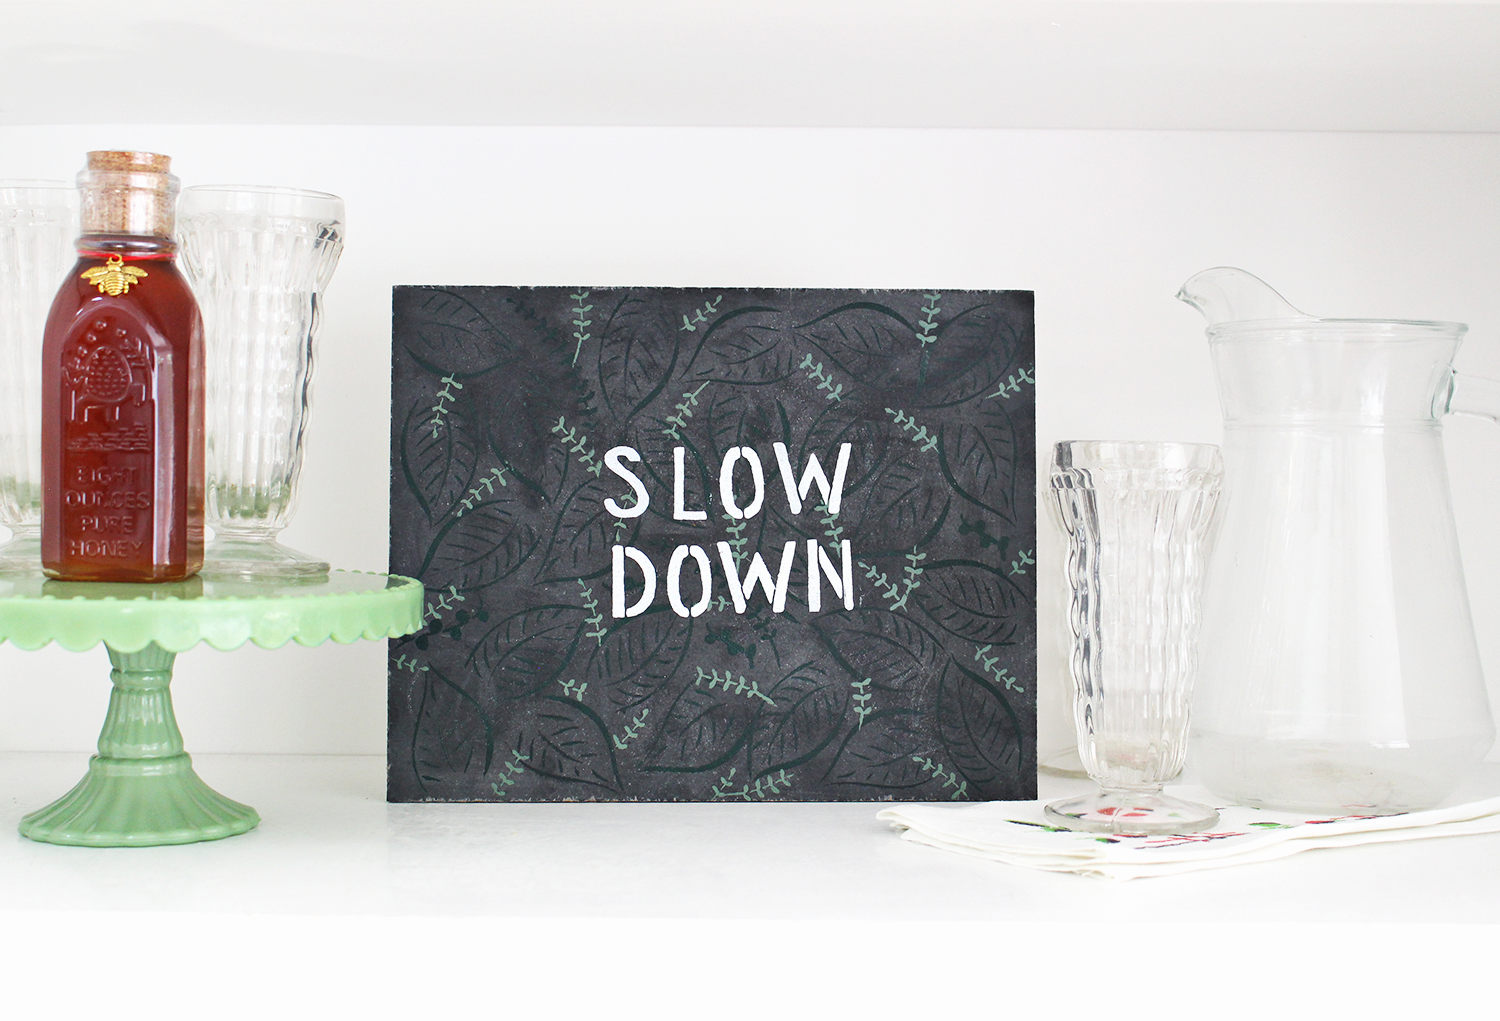
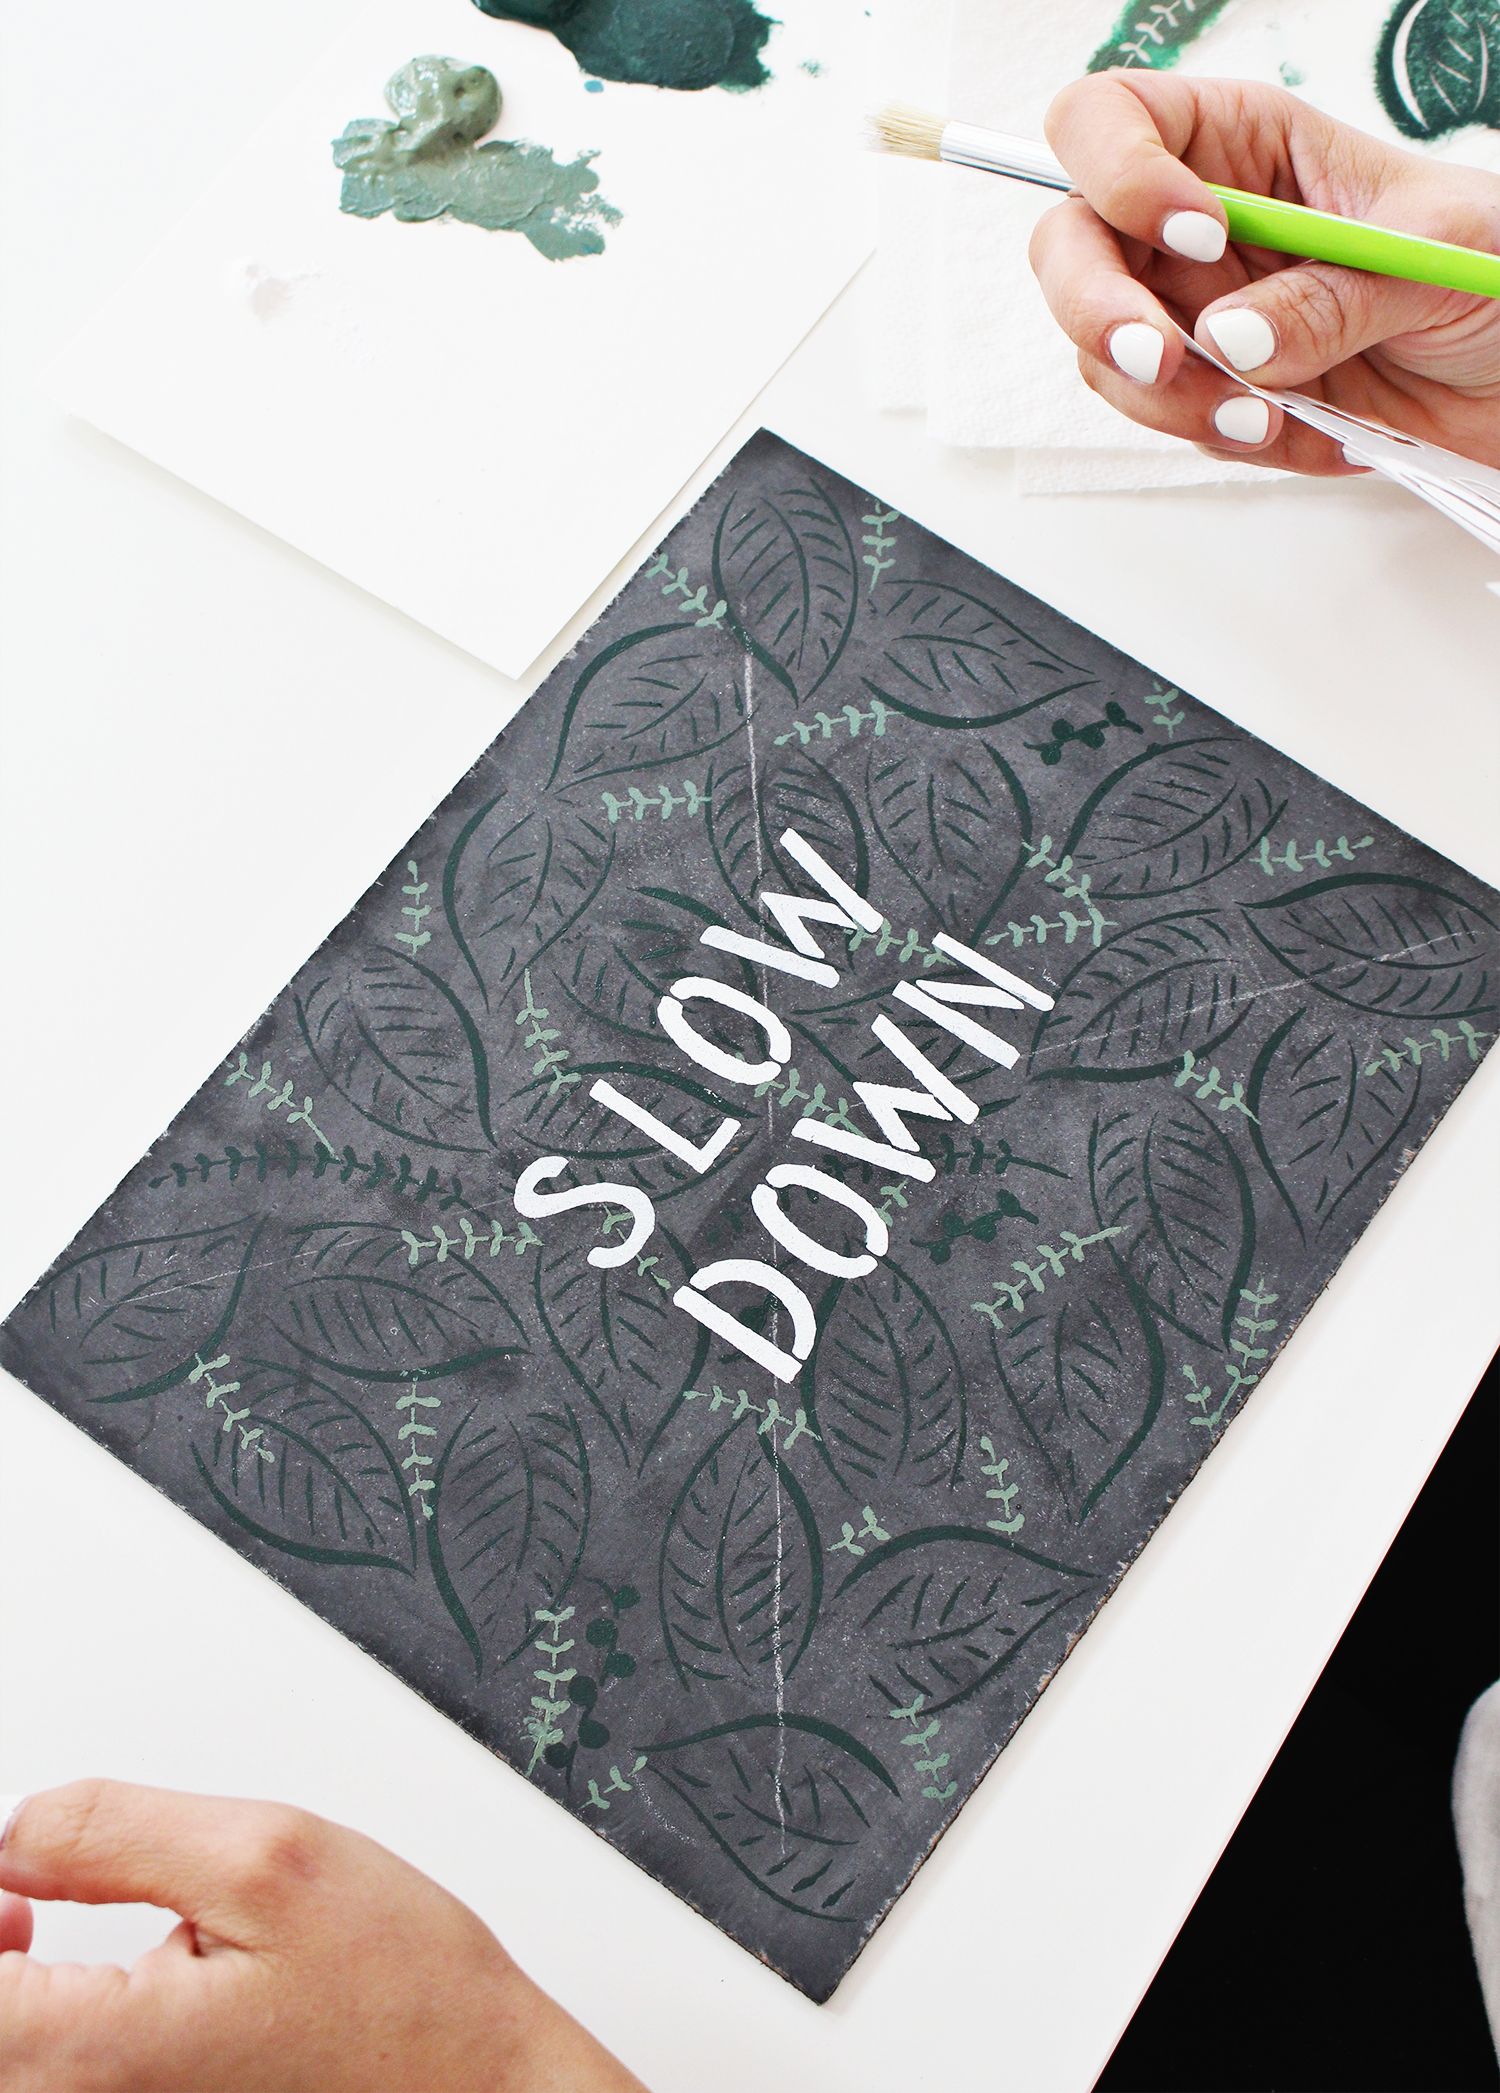
 Friends, did you hear the news? Two days ago we released brand new Lily & Val and Plaid stencils. Read all about them here. In this post, I want to share a step-by-step on how to use Lily & Val stencils to create this modern chalkboard sign! The design is very simple, subtle, and a new take on chalkboard art.
One of my favorite reasons to use stencils is to create a repetitive pattern. It does take some patience, but the result is worth it! Also, how nice and relaxing is it to slow down and work on something repetitive? I thought using the words “slow down” on the sign was very appropriate for that reason.
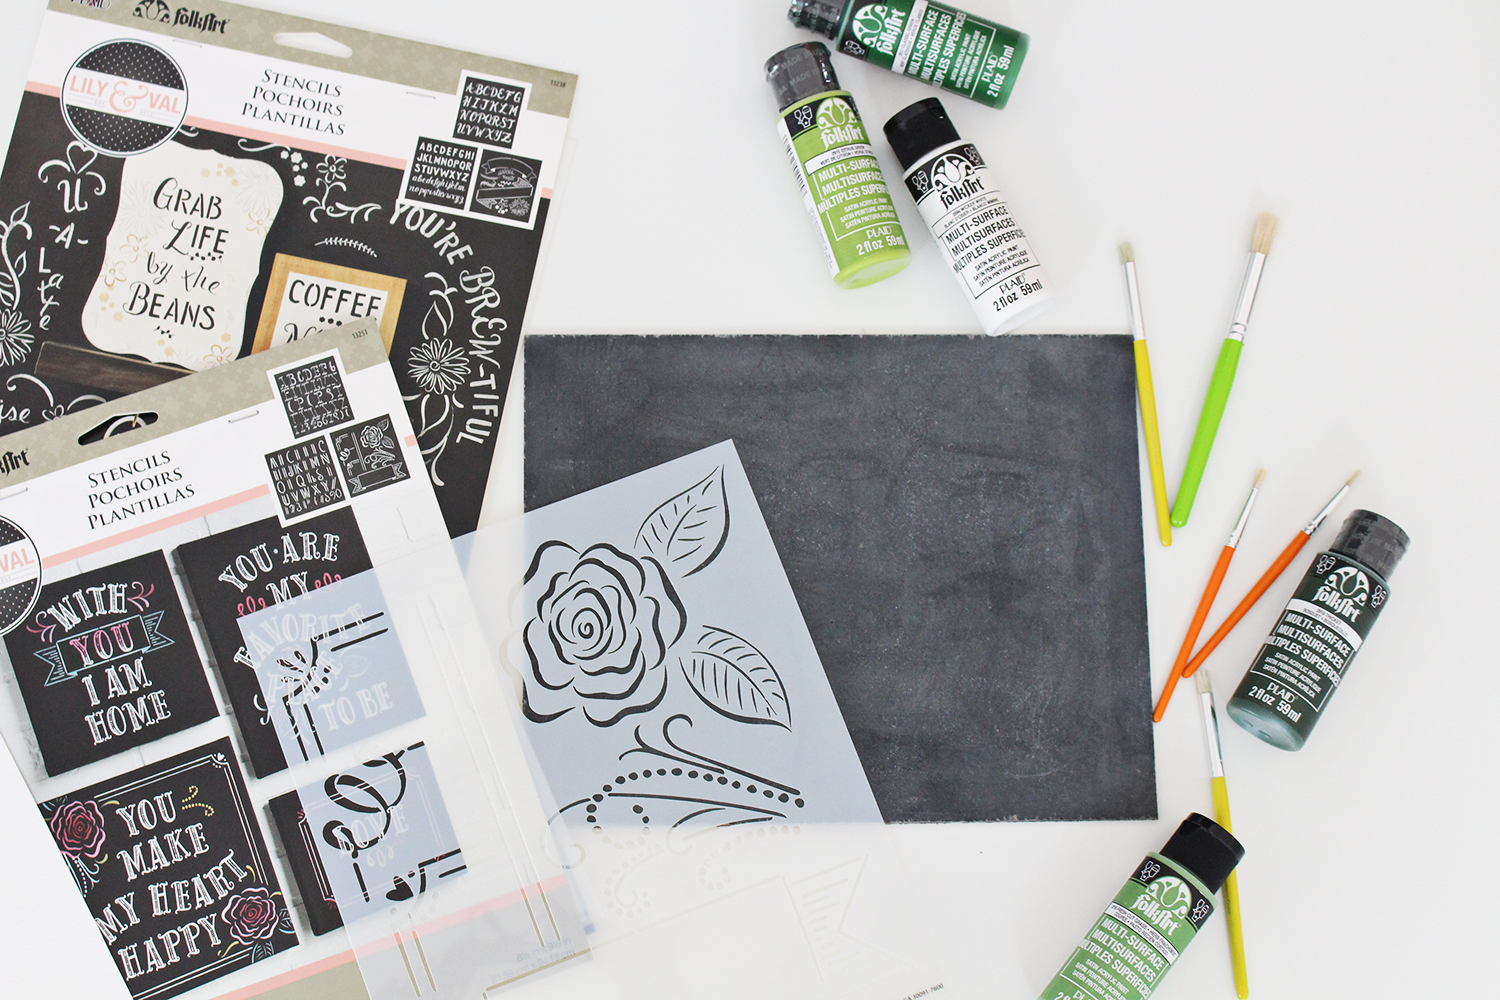
To create this sign you will need:
A set of L&V stencils in this pattern
A set of L&V stencils in this pattern
A small, blank chalkboard
Folk Art paints in Thicket, Citrus Green, Ink Spot, and White.
Small stenciling brushes
Scissors for cutting out the stencils
Also helpful to have on hand: water to wash your brushes & stencils and paper towels
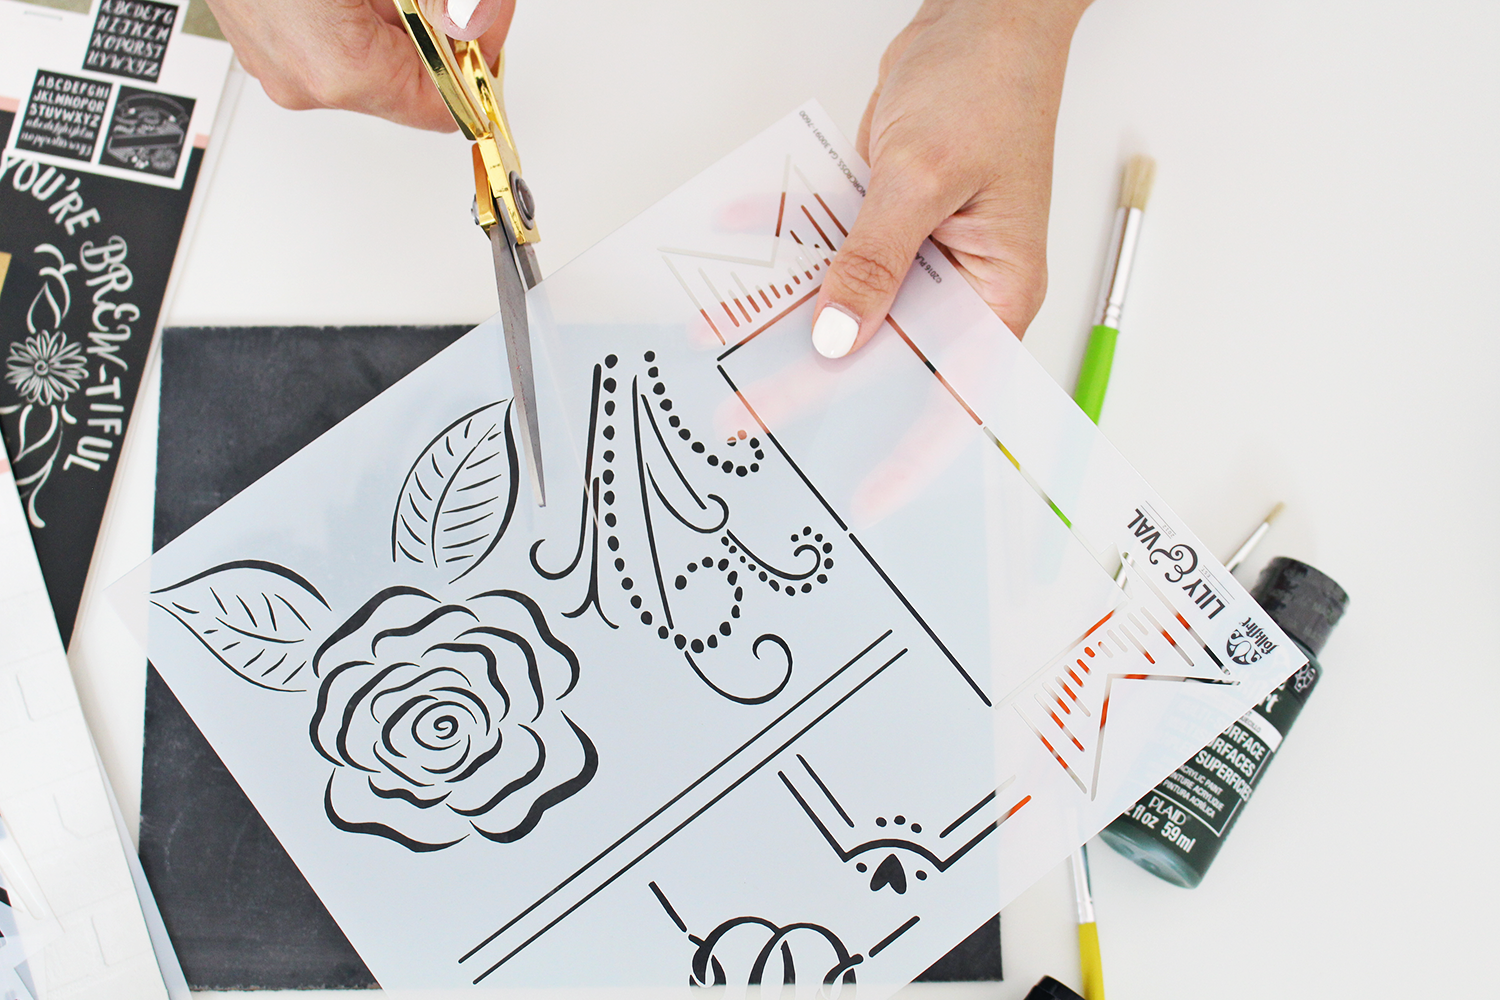
Step 1: Cut Your Stencils
After experimenting with the stencils, I found it easier to cut out the portions I wanted to use. Be aware though, you don’t want to get too close to the edge. You will need some “extra” space in order to push your brush into the stencil and not bleed off the edge. You will need both leaf patterns,
I used both leaf patterns, but cutting them out would have compromised using the rose for a later time, so I cut out both leaves as well as the rose.
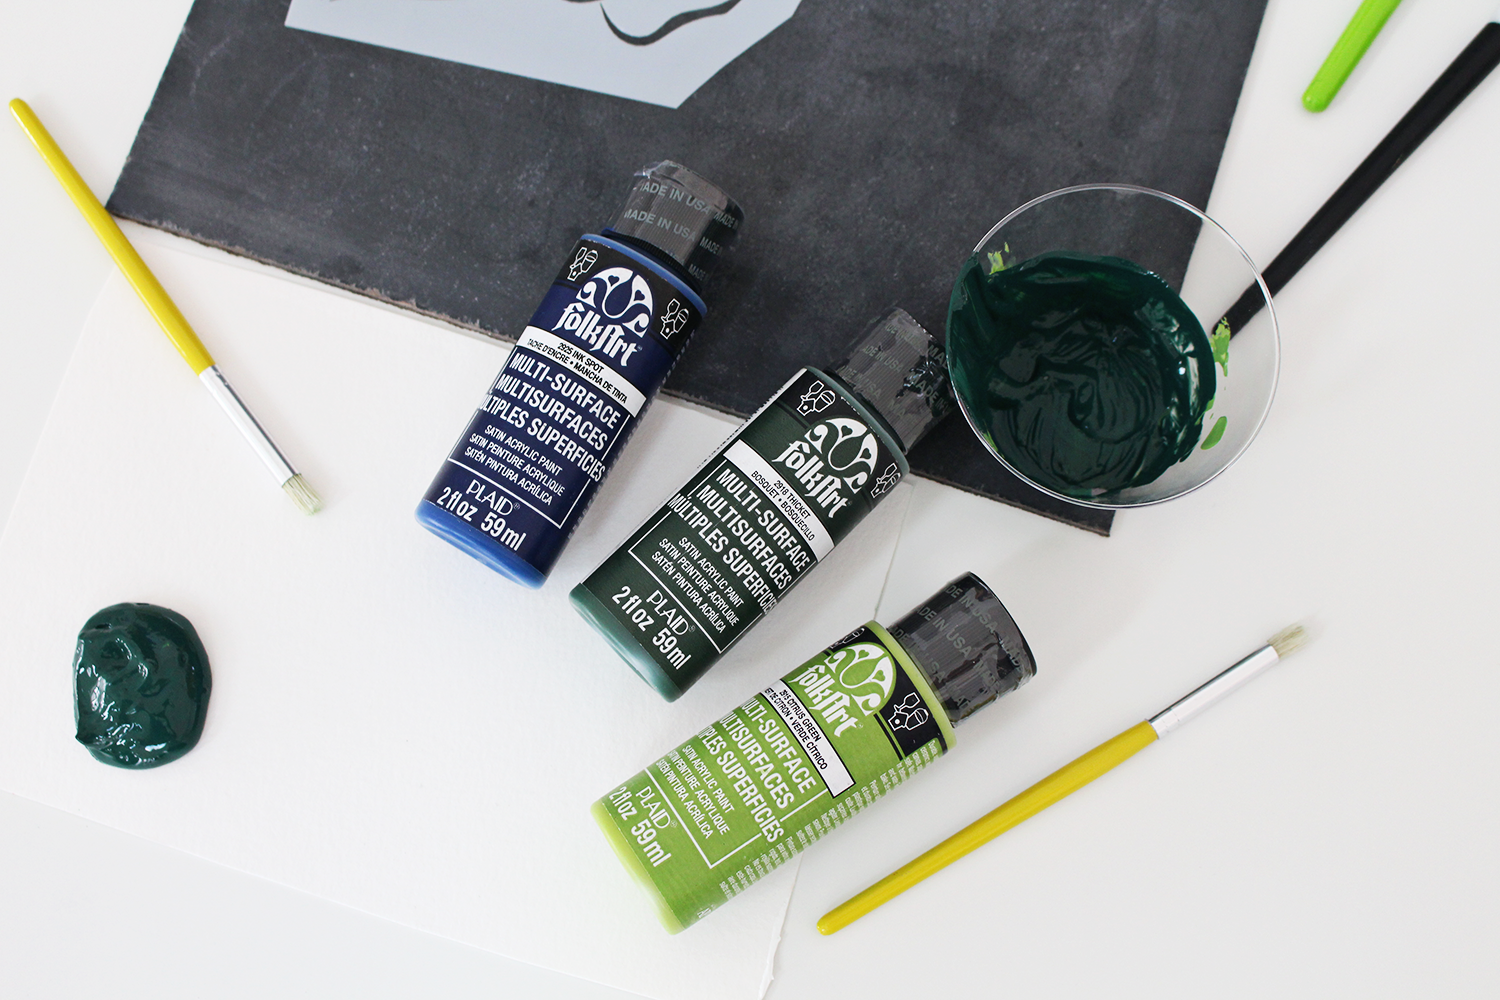
Step 2: Mix your paints.
For the bottom layer of my chalkboard, I wanted the pattern to be very dark and subtle. This will give the chalkboard an interesting and unique effect and make the white letters really pop on top of it! Mix “thicket – a dark green” with “Ink spot- a deep shade of blue” and add just a hint of “citrus green”.
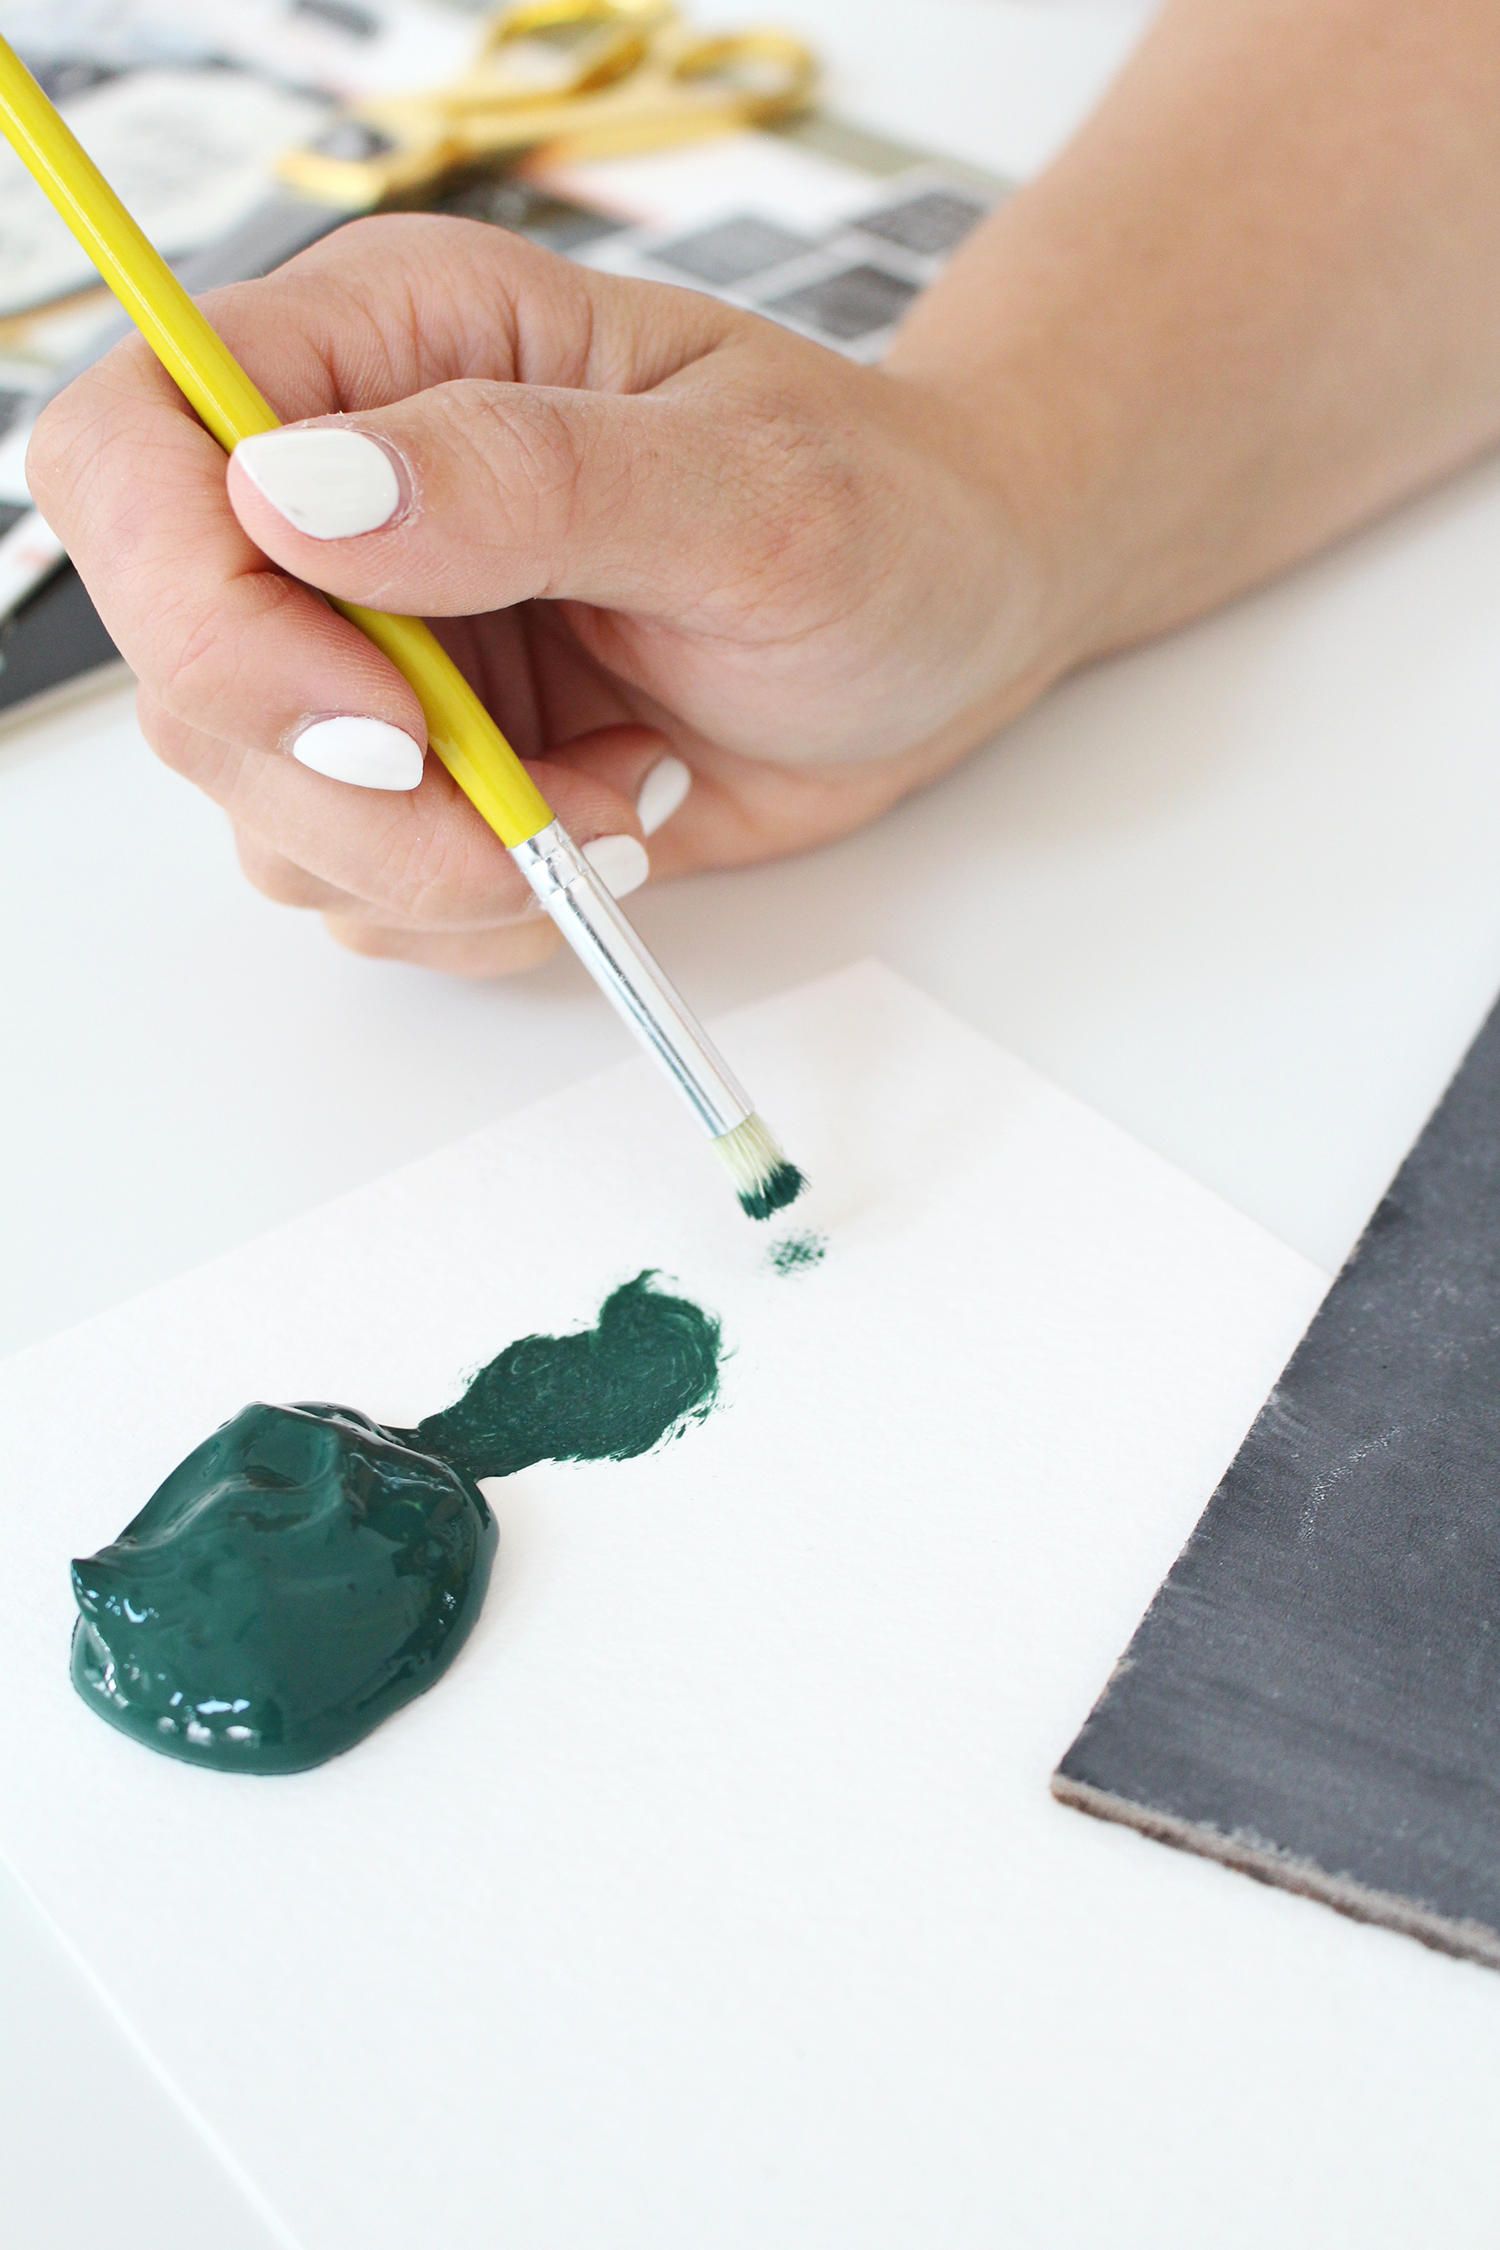
Step 3: Load your brush and begin stenciling!
When using the stencils, you will want to be sure your brush has just enough paint but is mostly dry. Too much paint on your brush could cause the color to bleed. Swirl your brush in the paint then dab a bit of it off onto your palette before moving to the stencil.
Holding down your stencil, dab the brush into the open spaces. You will want to use a blotting motion as opposed to swiping the brush back and forth (this could cause the stencil to lift.) When the spaces are covered in paint, lift up the stencil and you have your first mark!

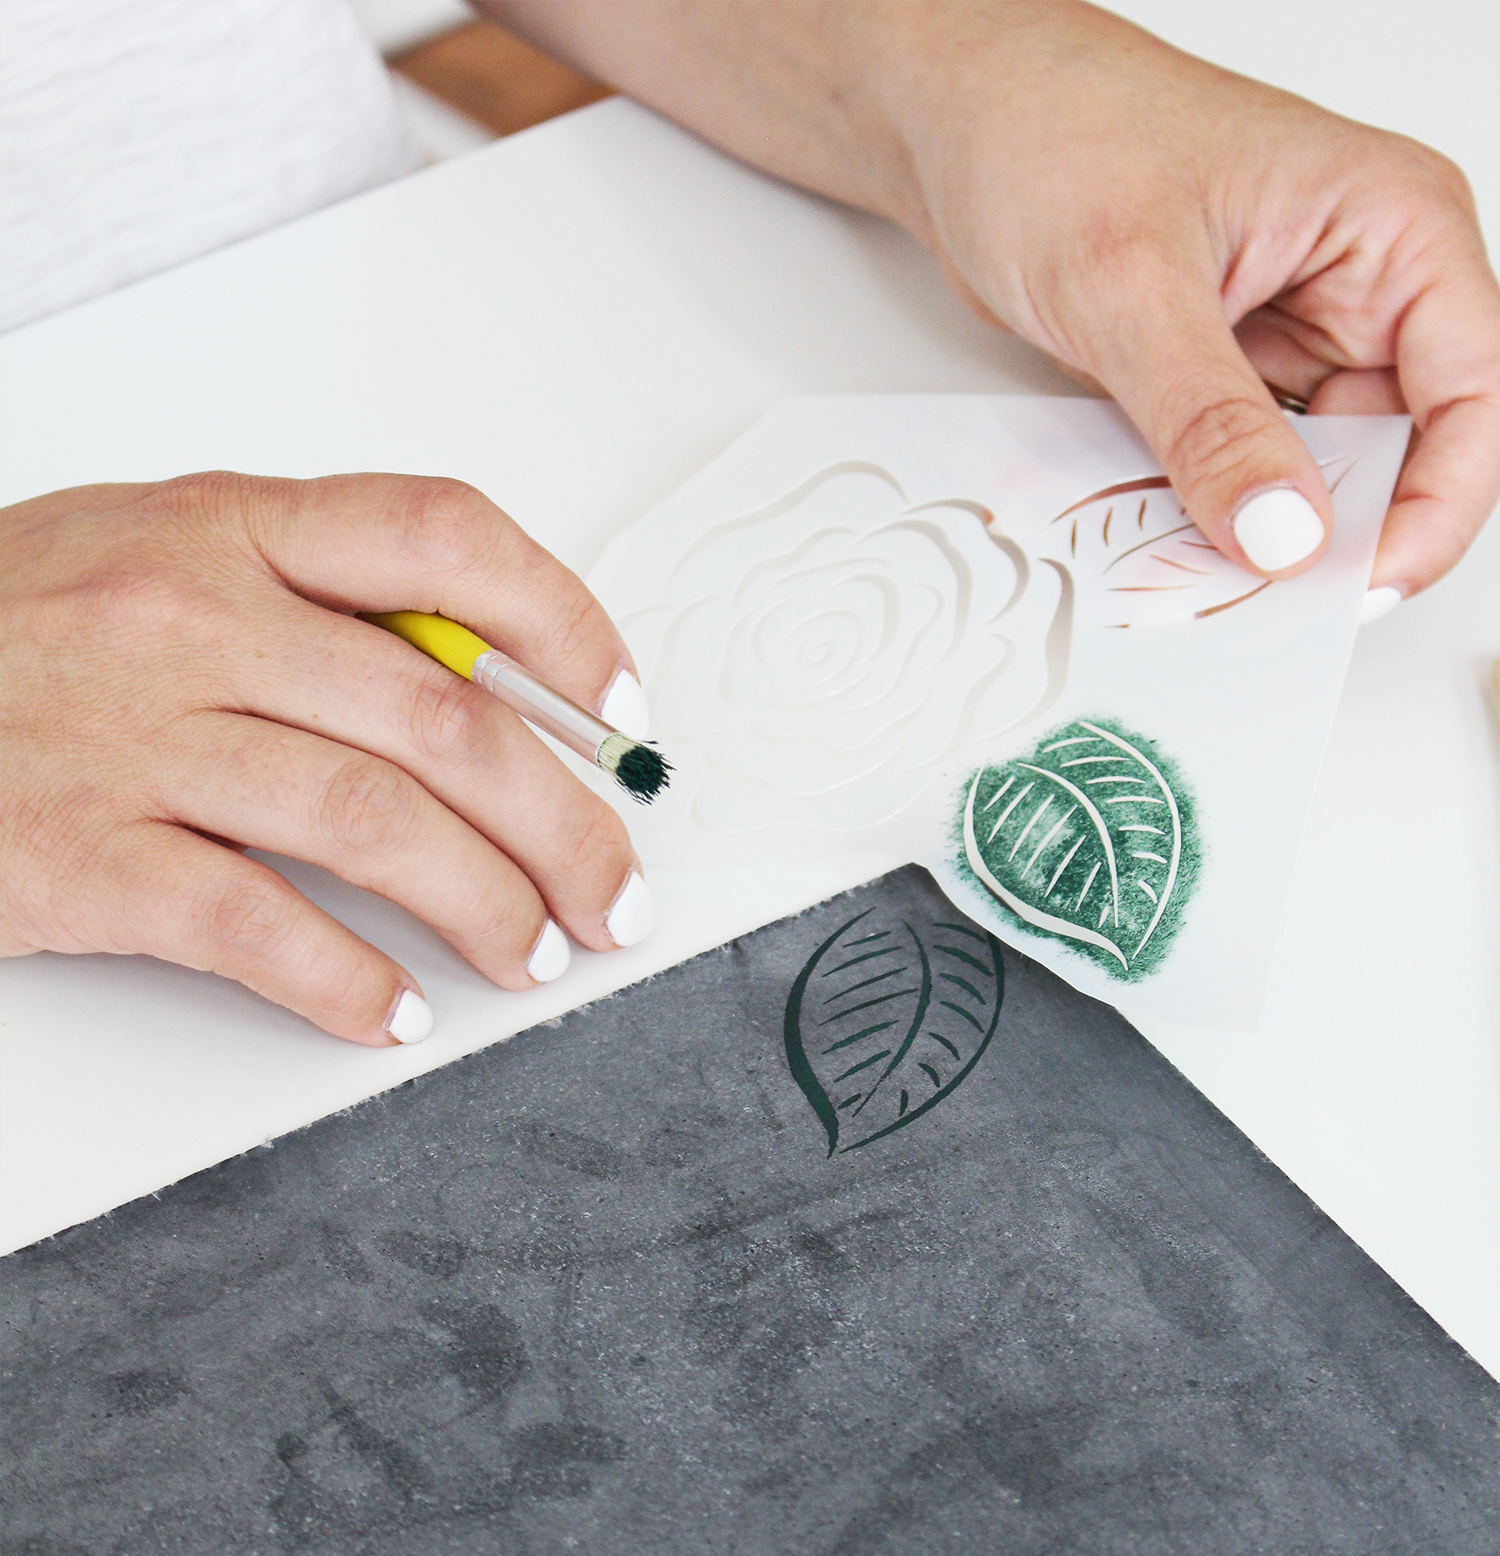
Step 4: Repeat to create the pattern
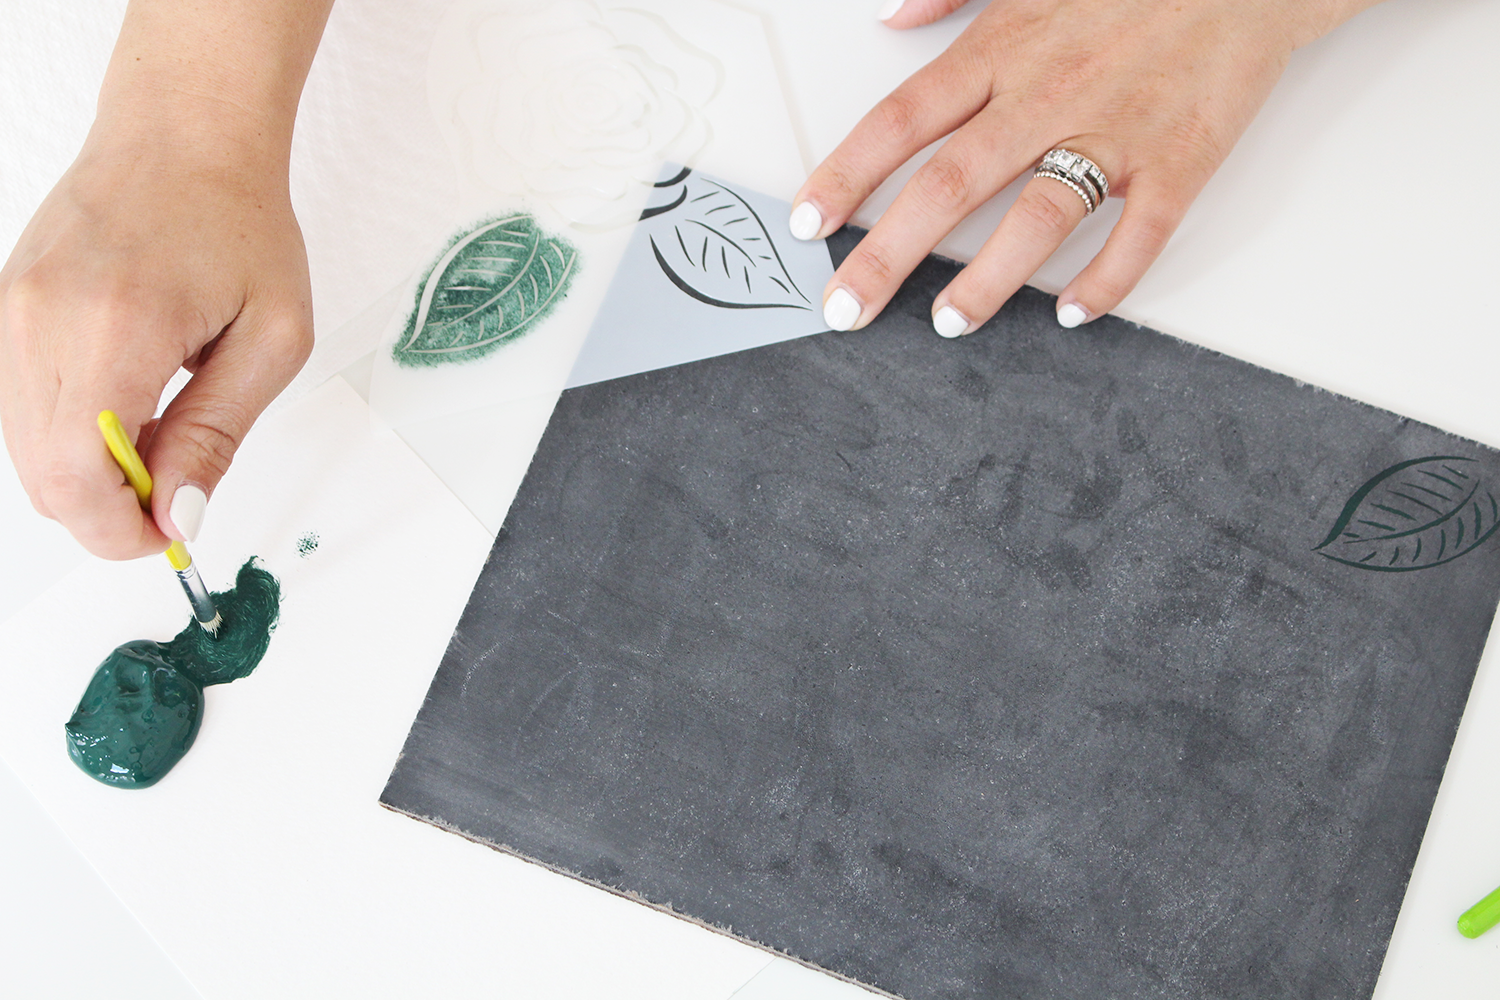
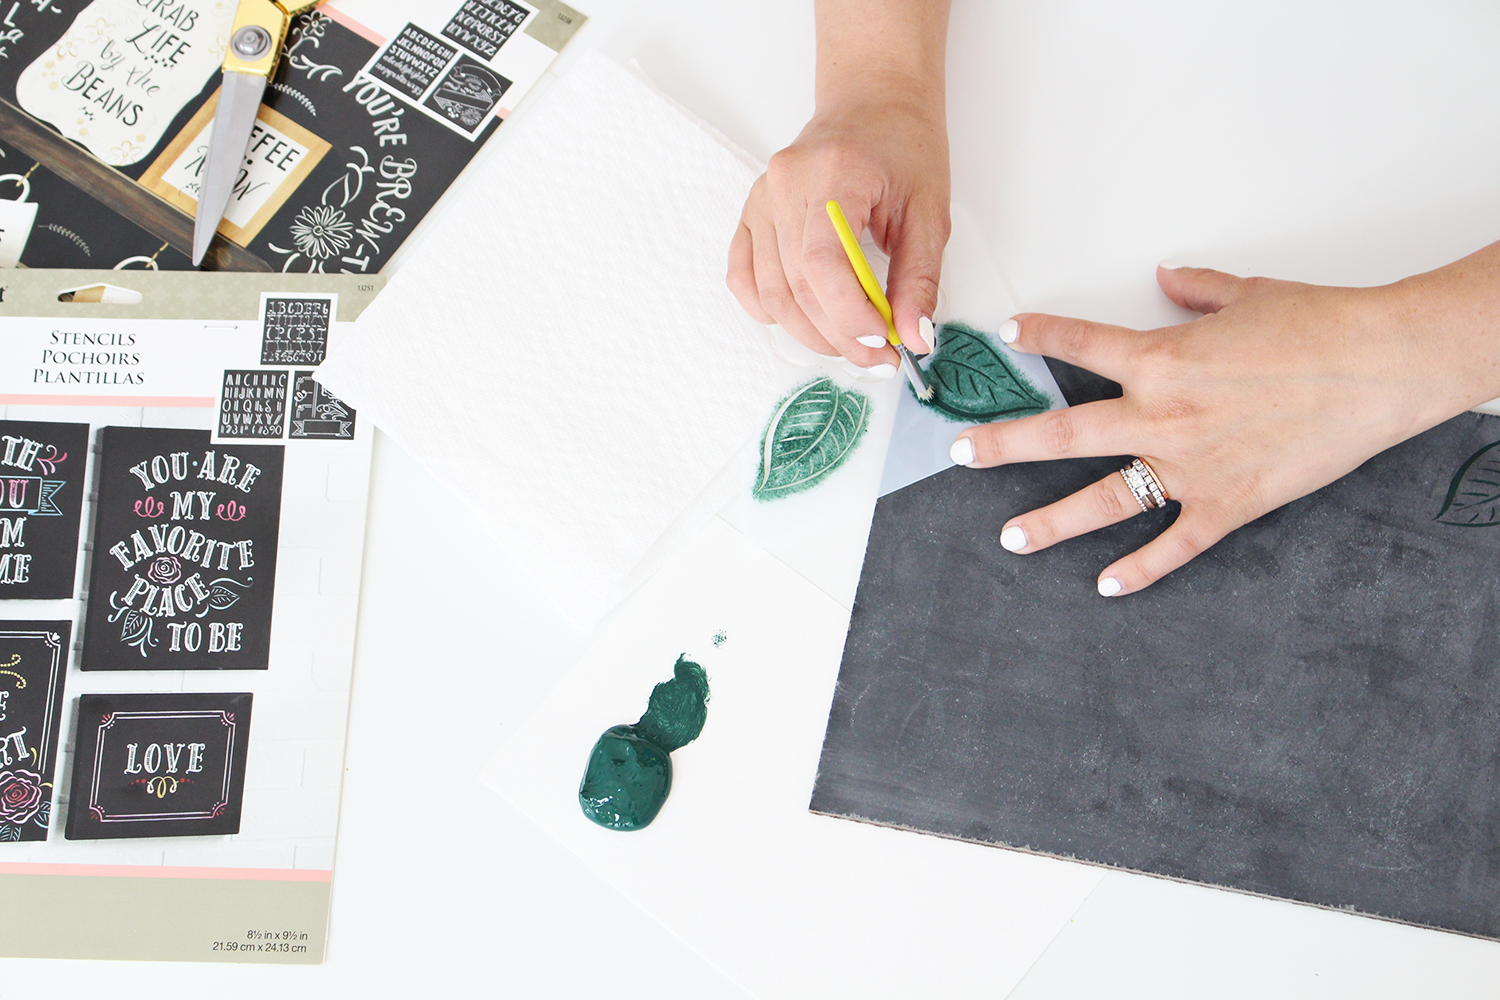
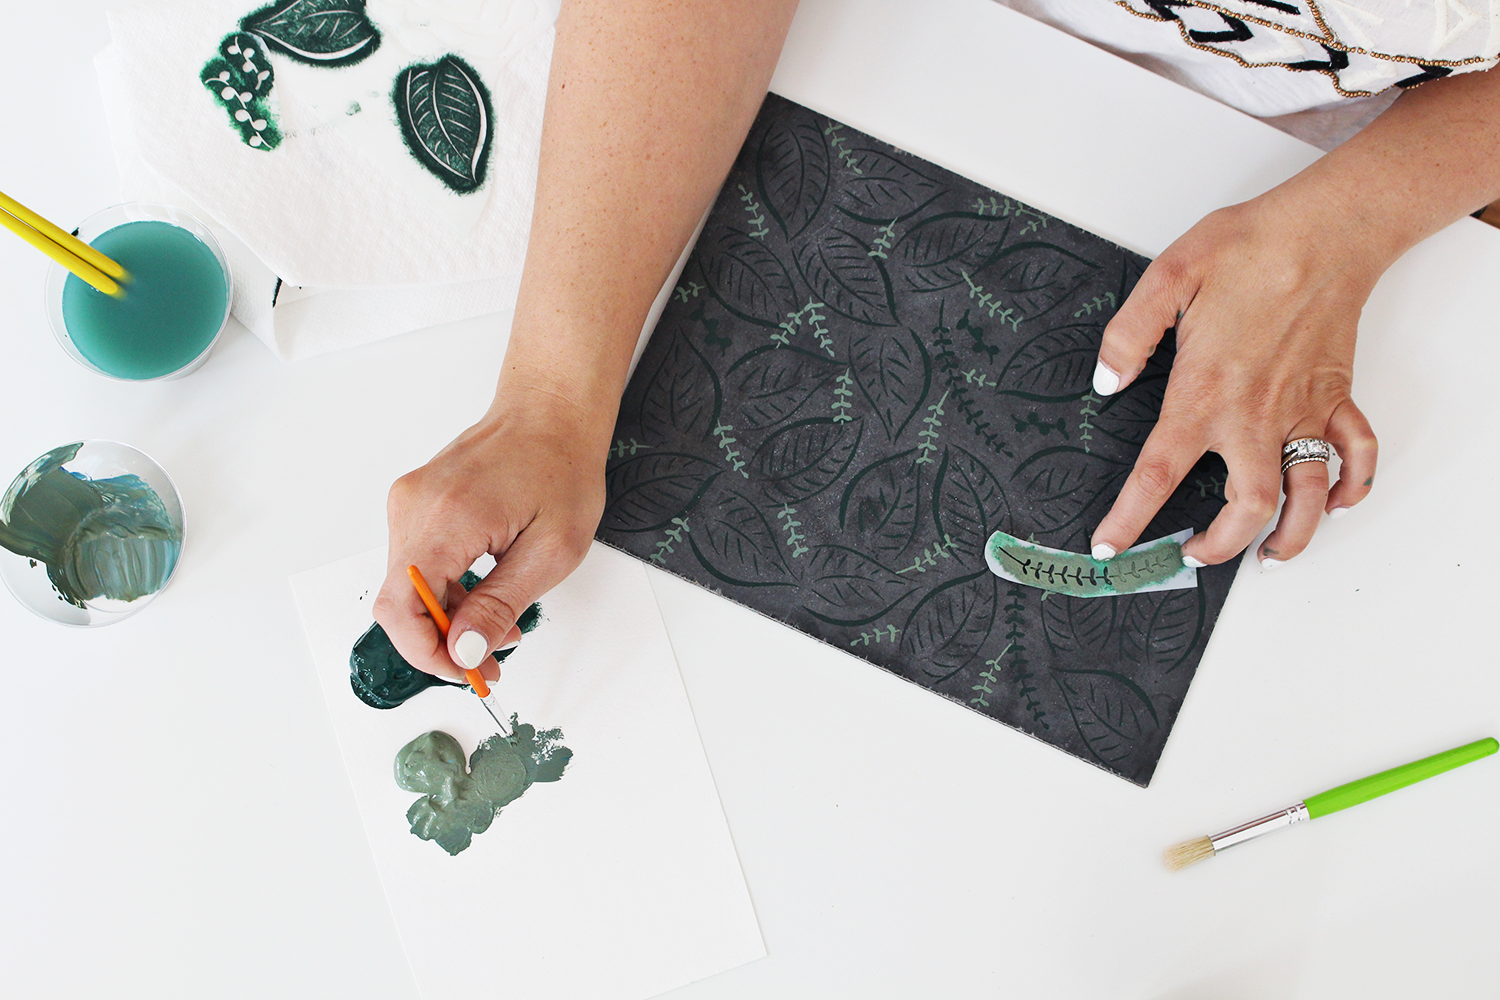
Create the dark leaf pattern by alternating your stencil from corner to corner. If you’re a bit impatient like me, this helps each portion dry without disturbing it. Fill in any gaps and turn your stencil as needed.
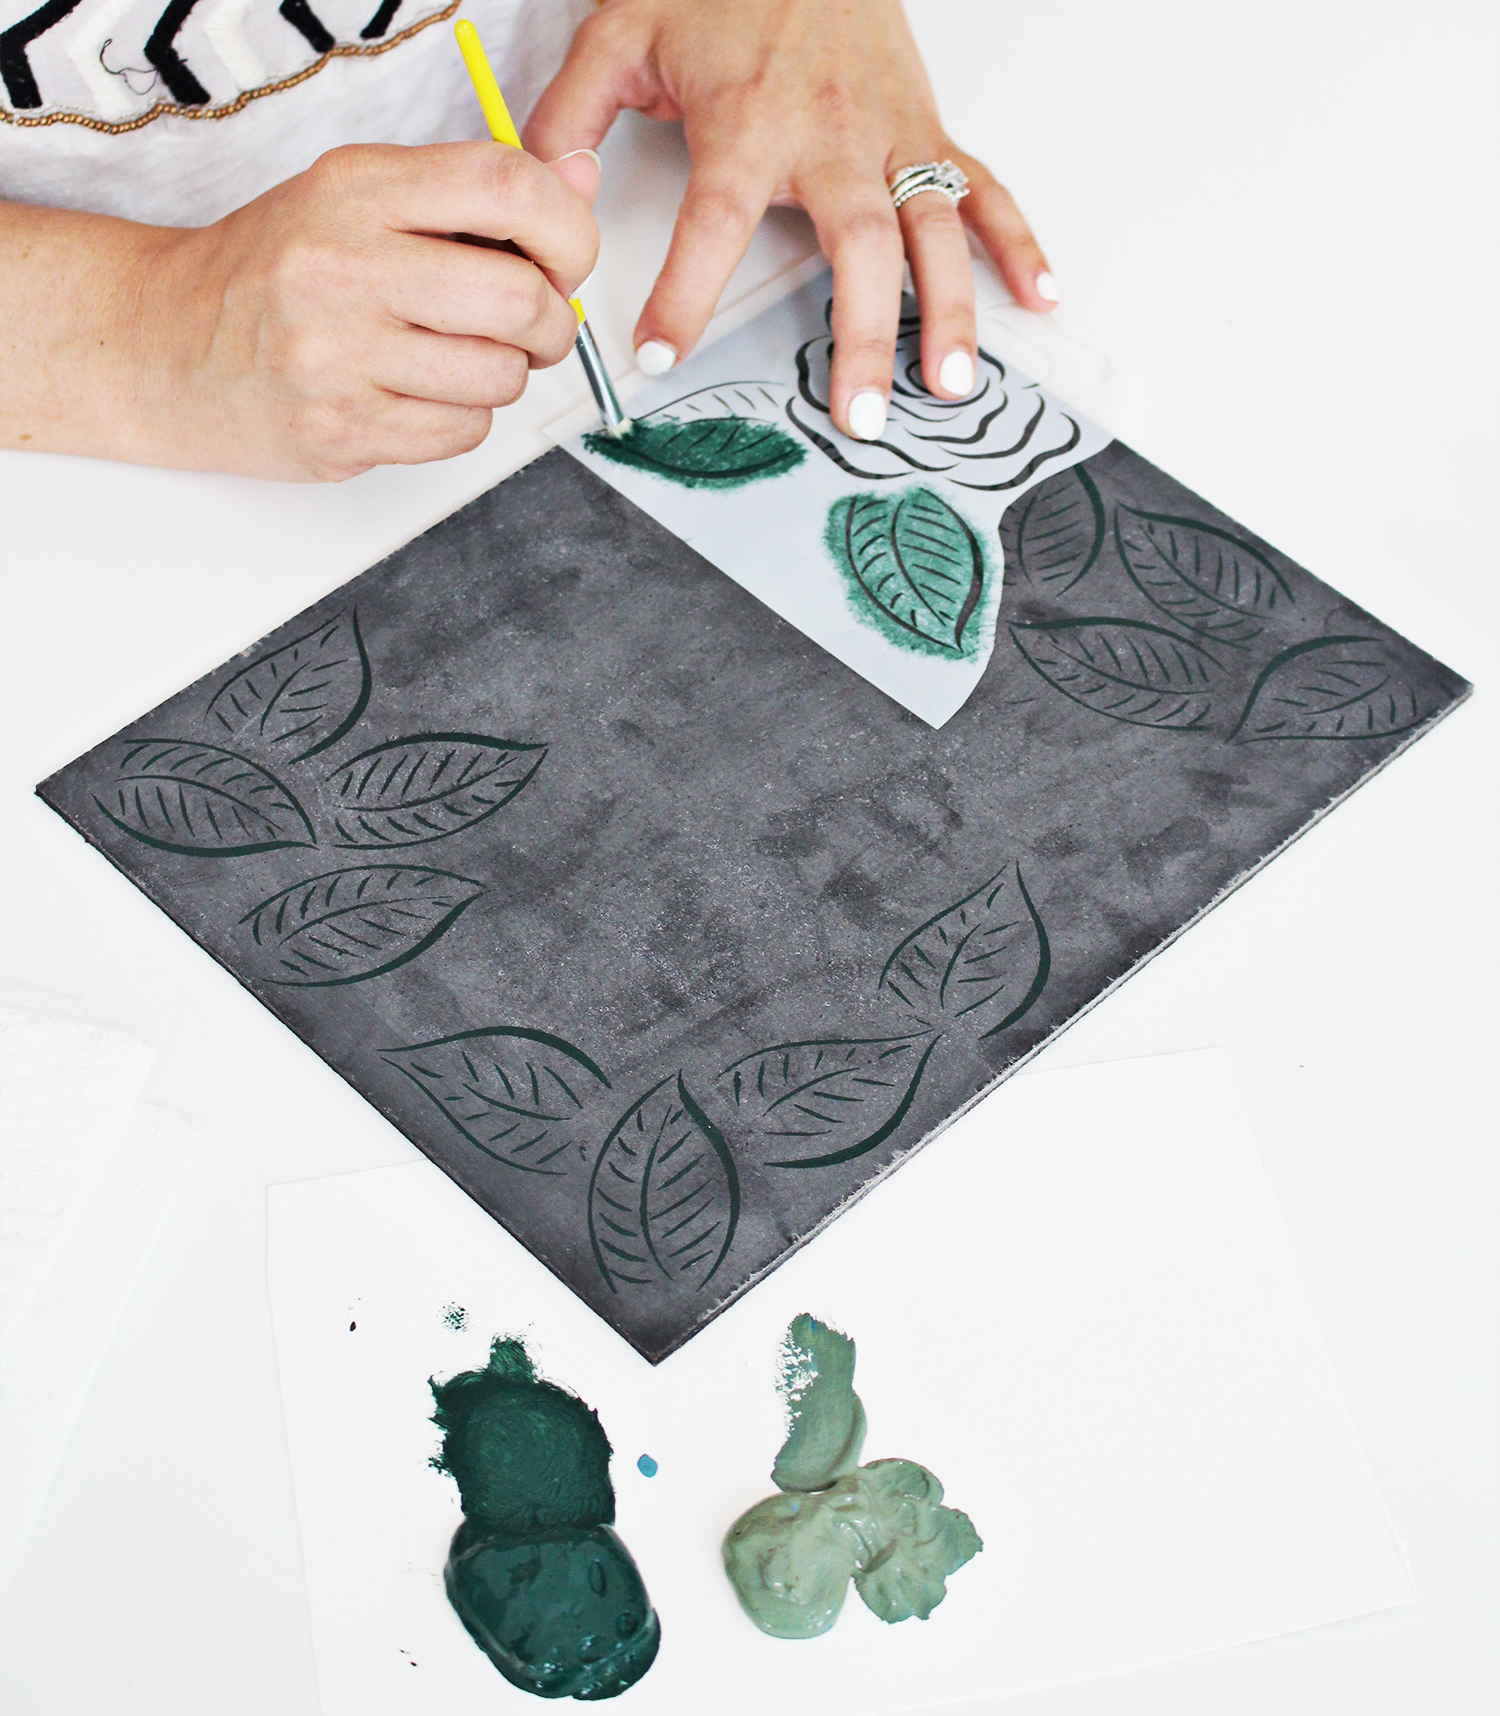
Step 5: Create balance
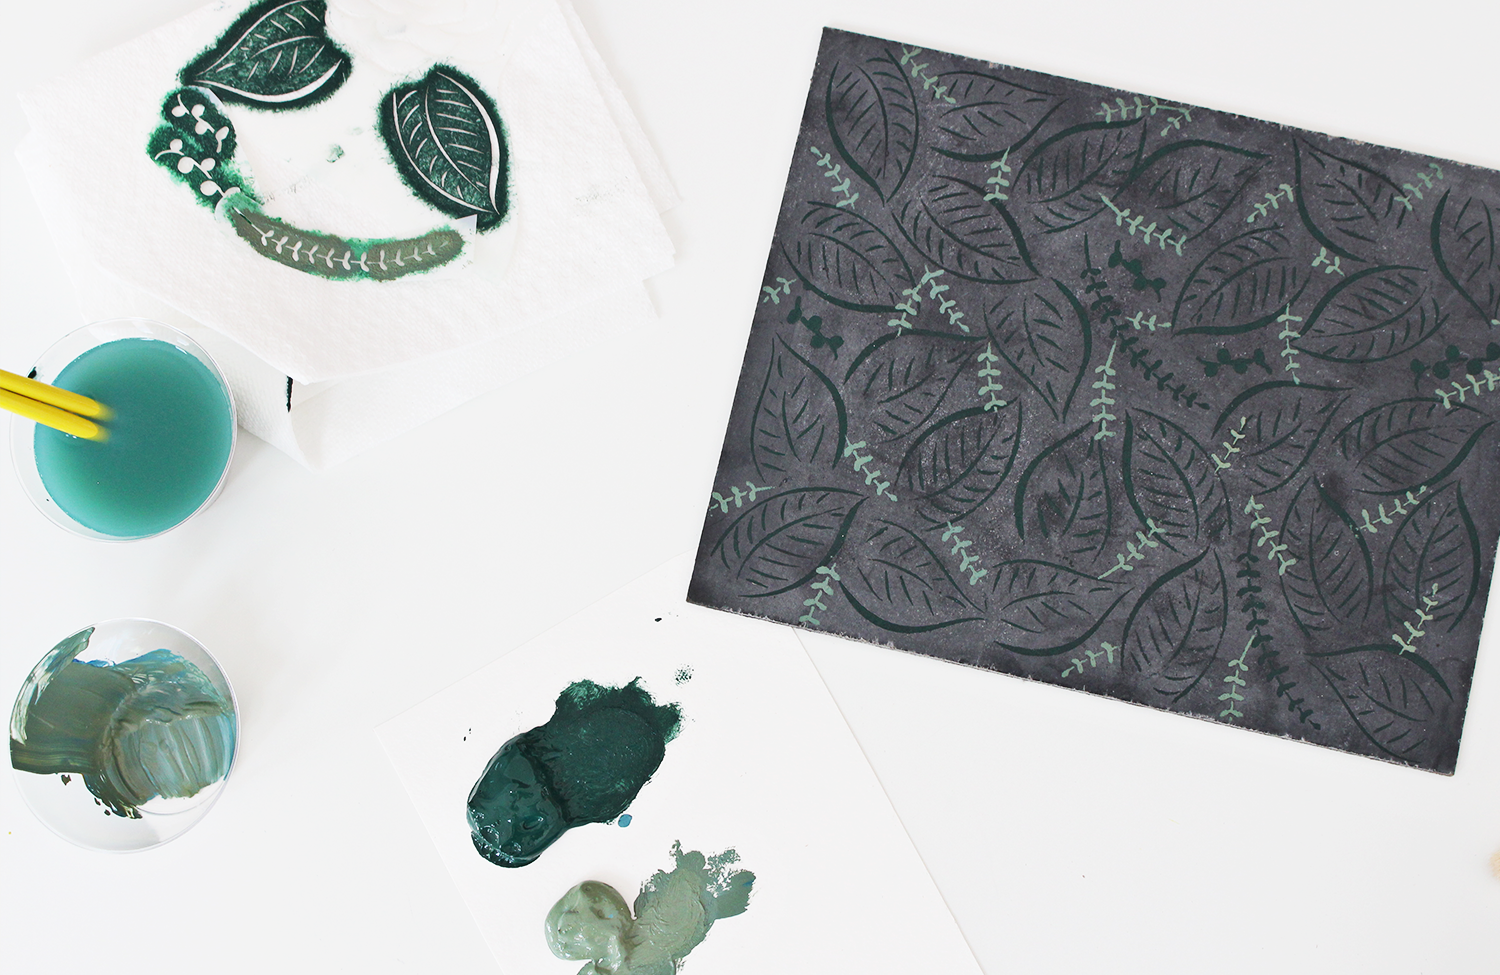
Once you have the larger leaves covering most of the board, fill in any awkward, small, unbalanced spaces with the smaller set of branches and leaves. Keep in mind, you do not have to use the entire stencil. Sometimes only using a part of it will do the trick!
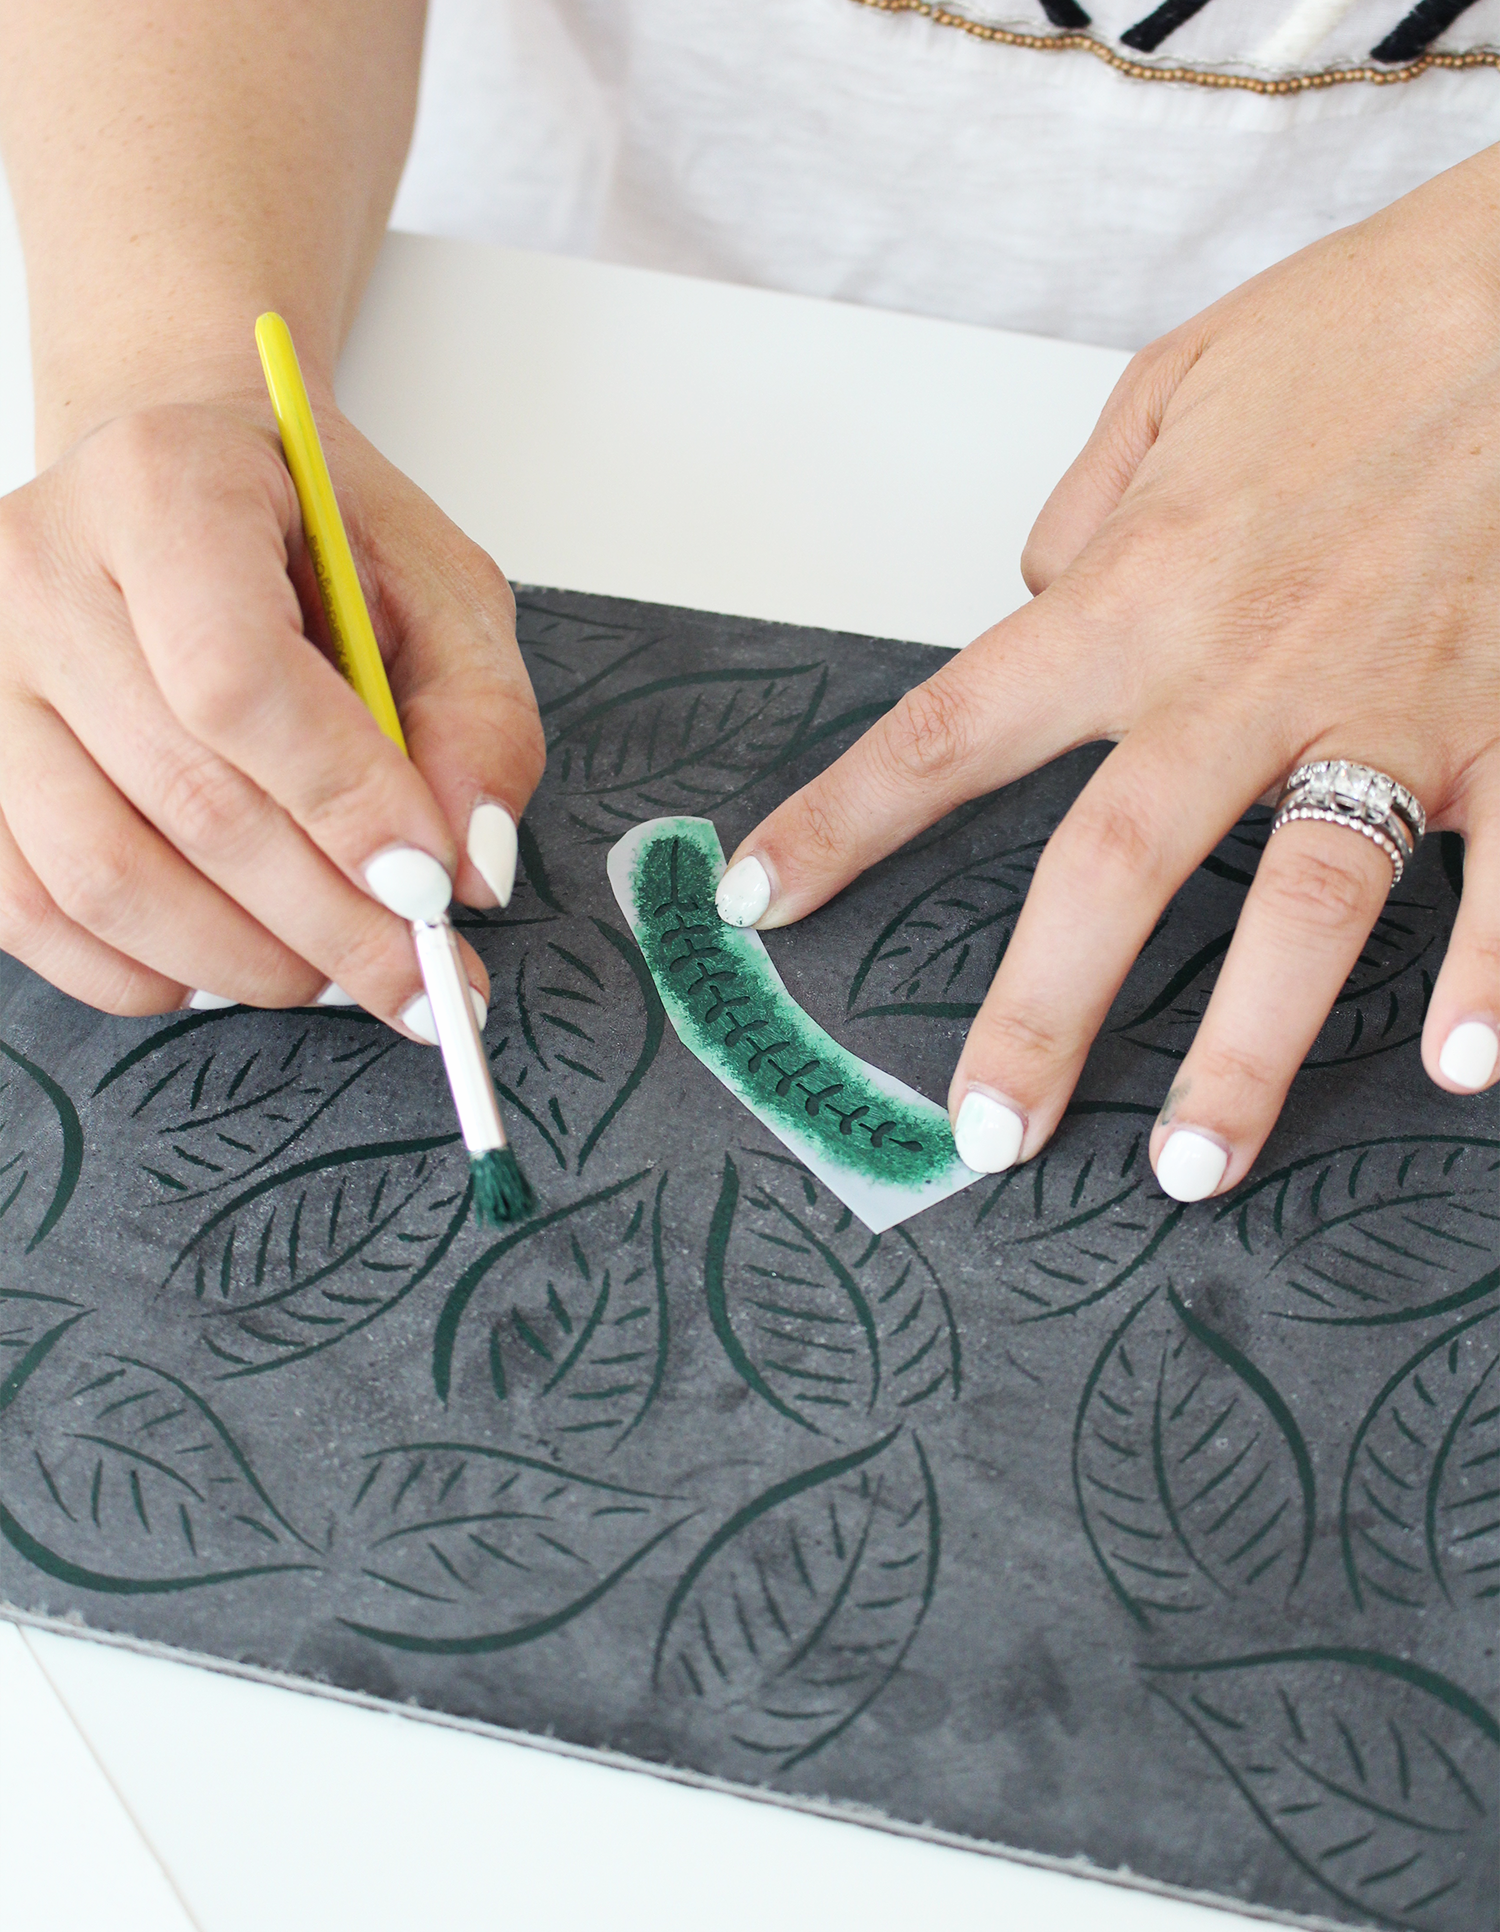 Our first layer is done! Now we let it dry (don’t worry, it does dry quickly!)
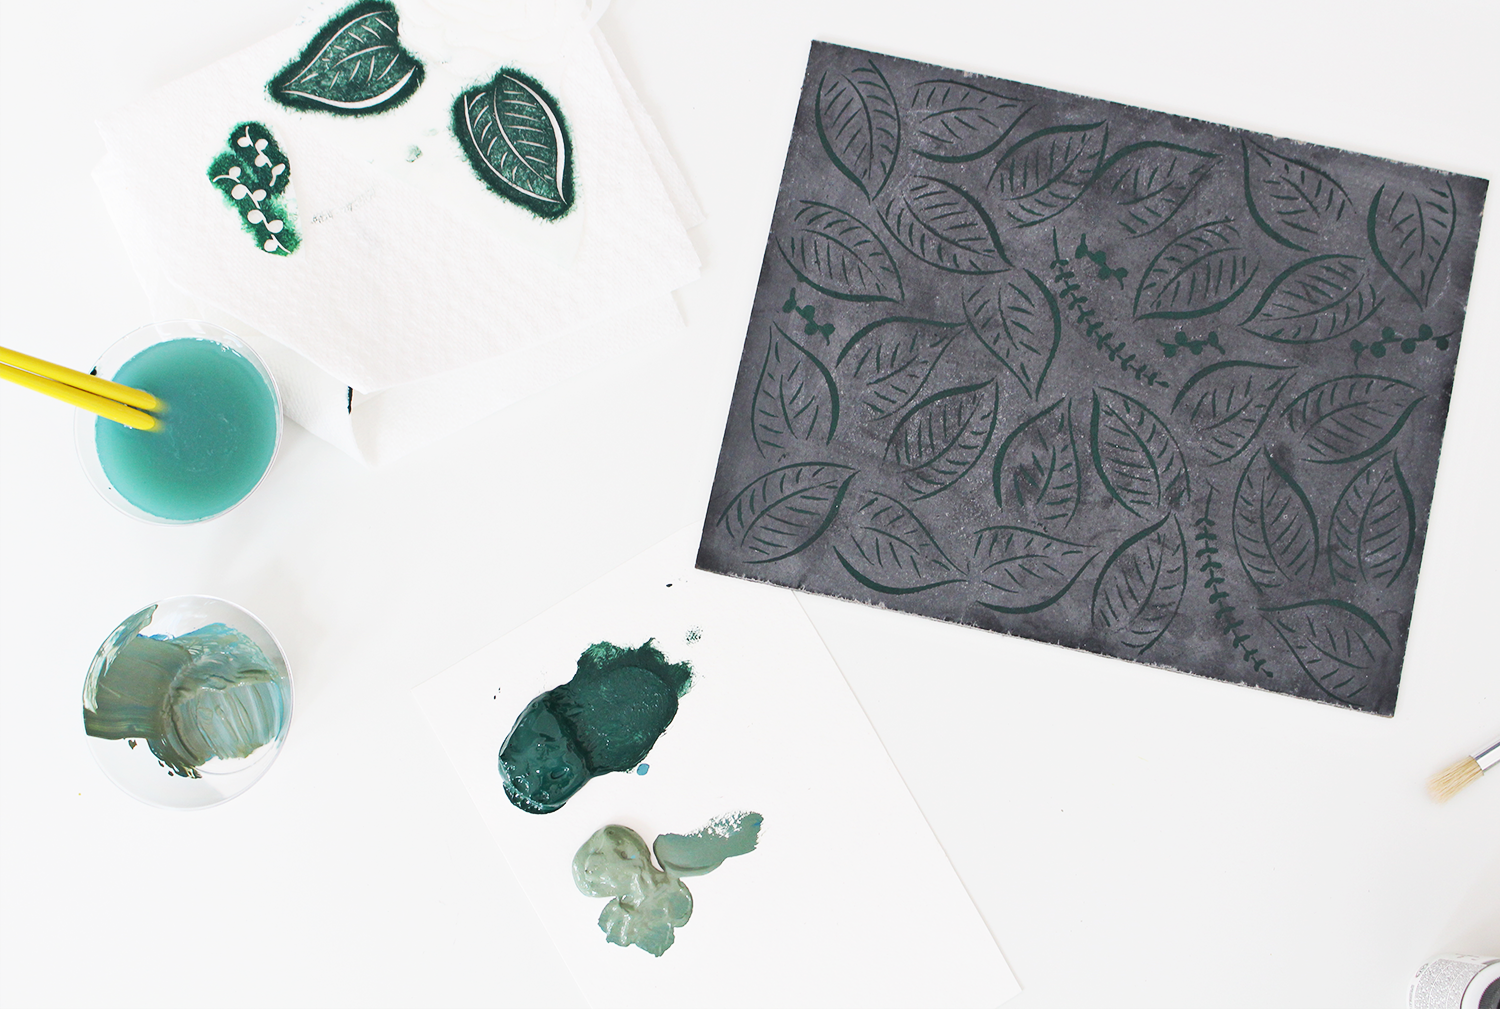
Step 6: Add a second, lighter layer of details
Mix up the second batch of paint using white to create a lighter shade of sage green. Using the smaller branches and a smaller brush, go back into your design and add some small, lighter leaves to contrast the first dark, leafy layer. The spacing does not need to be perfect just so it feels balanced.
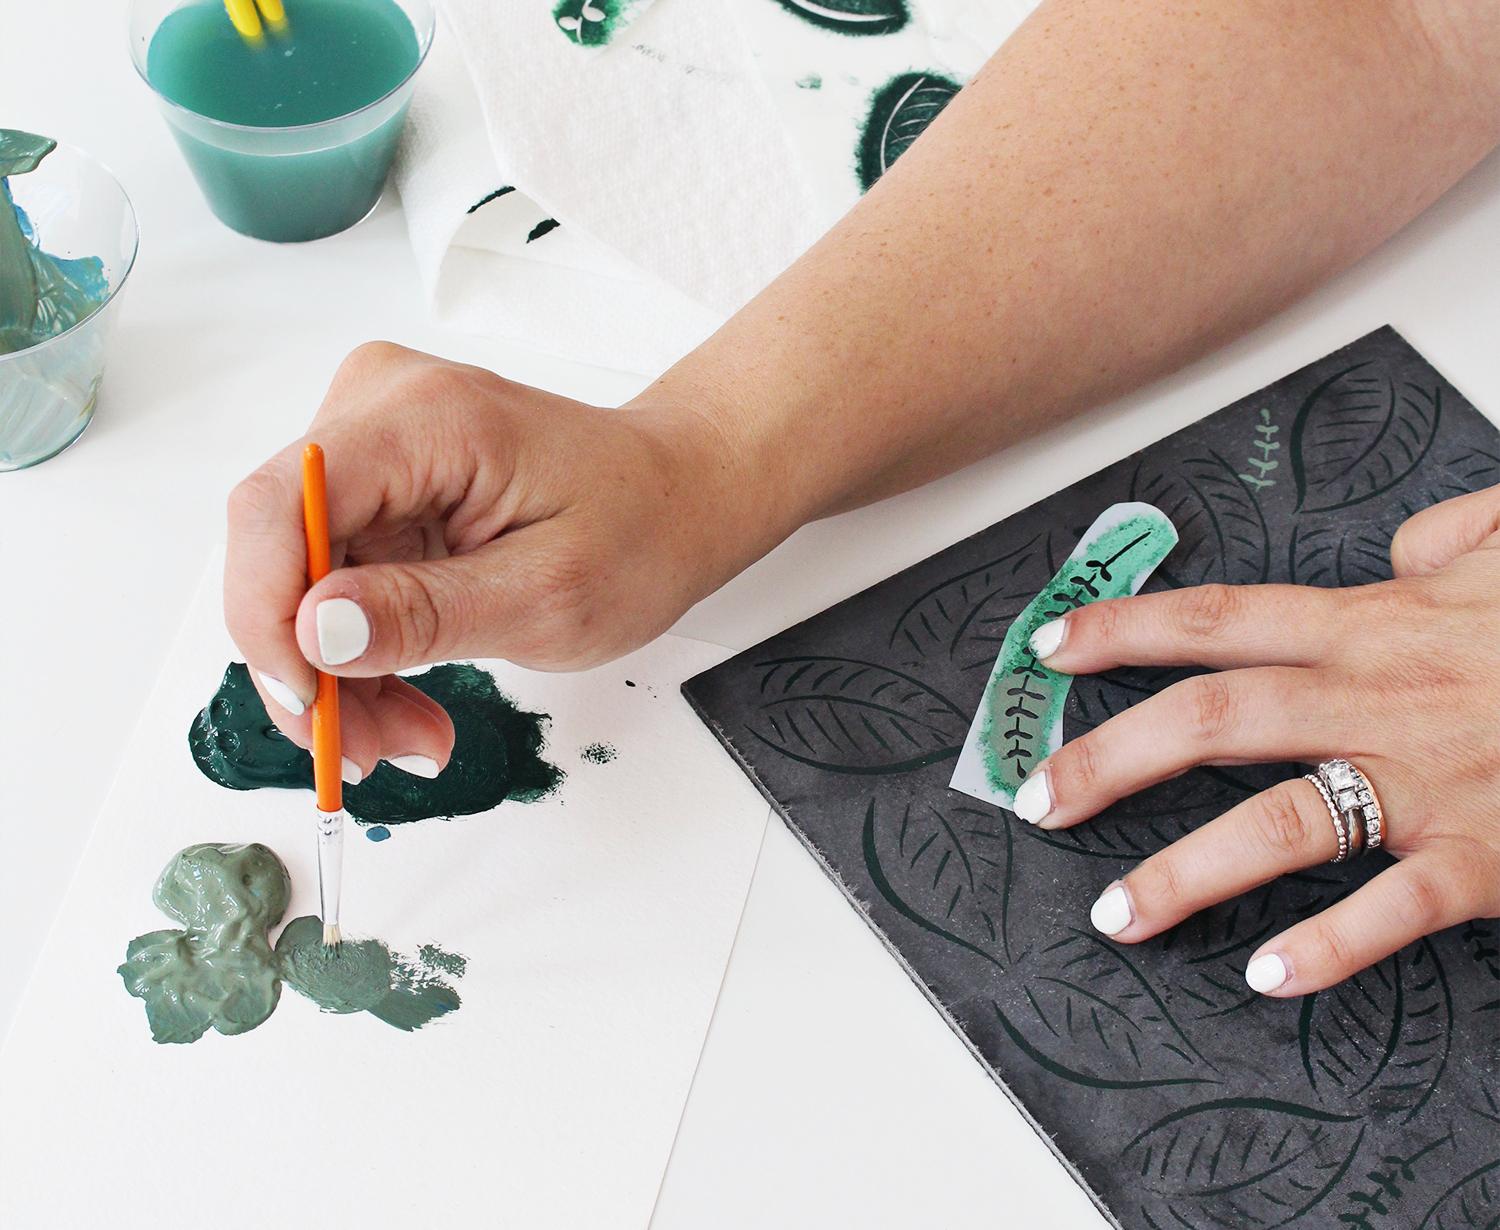
Step 7: Plan your lettering
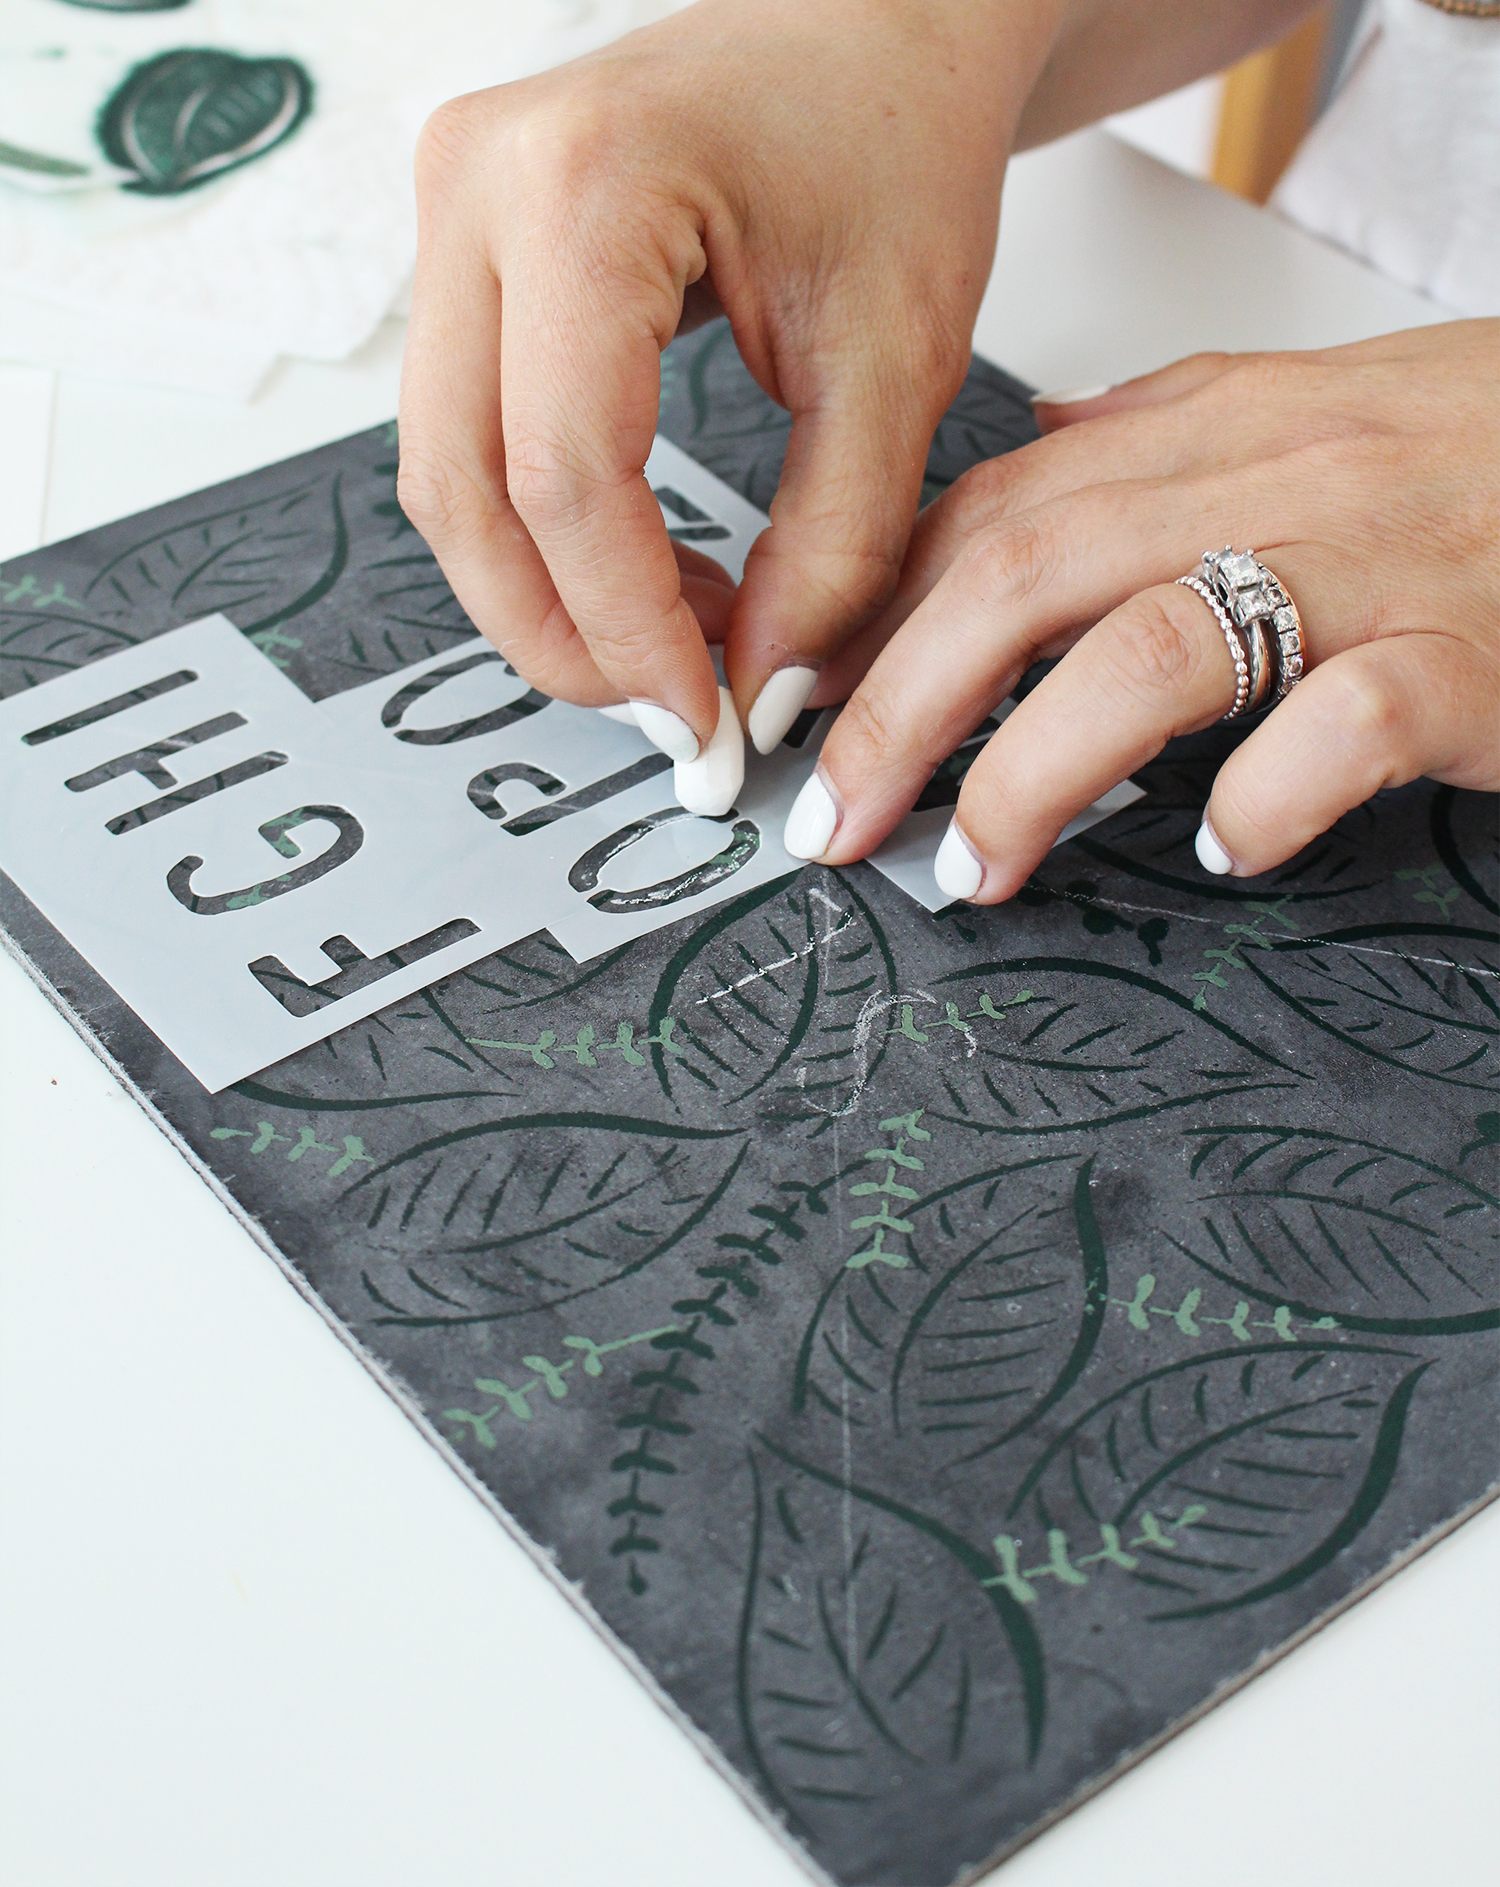
Since we are working on a chalkboard, you can use a piece of real chalk to draw guides. I drew from corner to corner to find the center point, then lightly drew through the stencils to mark where the letters should go and how closely they should be spaced. I liked the idea of using the simple, bold hand lettering style to contrast the pattern.
Step 8: Stencil your letters on top
Lining the stencil up with your guides and using white paint, stencil your letters right on top of the guides. As we did with the leaves, you can alternate which letters you paint first so as to let the others dry.
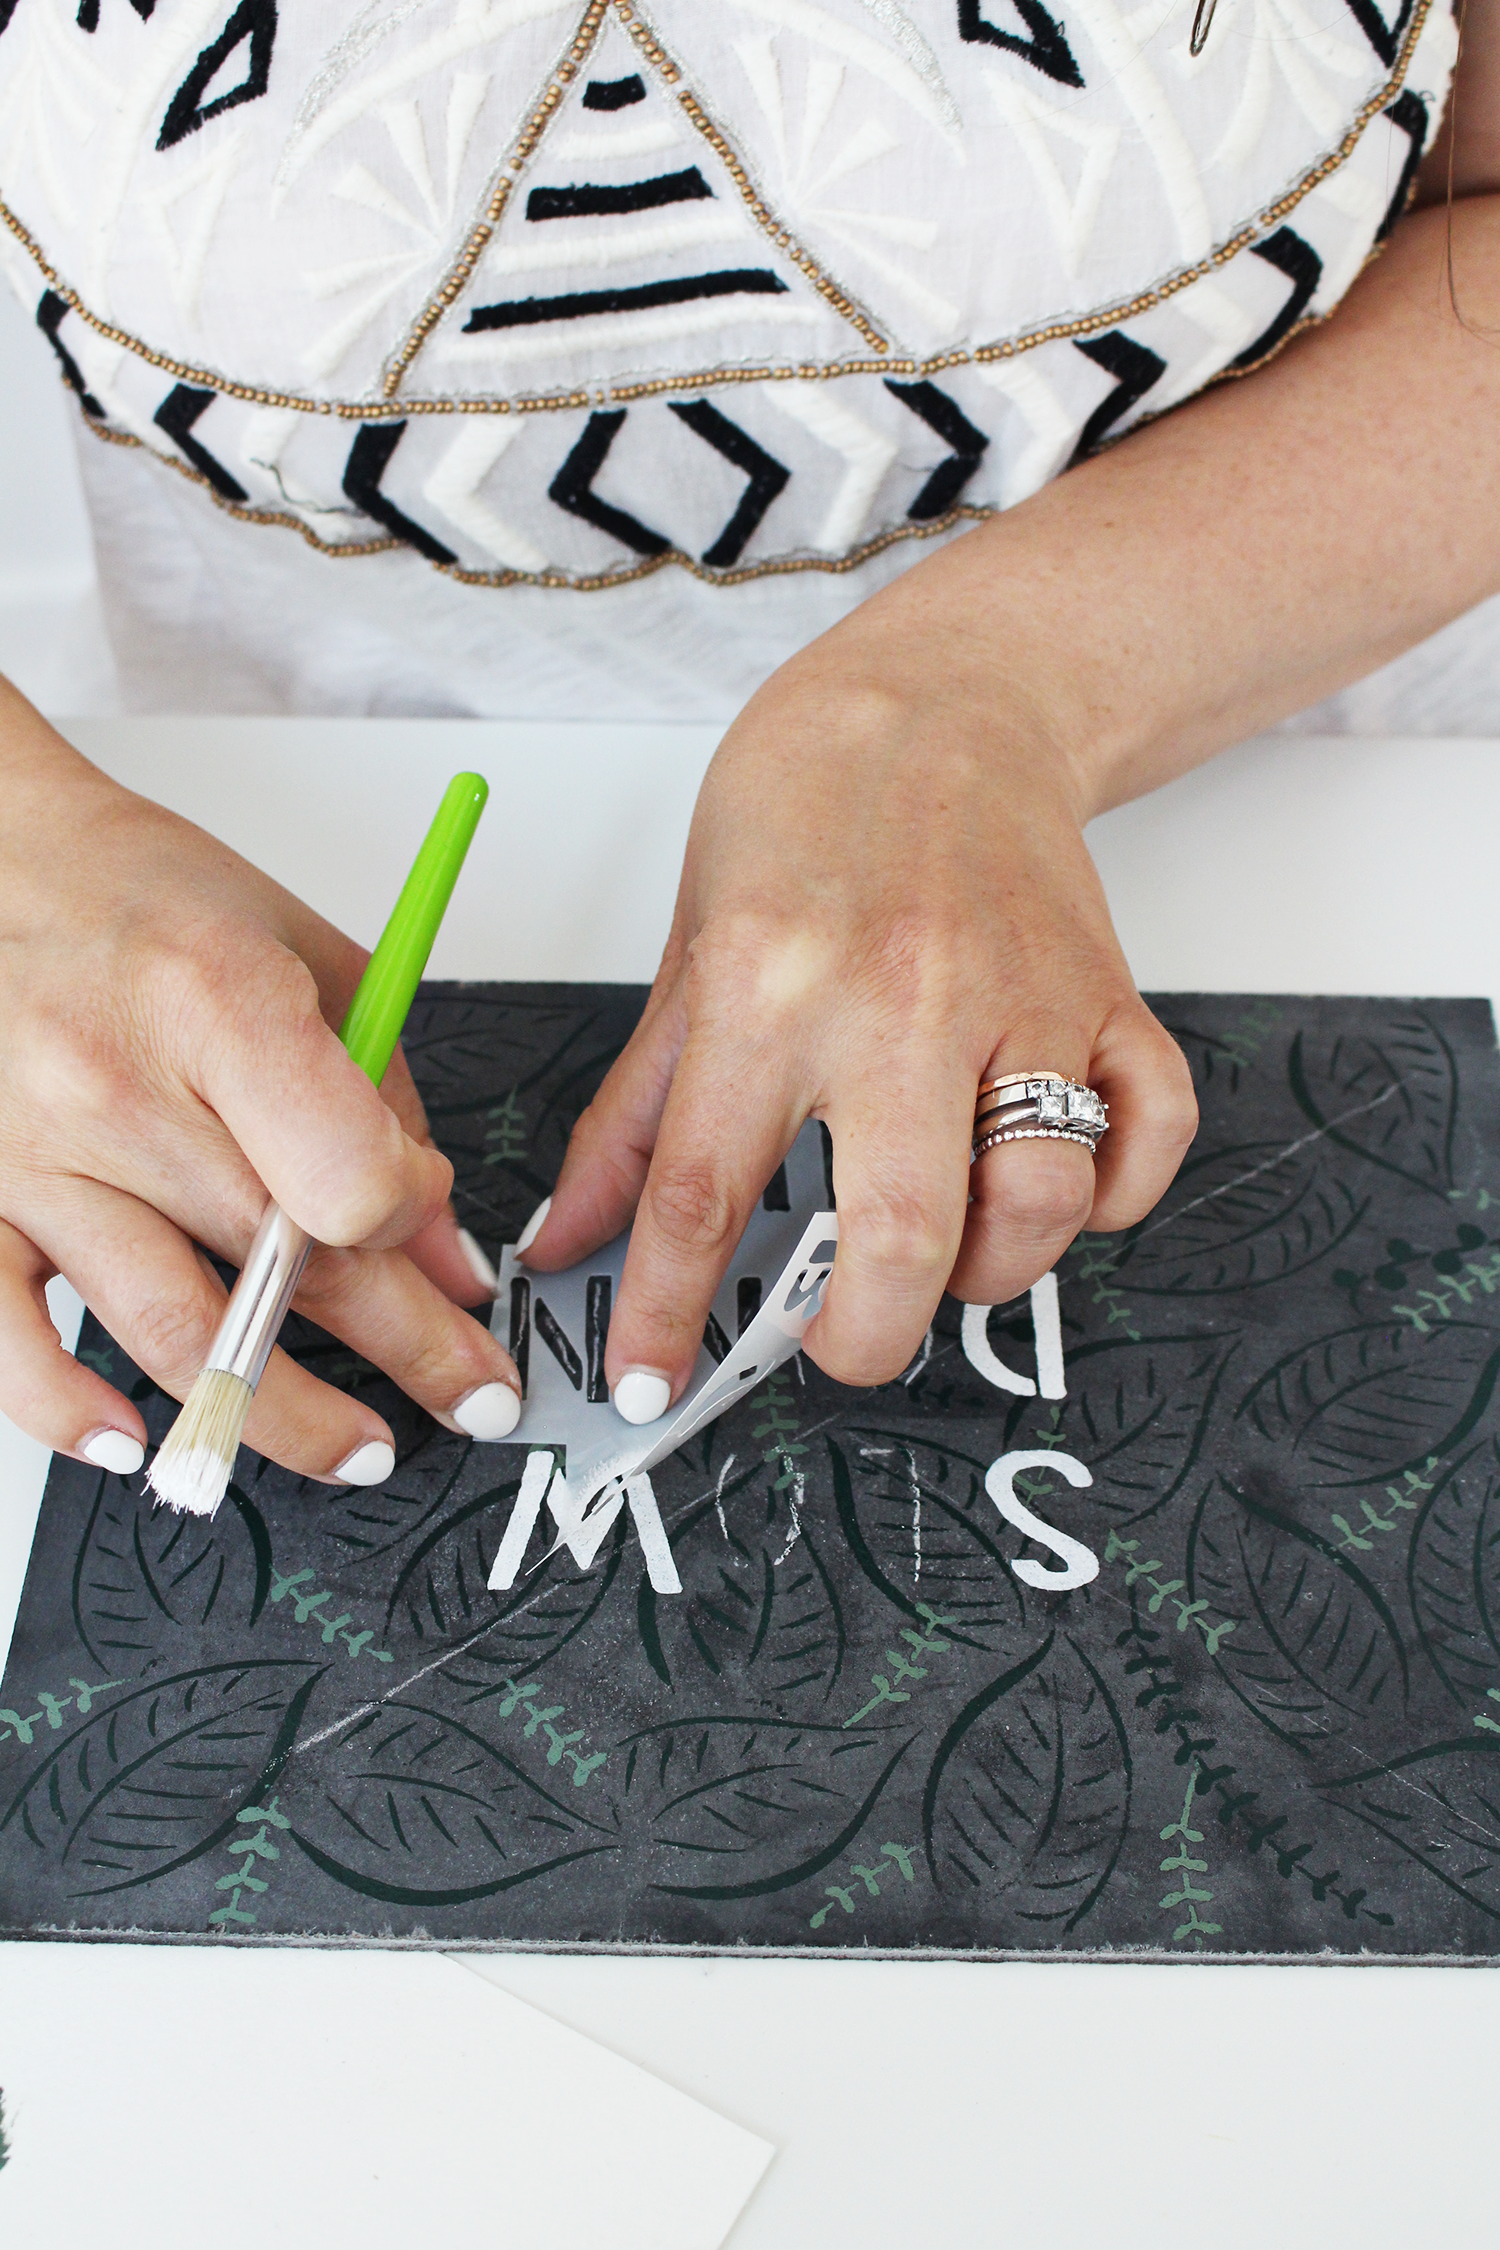
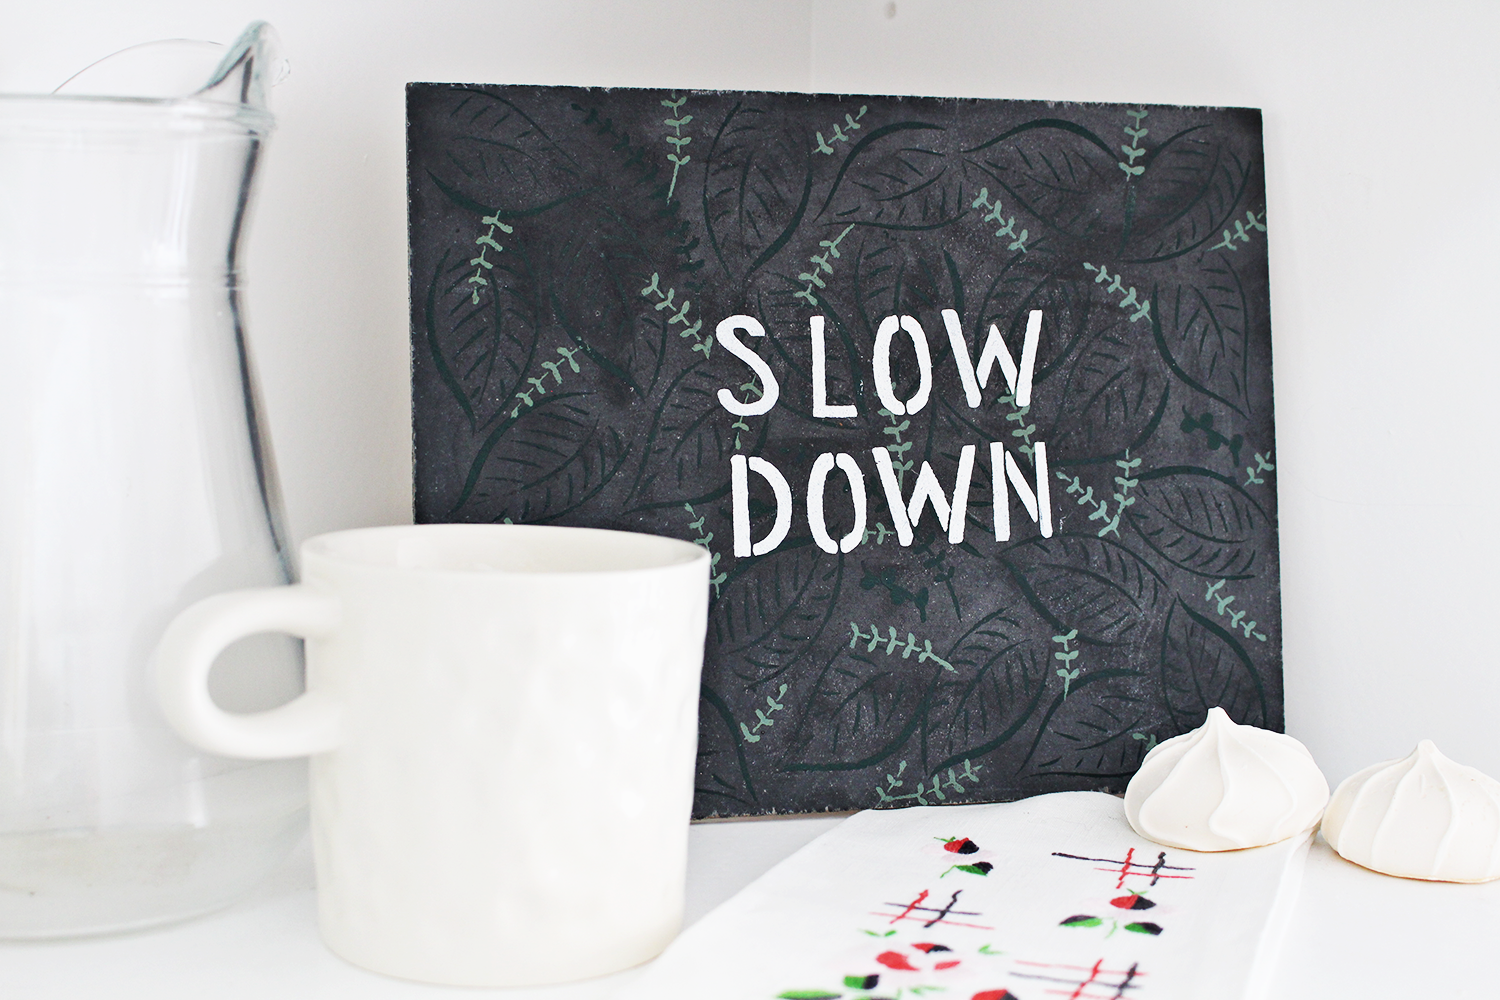
Step 9: Erase your guide and display your new sign!
I think this sign is so unique and such a fun take on chalkboard art stenciling. It truly was fun to slow down and create the repetitive pattern especially. Now, the sign can serve as a reminder to slow down more often, something I do need to hear.
 I hope you enjoyed this stencil project and would love to hear what you think in the comments! I am thrilled to have these stencils now available at Michaels both in-store and online. Be sure to grab yours and also take some time to slow down today. 🙂




1 Comment
World Cup soccer jersey
Izi,as you grow older and mature as a conservative woman you’ll learn that not everyone is persuaded by the same approach. Some need to be softly led using wit and intellect and other’s need a swiff kick in the arse. I assure you Judge Jeanine is mak…