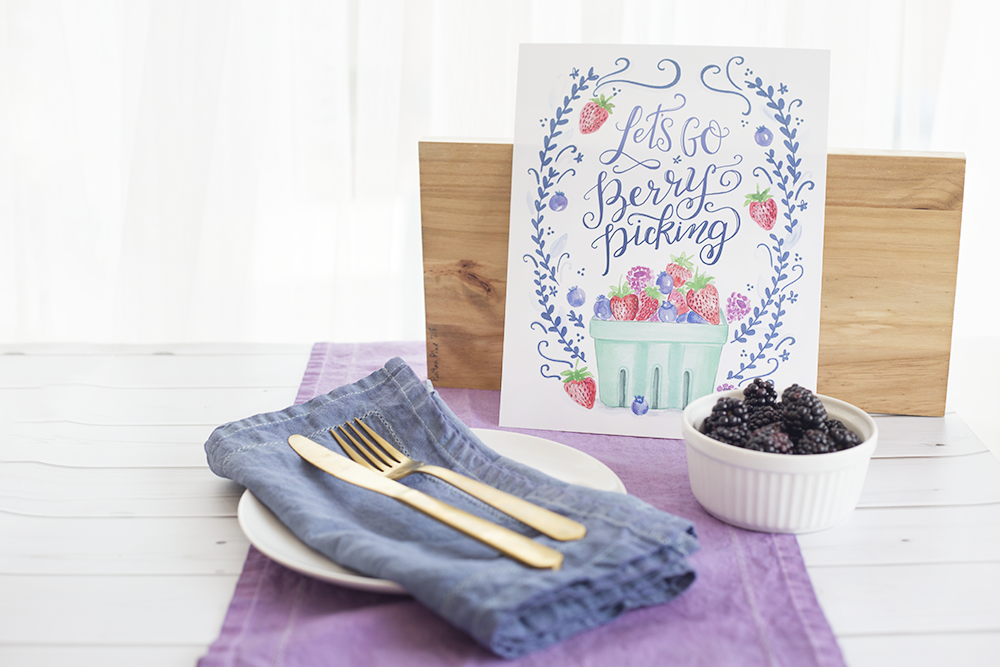
 Now that it’s officially spring (!!) we here at Lily & Val thought it was a good time to freshen up a few things around the house. Specifically, the table decor. You may have seen our Easter egg planter – which also makes for an adorable centerpiece – but once Easter’s over, what do you do? Answer: you make these beautiful table runners with natural dyes!
I’ll be honest – this isn’t the easiest DIY we’ve done, mostly because natural dyeing has such inconsistent results. It takes a bit of trial-and-error to get this project right, but when it works, it really looks great. Keep reading to see how to do this at home!
Ingredients and Supplies
This is a pretty inexpensive DIY which makes up for the effort it takes, in my opinion. You’ll need:
- White cotton table runner/s (mine are from the Target dollar section – $3 each!)
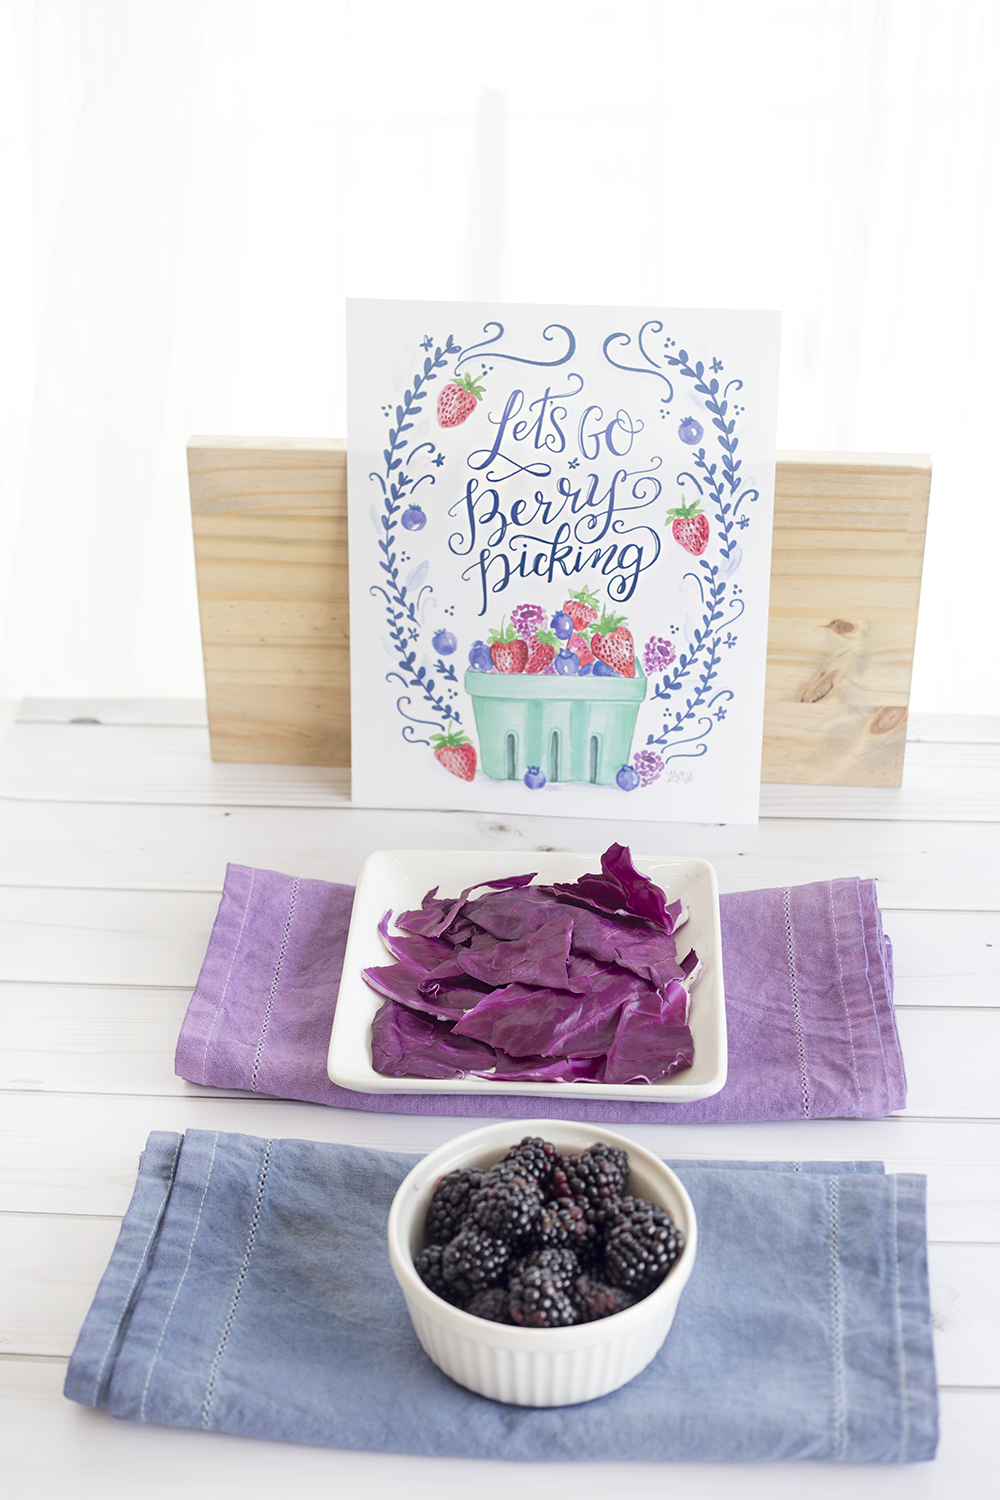
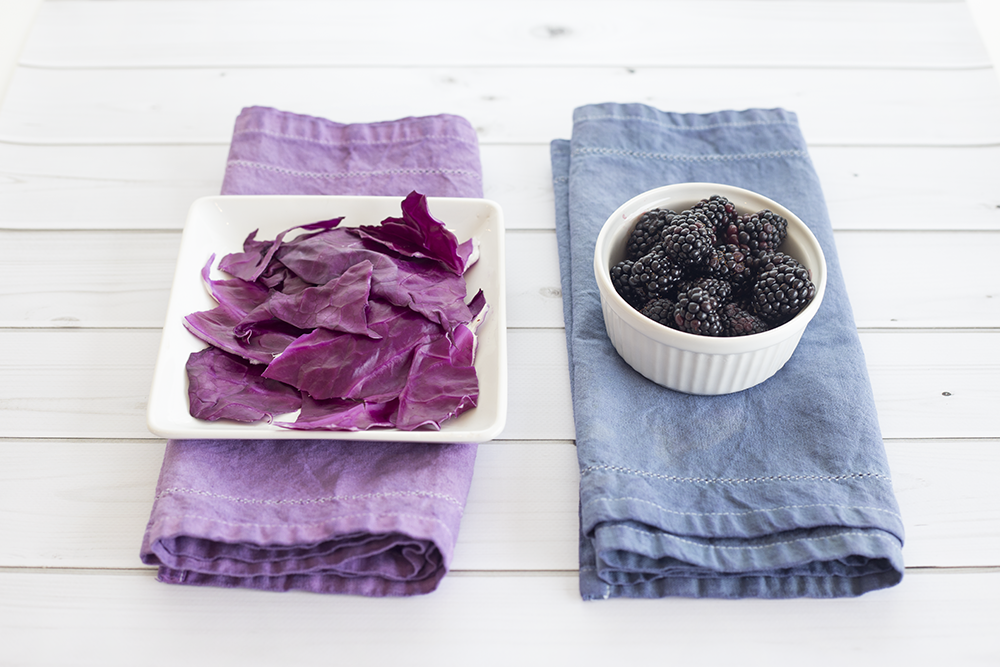
- 1 head of red cabbage
- 2 boxes of blackberries
- Soda ash
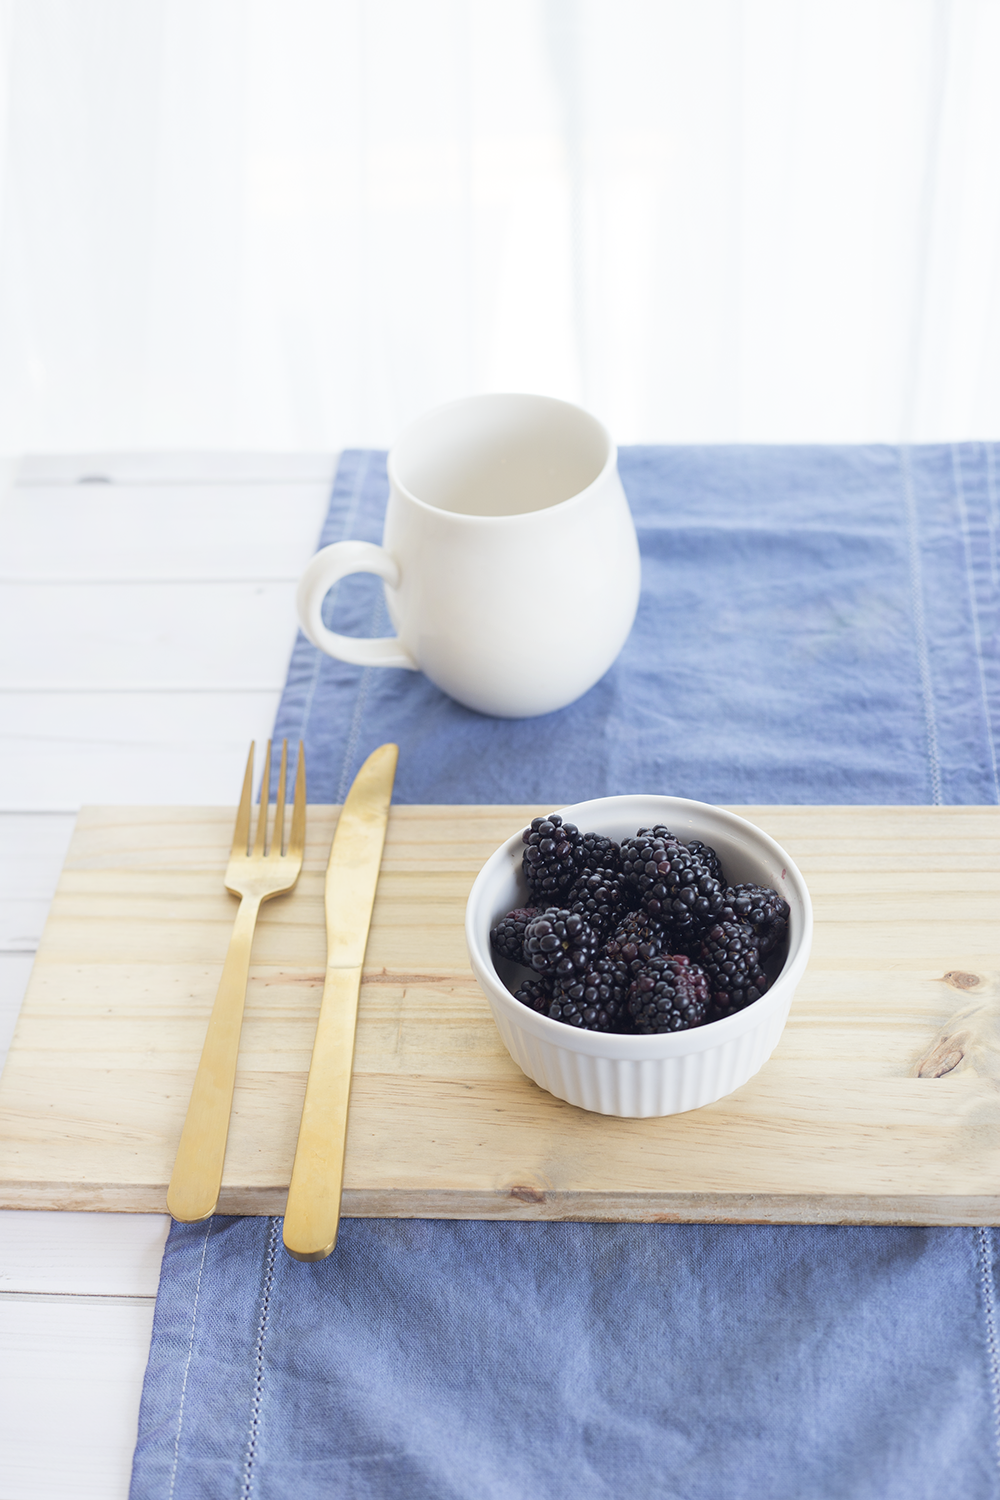
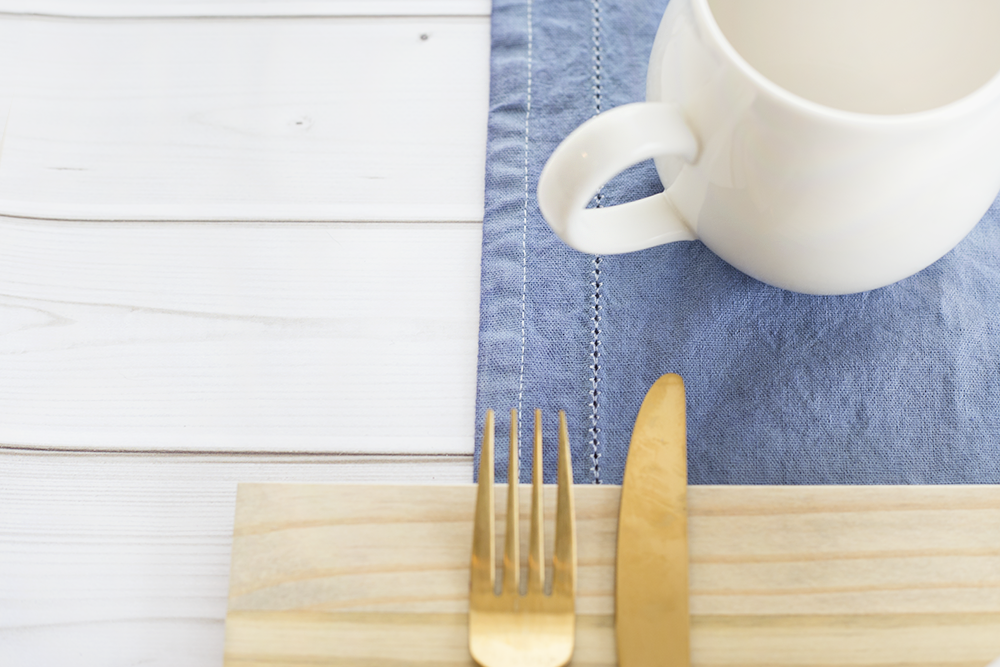
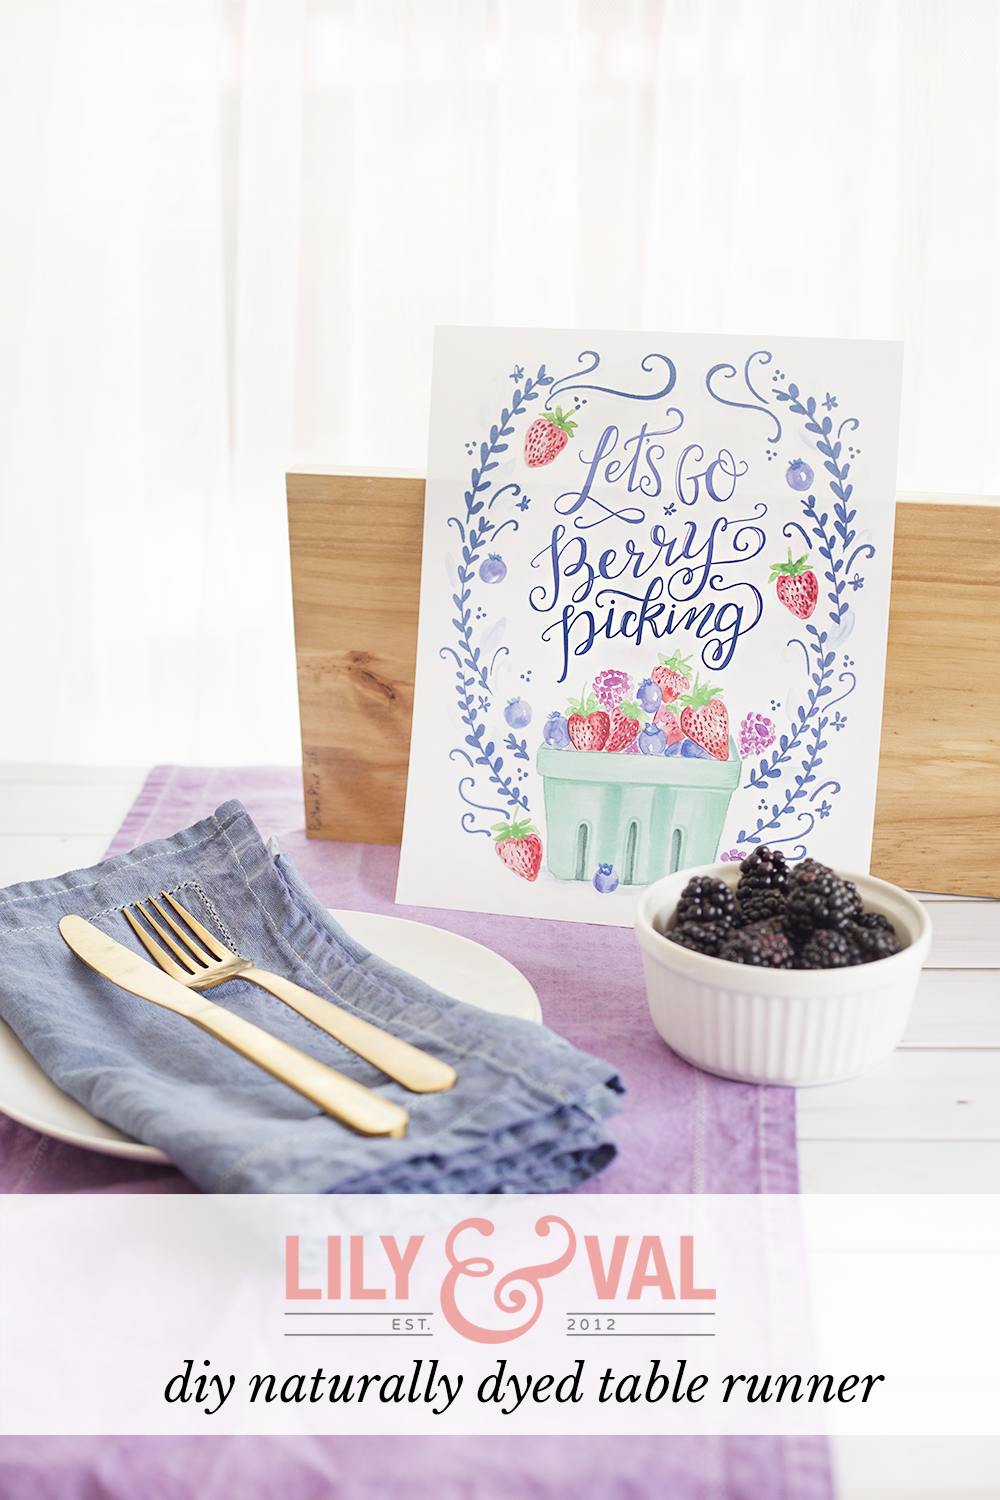
The red cabbage should turn the white fabric a reddish purple while the blackberries should turn the fabric a bluish color. But again, the results can vary depending on the cotton, your water’s chemistry, etc.
Step One – Prep Your Fabric
Before you can get to dyeing, you’ll need to prepare the table runner fabric/s for holding color. I pre-washed my table runners and then soaked them according to the directions on my soda ash, leaving them in a cold water and soda ash mixture overnight.
Once the soda ash (also called mordant) has thoroughly been absorbed, rinse the fabric with more cold water and leave wet – it will take better to the natural dye if the fabric is still damp.
Step Two – Chop and Simmer Your Ingredients
First things first – prepping our ingredients. Chop up 1 cup to 1-1/4 cup of the red cabbage and blackberries separately. Put each serving of ingredients into its own medium saucepan on the stove and cover with two cups of water (up to 2-1/2 cups if you used a larger portion of berries or cabbage).
Turn the heat to medium and simmer for one hour – watching every so often to be sure the water doesn’t come to a boil. When the hour is up, turn off the heat and let your dyes cool to room temperature.
Quick warning: simmering cabbage smells terrible. Don’t be alarmed.
Step Three – Strain the Natural Dyes and Soak
Now that your natural dyes have cooled to room temperature, strain each saucepan into a separate large bowl (glass, if you have it). Make sure no chunks of cabbage or berries are left behind.
Place your fabric in the bowl of whichever dye you choose! I bought two table runners so I could have options for my spring refresh, but feel free to only use one color.
Let your fabric soak in the natural dye overnight for best results, then gently rinse out excess dye by running your fabric under cold water. Hang dry (don’t use the dryer! It will fade the color!) and enjoy your beautiful new table runners!
*Thanks to PopSugar for the inspiration for this tutorial.

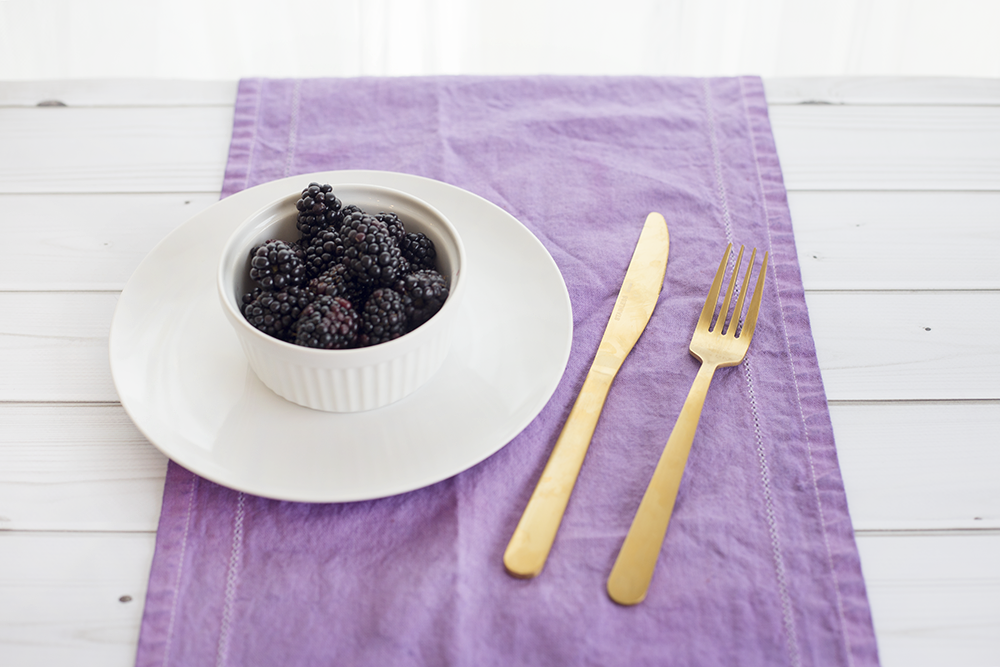
 How did your natural dyes turn out? I’d love to see your results on this – they can vary so widely! We love the slightly faded, uneven look to these table runners – it gives it a homemade feel!
Want more spring decor projects? Check out this spring herb potpourri and this simple spring faux wreath DIY! If you love our “Let’s Go Berry Picking” print, grab it here!
We’d love it if you show us your projects on Instagram! Tag any photos you post with #lilyandvalliving and, as always, if you liked this post, pin the image above!
Happy dyeing!


No Comments